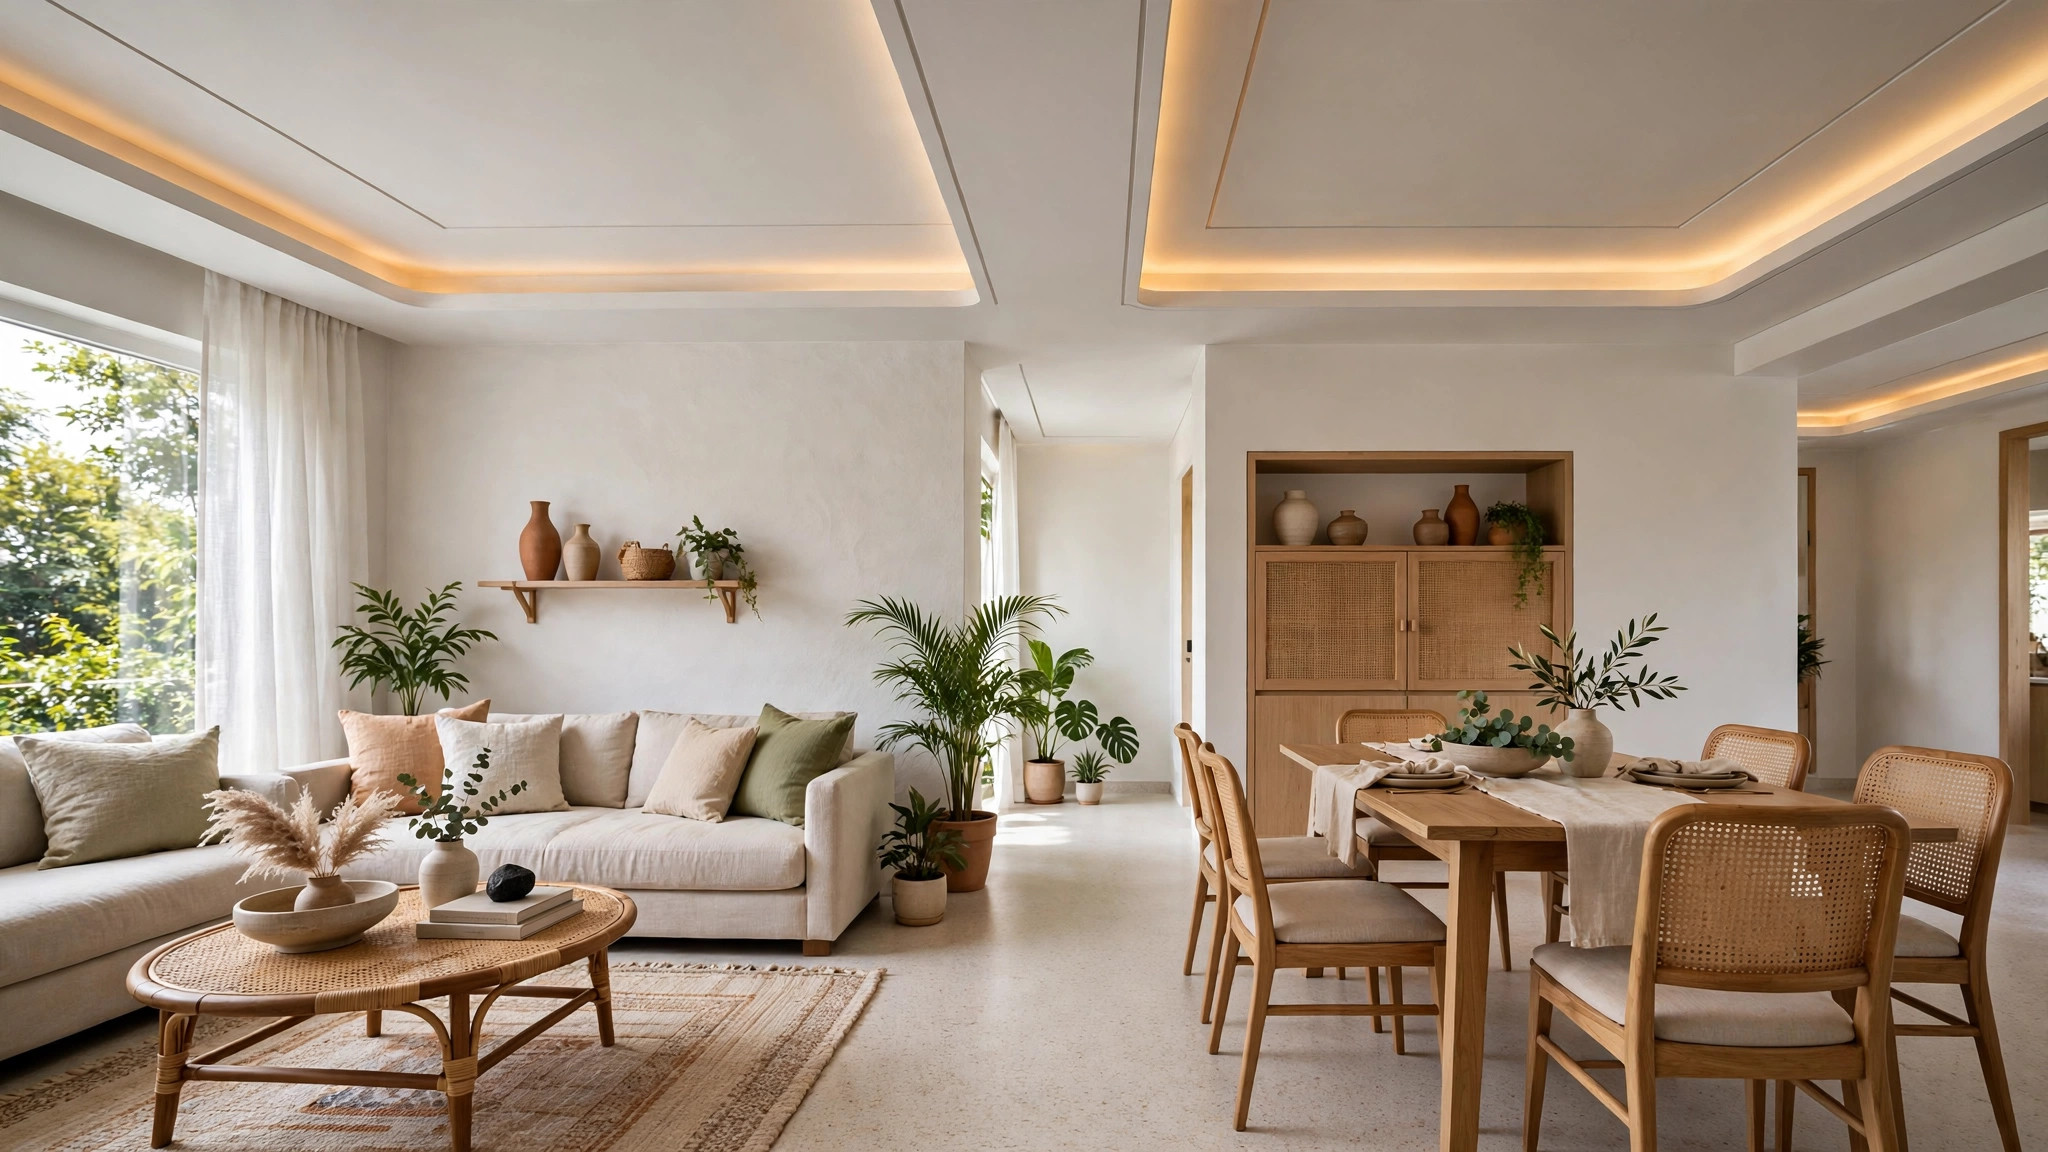

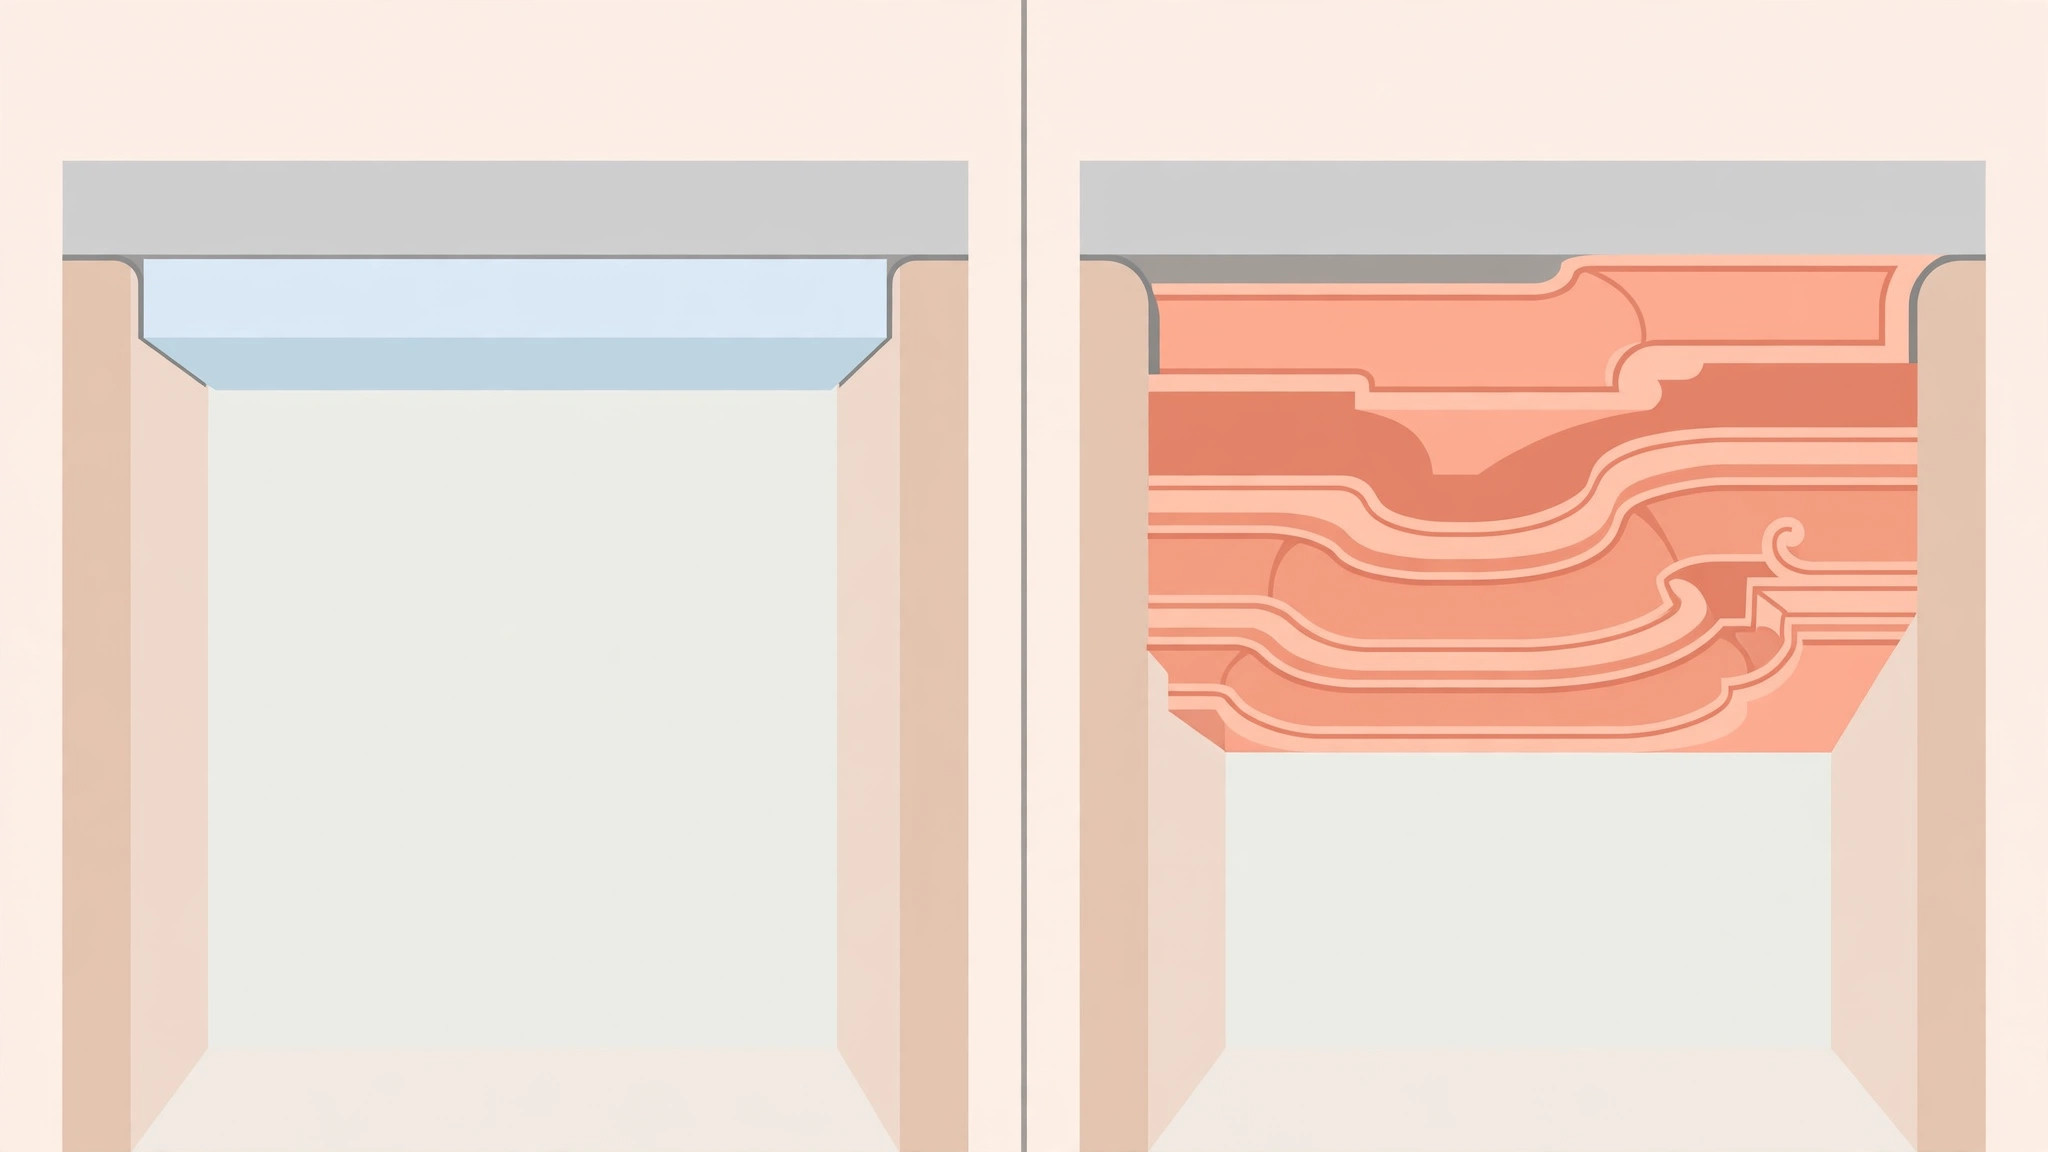
POP — plaster of Paris — is the most forgiving ceiling material in Indian homes: cheap, easy to shape, and repairable by any local craftsman. But POP’s strength is also its trap: because it can be shaped into anything, people shape it into everything, and the ceiling ends up busy, heavy, and expensive. Simple POP false ceiling designs go the other way. A slim border, a shallow tray, one clean cove — easy to build, easy to live with, easy on the budget. This guide covers simple POP designs for every room: the easy layouts, where POP suits and where it doesn’t, and how to keep a POP ceiling simple without making it boring.
Why simple suits POP
POP is hand-shaped on site, so every curve and level is labour hours. A simple POP design — one level, clean lines, minimal shapes — uses fewer hours, wastes less material, and finishes faster. It also ages better: simple POP has fewer joints to crack and fewer ledges to collect dust. Design guides for 2026 describe the year’s biggest shift as intentional simplicity — cleaner layouts enhanced by lighting and texture rather than heavy patterns. Simple POP is exactly that shift, in the cheapest material available. For the full POP picture, see our POP false ceiling guide.
Simple POP designs for the living room
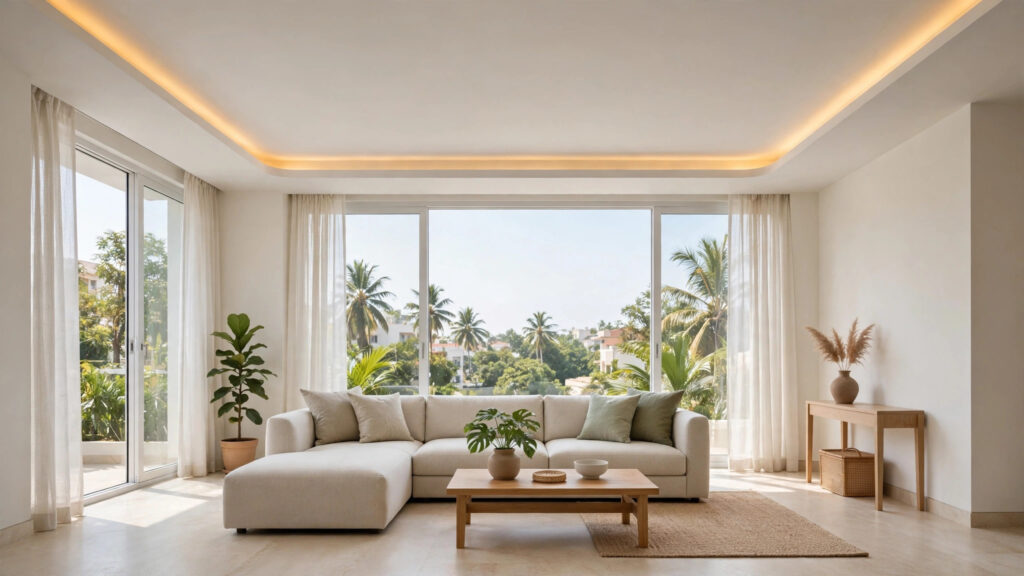
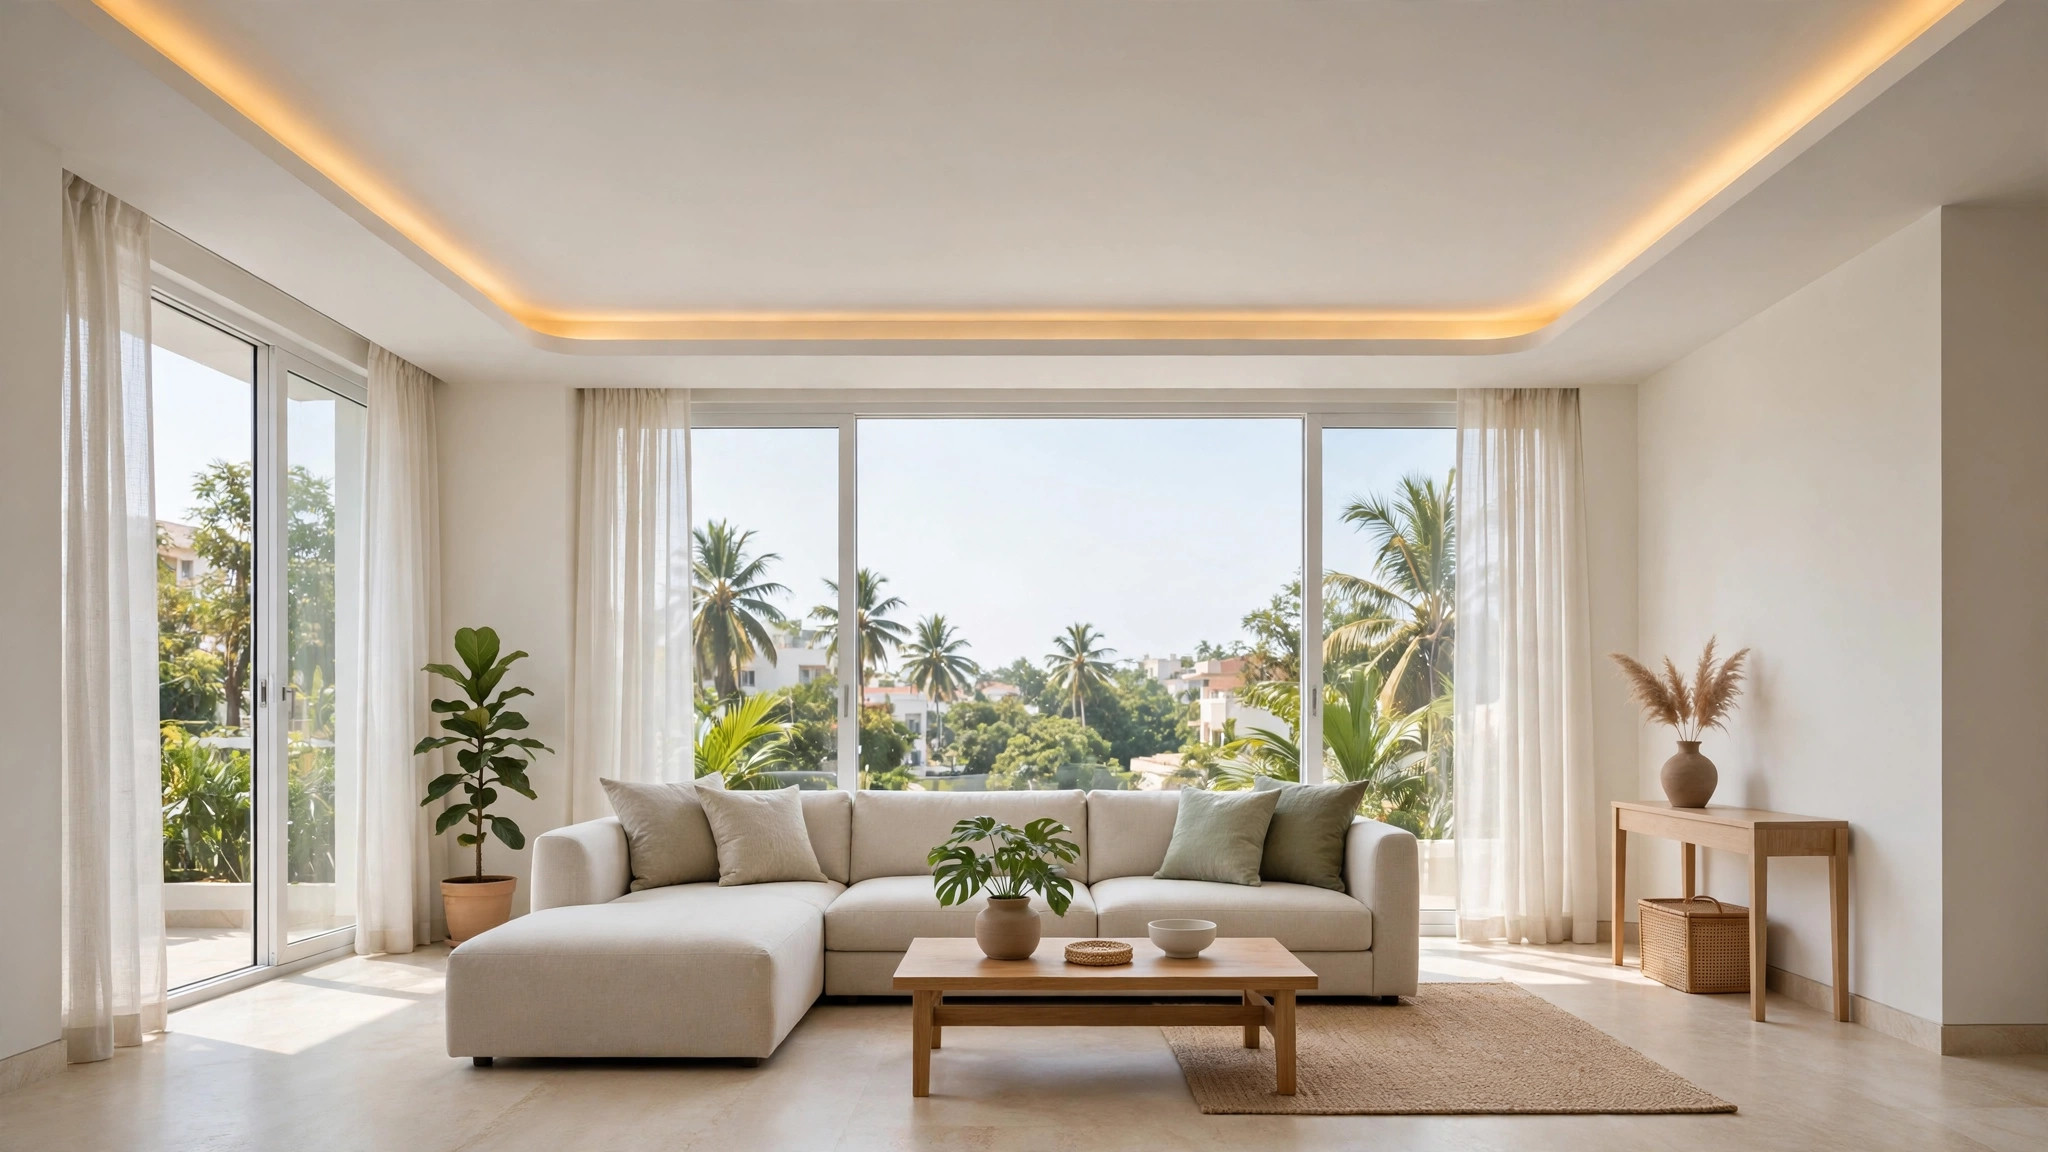
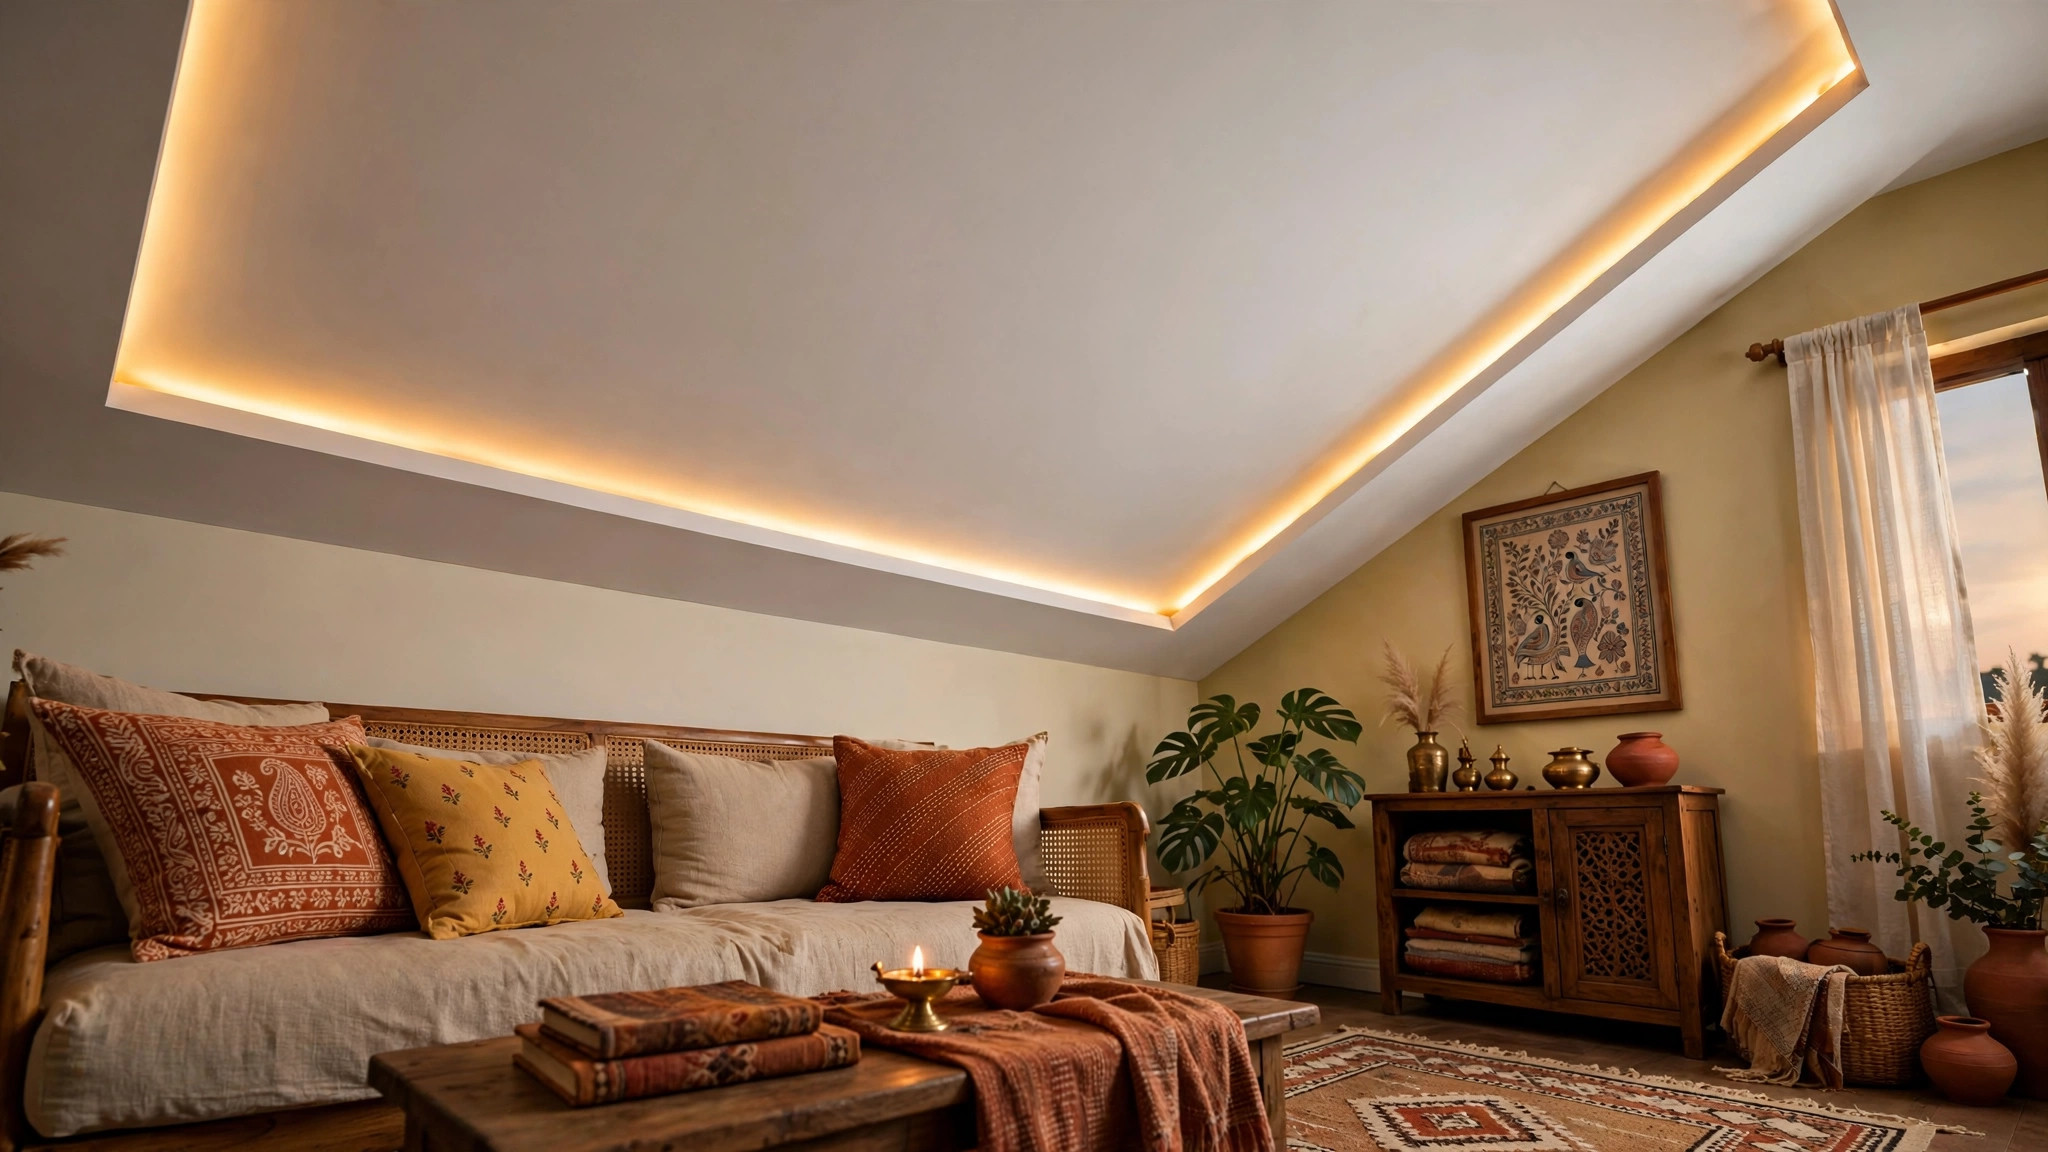
1. Slim border with hidden LED
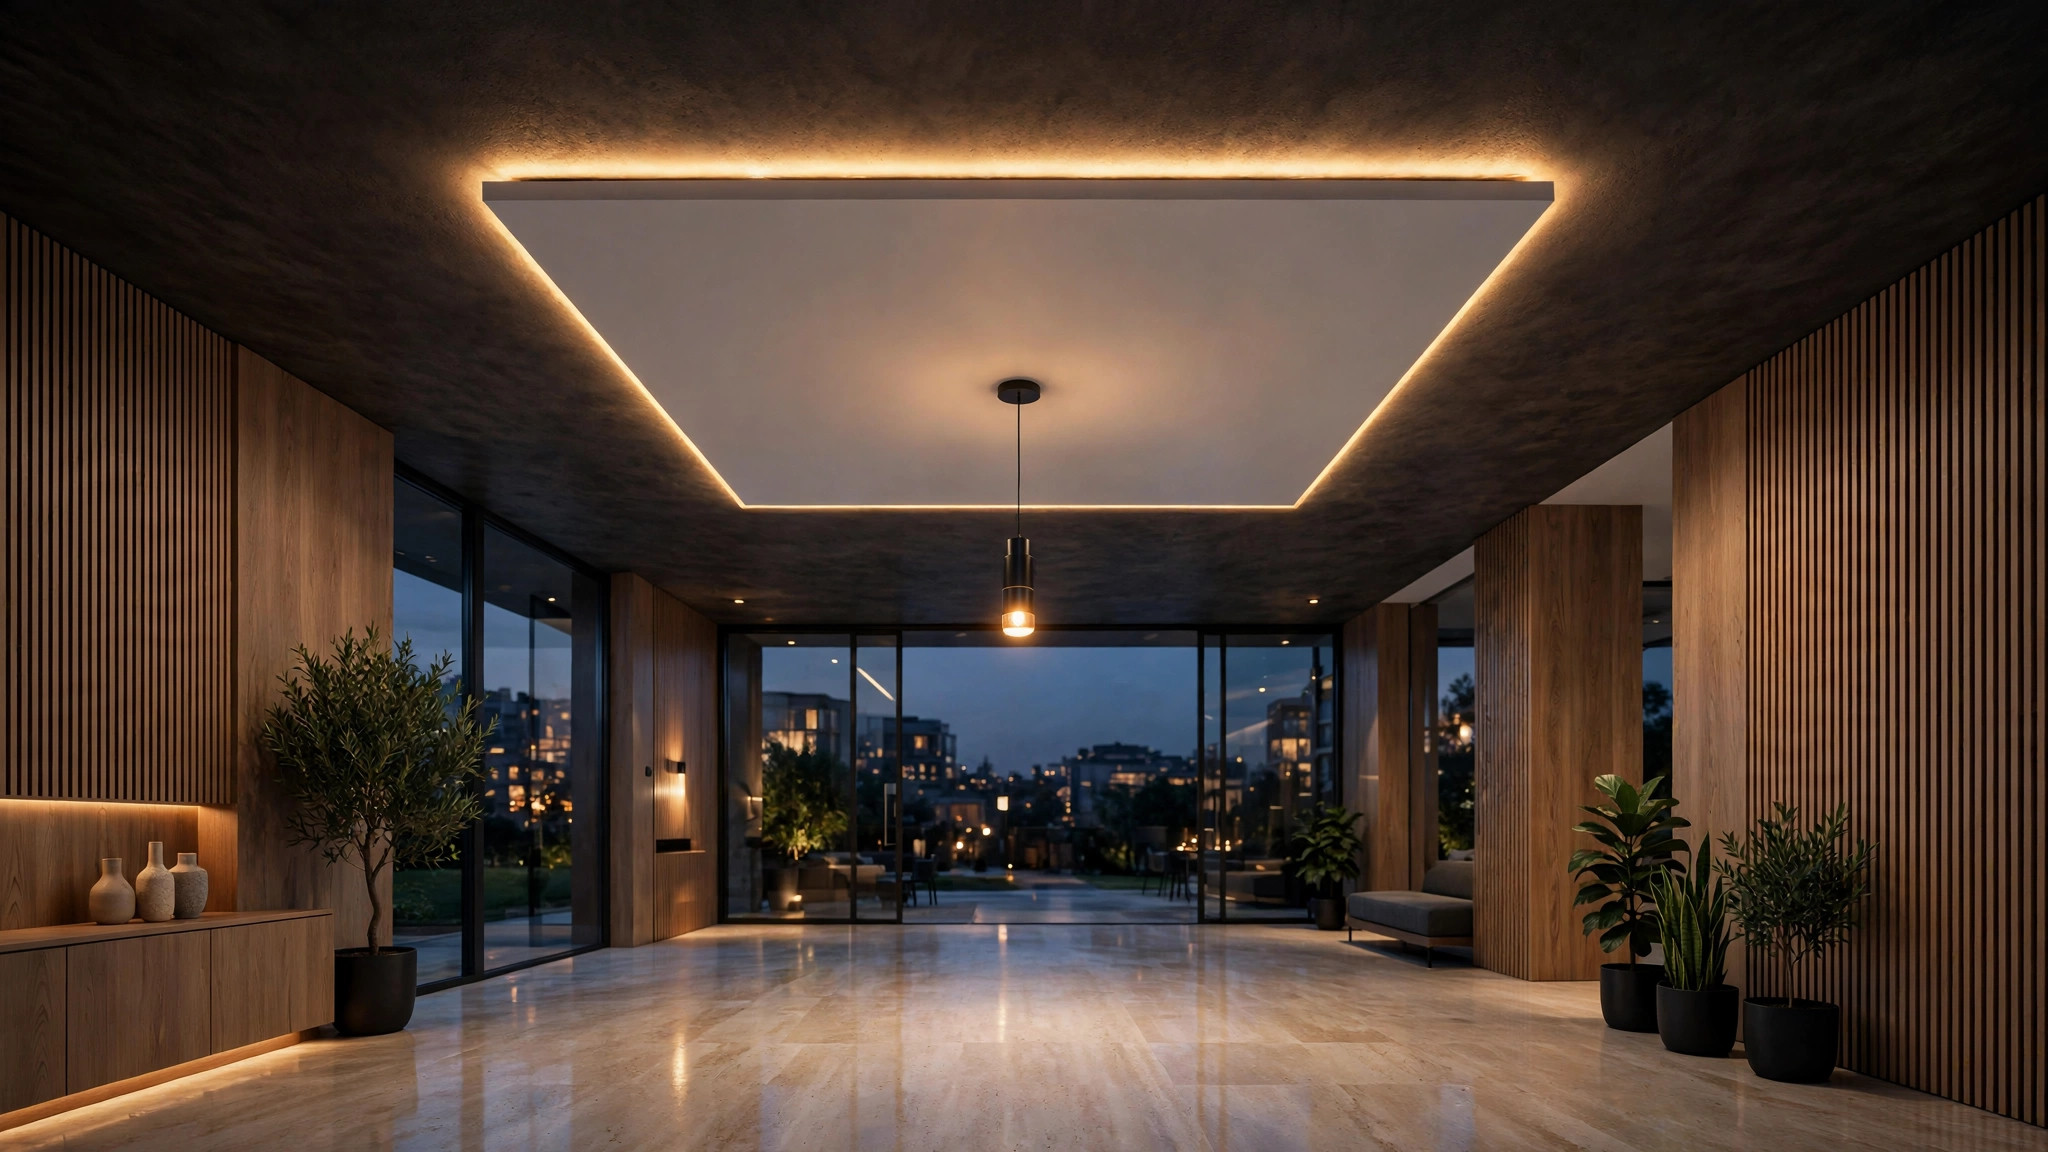
A thin POP border along the room’s edges with a concealed LED strip inside, centre left plain. It hides the wiring, gives the room soft evening light, and suits 9-foot slabs. Keep the border 6 to 9 inches wide; paint it the same white as the centre so the room reads as one calm volume.
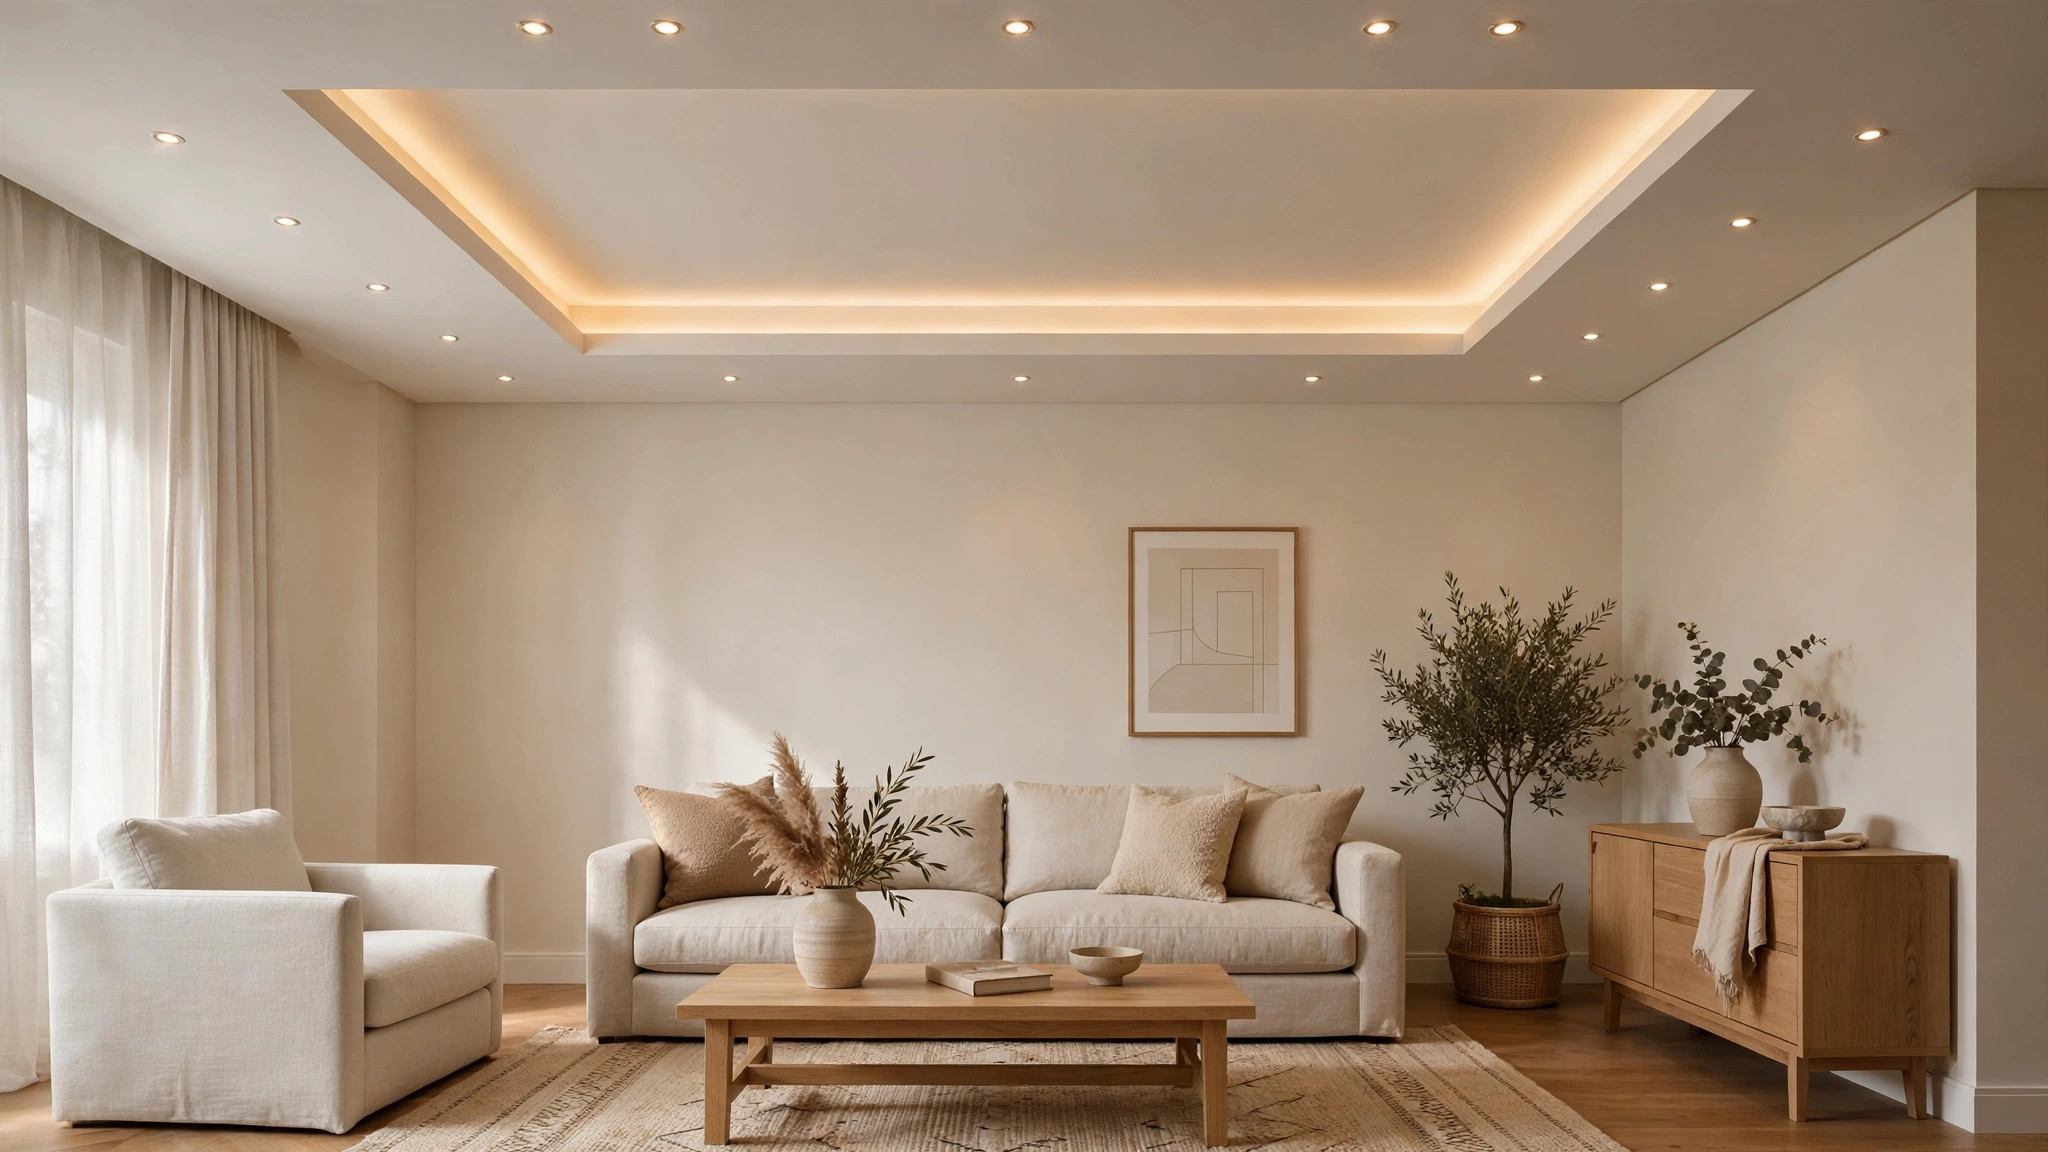
2. Shallow centre tray
One rectangular tray recessed in the centre, warm cove light along its inner edge, small recessed spots around the perimeter. The tray adds depth without a second full level, and it frames the seating zone naturally. Keep the tray shallow — 3 to 4 inches — so the room keeps its height.
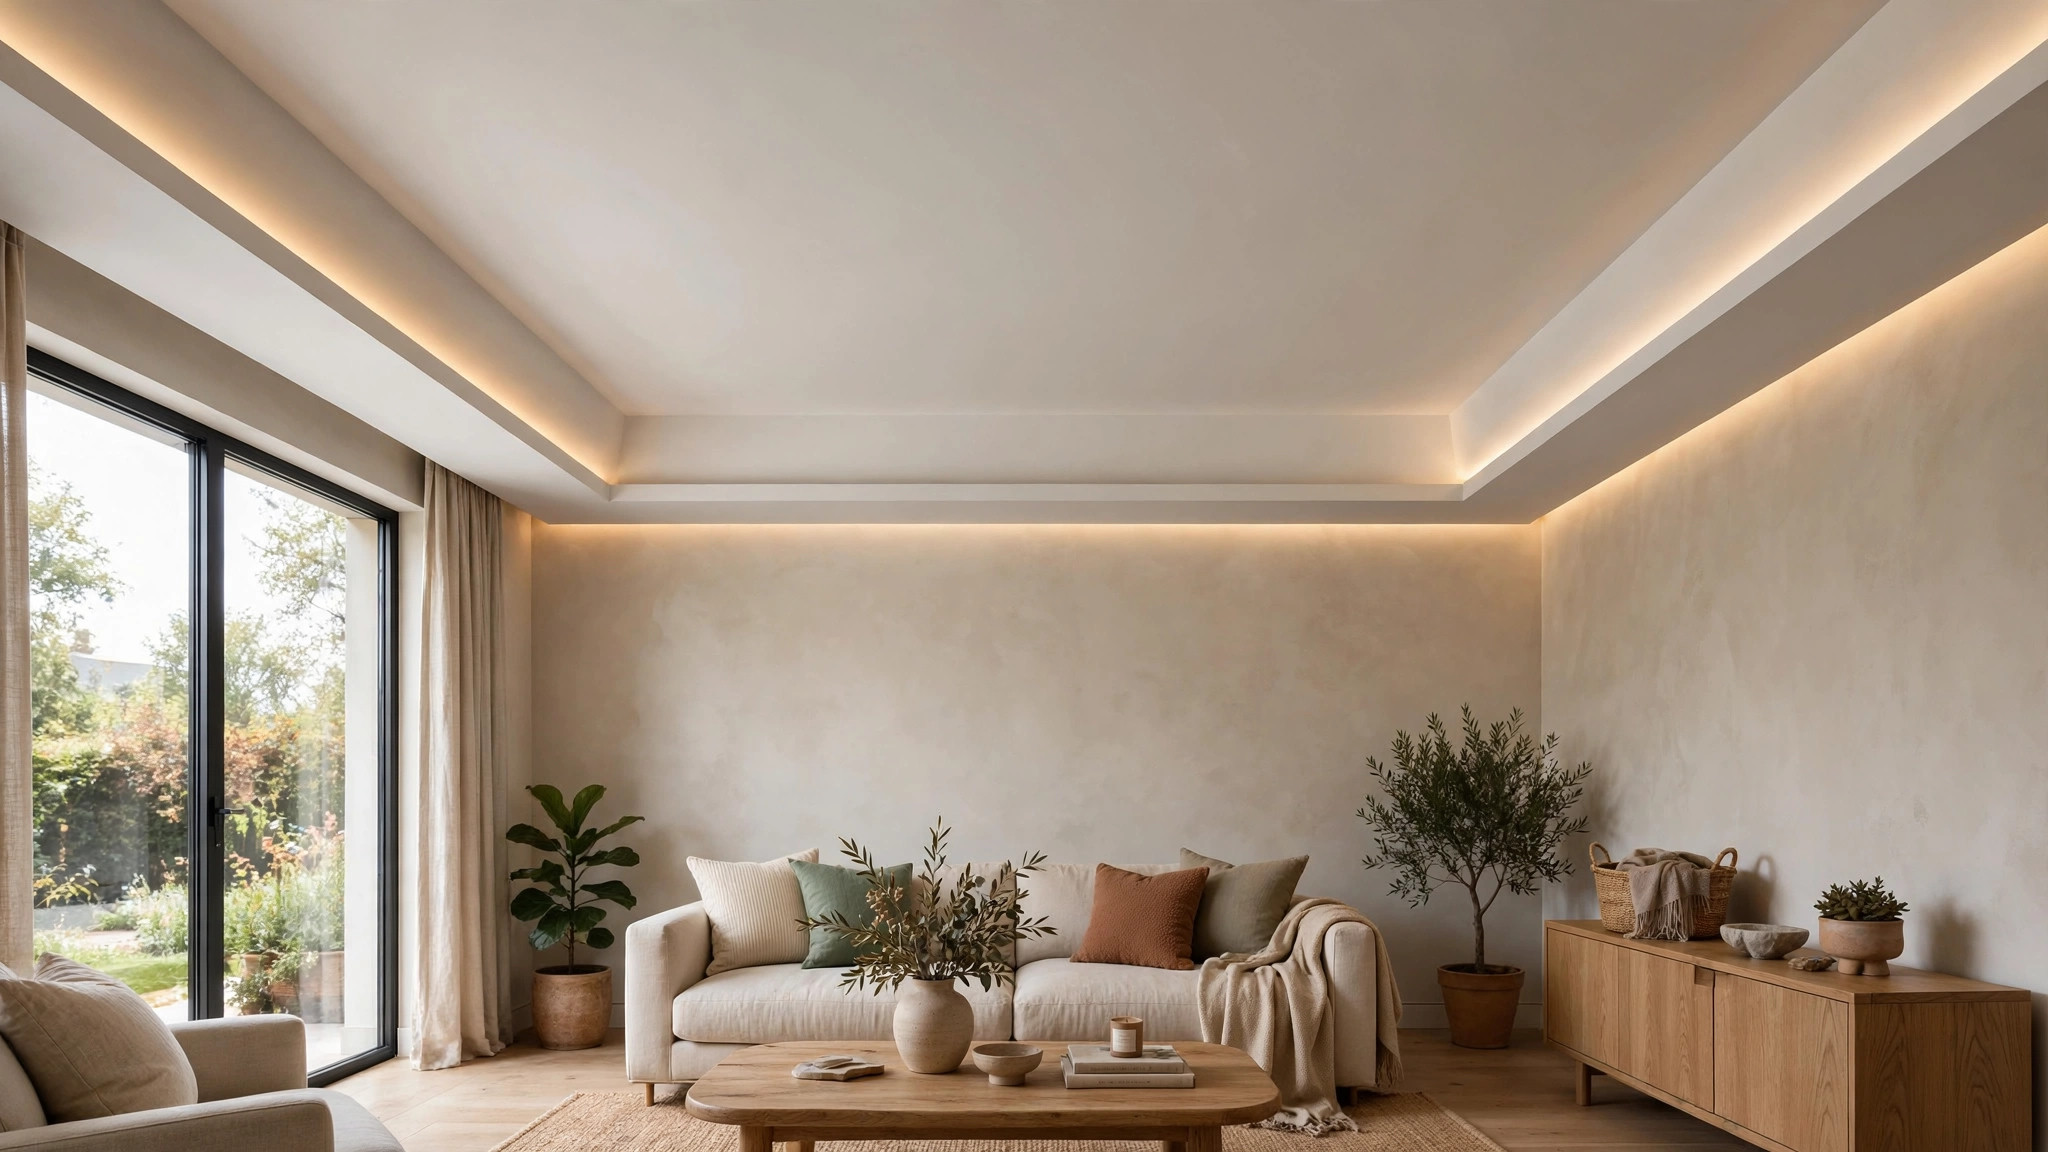
3. Edge-only border for low ceilings
For halls with limited vertical height, an edge-only POP border is the honest choice: a slim frame at the wall-ceiling junction, nothing in the middle. It carries the cove light and hides the wiring while the centre stays at full slab height. Rooms under 9 feet should consider nothing deeper.
Simple POP designs for the bedroom
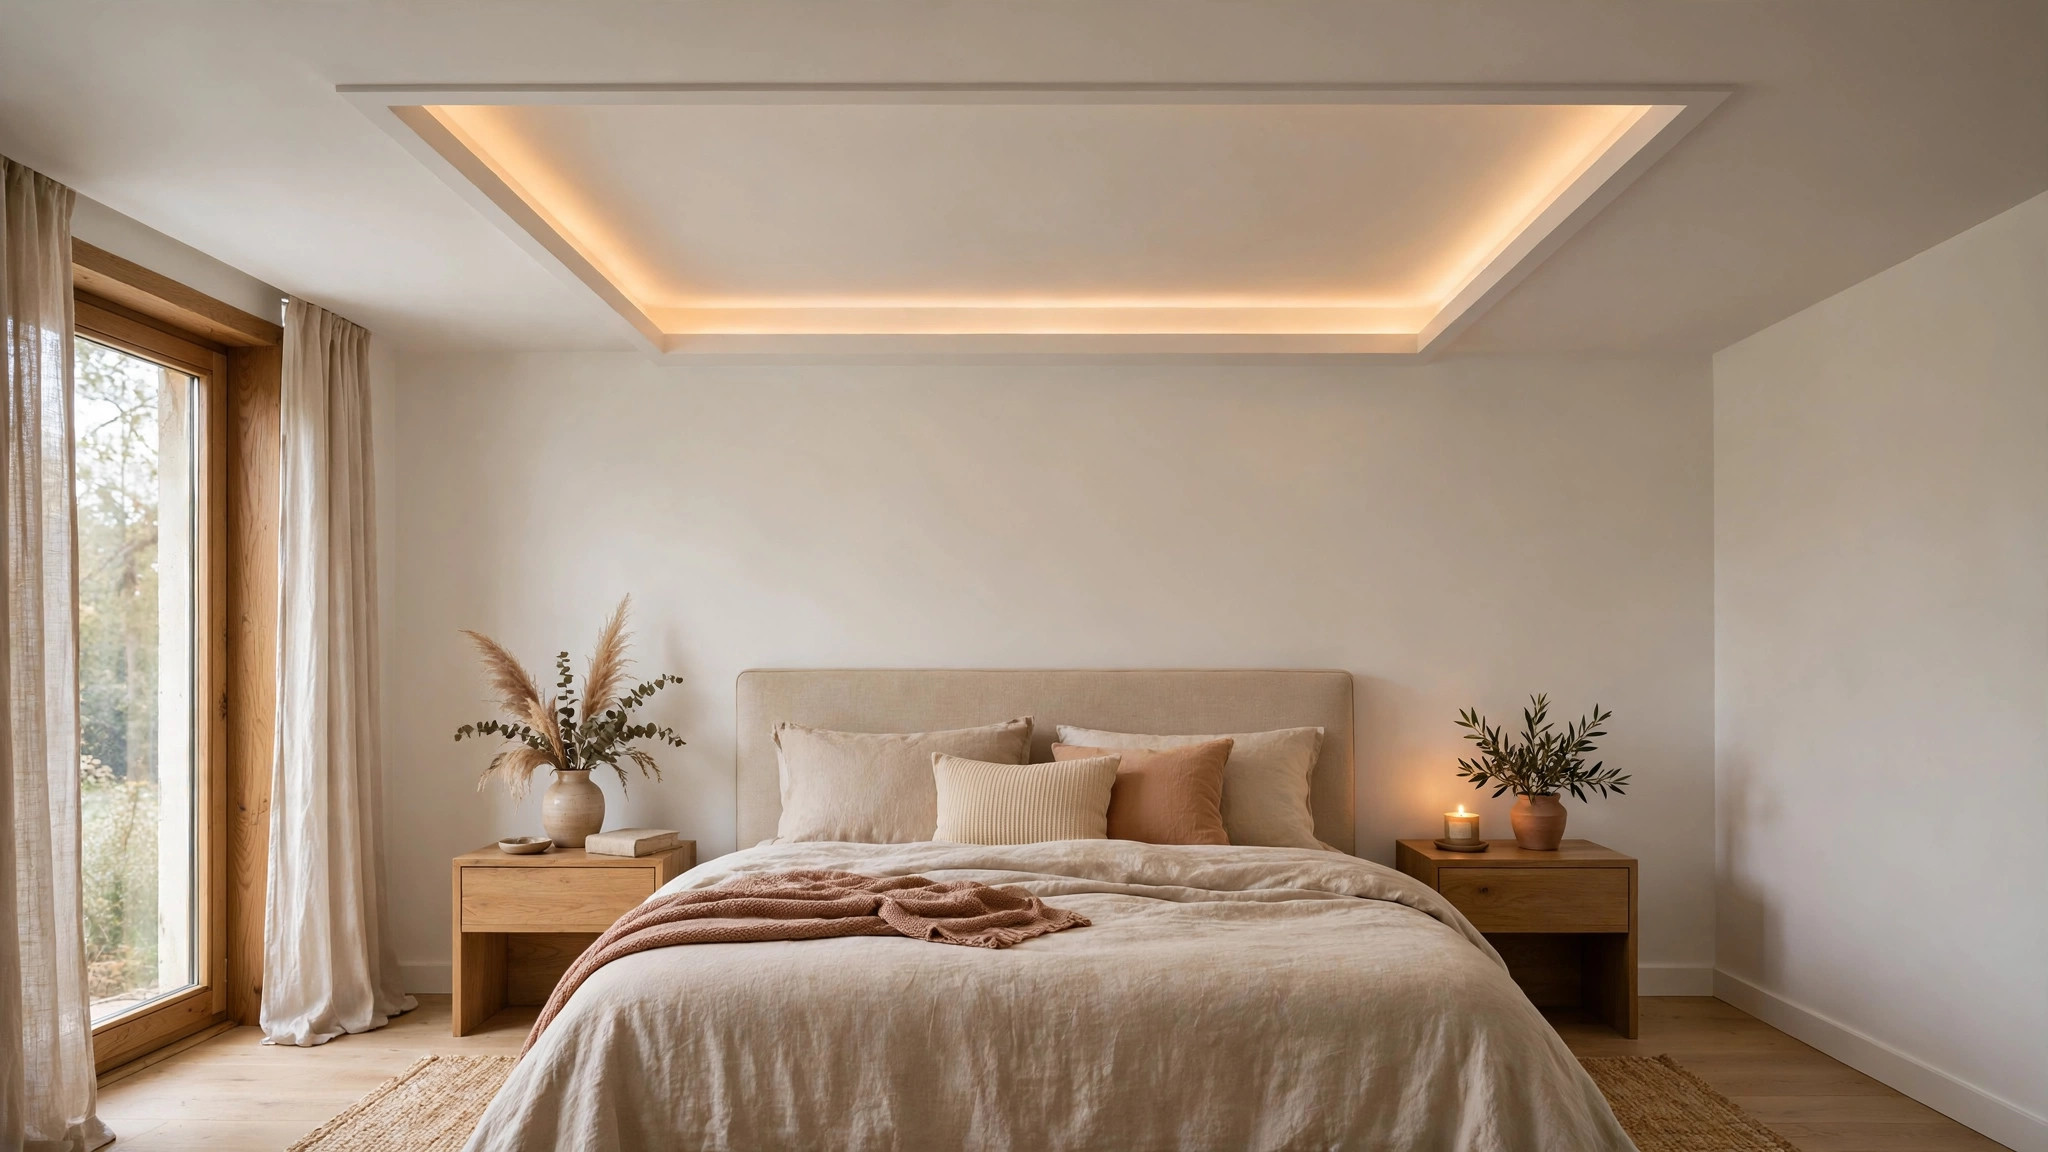
4. Frame over the bed
A defined POP panel above the bed — a shallow tray or a backlit rectangle — highlights the headboard wall and leaves the rest of the ceiling plain. It is the easiest POP gesture for a bedroom: one shape, one light, done. Pair it with warm 3000K light for evenings.
5. Single cove band
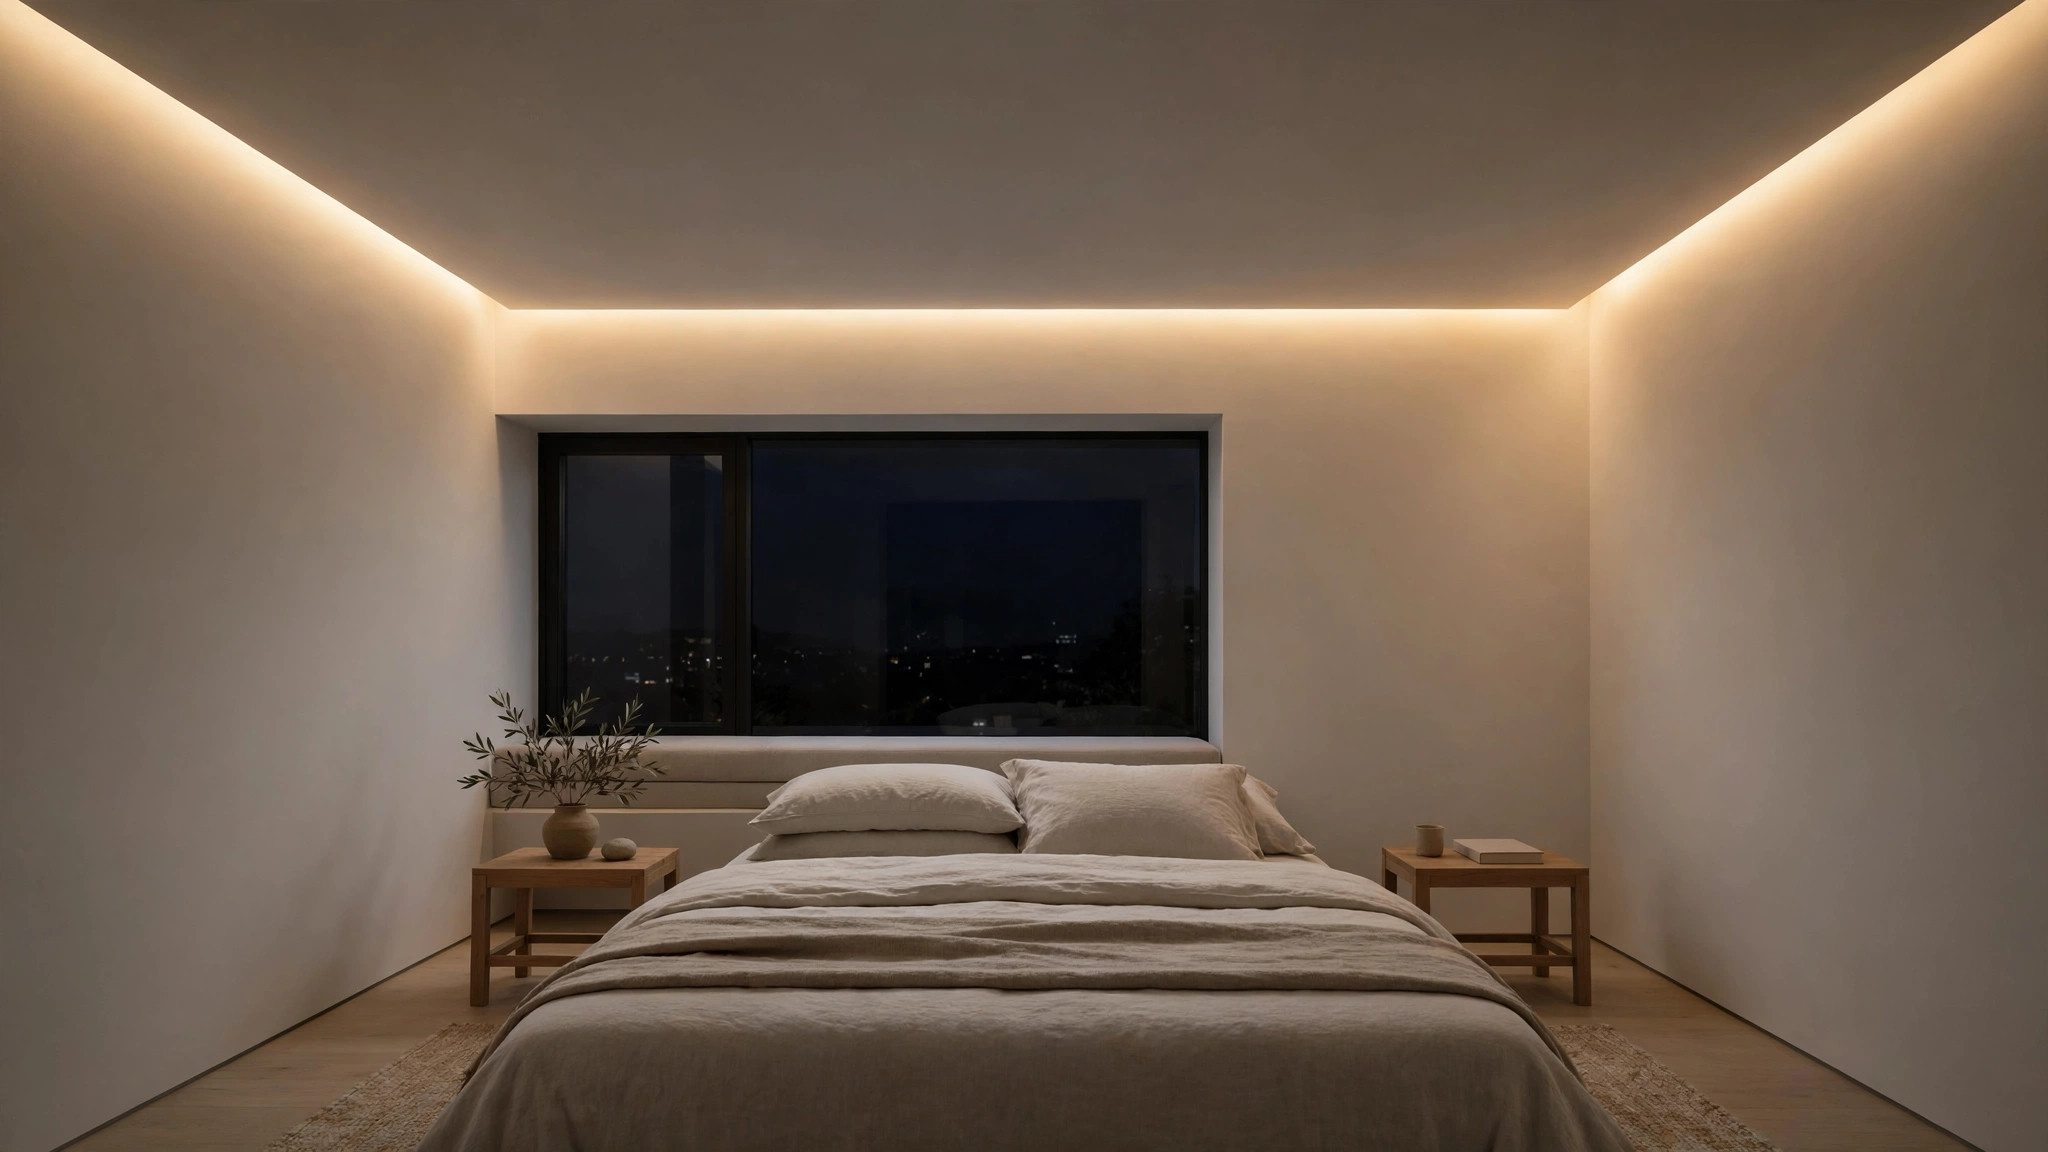
One slim cove running along two or four walls, washing warm light upward. No tray, no border boxes — just a clean band of indirect light. It suits bedrooms where you want atmosphere at night without any visible ceiling design during the day.
6. Minimal layered steps
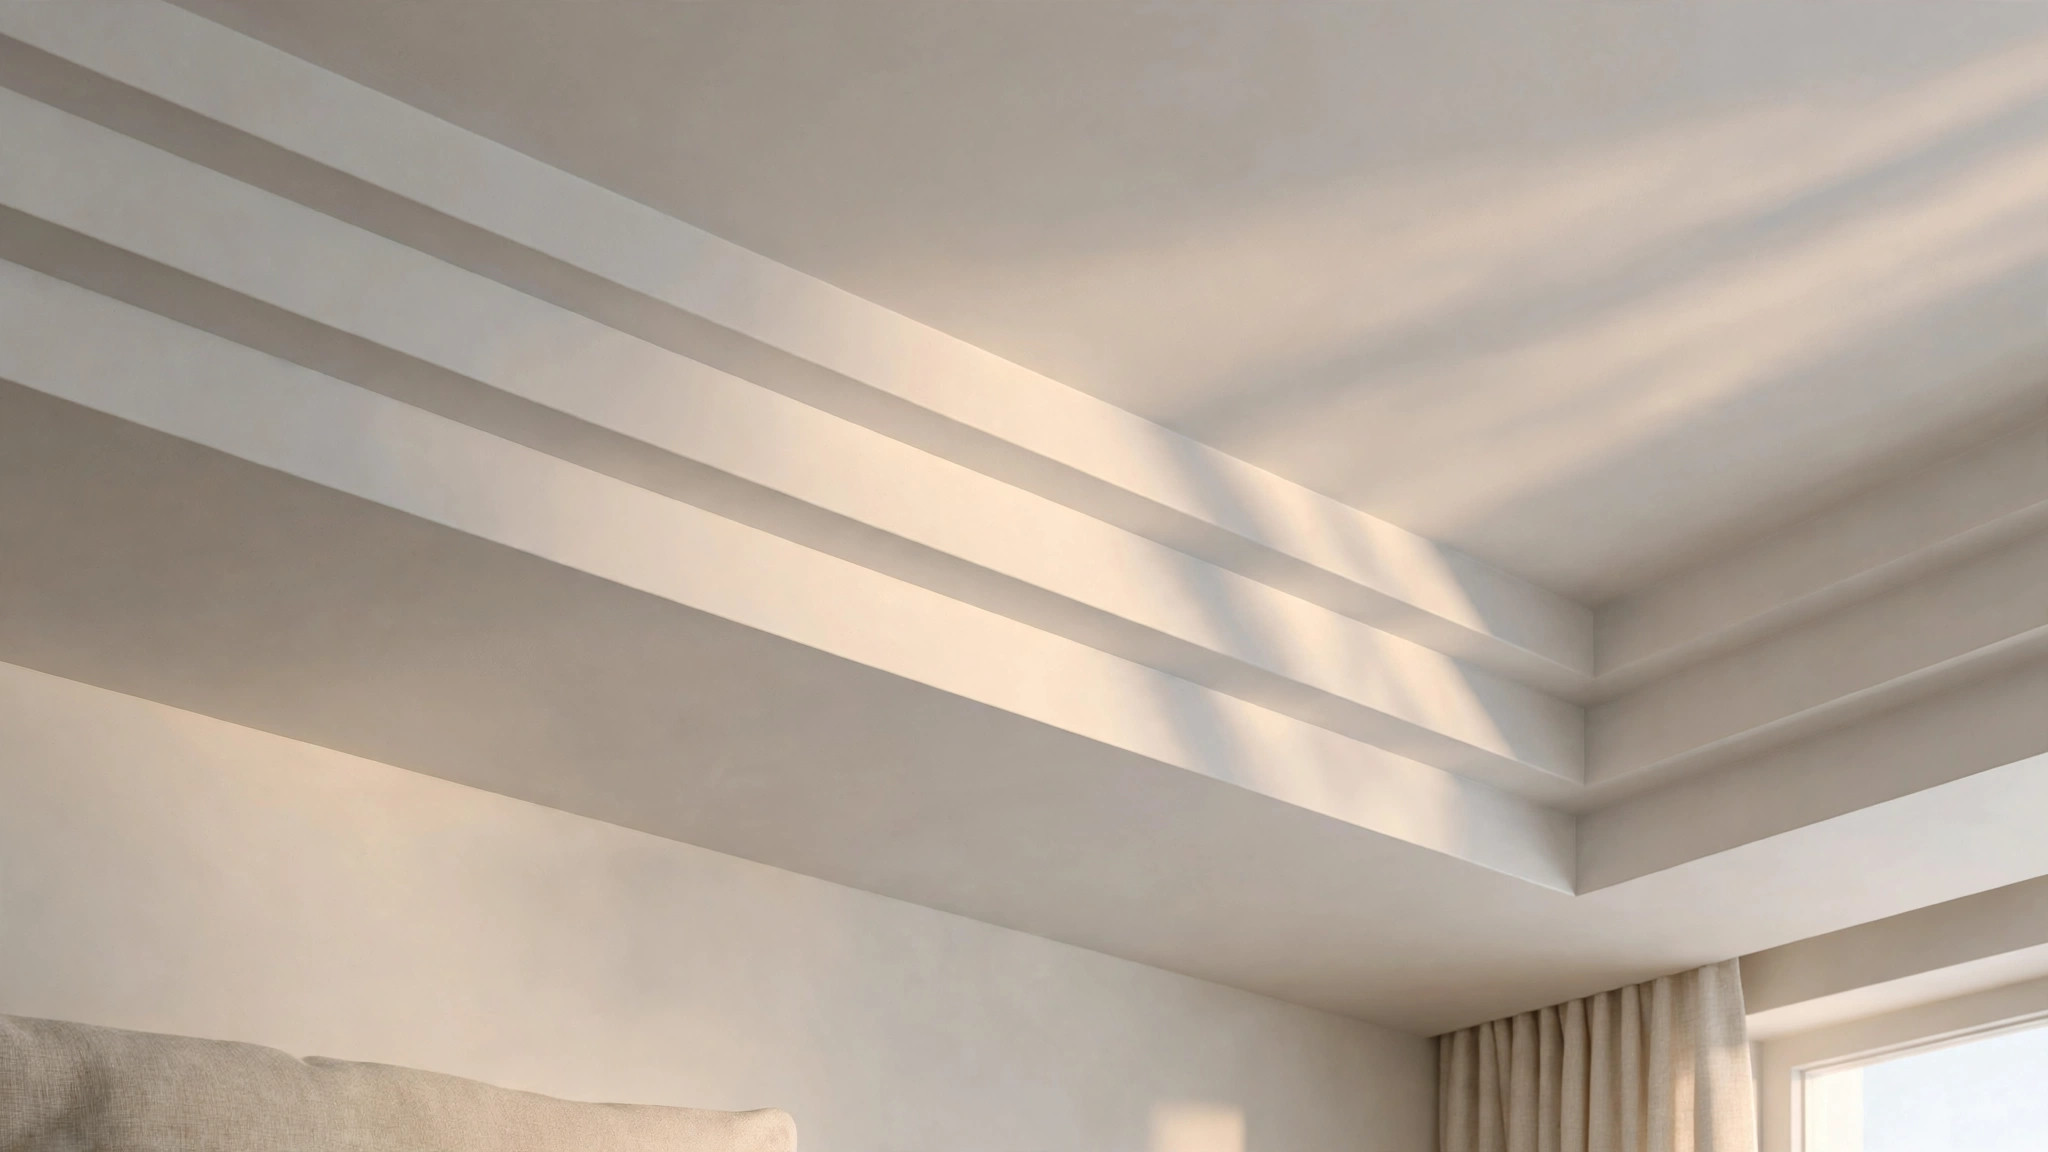
Two or three very shallow steps at the ceiling’s edge — 25mm drops, barely-there — that add depth without bulk. The steps catch light and shadow softly, giving a plain ceiling quiet dimension. Keep all steps the same white; the effect is in the light, not the colour.
Simple POP designs for dining and passages
7. Dining island tray
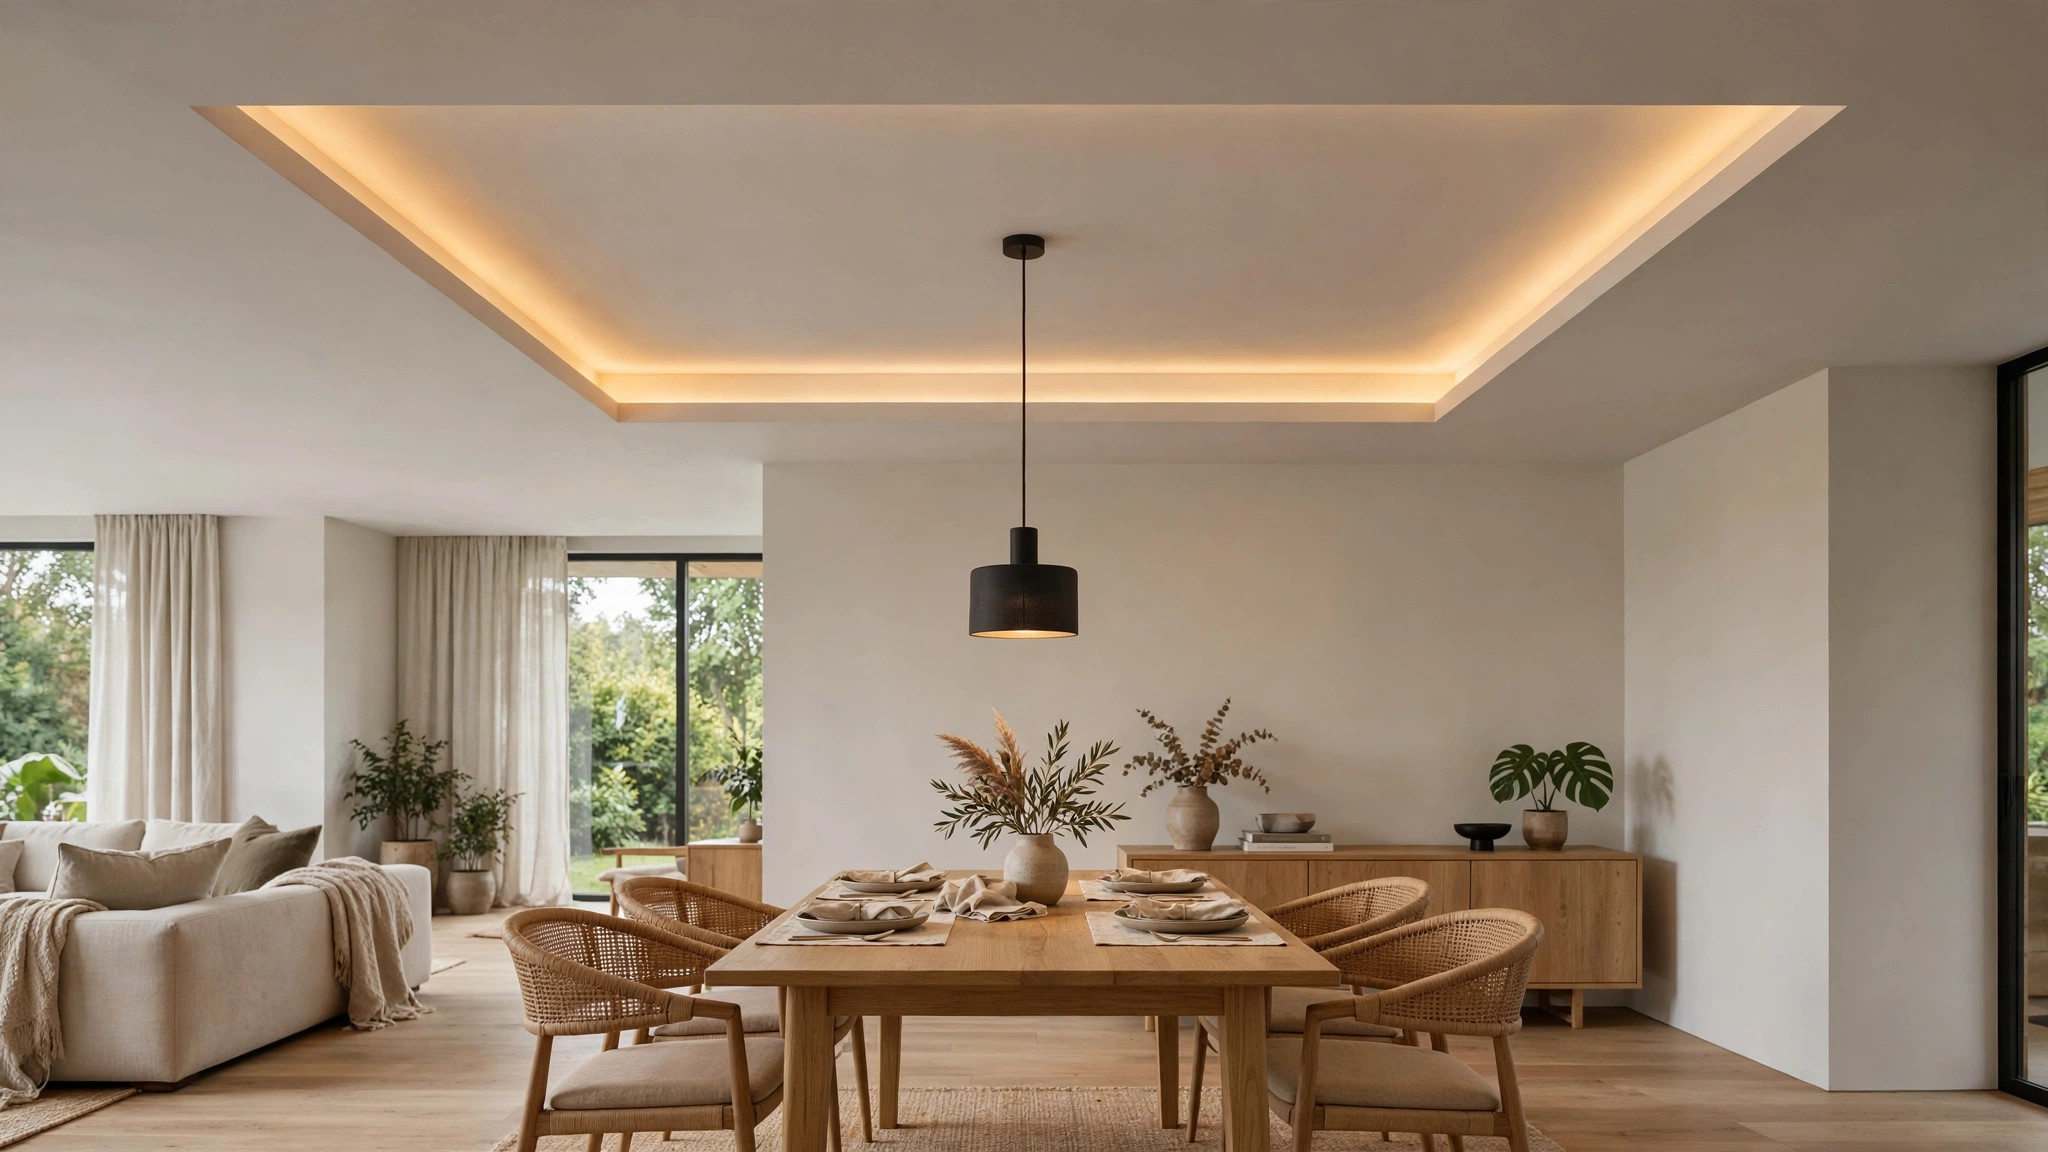
Where dining sits inside the living hall, a POP island only above the dining table — a rectangular tray with a cove light inside — visually separates the dining zone without any wall. Keep the island 12 to 15 inches larger than the table on each side. One pendant at its centre completes it.
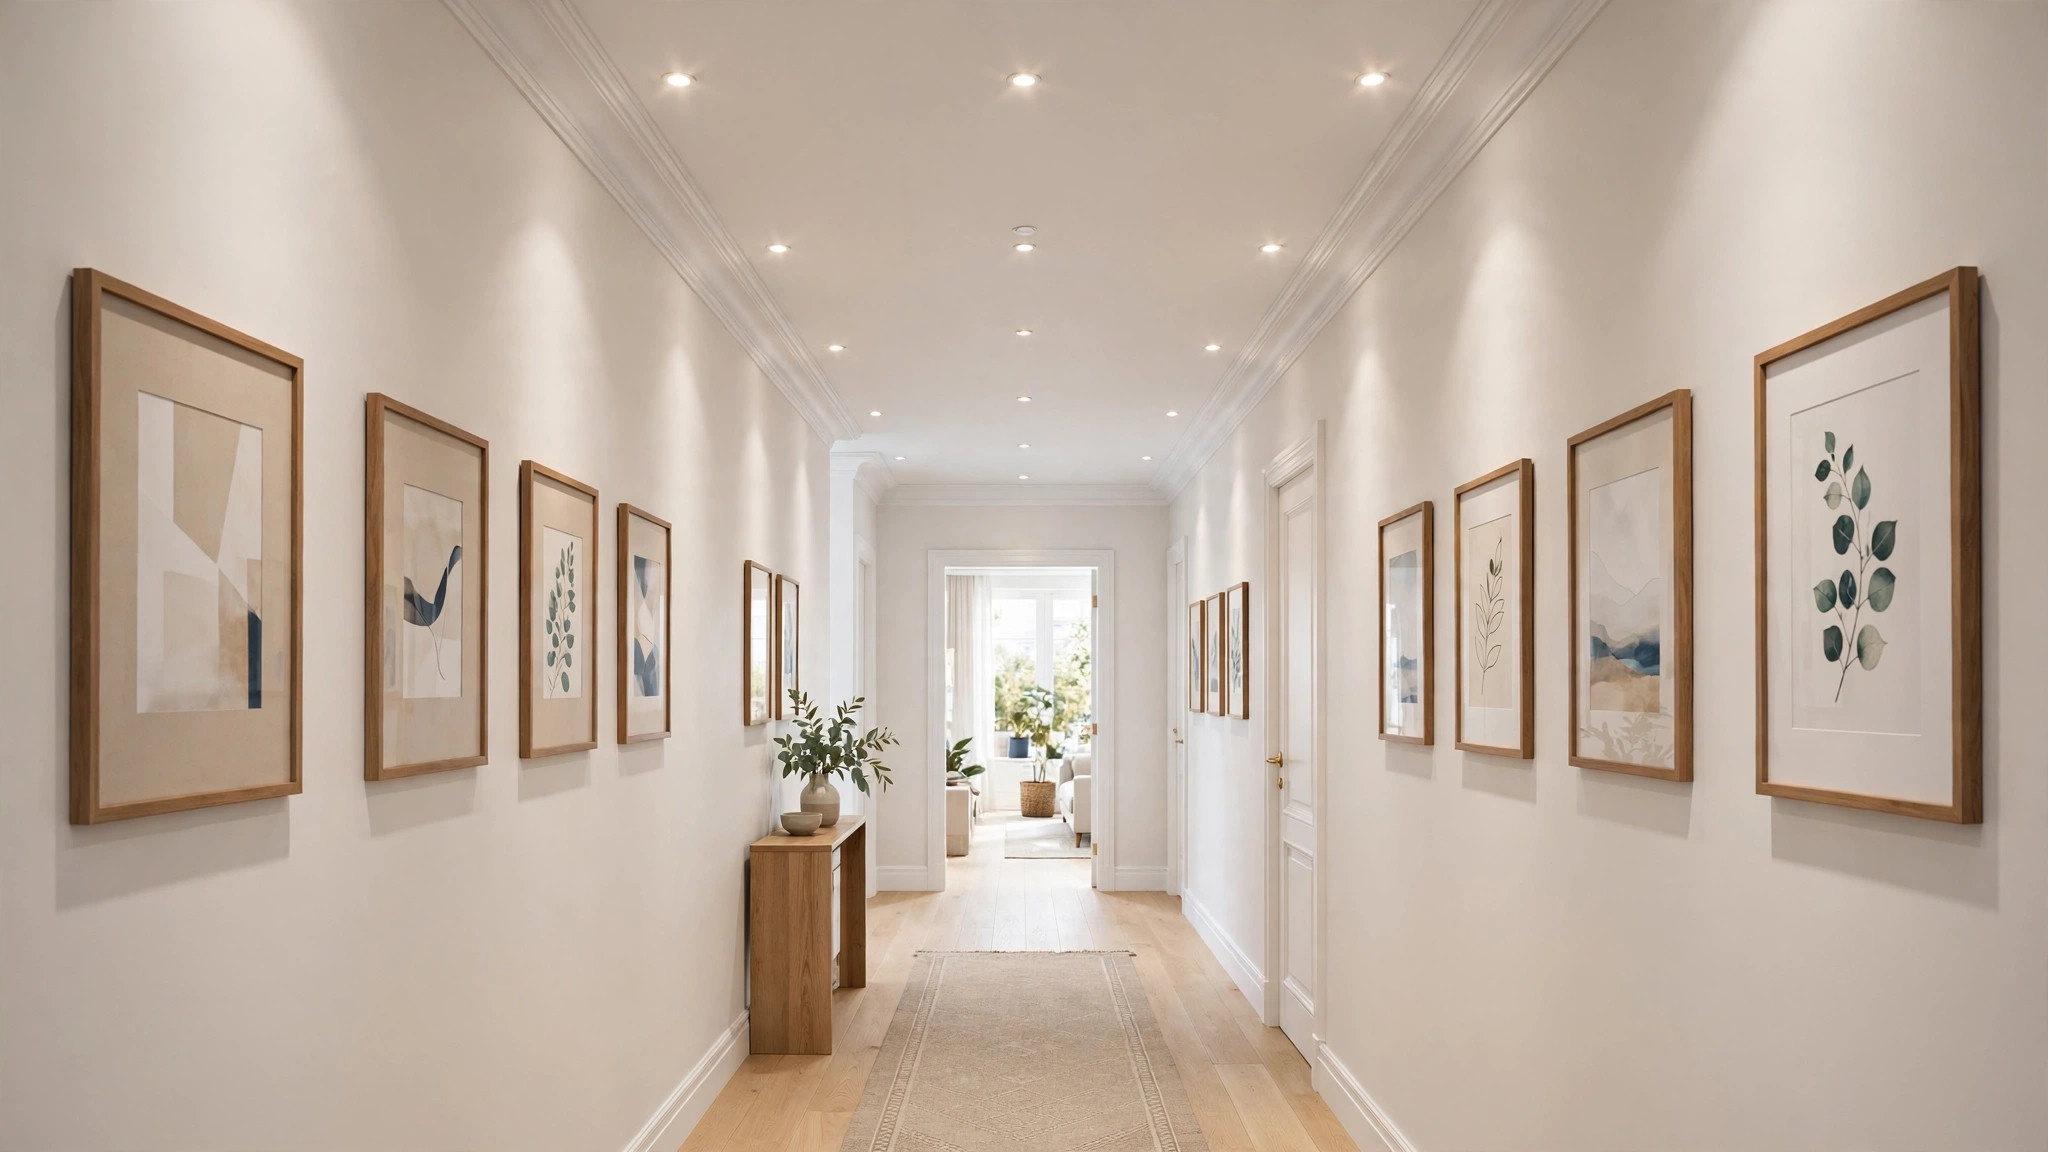
8. Passage border with spots
Long passages need light, not design. A slim POP border with small recessed spots every 3 to 4 feet turns a dark corridor into a gallery. Keep it the same colour as the adjoining rooms’ ceilings so the passage reads as part of the home, not a separate tunnel.
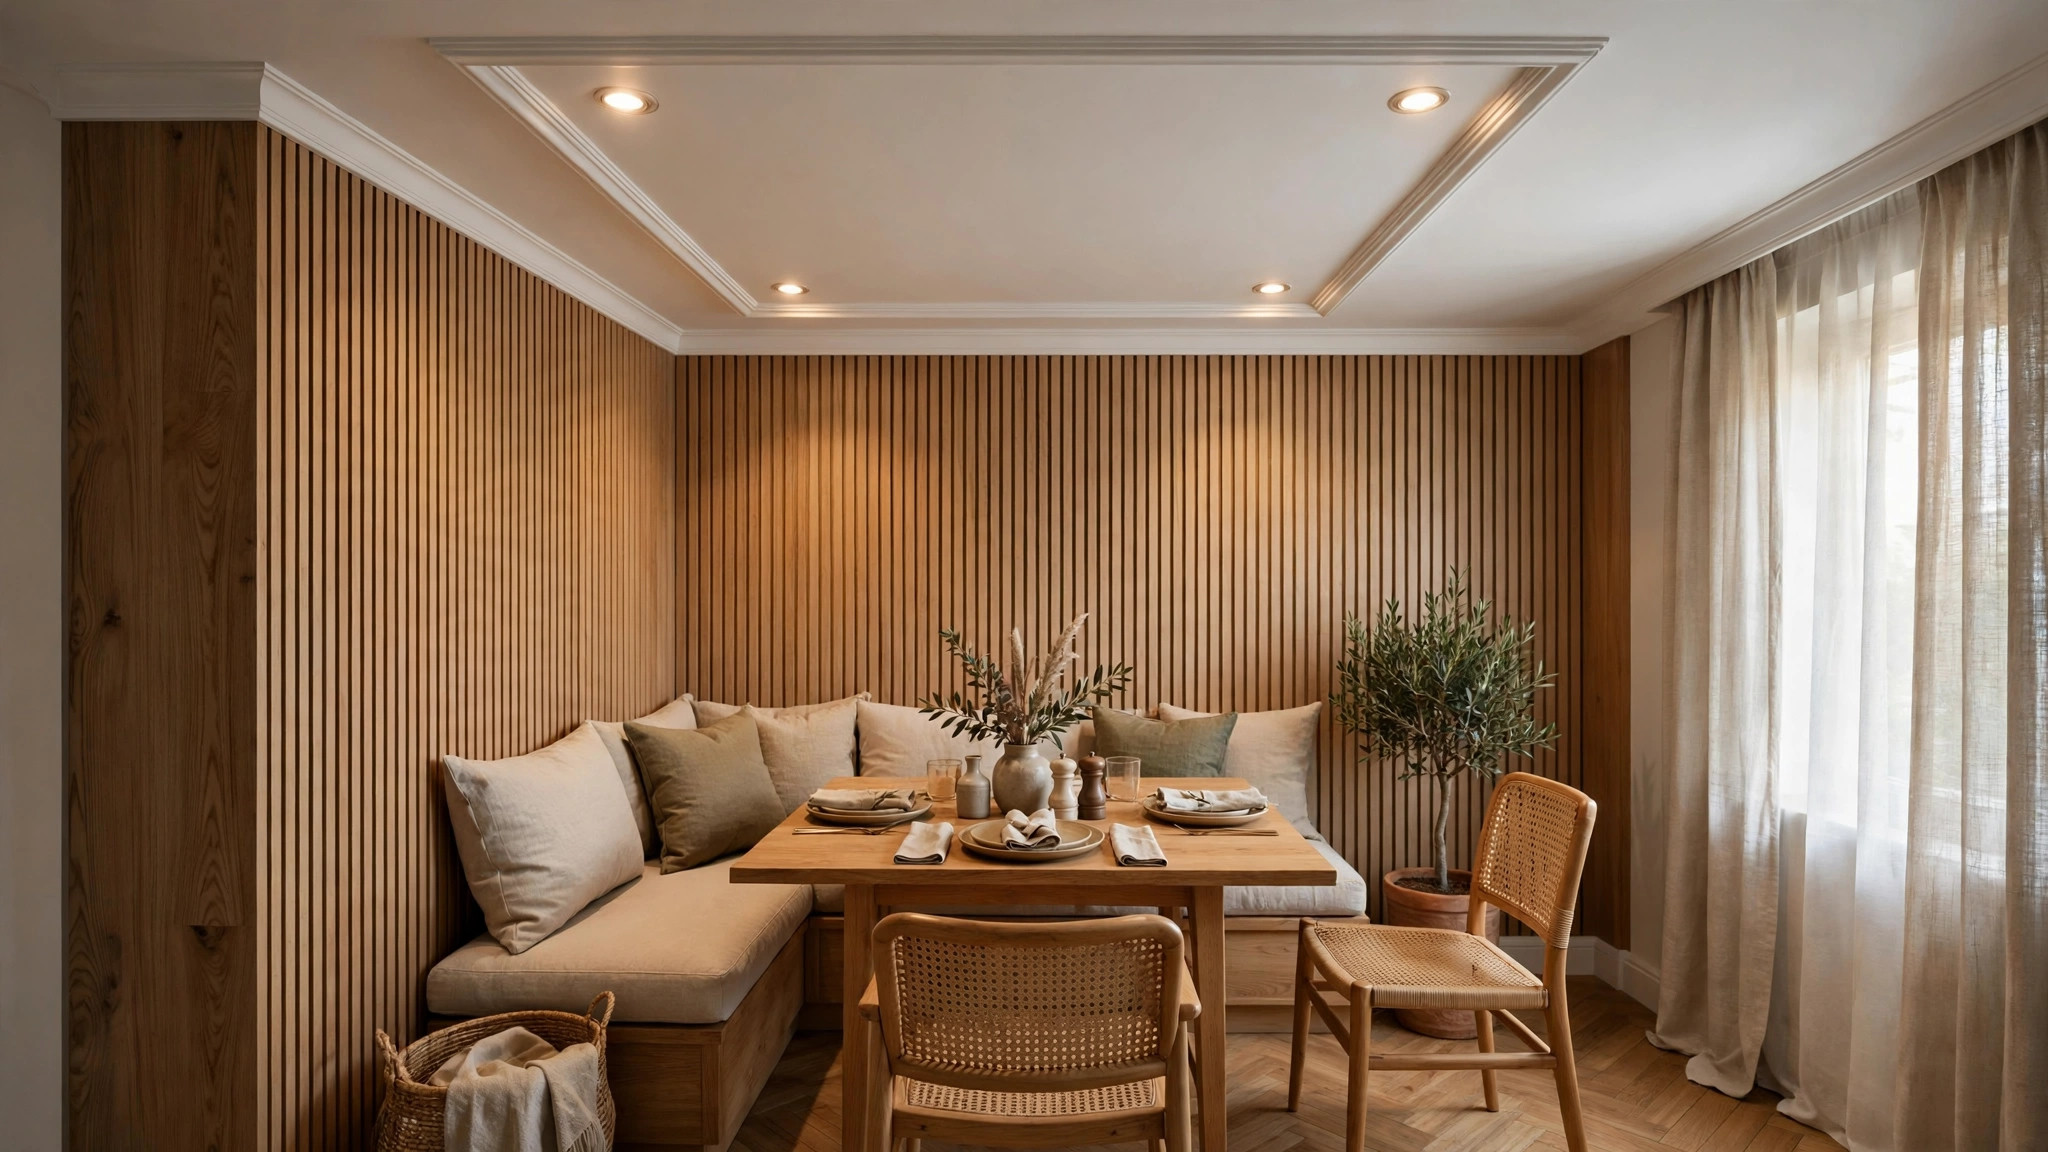
9. Square border for a small dining corner
A small 4-seater dining squeezed into a corner needs only a simple square border with four recessed spots at the corners. No pendant, no tray — four lights and a clean frame are enough. Keep the design the same colour as the living ceiling so the space looks bigger.
Simple POP with a little character
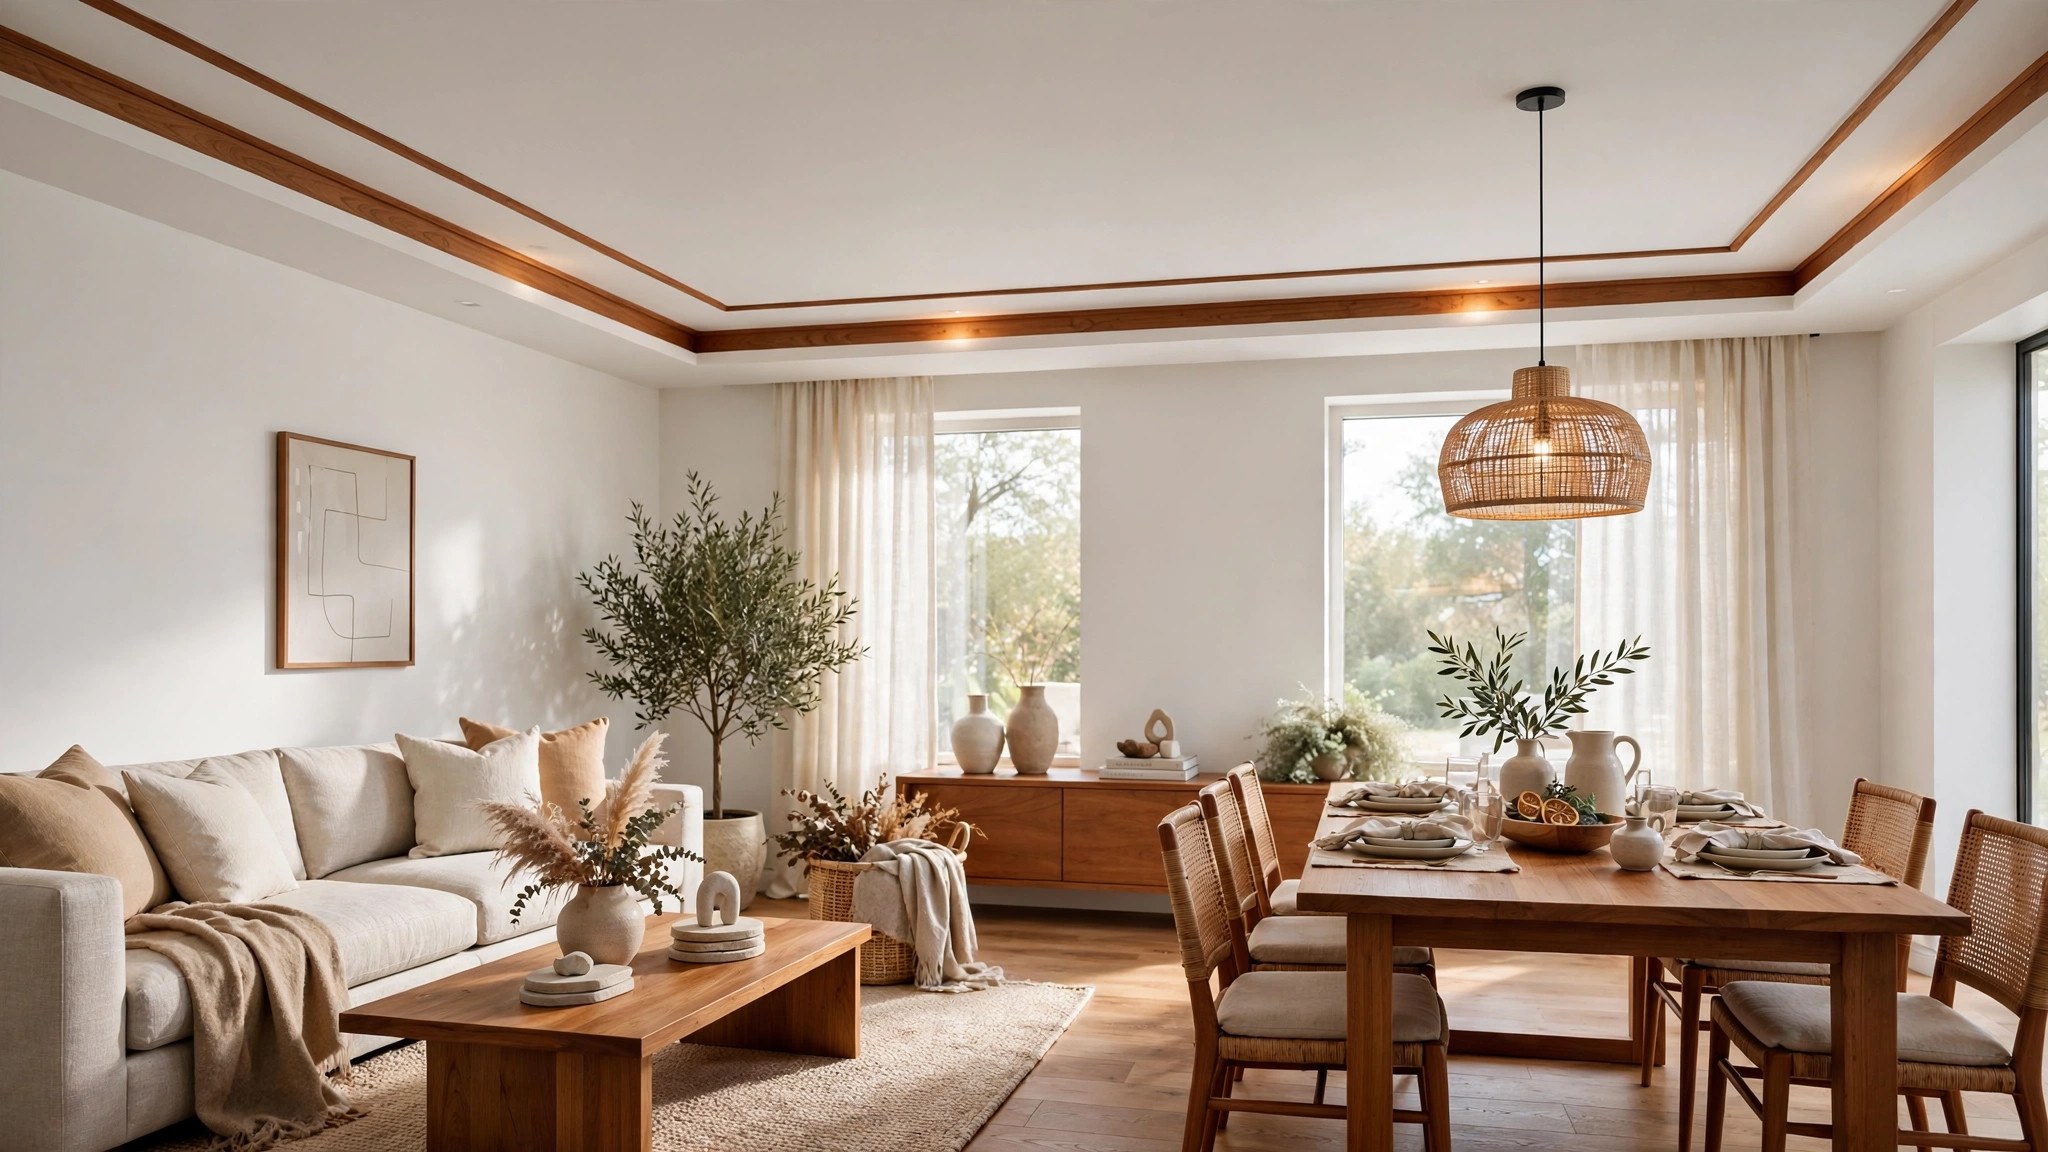
10. Teak strip accent
Thin teak wood strips set into a white POP border add warmth without making the ceiling heavy — a popular pairing where the dining table or furniture is wooden. Keep the strips slim and few; they are an accent, not a second material taking over.
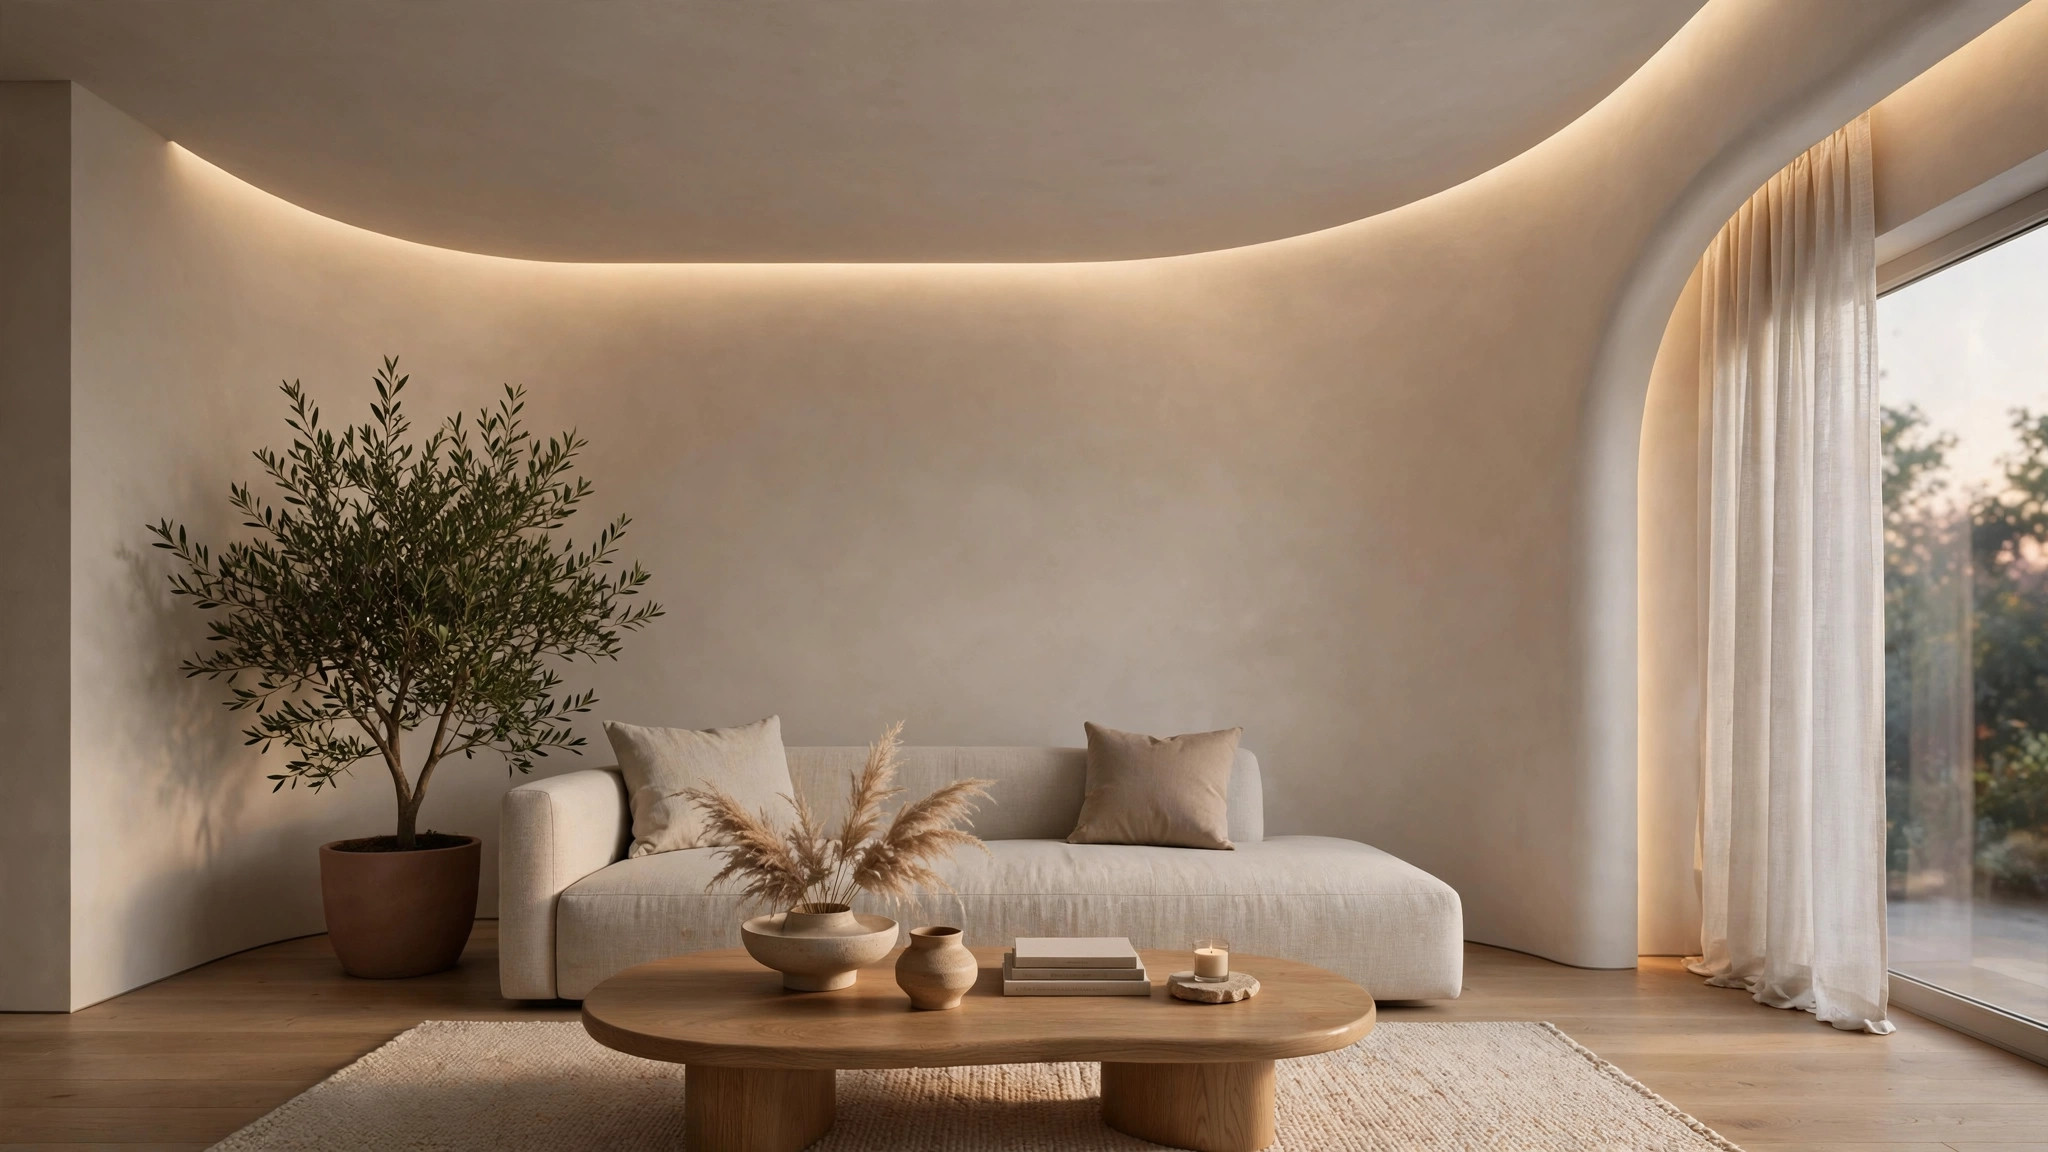
11. Soft curved cove
One gently curved cove — where the wall meets the ceiling in a soft arc instead of a sharp angle — gives a simple POP ceiling a finished, crafted feel. Curves cost a little more labour than straight lines, so use one curve as the room’s single gesture, not curves everywhere.
12. Floating island with halo light
A central POP island that appears to float, ringed by a soft LED halo. It suits medium halls with a single pendant or fan at the centre, and the halo distributes light evenly without harsh spots. Keep the island’s shape simple — round, square, or soft rectangle — so the glow stays the feature.
Where simple POP works — and where it doesn’t
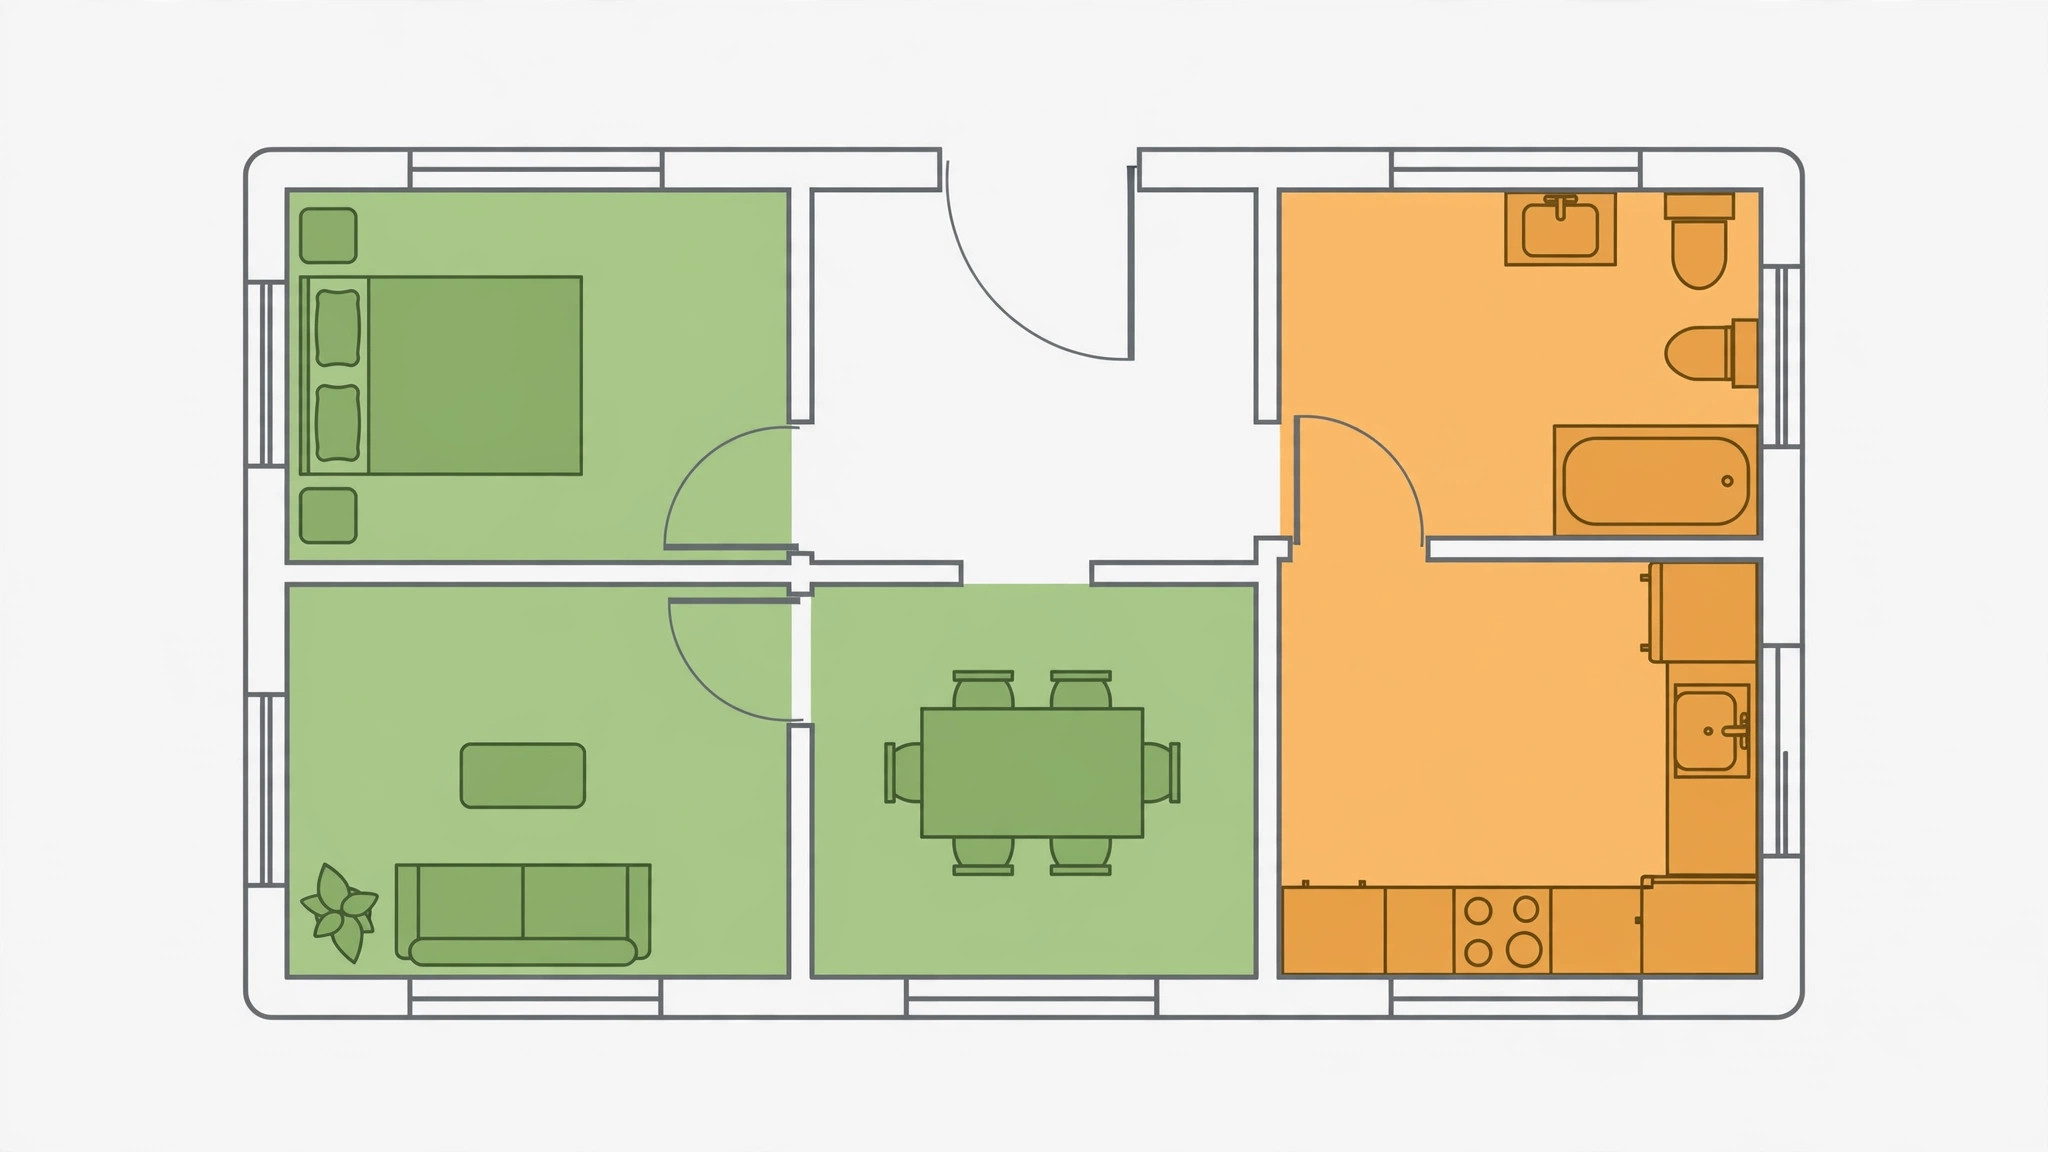
POP suits living rooms, bedrooms, dining areas, and passages: dry rooms where its smooth finish and easy shaping shine. It needs caution in kitchens and bathrooms — steam and moisture can crack and stain POP within a few monsoons unless it gets a moisture-resistant primer, moisture-resistant paint, strong ventilation, and skilled installation. For wet areas, PVC or moisture-resistant gypsum are the more honest choices; see our cost guide for the material comparison. POP also needs repainting every few years — budget for it, and the “simple” design keeps each repaint cheap.
Planning a simple POP ceiling
Keep one level
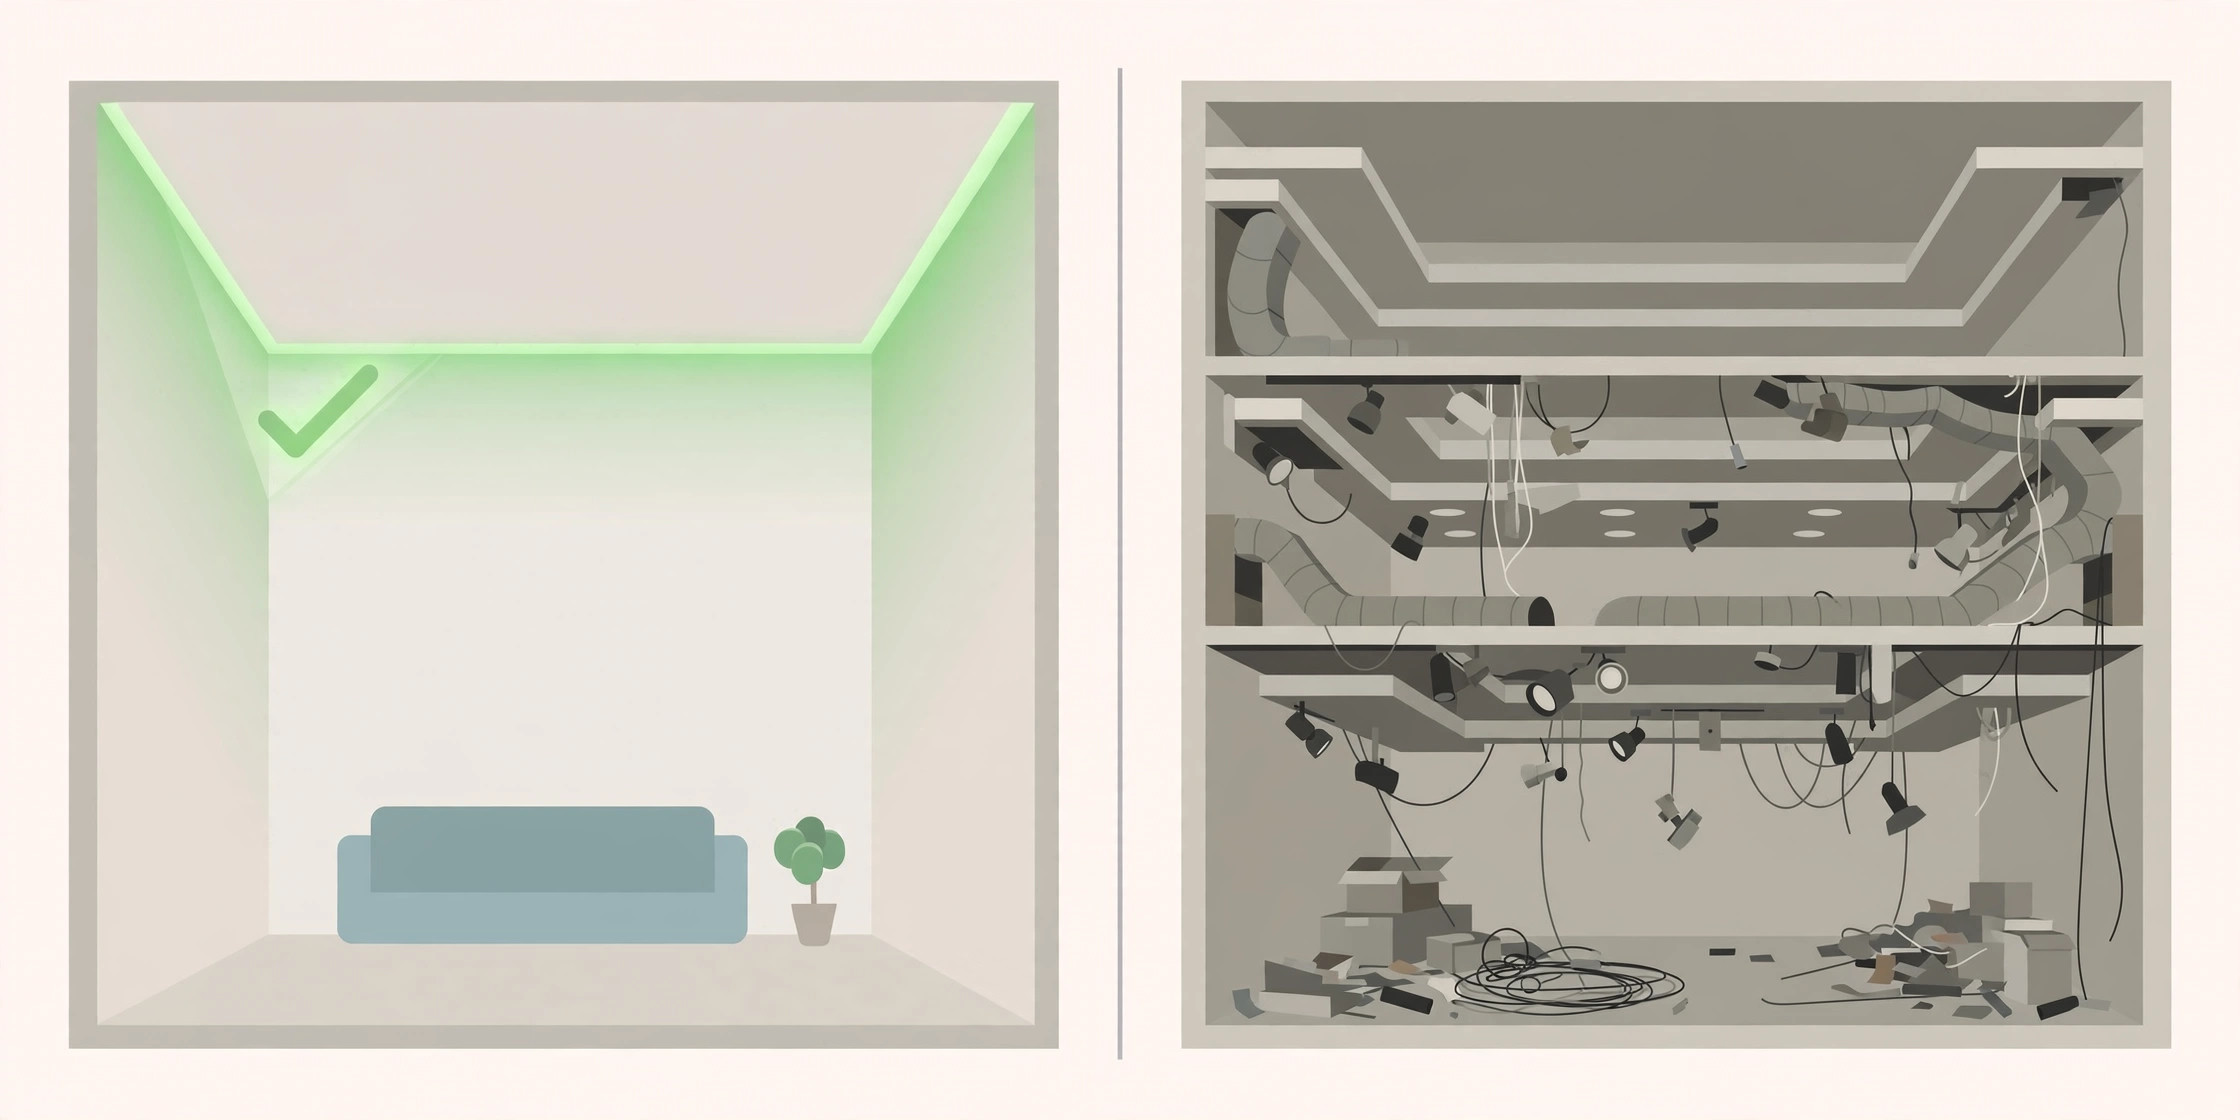
The single biggest cost and complexity saver: one level. A one-level POP ceiling with good lighting looks better than a three-level one with bad lighting, and it finishes in fewer days. Add a second level only when the room is large enough to need the depth — most Indian bedrooms and living rooms do not.
Match the room’s height
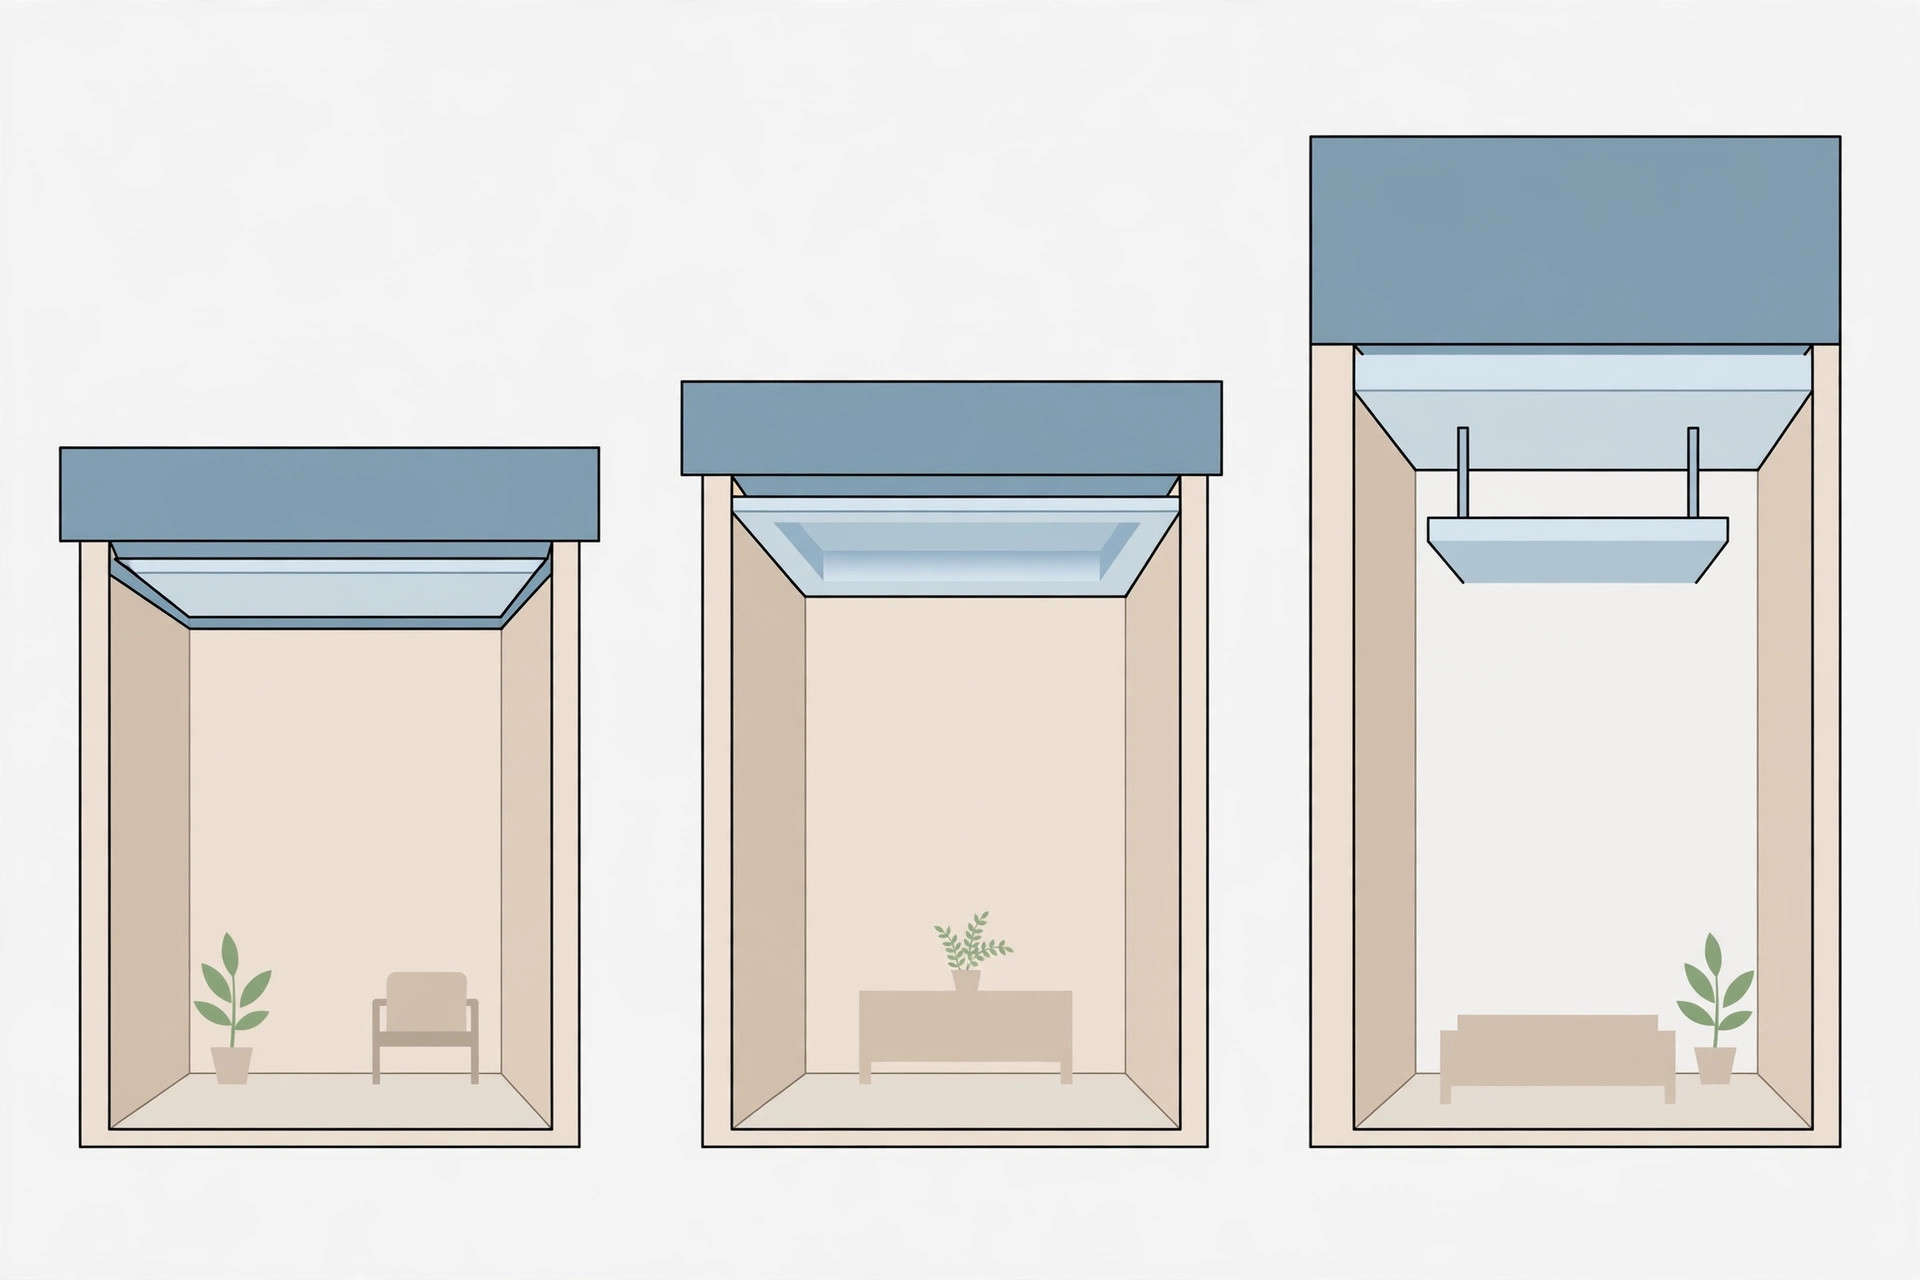
Under 9 feet: edge-only border. Nine to 10 feet: slim border or one shallow tray. Above 10 feet: you have room for the floating island or layered steps. Designing deeper than the slab allows is the commonest way a simple POP ceiling stops being simple — it starts pressing down on the room.
Light it in layers
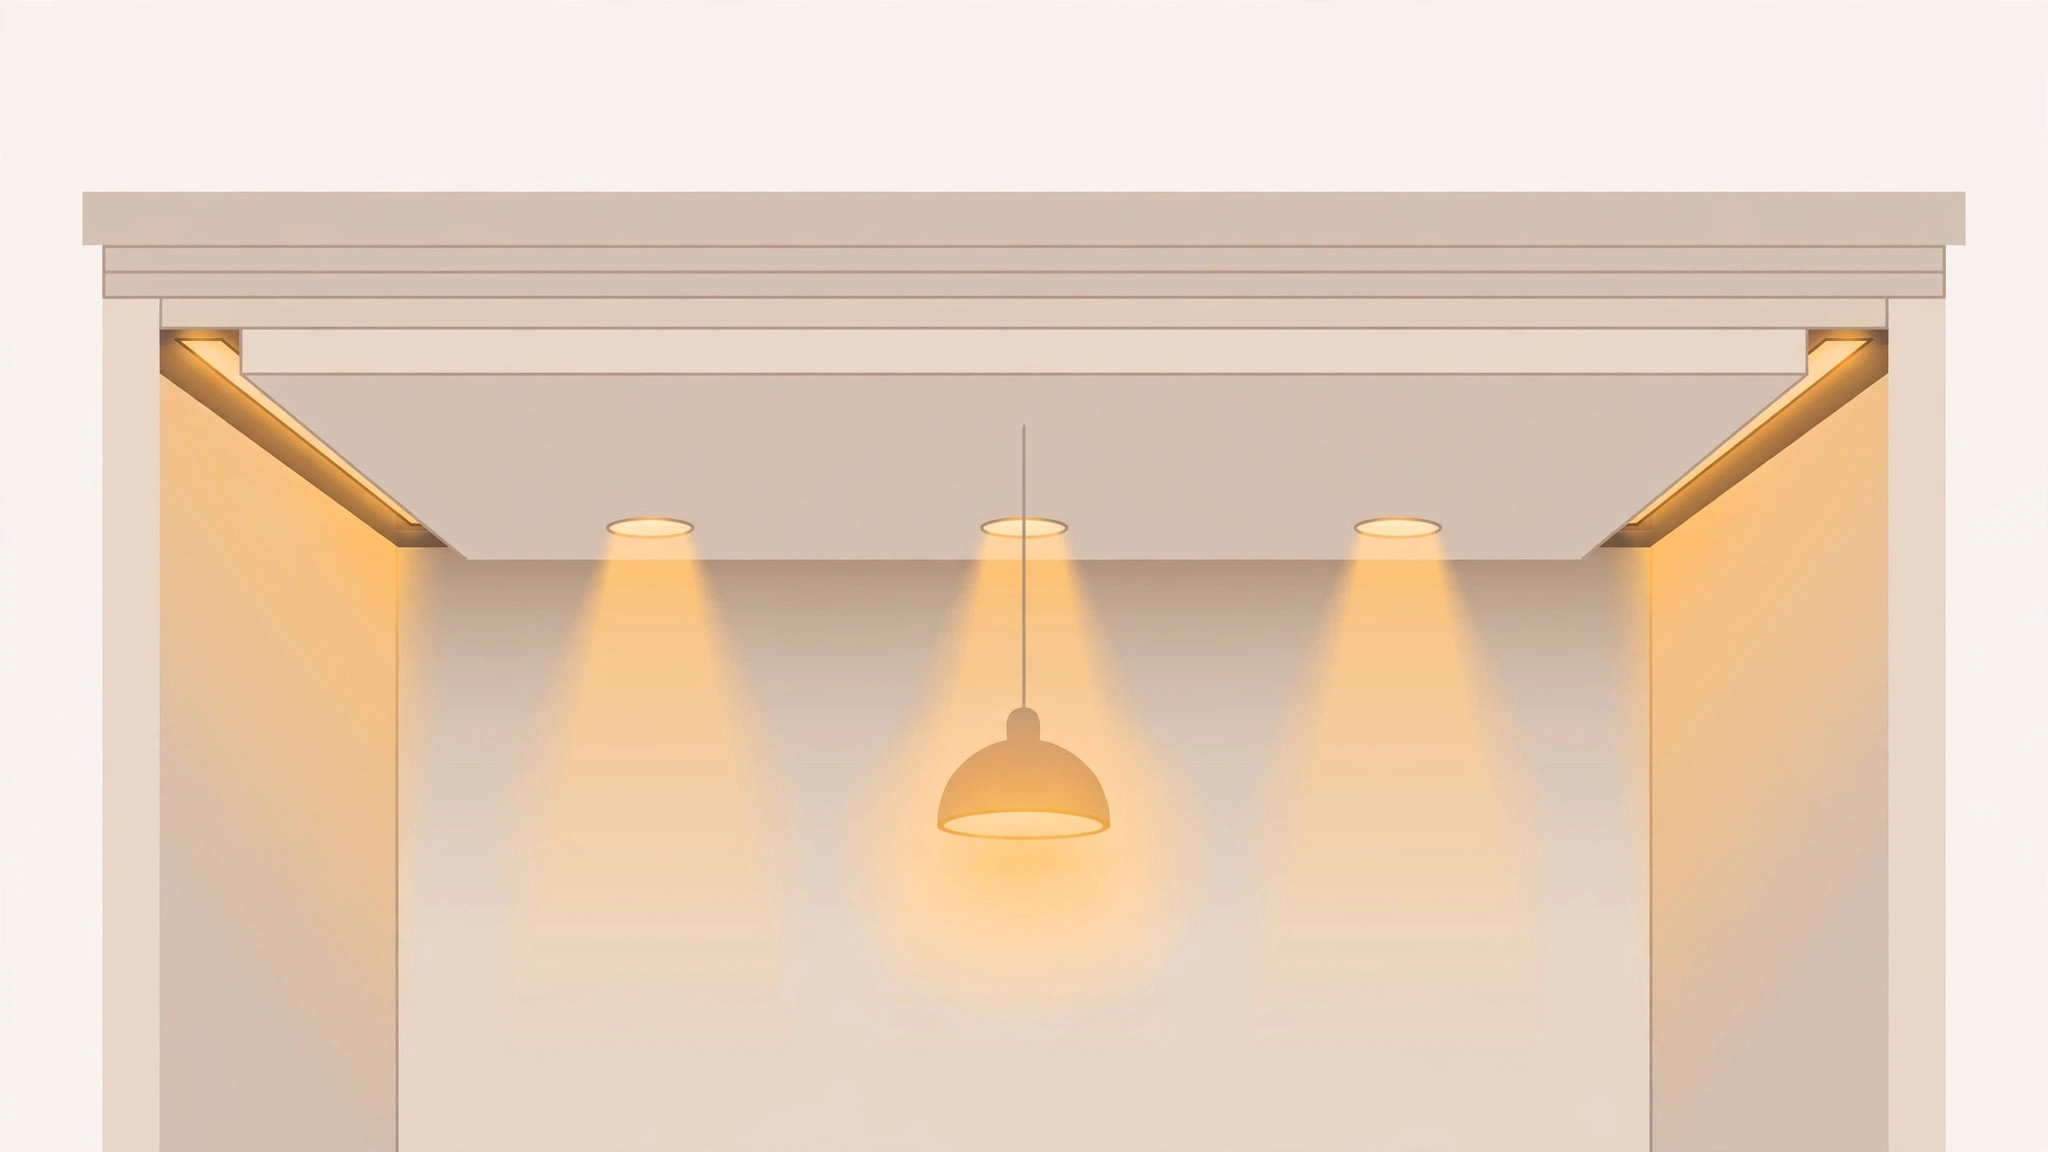
Simple POP comes alive with layered light: cove strips for ambience, recessed spots for tasks, one pendant or chandelier as the room’s jewel. A 2026 hall-design guide (retrieved 2026-10-14) prices a floating-island POP hall ceiling around ₹110–130 per sq ft — and most of what you are paying for beyond the plaster is the lighting. Plan the full lighting layout before the POP work starts; cutting channels into finished POP is messy and visible.
What simple POP costs
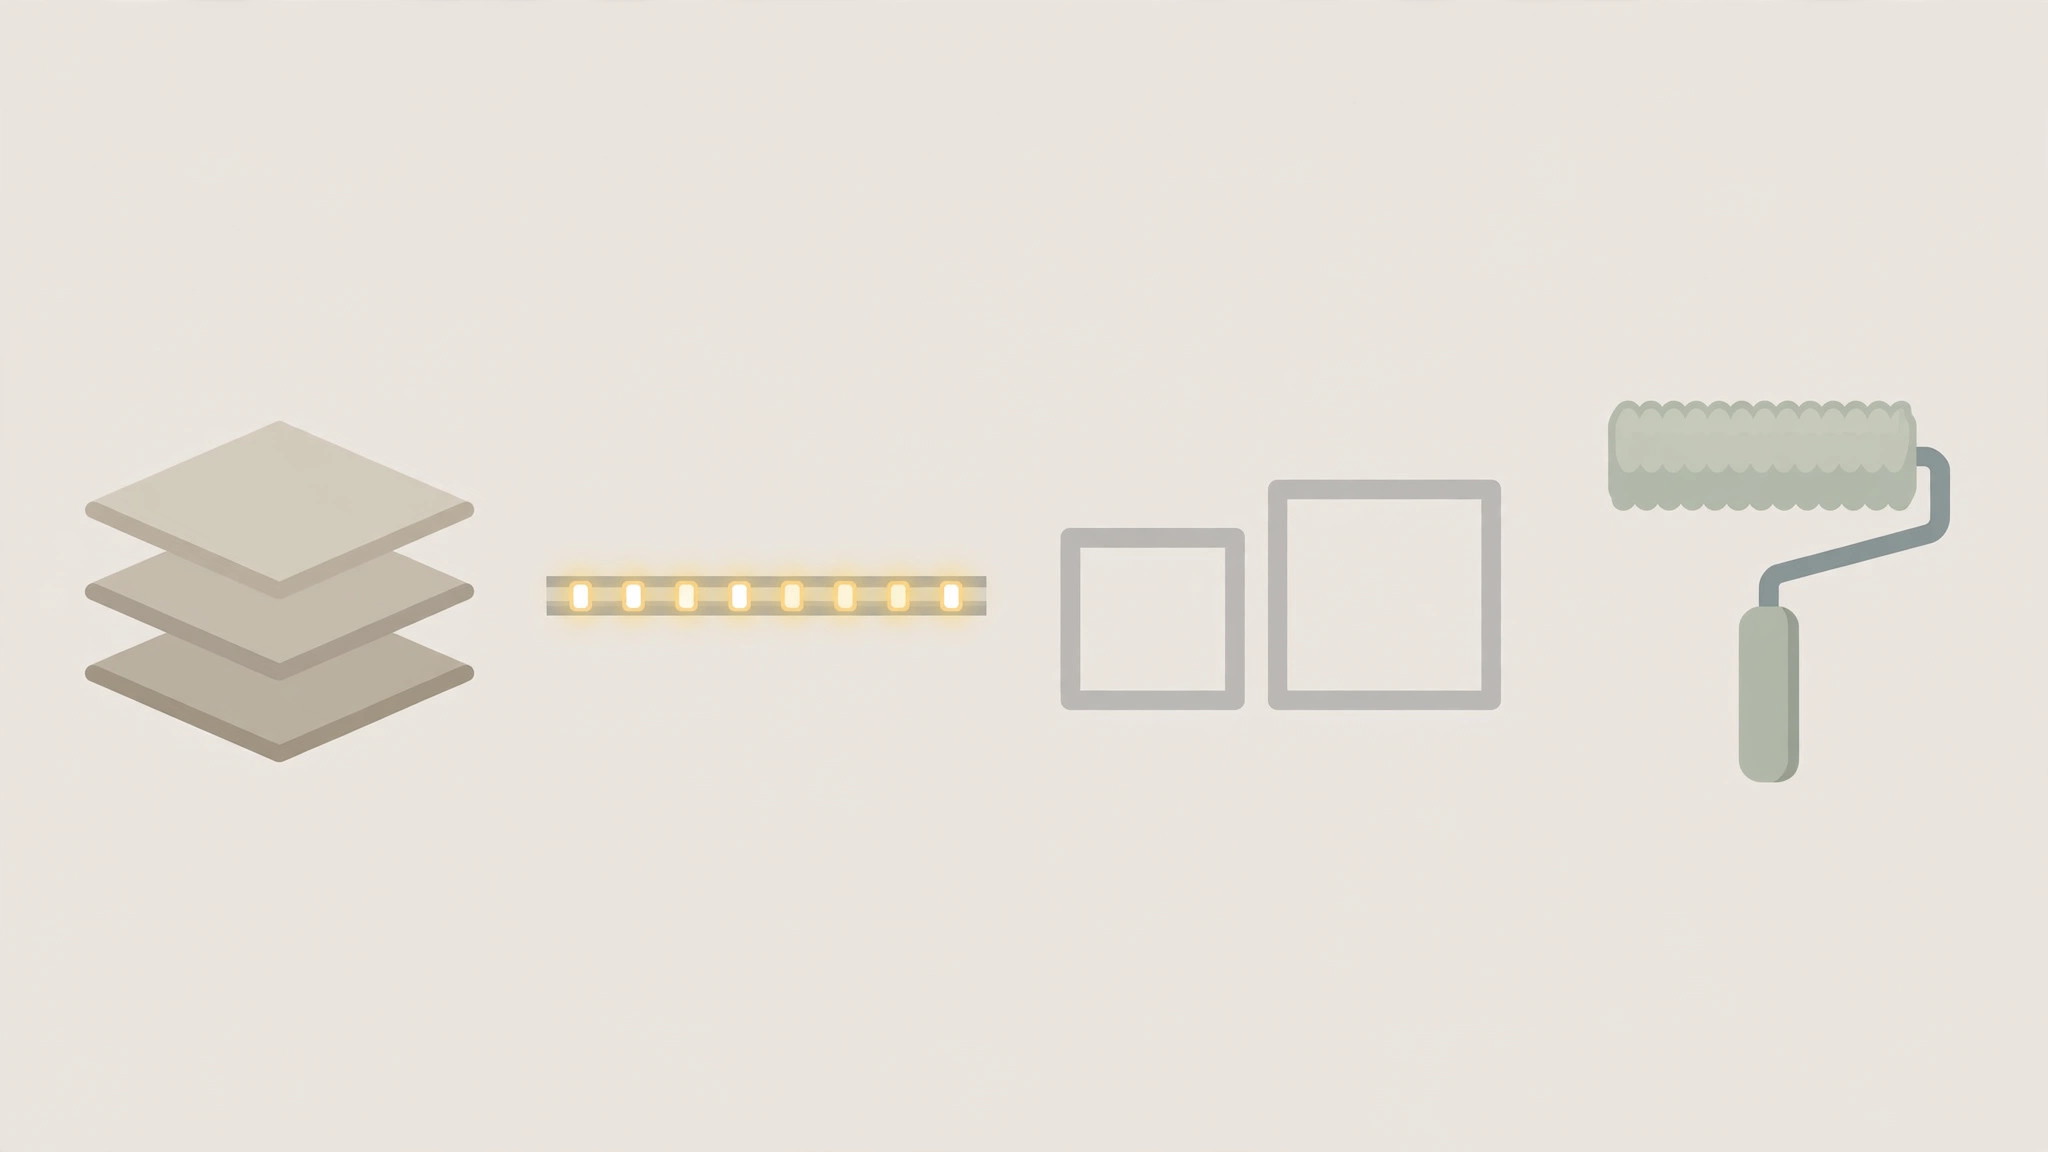
Simple POP stays cheap because it is mostly labour for one level plus paint. The honest cost levers: number of levels (one is cheapest), lighting (cove LED per running foot, spots per fixture), room size (small rooms cost more per sq ft), and finish quality (smooth putty and paint decide how the ceiling looks in year three). Get the quote itemised — POP material, labour, putty, primer, paint, and lighting provisions separately — and compare installed totals, not per-sq-ft headlines.
Mistakes that spoil simple POP
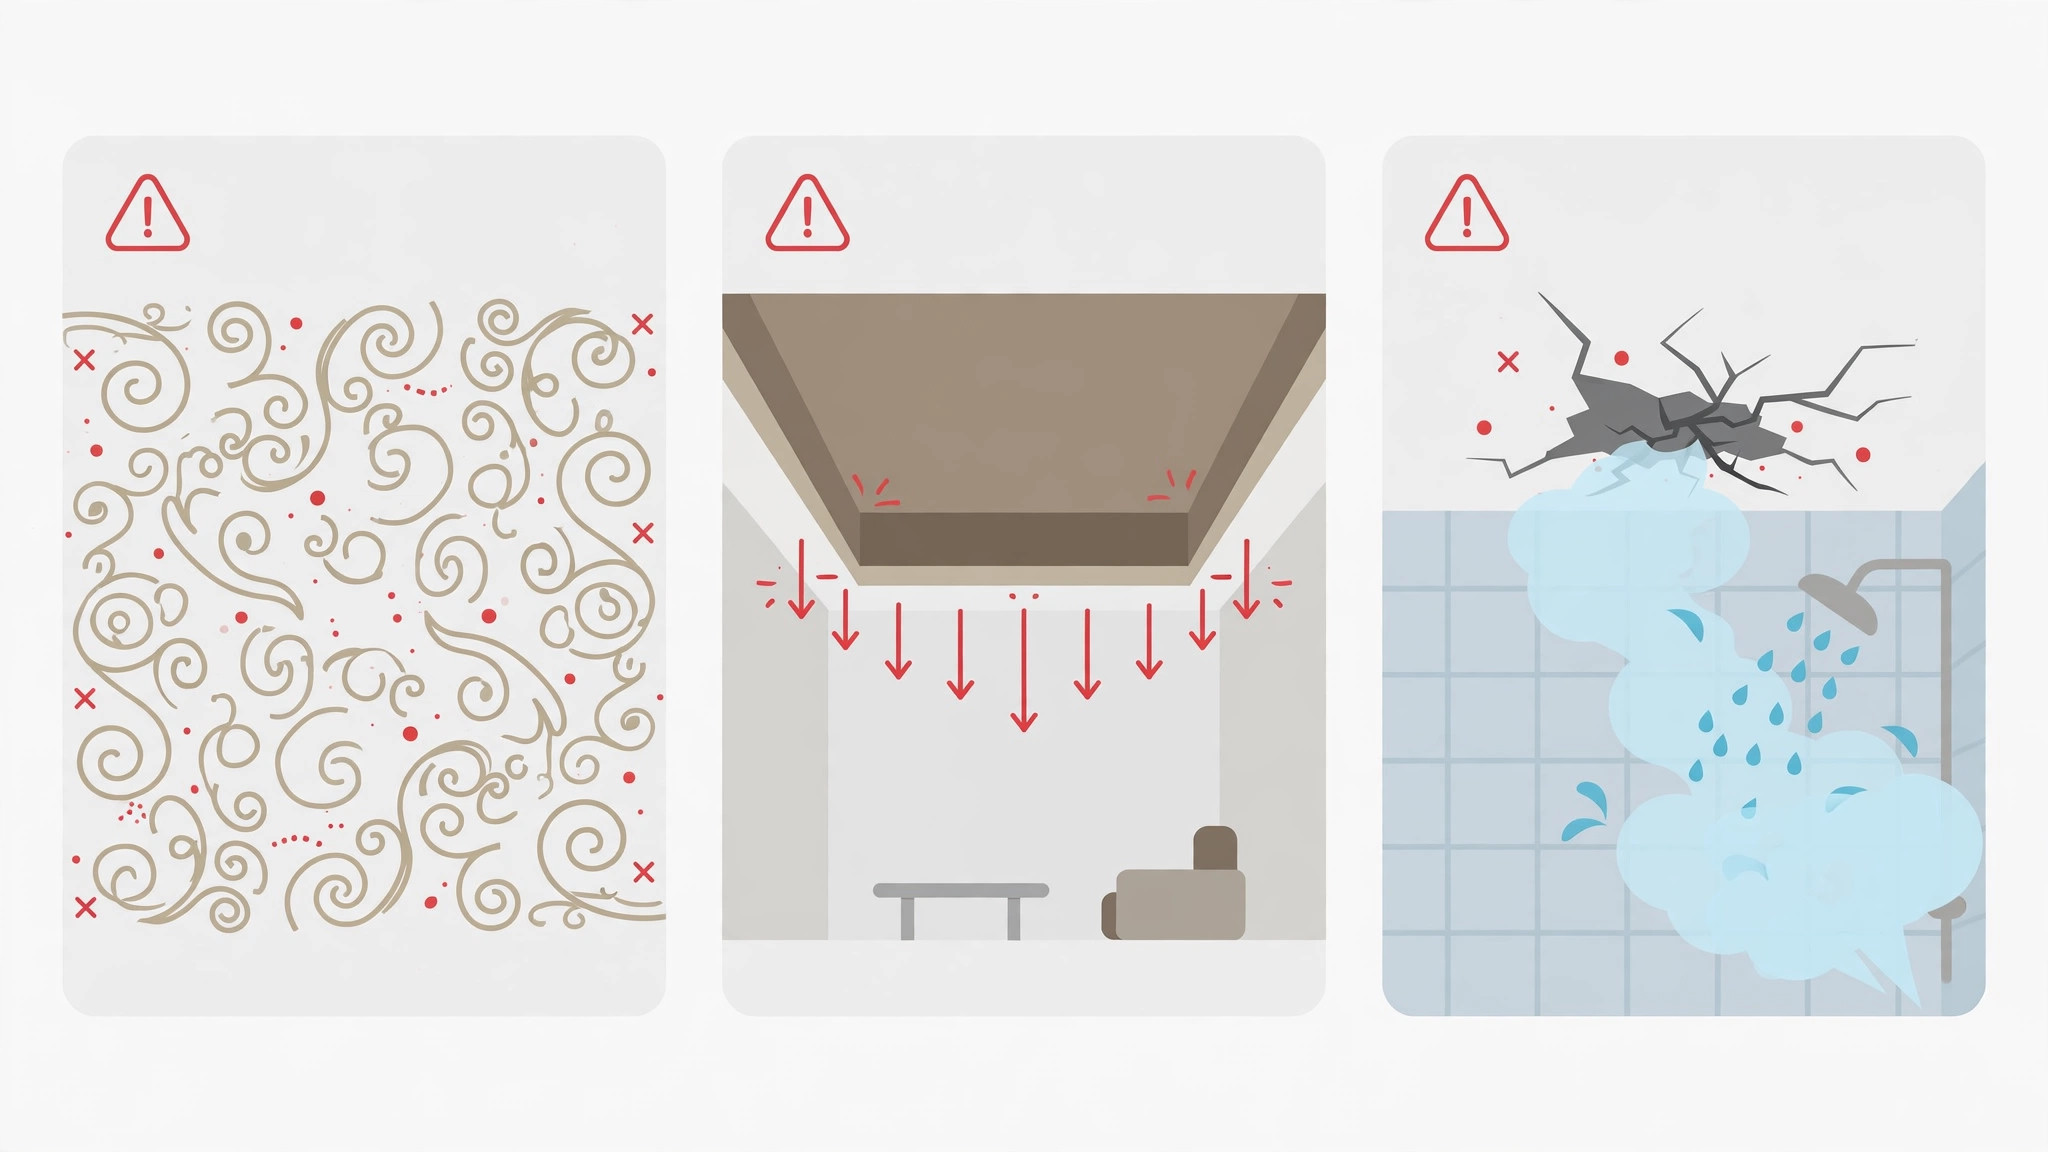
Adding “just one more” curve. Every extra shape is extra labour and another joint to crack. Pick one gesture per room.
Deep trays in low rooms. A deep tray under a 9-foot slab makes the room feel short and dark — use the edge-only border instead.
Cool white 6000K lights. Harsh and hotel-like; warm white 3000K with a dimmer suits homes.
POP in a steamy bathroom with no primer. It will crack and peel — use moisture-resistant materials there instead.
Skipping the repaint budget. POP needs fresh paint every few years; a simple design keeps each repaint cheap, a busy one makes it expensive.
Maintenance and upkeep
POP asks for gentle care: dust with a dry cloth, wipe cove channels every few months so the LED glow stays bright, and touch up hairline cracks early before they spread. Repaint every 4 to 5 years with good-quality paint — cheap paint on POP chalks and yellows. After each monsoon, look for damp patches, especially on top-floor ceilings; fix the waterproofing cause before repainting, or the new paint fails the same way.

Frequently asked questions
What is the simplest POP false ceiling design?
A slim border with a hidden LED strip and a plain centre: one level, clean lines, works in almost any room. For low ceilings, the edge-only border — just a slim frame at the wall junction — is simpler still.
Is simple POP cheaper than designer POP?
Yes, meaningfully. Simple POP is one level with minimal shapes, so it uses fewer labour hours and less material. Every extra level, curve, or cove adds labour — and labour is the main cost in a POP ceiling.
Can I use POP in the kitchen?
Only with conditions: moisture-resistant primer and paint, strong ventilation, and keeping decorative POP away from the hob zone. For most kitchens, PVC panels or moisture-resistant gypsum are the lower-maintenance choices.
How long does a simple POP ceiling last?
In dry rooms with decent workmanship, a decade or more between major work — with repainting every 4 to 5 years and prompt crack touch-ups. Simple designs last longer in practice because they have fewer joints to fail.
Quick recap
Simple POP is one level, clean lines, and good lighting: a slim border or shallow tray in the living room, a frame over the bed or a single cove in the bedroom, an island over the dining table, spots in the passage. Design to your slab height, layer the light before the plaster goes up, and keep POP in dry rooms. For the complete design vocabulary, start with our false ceiling design guide. All images in this article are original concept renders created to illustrate the ideas, not photographs of completed projects.