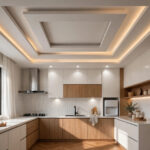
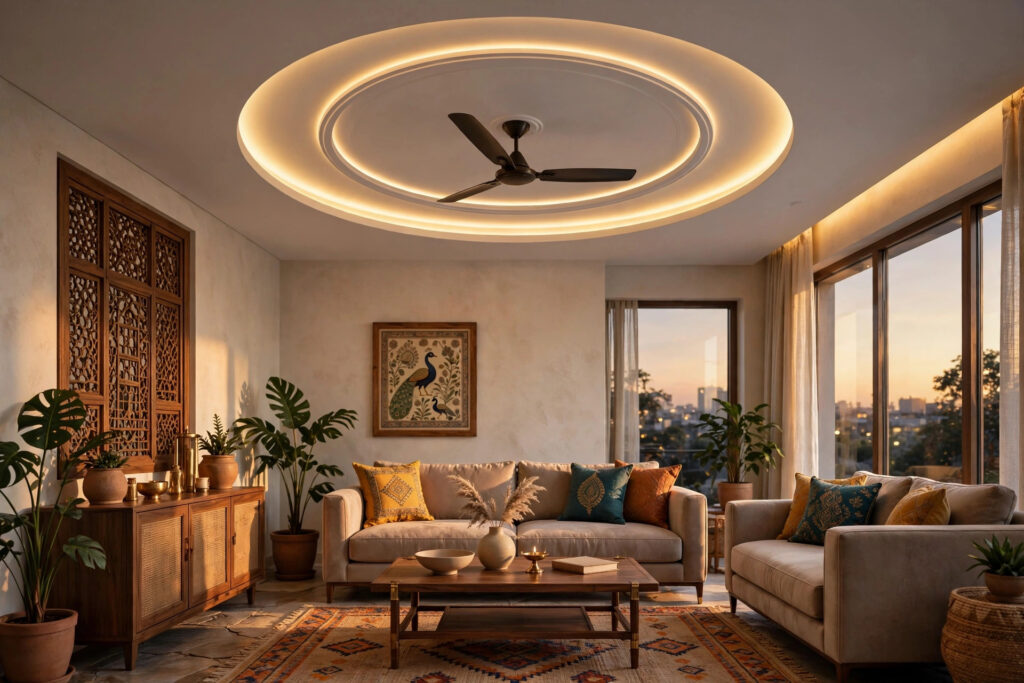

Almost every Indian living room has a ceiling fan — and almost every false ceiling design has to deal with it. The fan is not an obstacle to a good ceiling; it is the centre around which the ceiling gets planned. A living room false ceiling designed with the fan in mind looks intentional: the fan sits in a framed cut-out or at the heart of a symmetrical layout, the lights are placed so blades never slice through them, and the whole composition feels balanced. This guide covers living room false ceiling designs with fans: single and two-fan layouts, the anchor planning that keeps them safe, and the mistakes to avoid.
The safety rule first
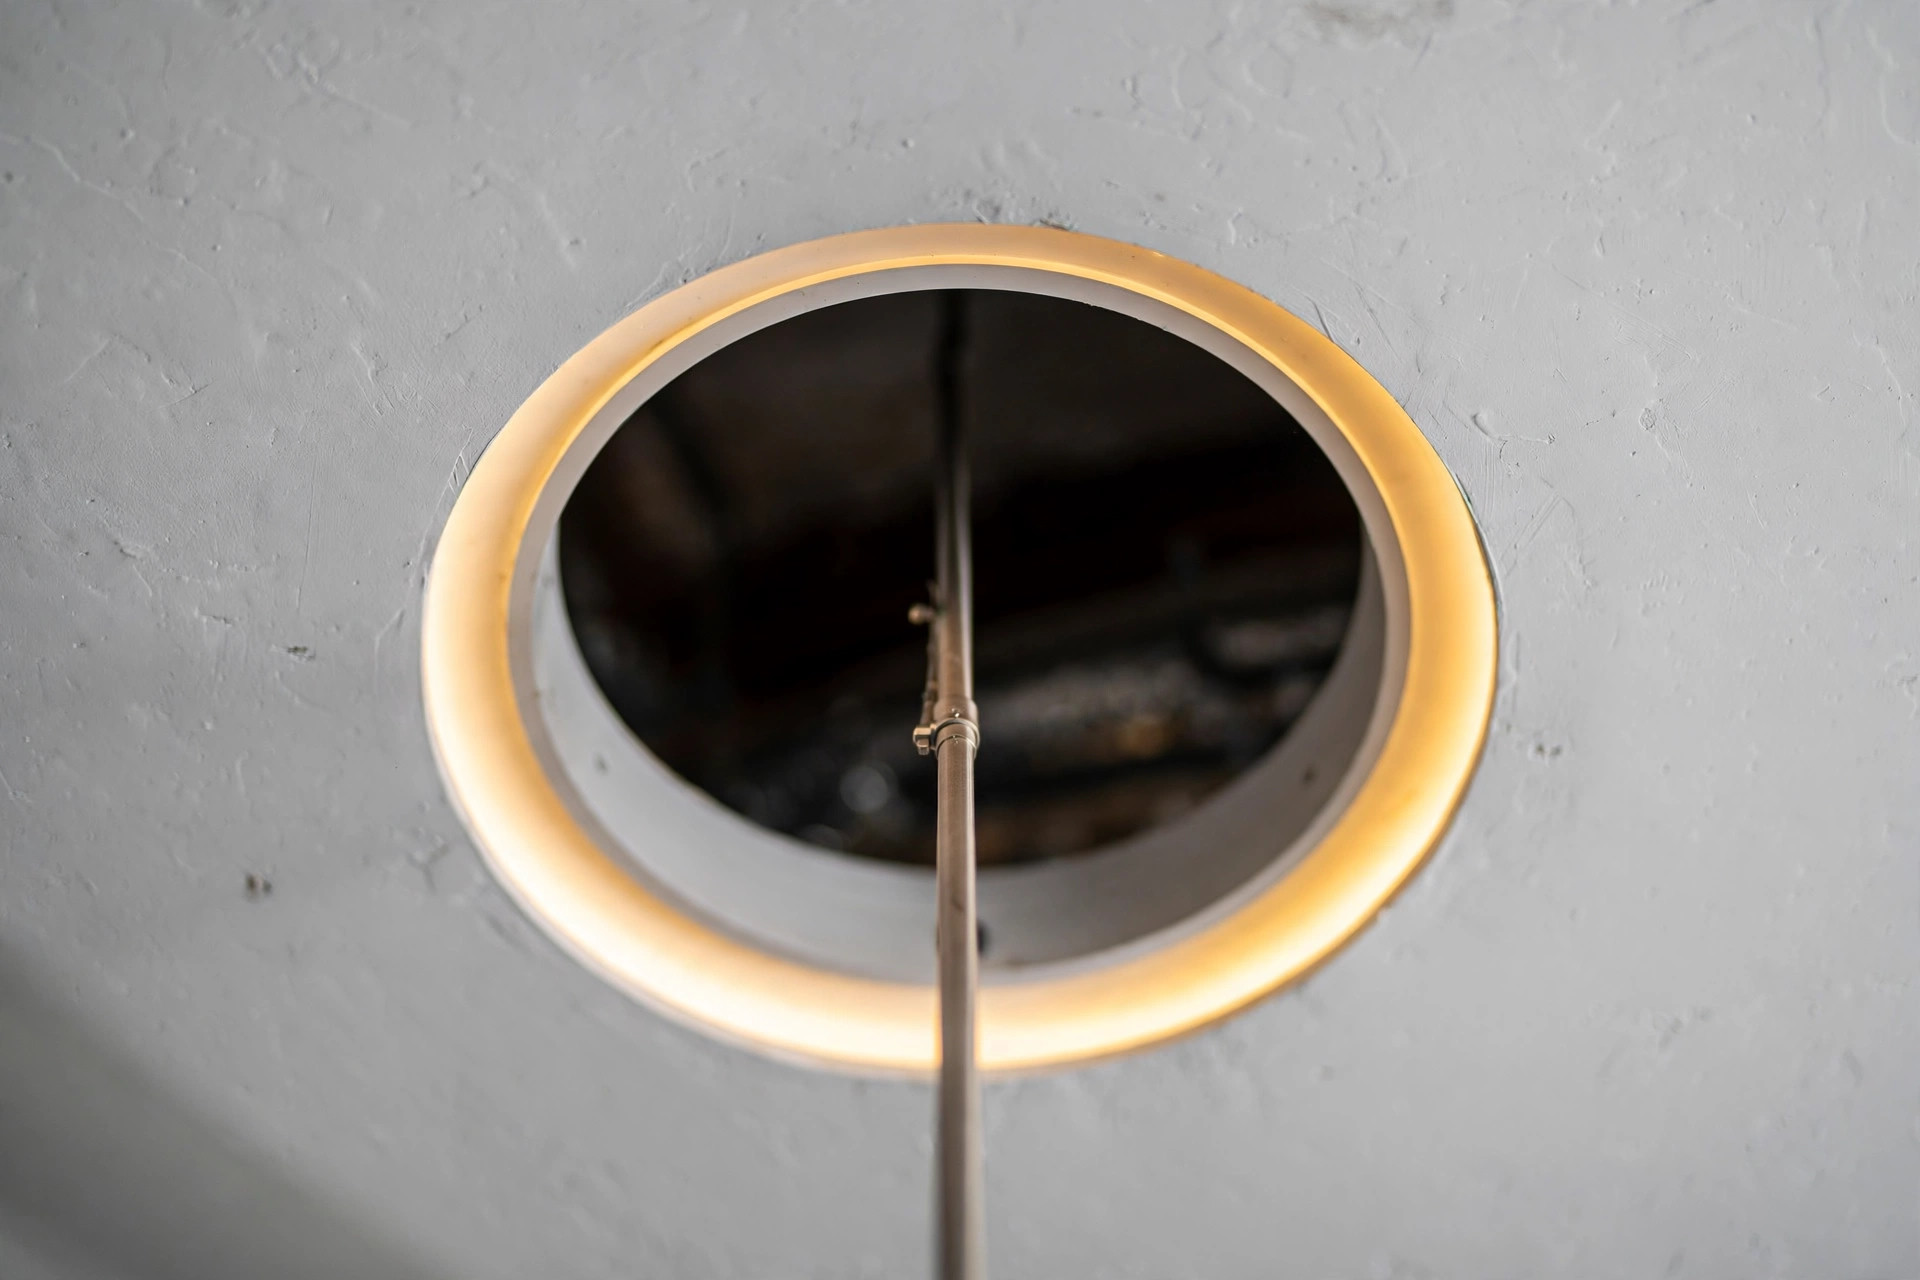
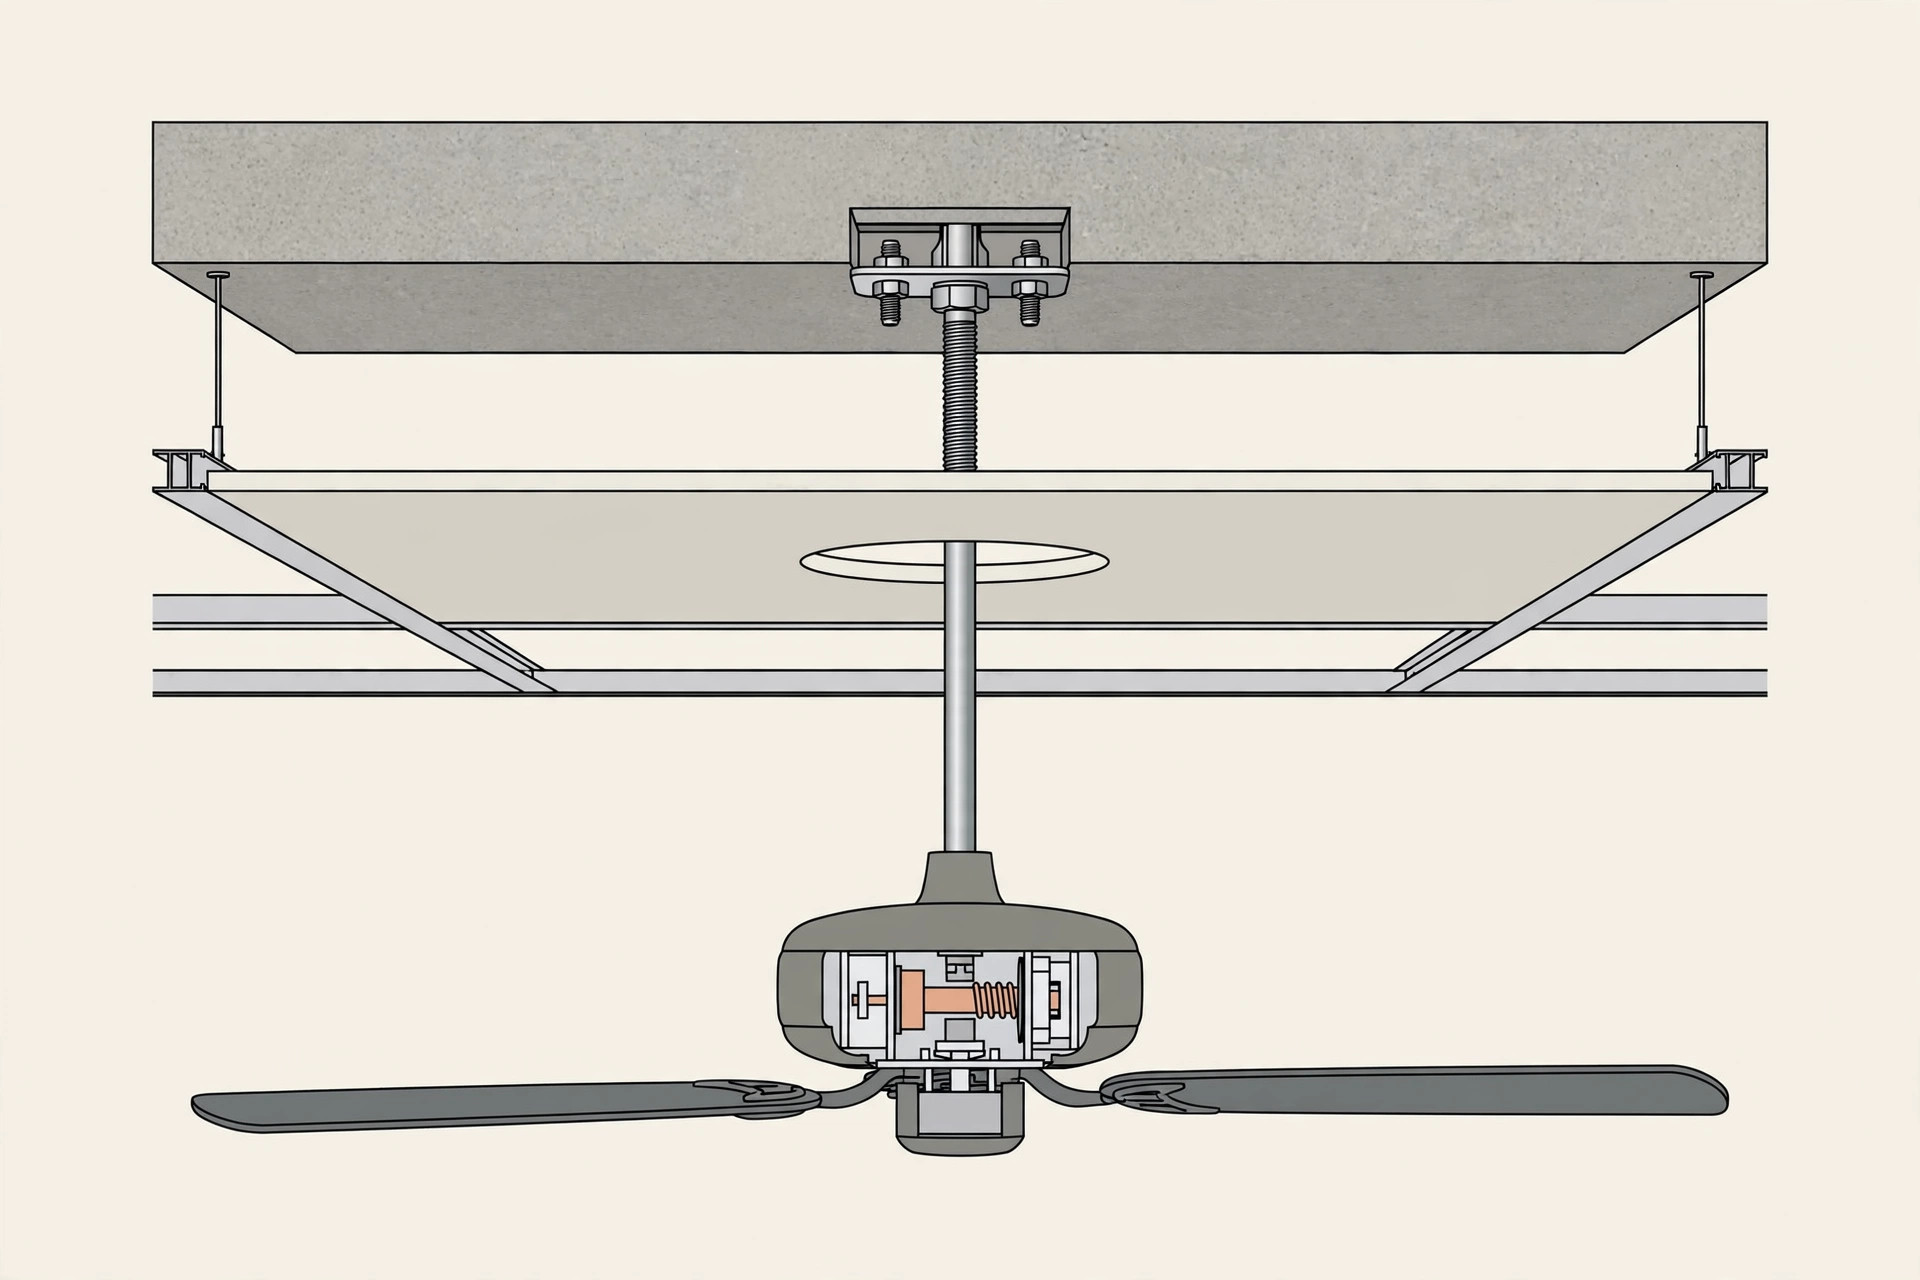
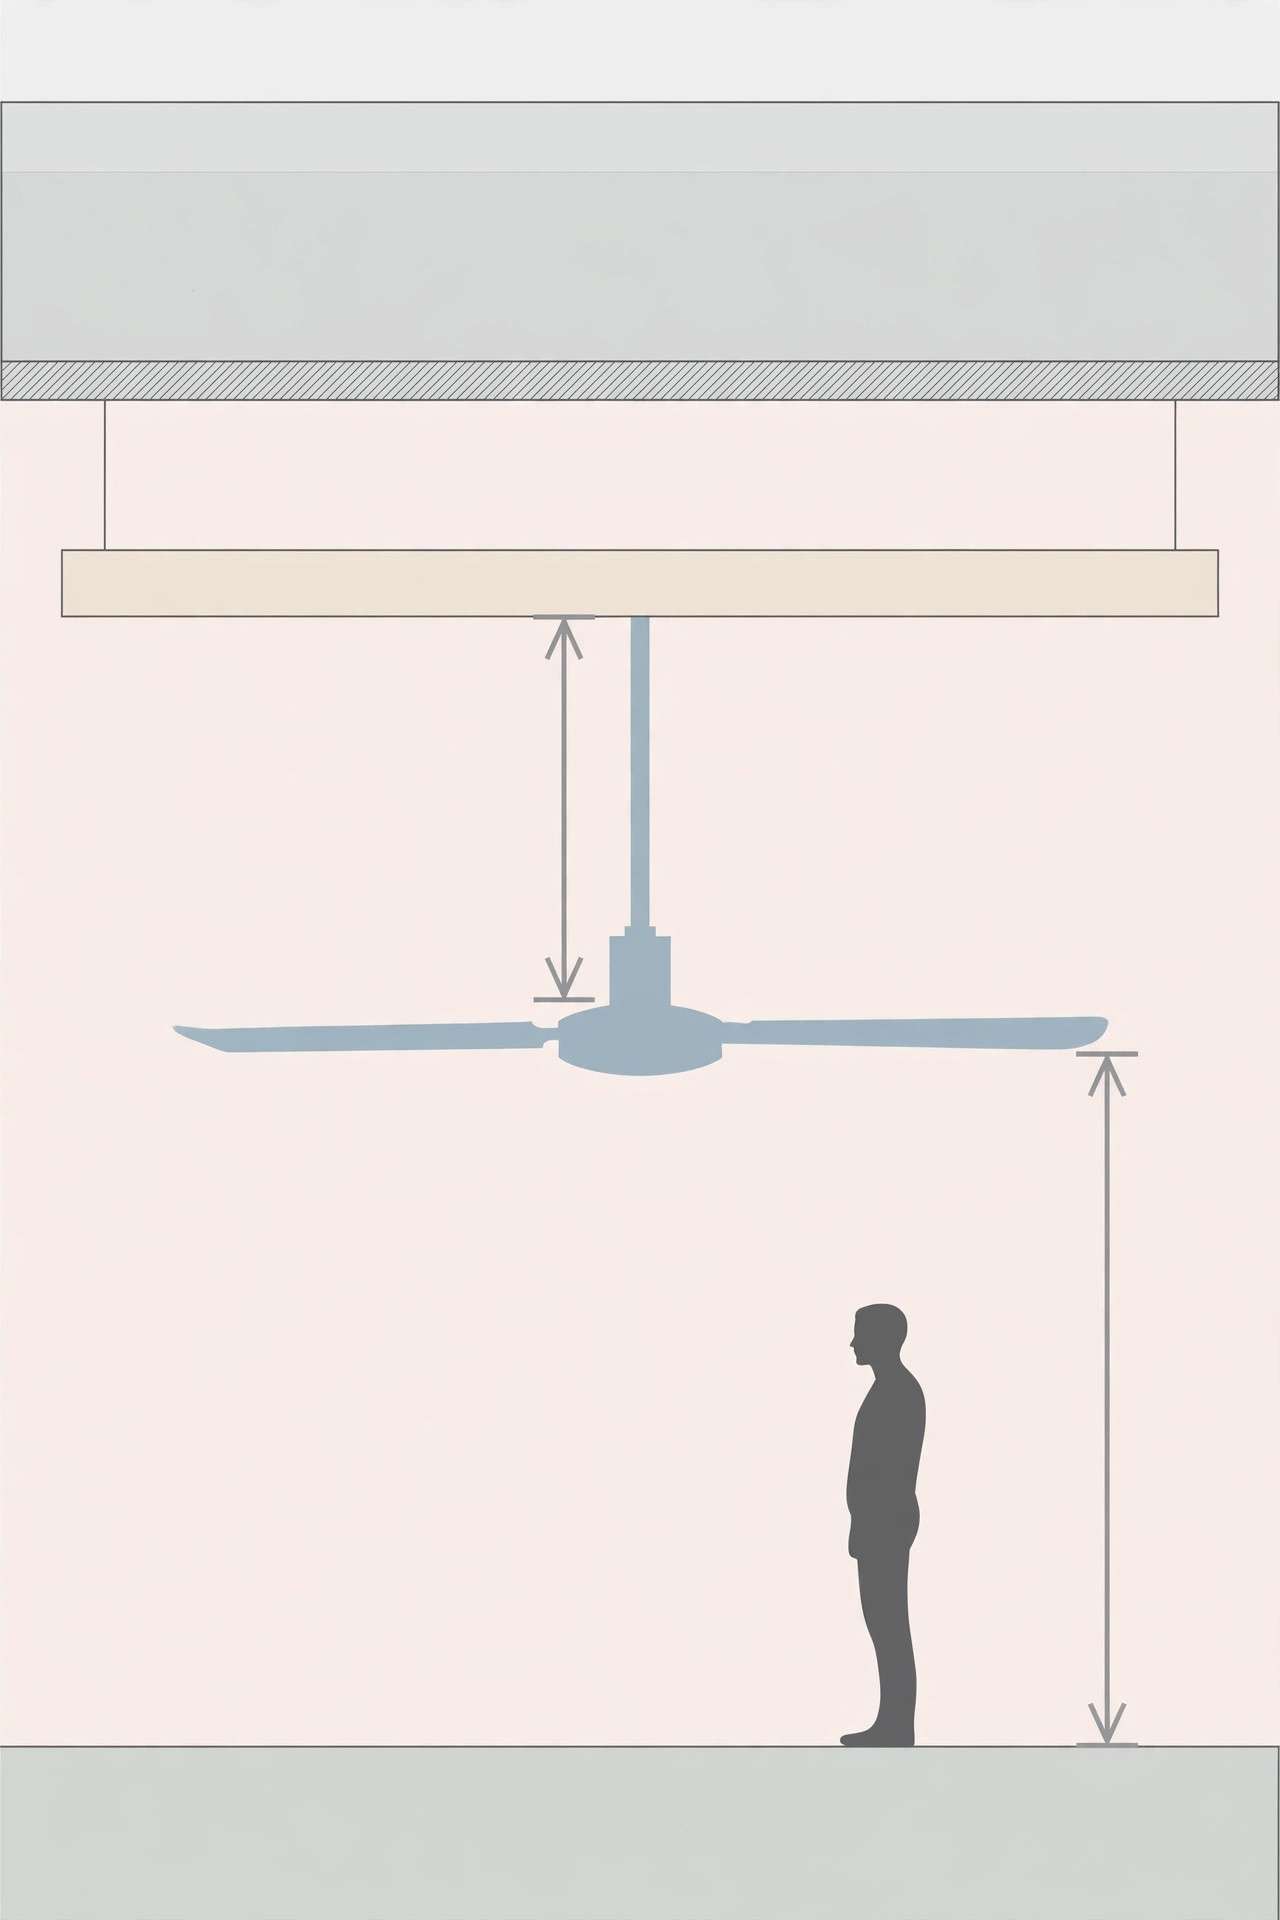
A ceiling fan must hang from the structural slab through the false ceiling — never from the ceiling boards, battens, or frame alone. The anchor point (a fan hook or rod fixed to the slab) has to be planned before the false ceiling is built, with a neat cut-out in the finished ceiling for the downrod to pass through. This is contractor-and-electrician work, not a DIY decision, and it must be settled at the design stage: retrofitting a slab anchor into a finished ceiling means cutting it open. No fan layout in this guide changes that rule.
Single-fan layouts for living rooms
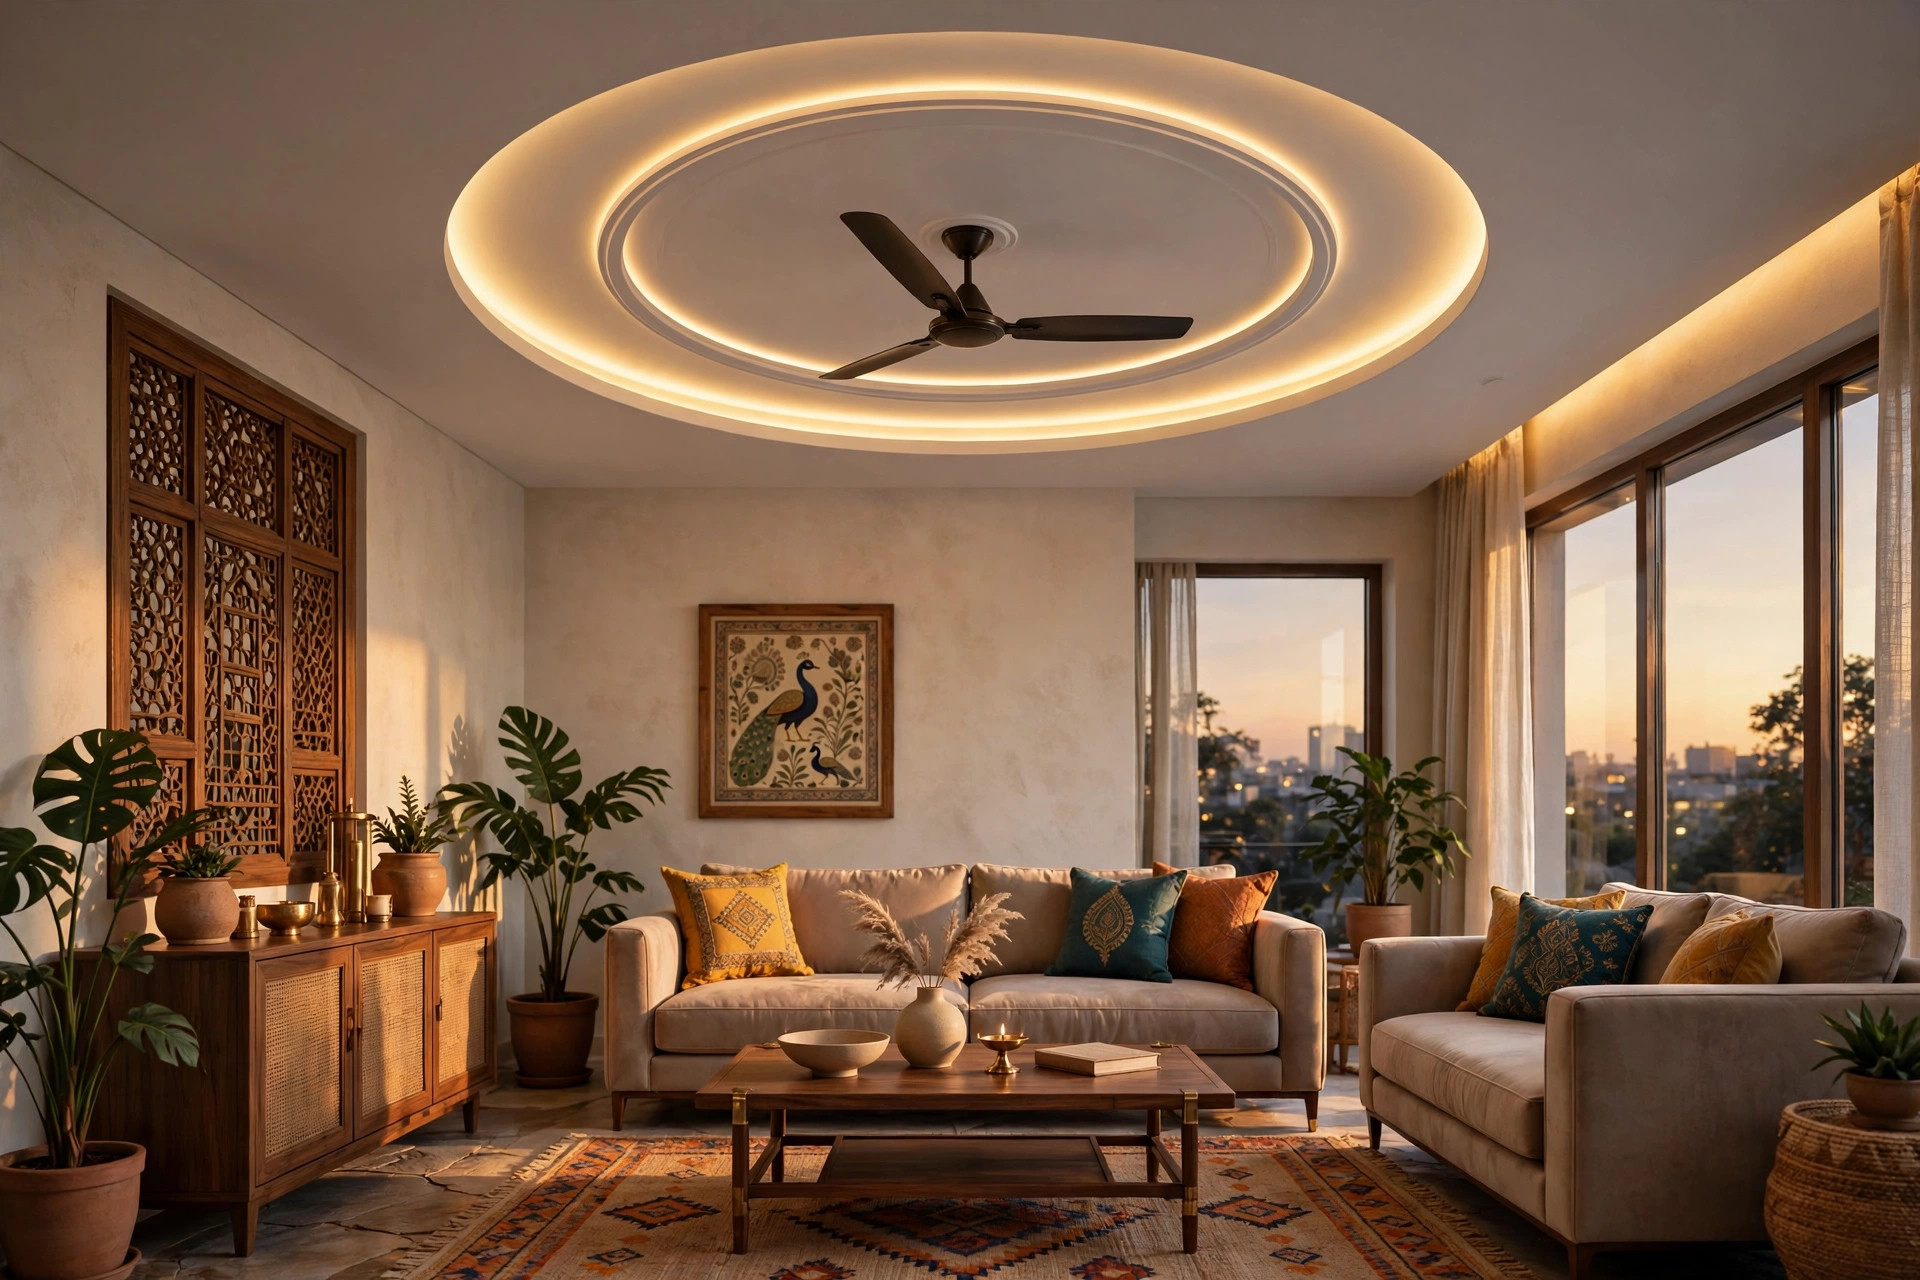
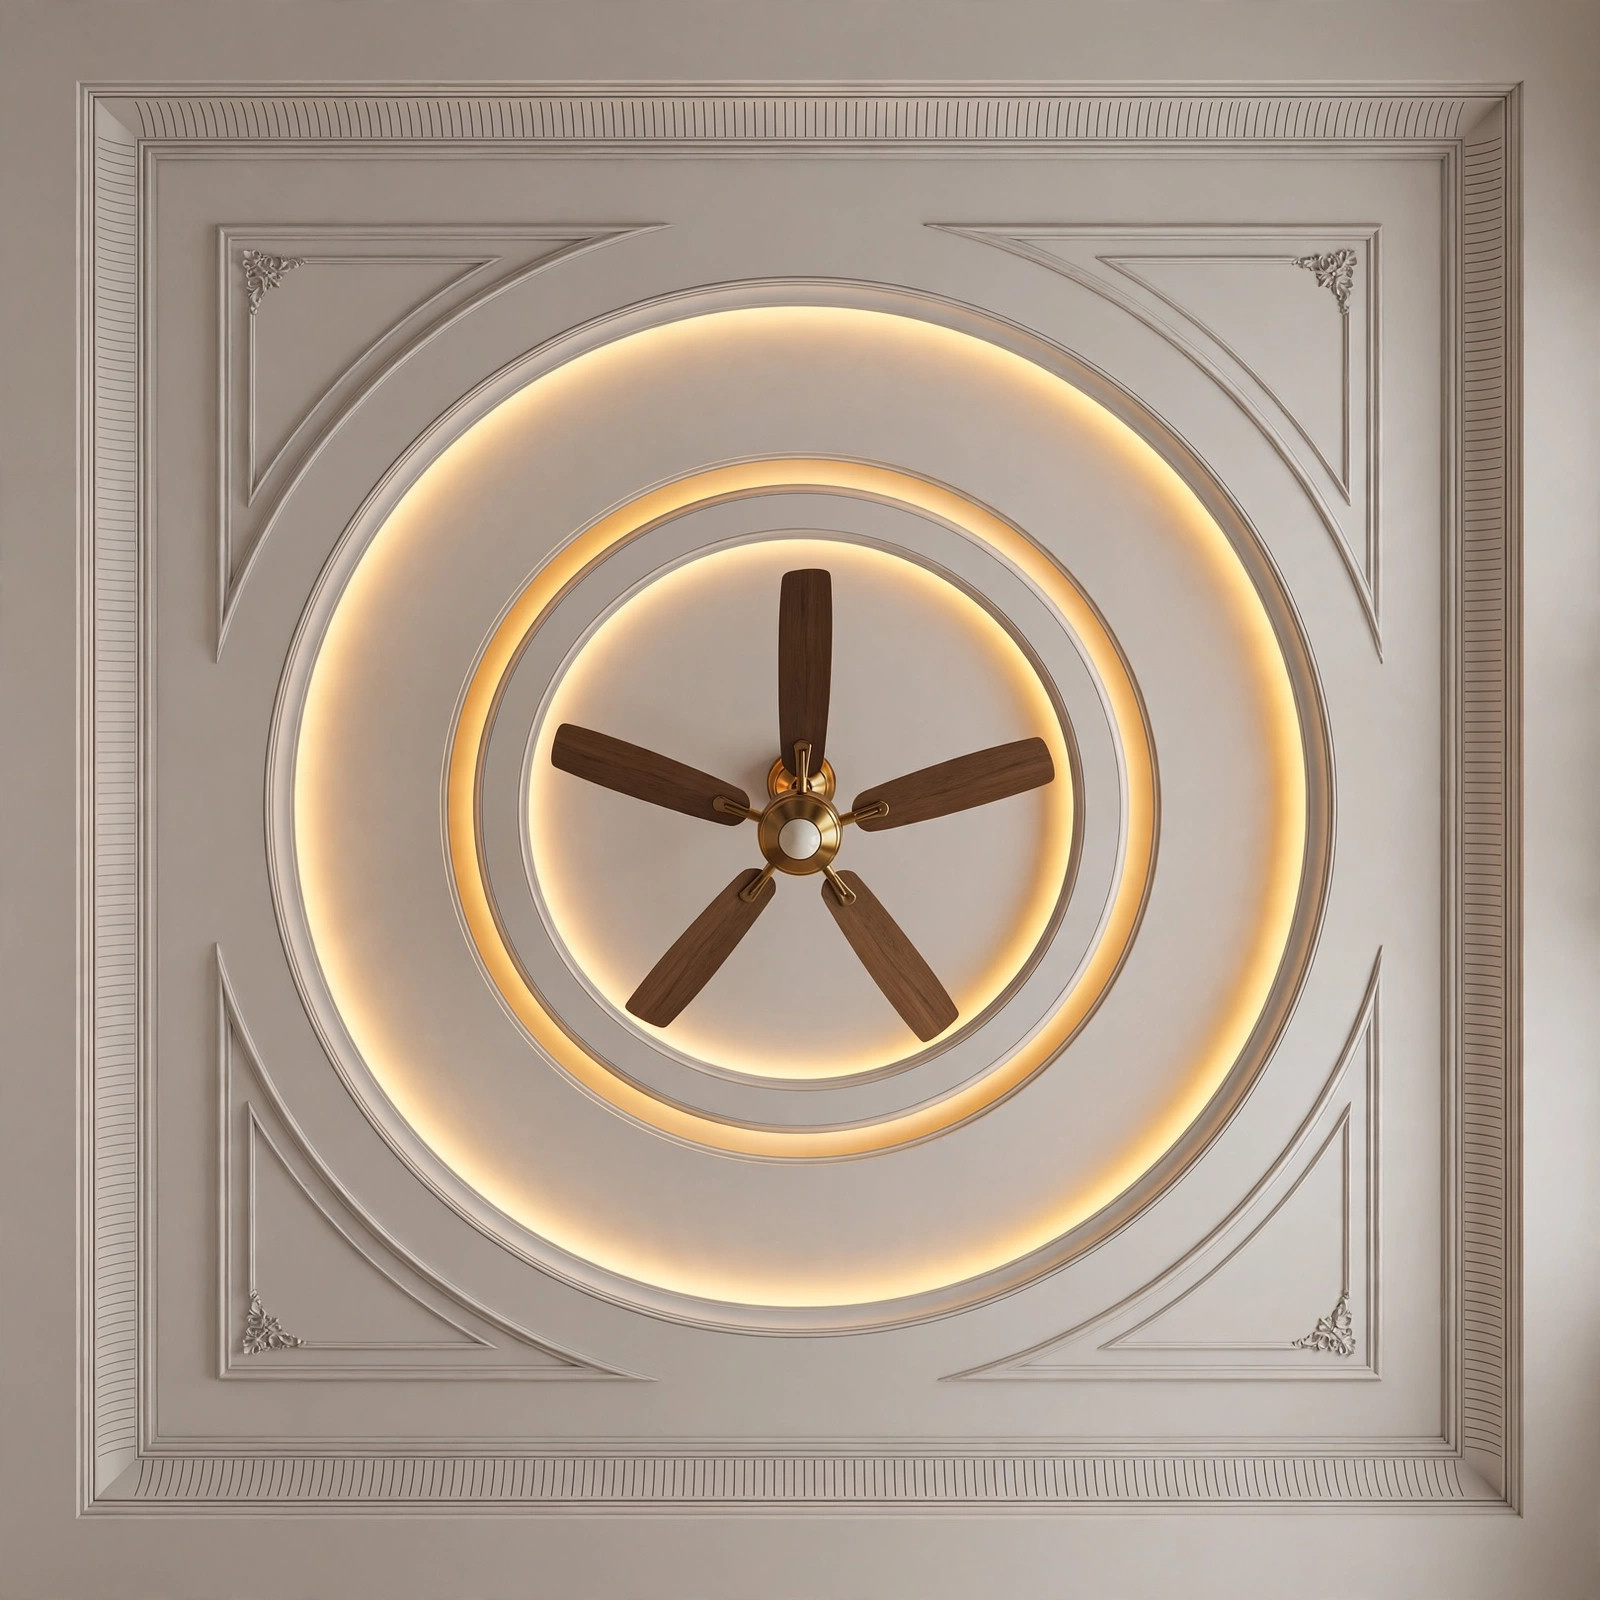
1. Centred fan with concentric cove rings
The classic Indian living room solution: the fan at the exact centre of the room, ringed by one or two concentric cove circles with hidden LED strips. The rings make the fan look designed rather than tolerated, and the symmetry suits square and near-square halls. Measure twice — a fan 6 inches off-centre in a ringed ceiling is visible forever.
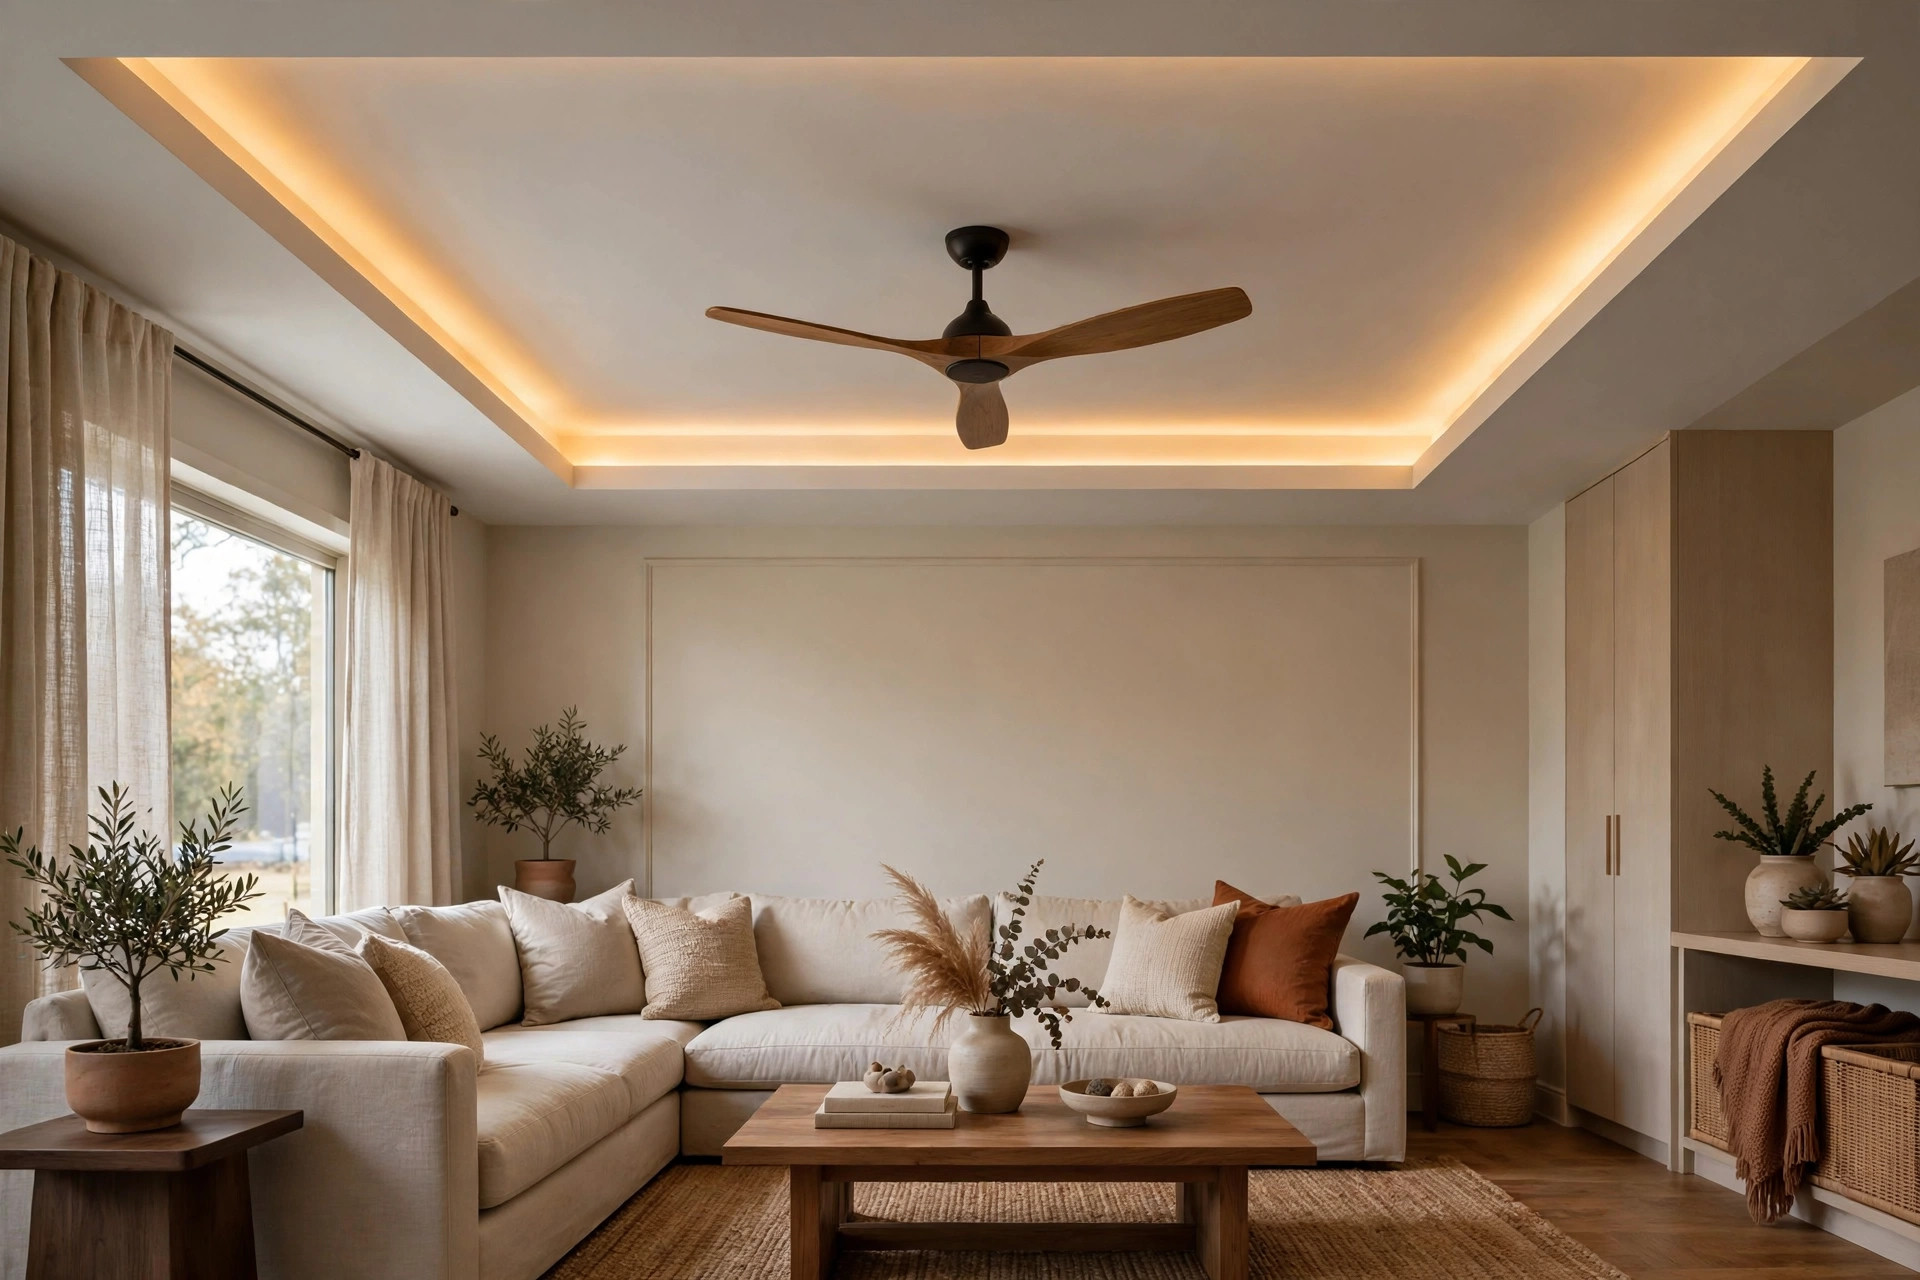
2. Fan in a tray ceiling
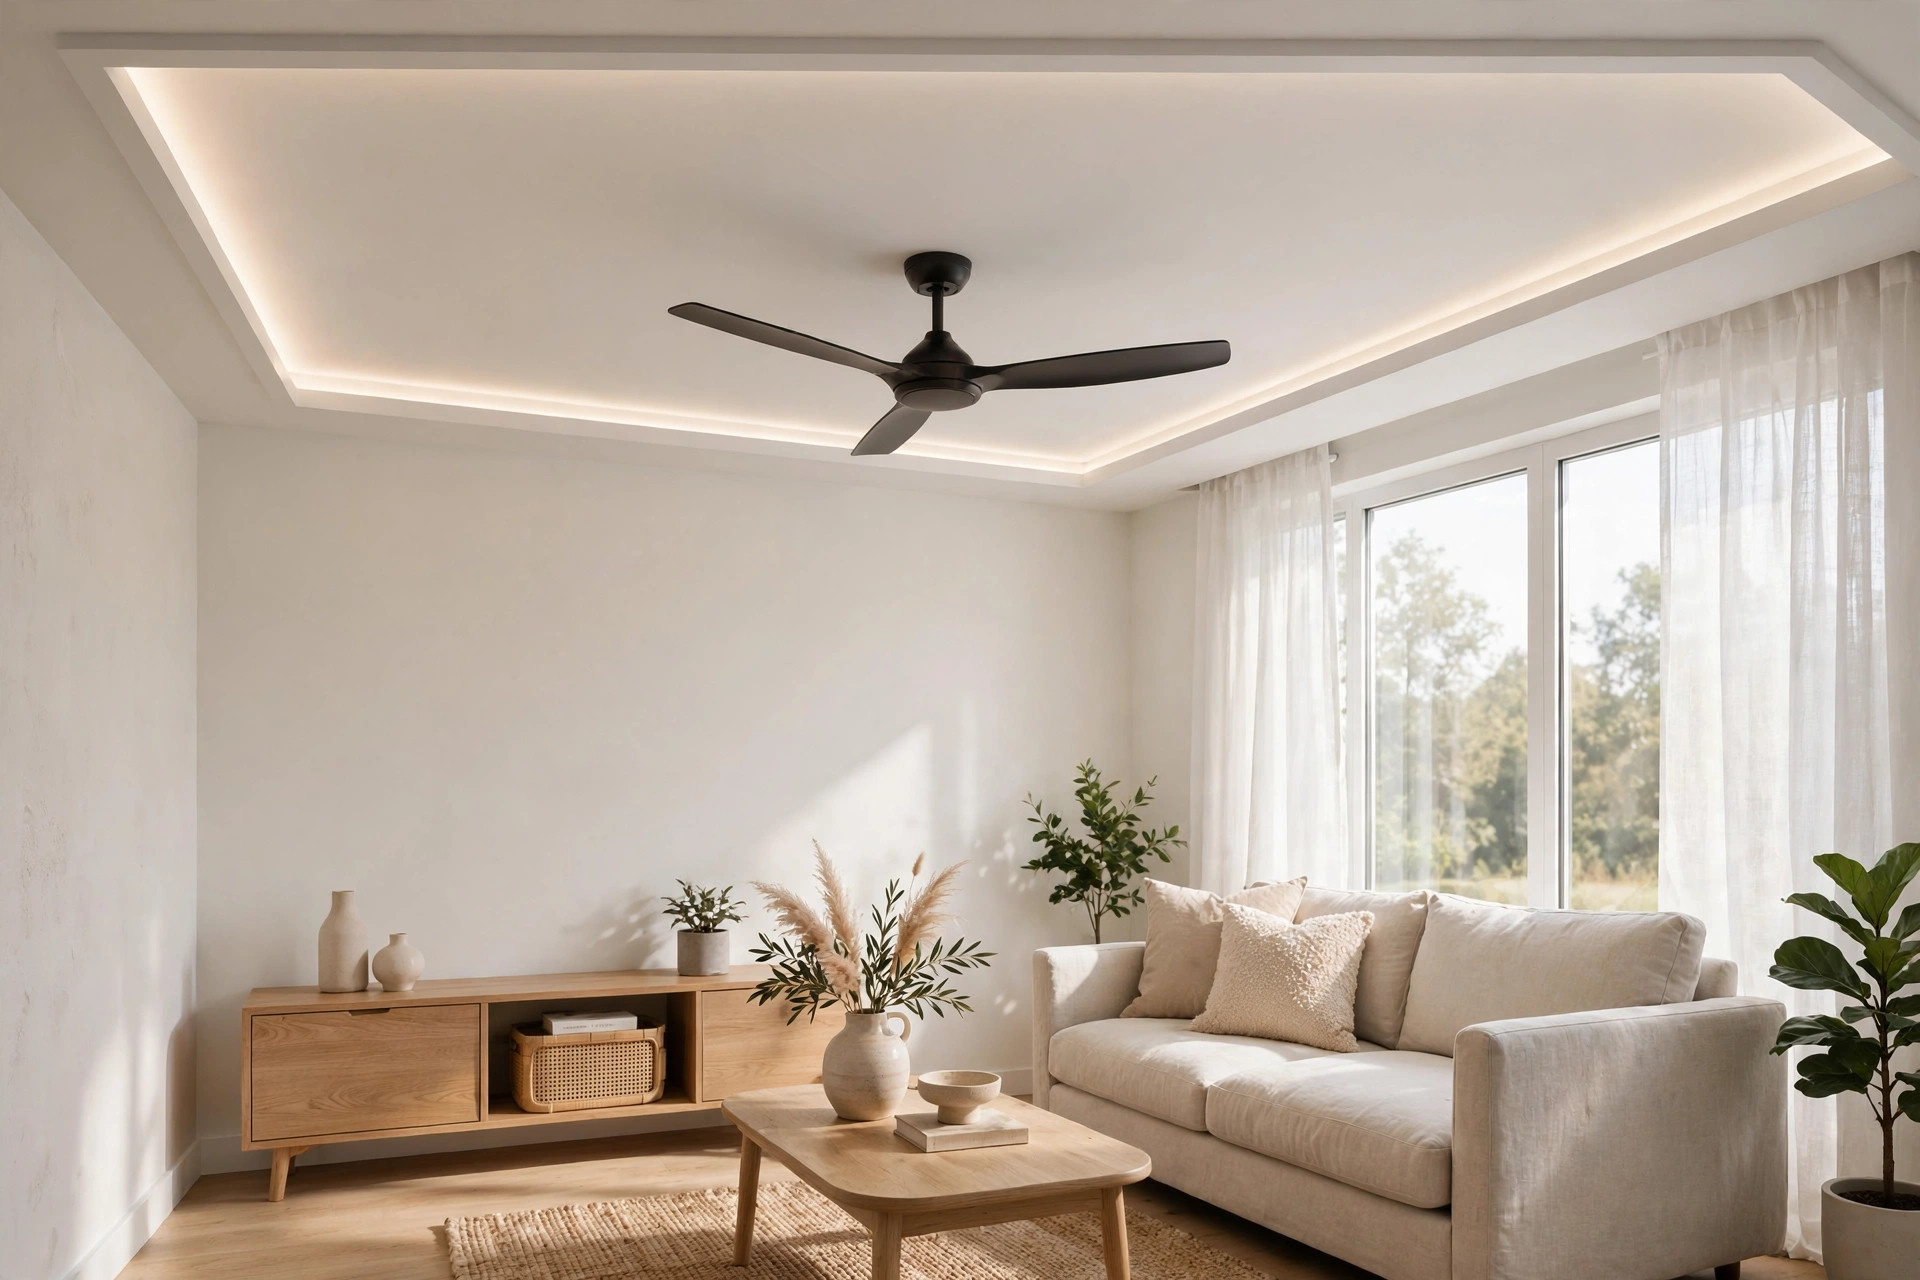
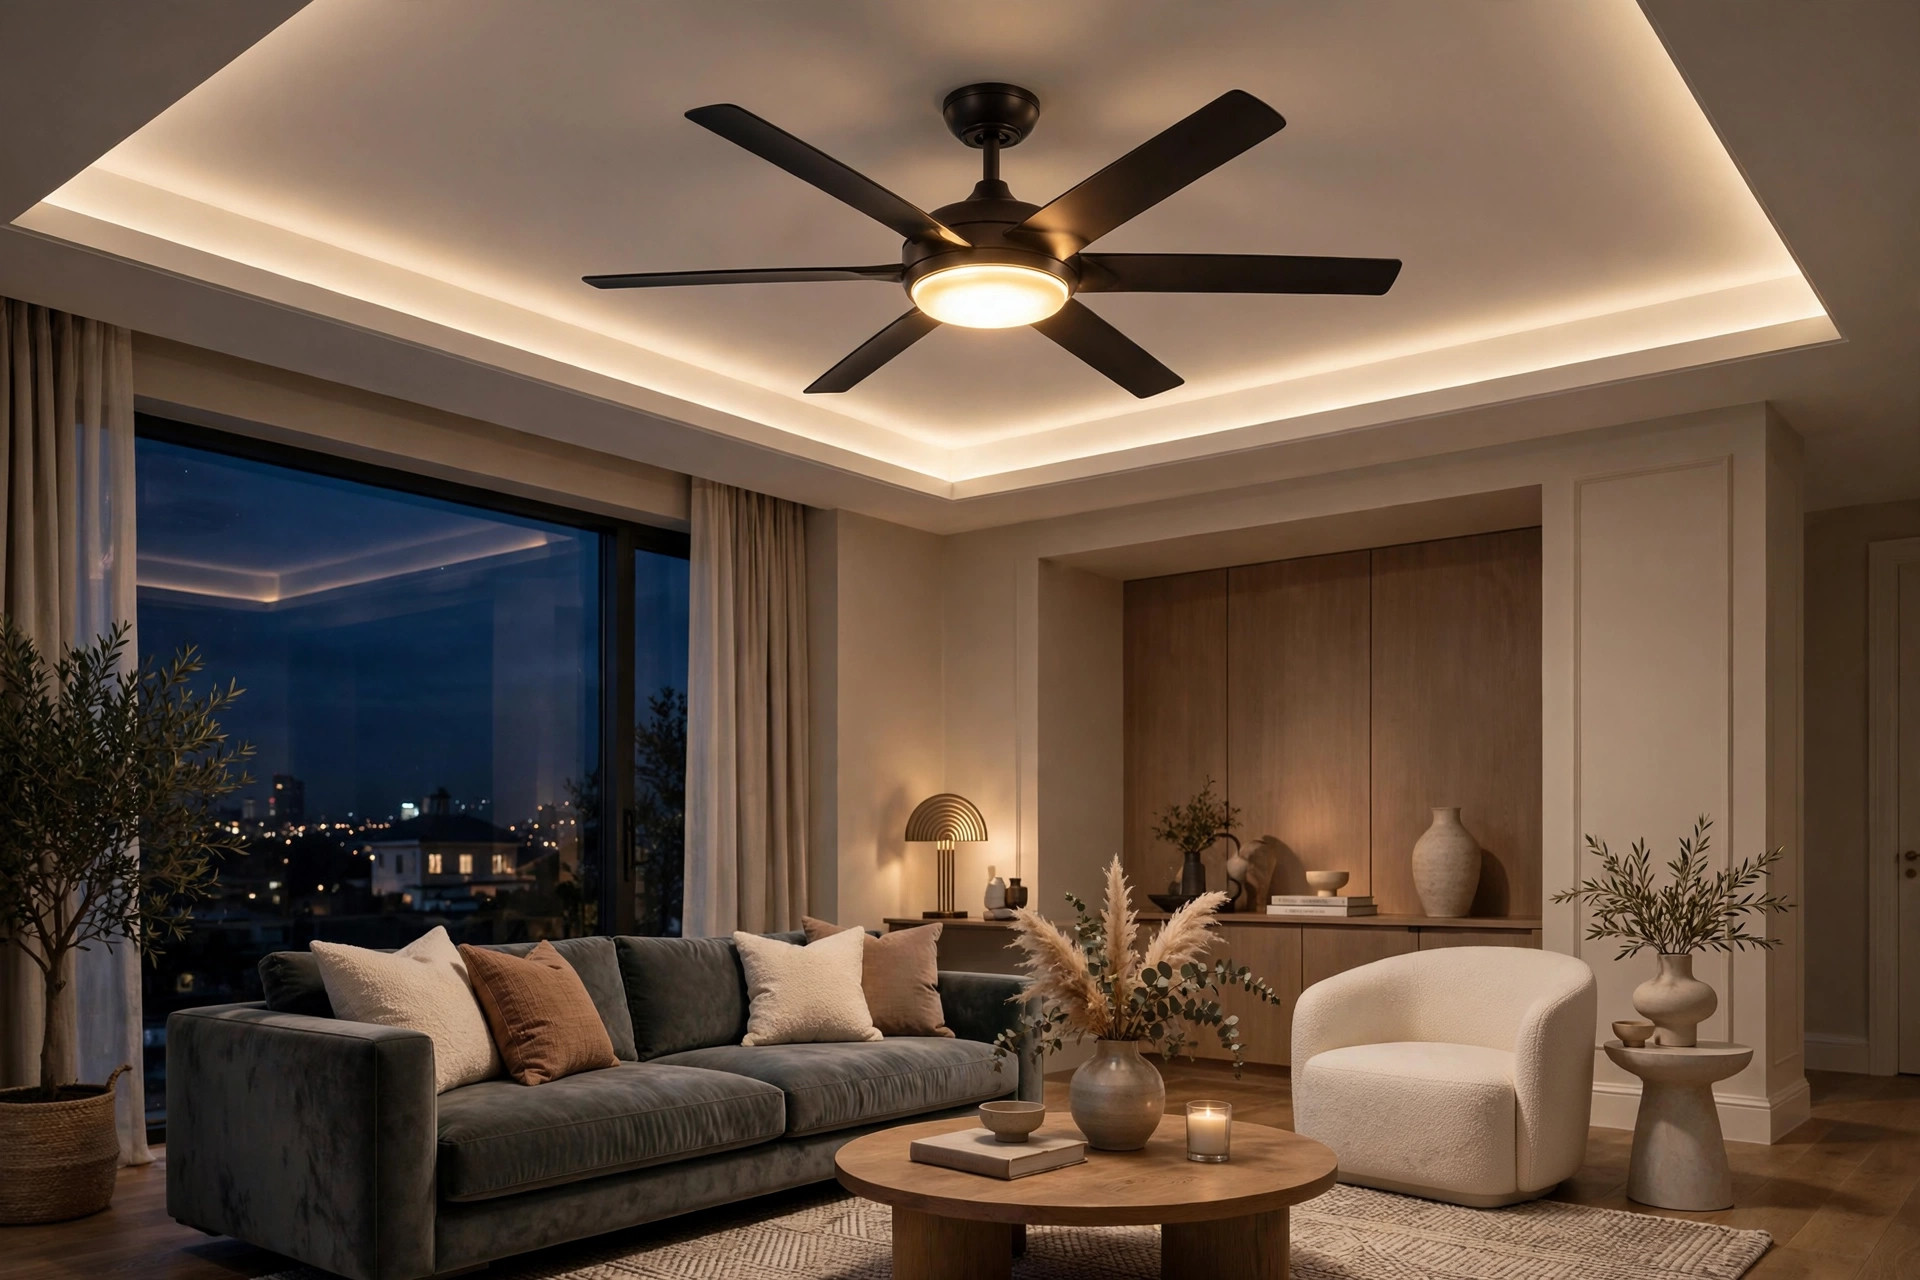
A shallow tray recessed in the ceiling centre, the fan mounted at its middle, cove light along the tray’s inner edge. The tray frames the seating zone below and the fan sits naturally at its heart. Keep the tray 3 to 4 inches deep so blade clearance stays comfortable — deep trays plus long downrods eat headroom.
3. Fan with a wood-accent backdrop
A square wood-finish panel behind the fan — the fan reads against warm wood instead of white plaster. The panel becomes the room’s feature and the fan looks like part of the composition. This suits living rooms where the fan is non-negotiable and the owner still wants a designer ceiling.
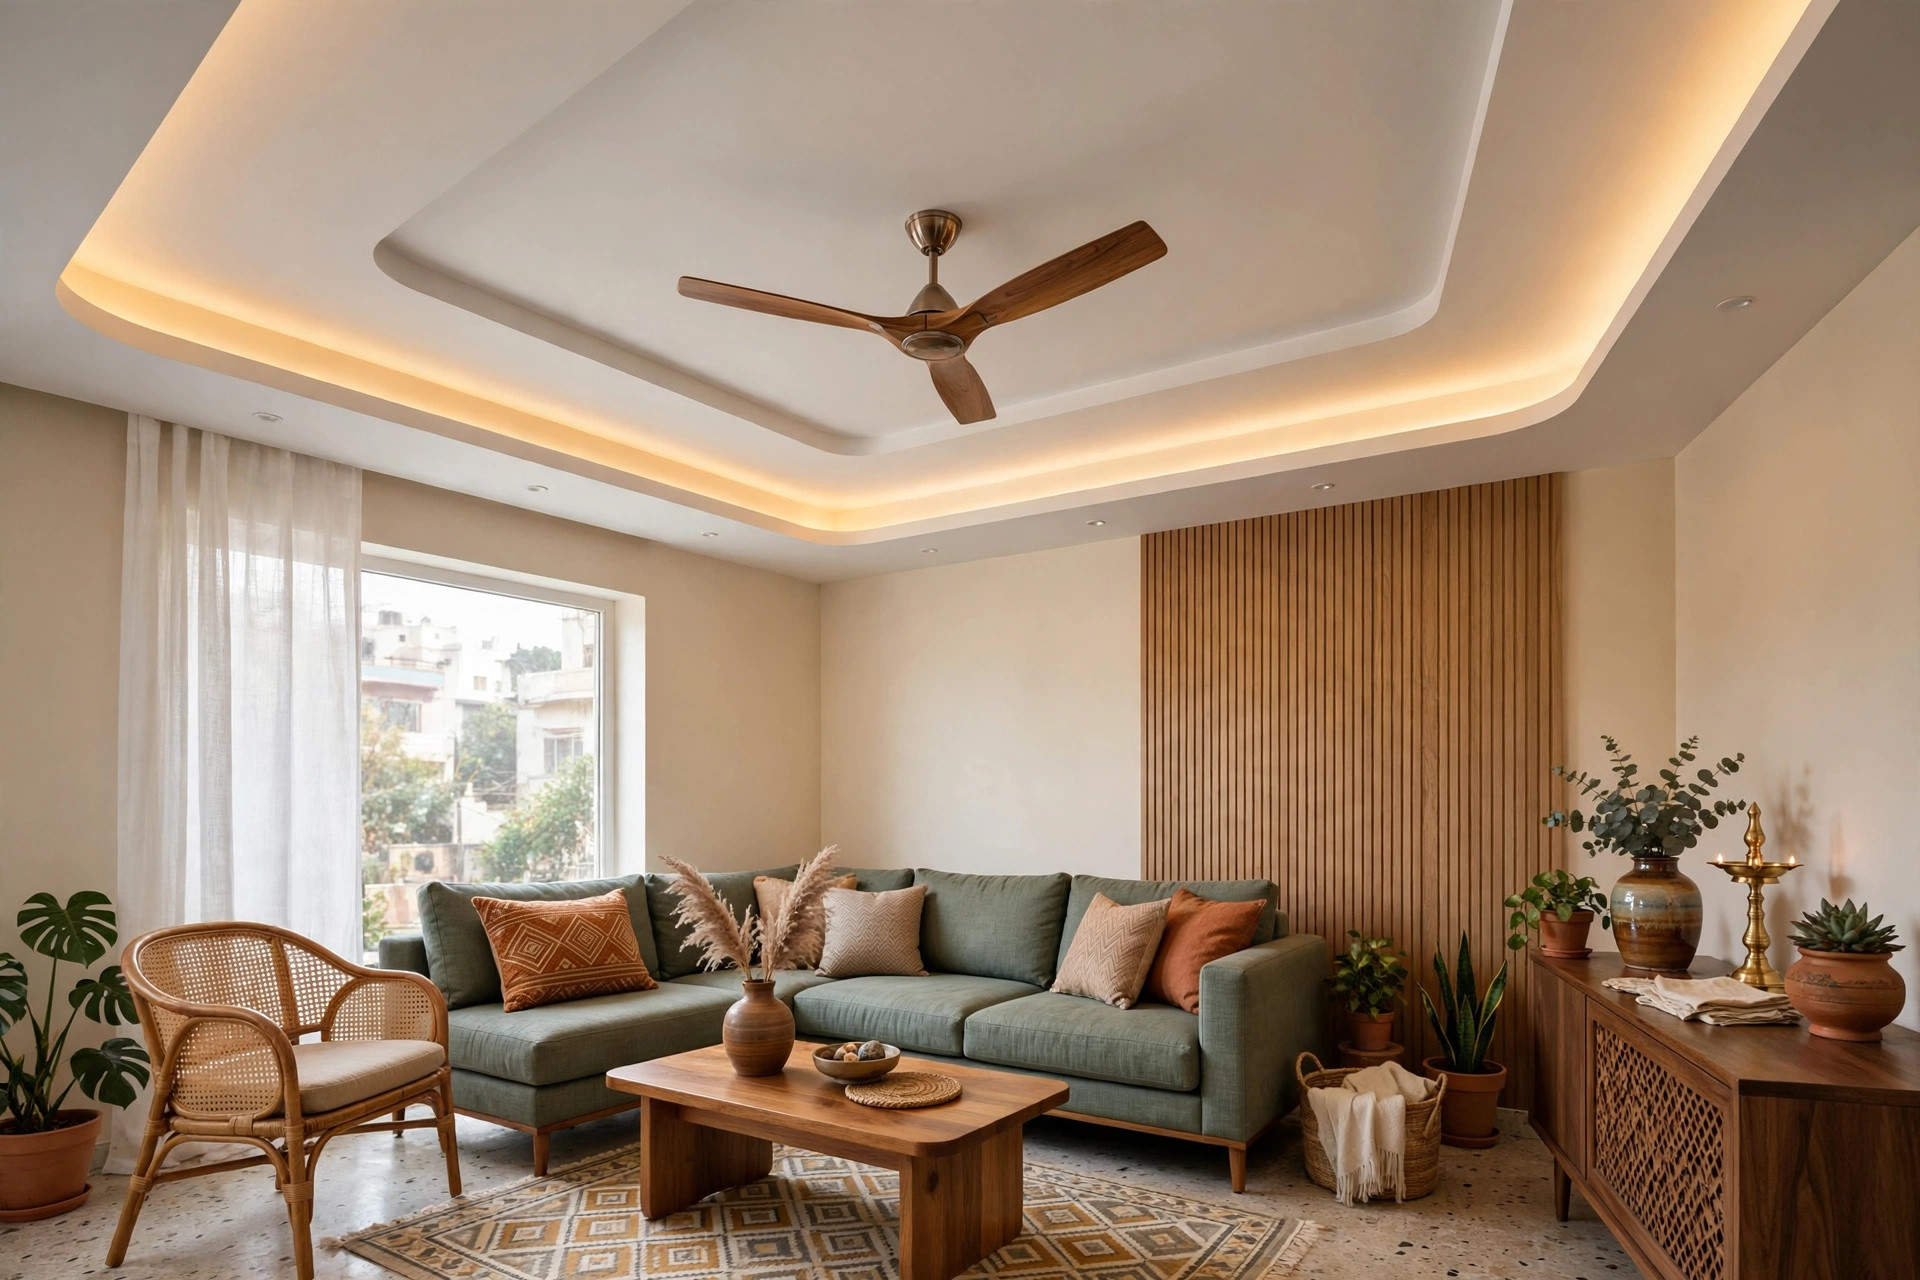
4. Plus-minus ceiling with fan centre
A raised central panel with a lowered perimeter (or the reverse), the fan at the centre of the raised panel. The level change gives the fan its own zone and the perimeter drop carries the cove light. One of the most popular mid-range living room ceilings in Indian cities — premium look, sensible cost.
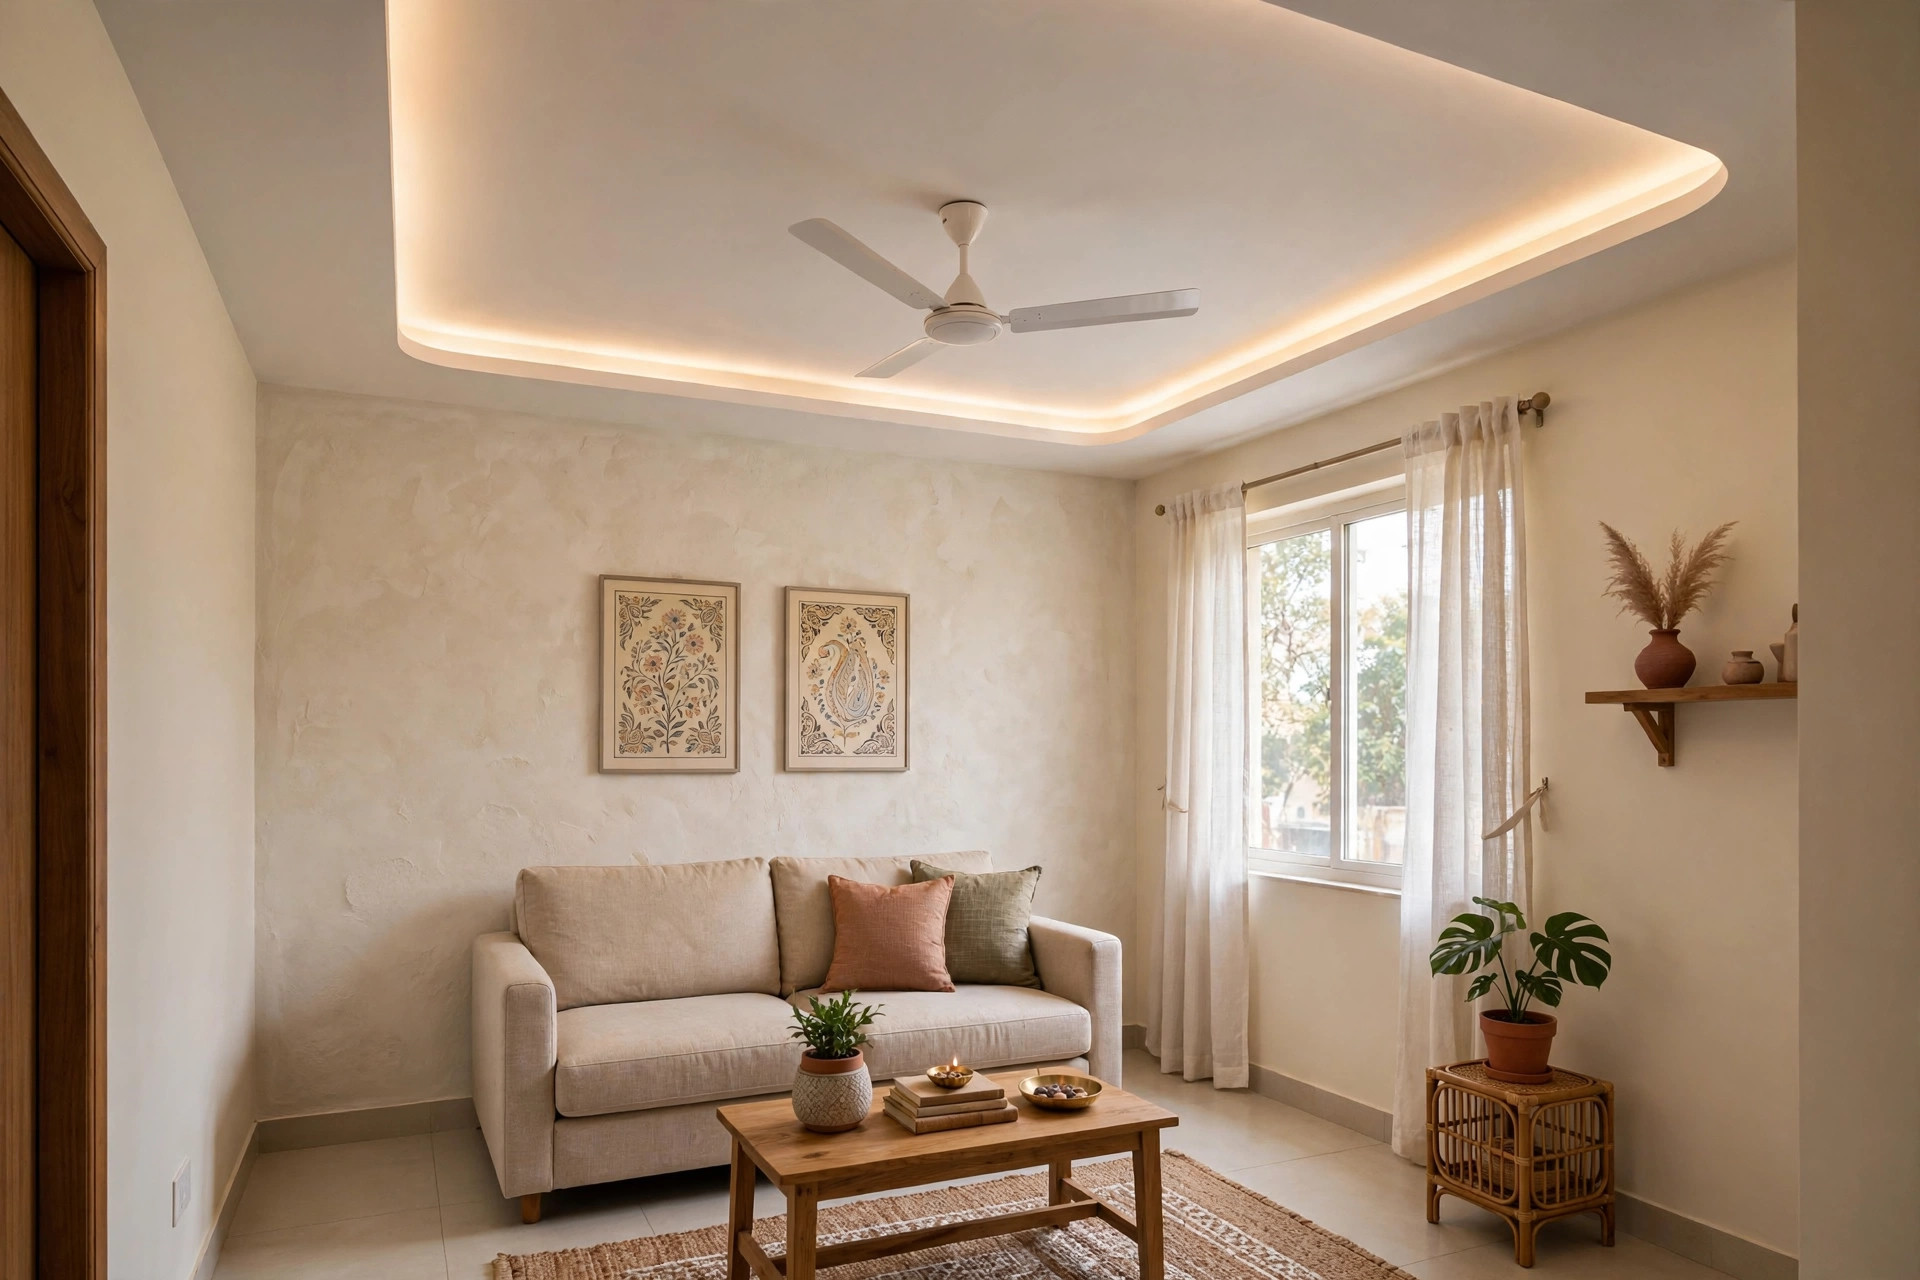
5. Slim border with centred fan
For halls under 9.5 feet: a slim perimeter border with hidden LED, the centre left flat, the fan at the exact centre of the flat field. No drama, no clearance issues, and the room keeps its height. This is the honest choice for compact apartments — and the cheapest fan-friendly ceiling to build.
Two-fan layouts for long and large halls
One fan cannot serve a long living room — the far end stays still while the middle gets the breeze. Two fans, planned as a pair, solve both comfort and composition: the ceiling gets symmetry along its length instead of one lonely centre.
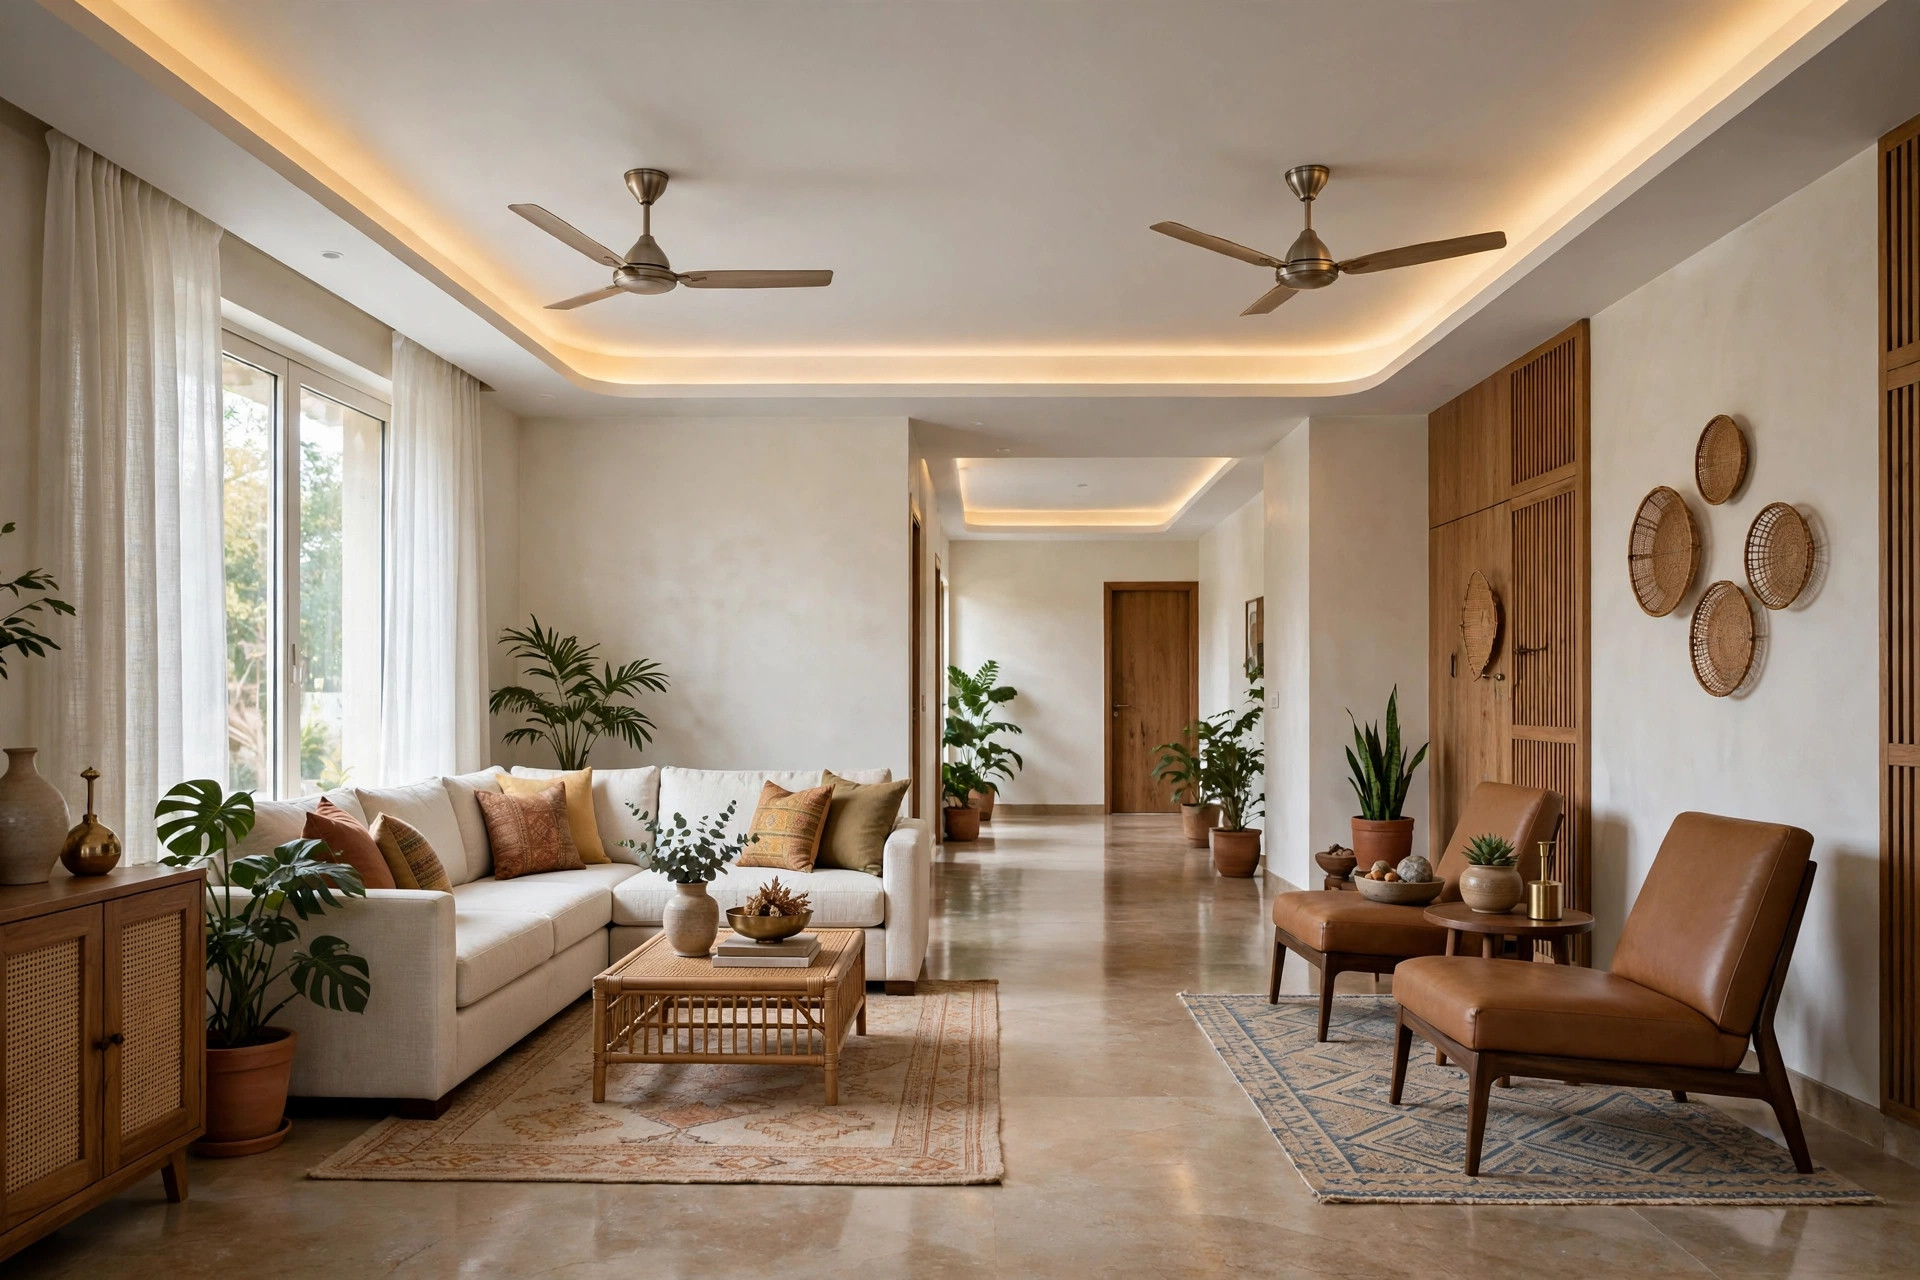
6. Centric spine with two fans
Run a central recessed channel (10 to 18 inches wide) along the room’s length and place the two fans on that axis with equal spacing. Slim linear LEDs inside the channel (2700–3000K) keep the spine glowing; the fans sit visually anchored instead of floating. The spine also simplifies wiring — one straight run serves both fans and the lights.
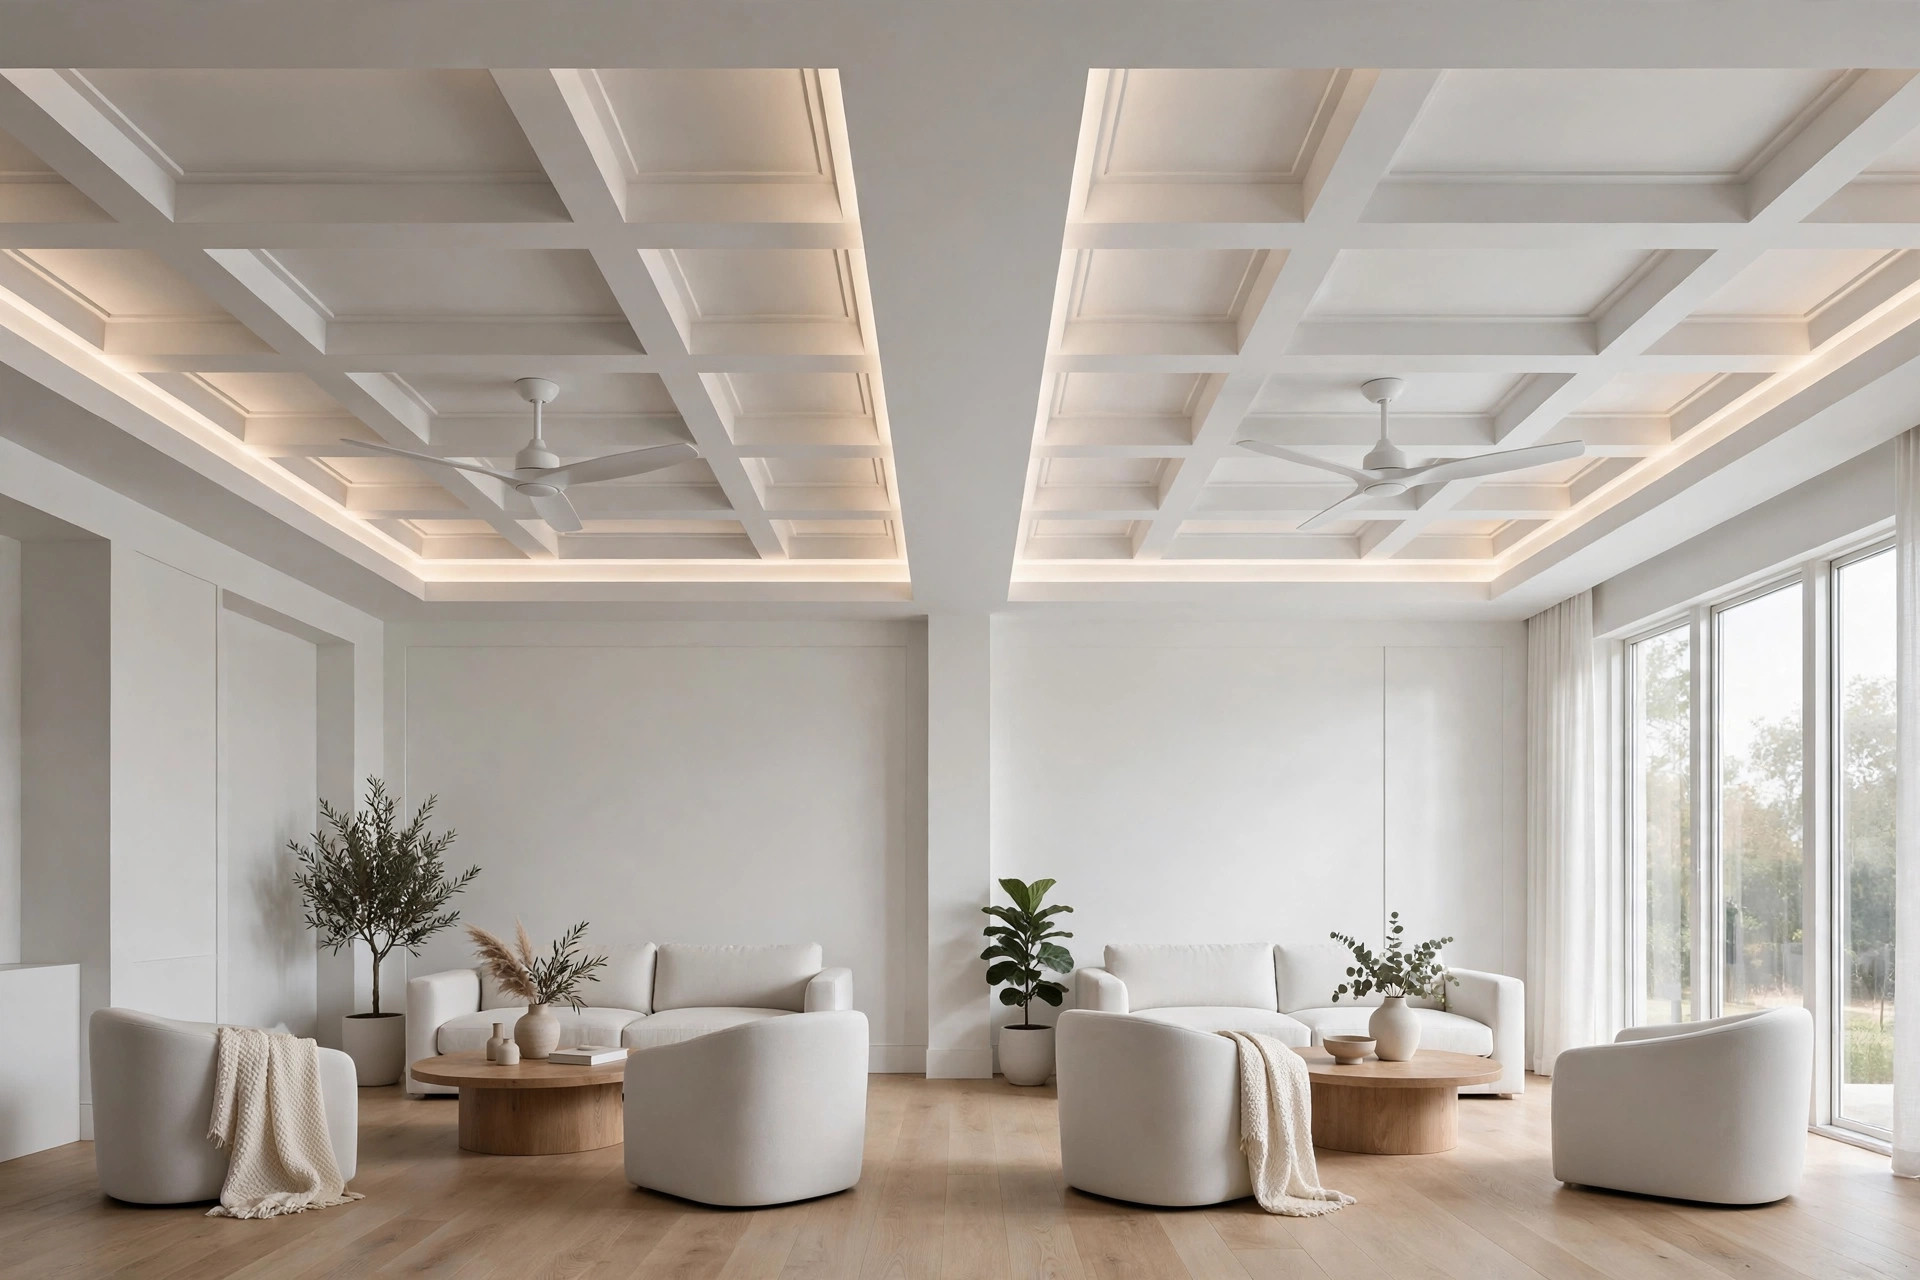
7. Dual coffered bays
Divide a long rectangle into two equal ceiling bays with shallow coffers; each bay gets one centred fan and a hidden perimeter LED. This zoned approach suits halls with two seating clusters — sofa conversation on one side, reading or TV on the other — because each zone gets its own air and light. Use matte finishes to keep the bays calm.
8. Asymmetric two-fan placement
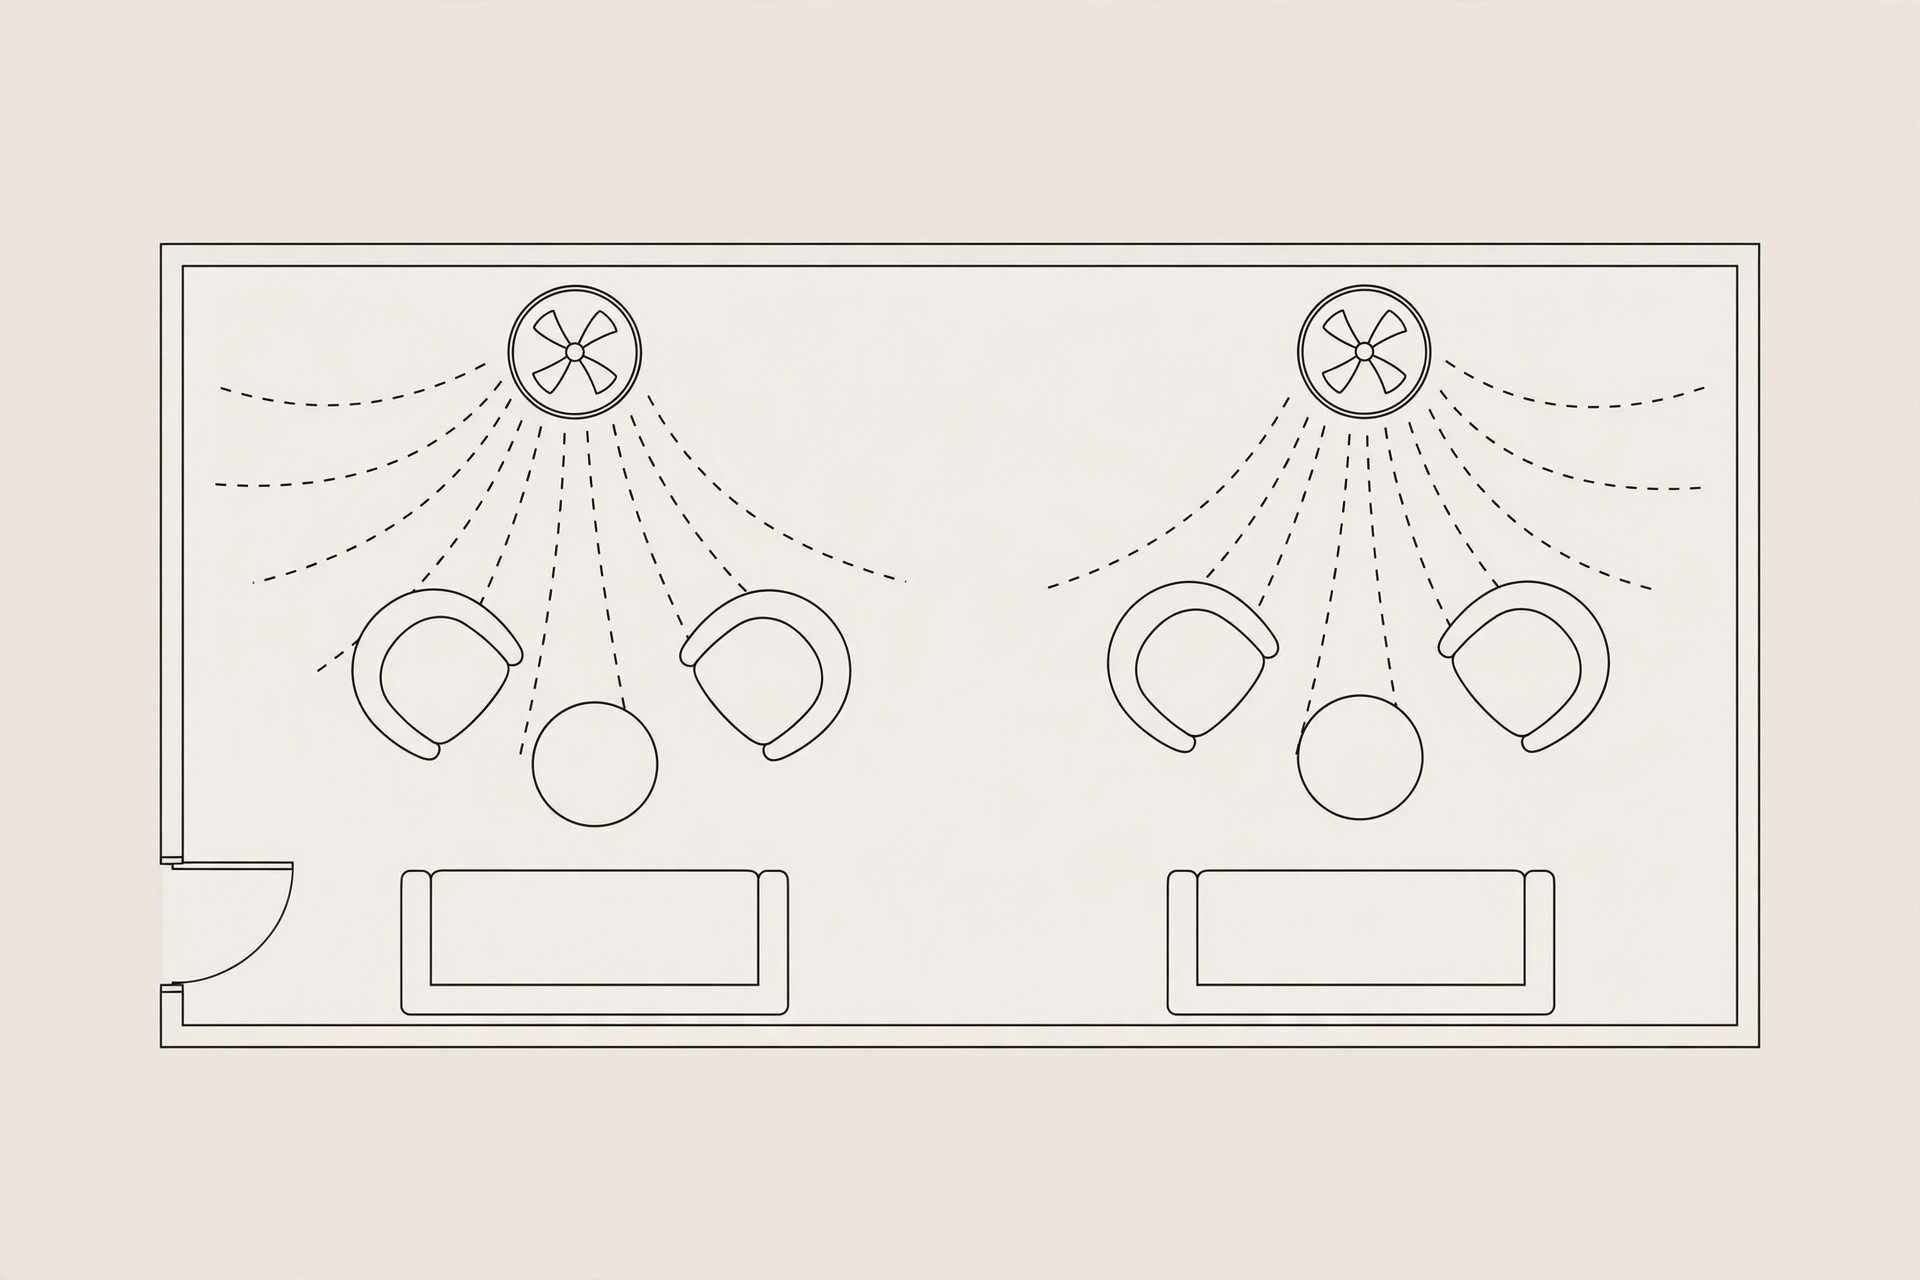
Not every hall wants mirror symmetry. If the sofa and media wall sit off-centre, shift the ceiling features to match: one fan over the primary seating zone, the second over the secondary lounge or dining edge. Balance the composition with asymmetric light slots and a modest feature panel. The rule is intention — asymmetry must look planned, not accidental.
Blade clearance: the measurement that matters
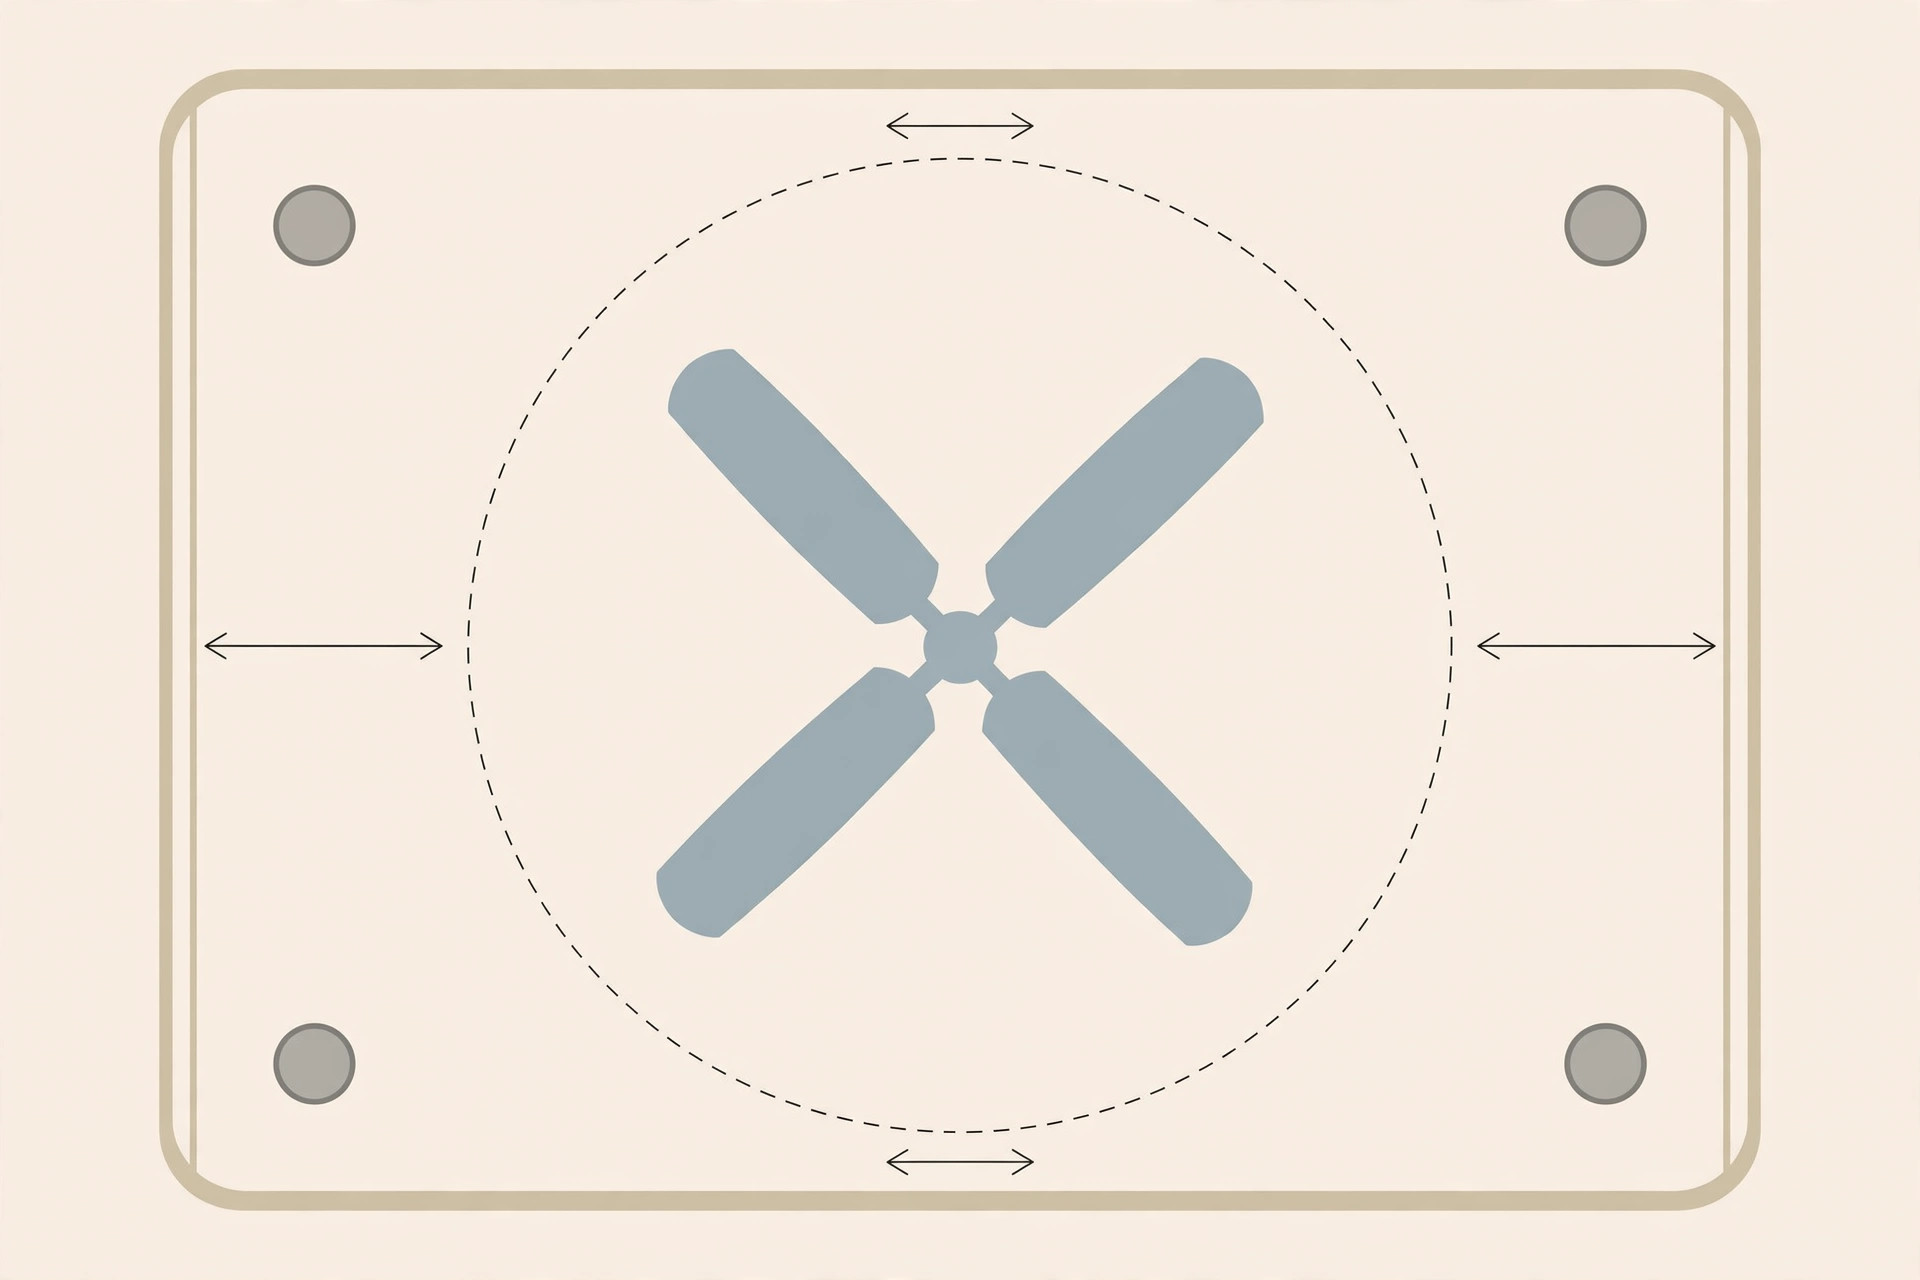
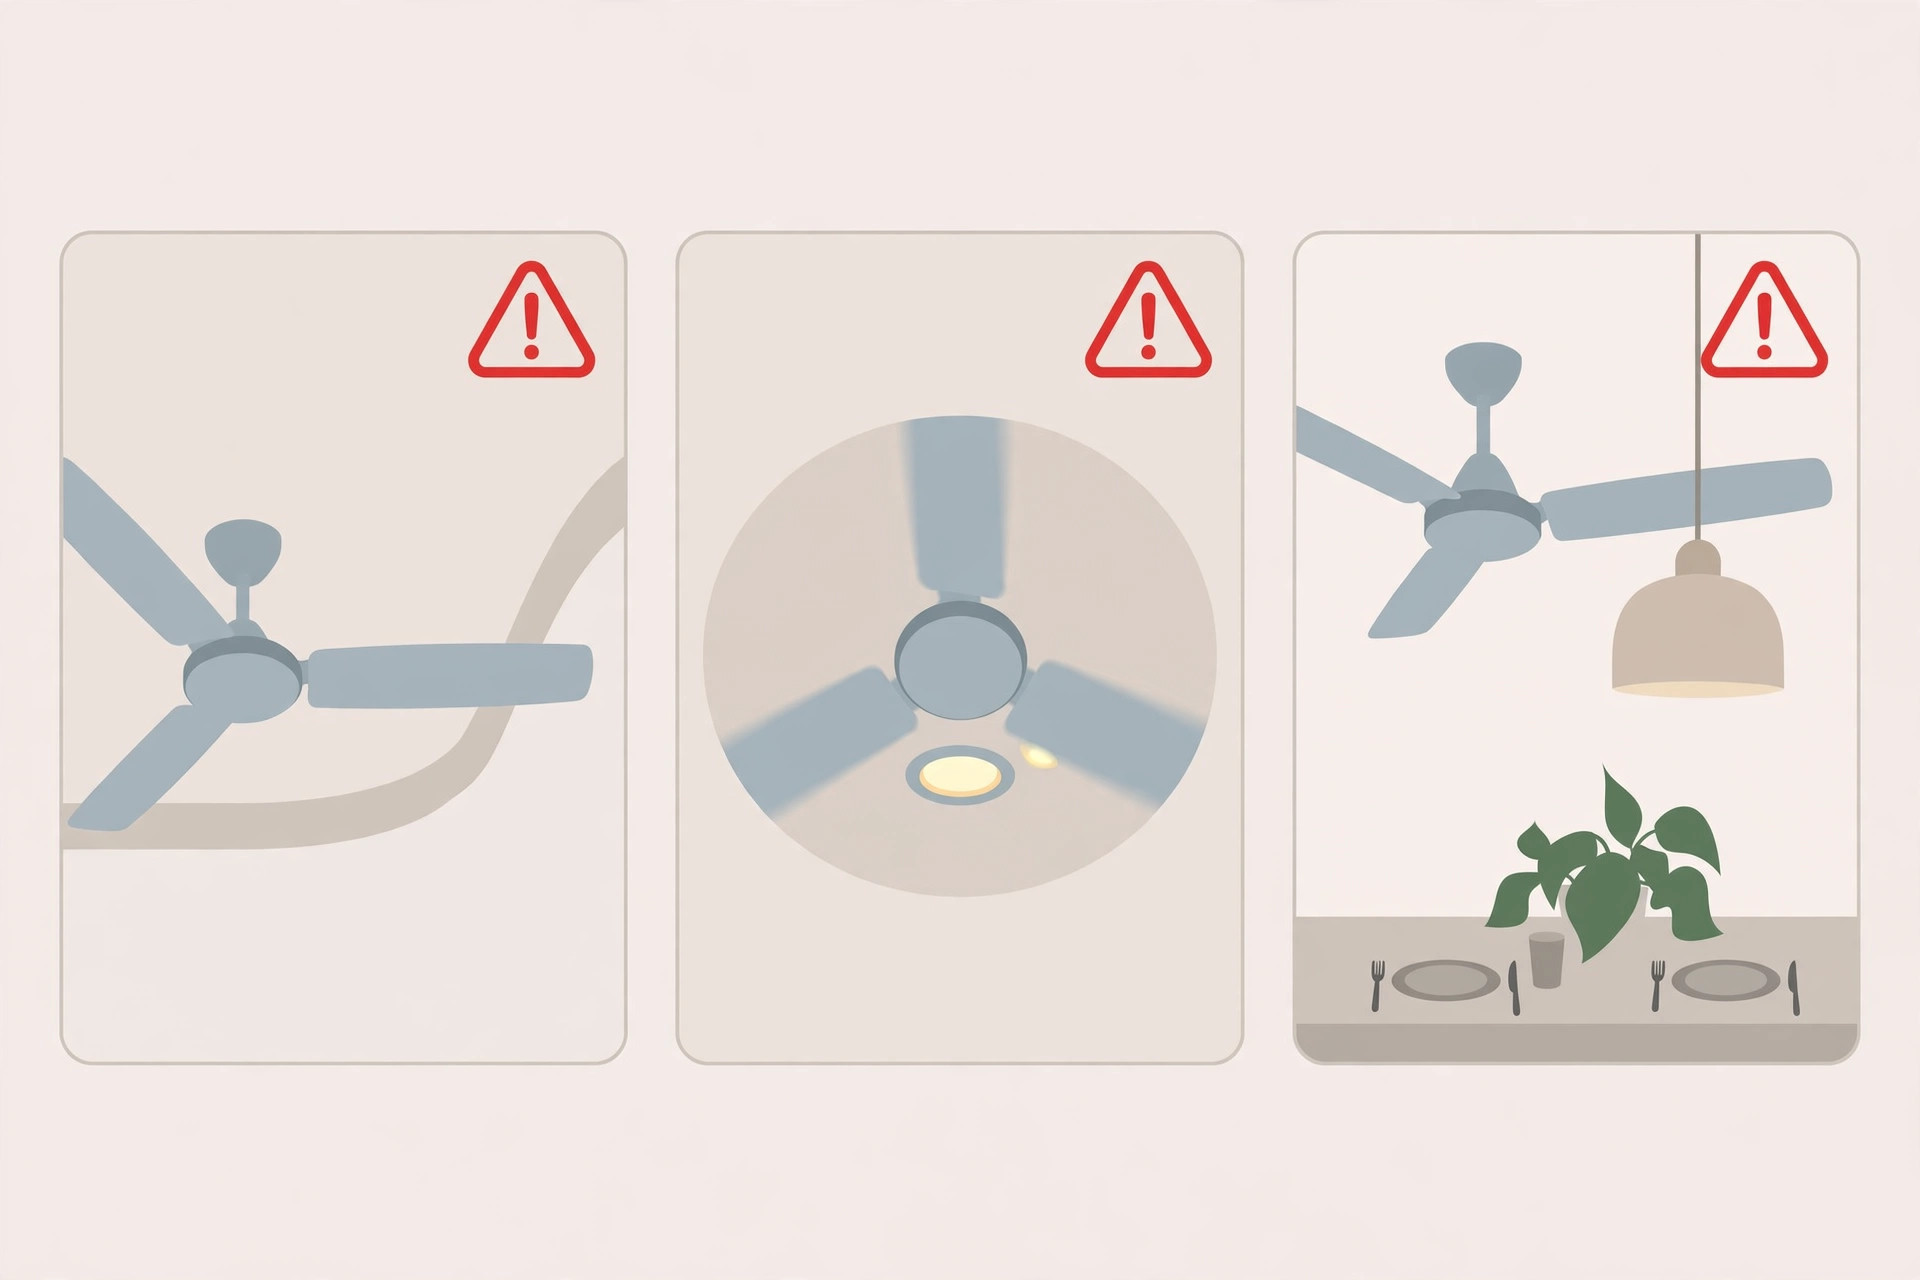
A fan’s blades sweep a circle — typically 48 to 52 inches across — and that circle must clear everything: cove edges, tray lips, pendant lights, and the lowered border. The commonest fan-ceiling mistake is a beautiful cove that the blades nearly touch. Plan clearances on paper before the frame goes up:
- Keep at least a few inches between the blade tips’ sweep and any lowered ceiling feature.
- Recessed lights must sit outside the blade circle — a blade slicing through a downlight beam creates a strobe effect nobody wants.
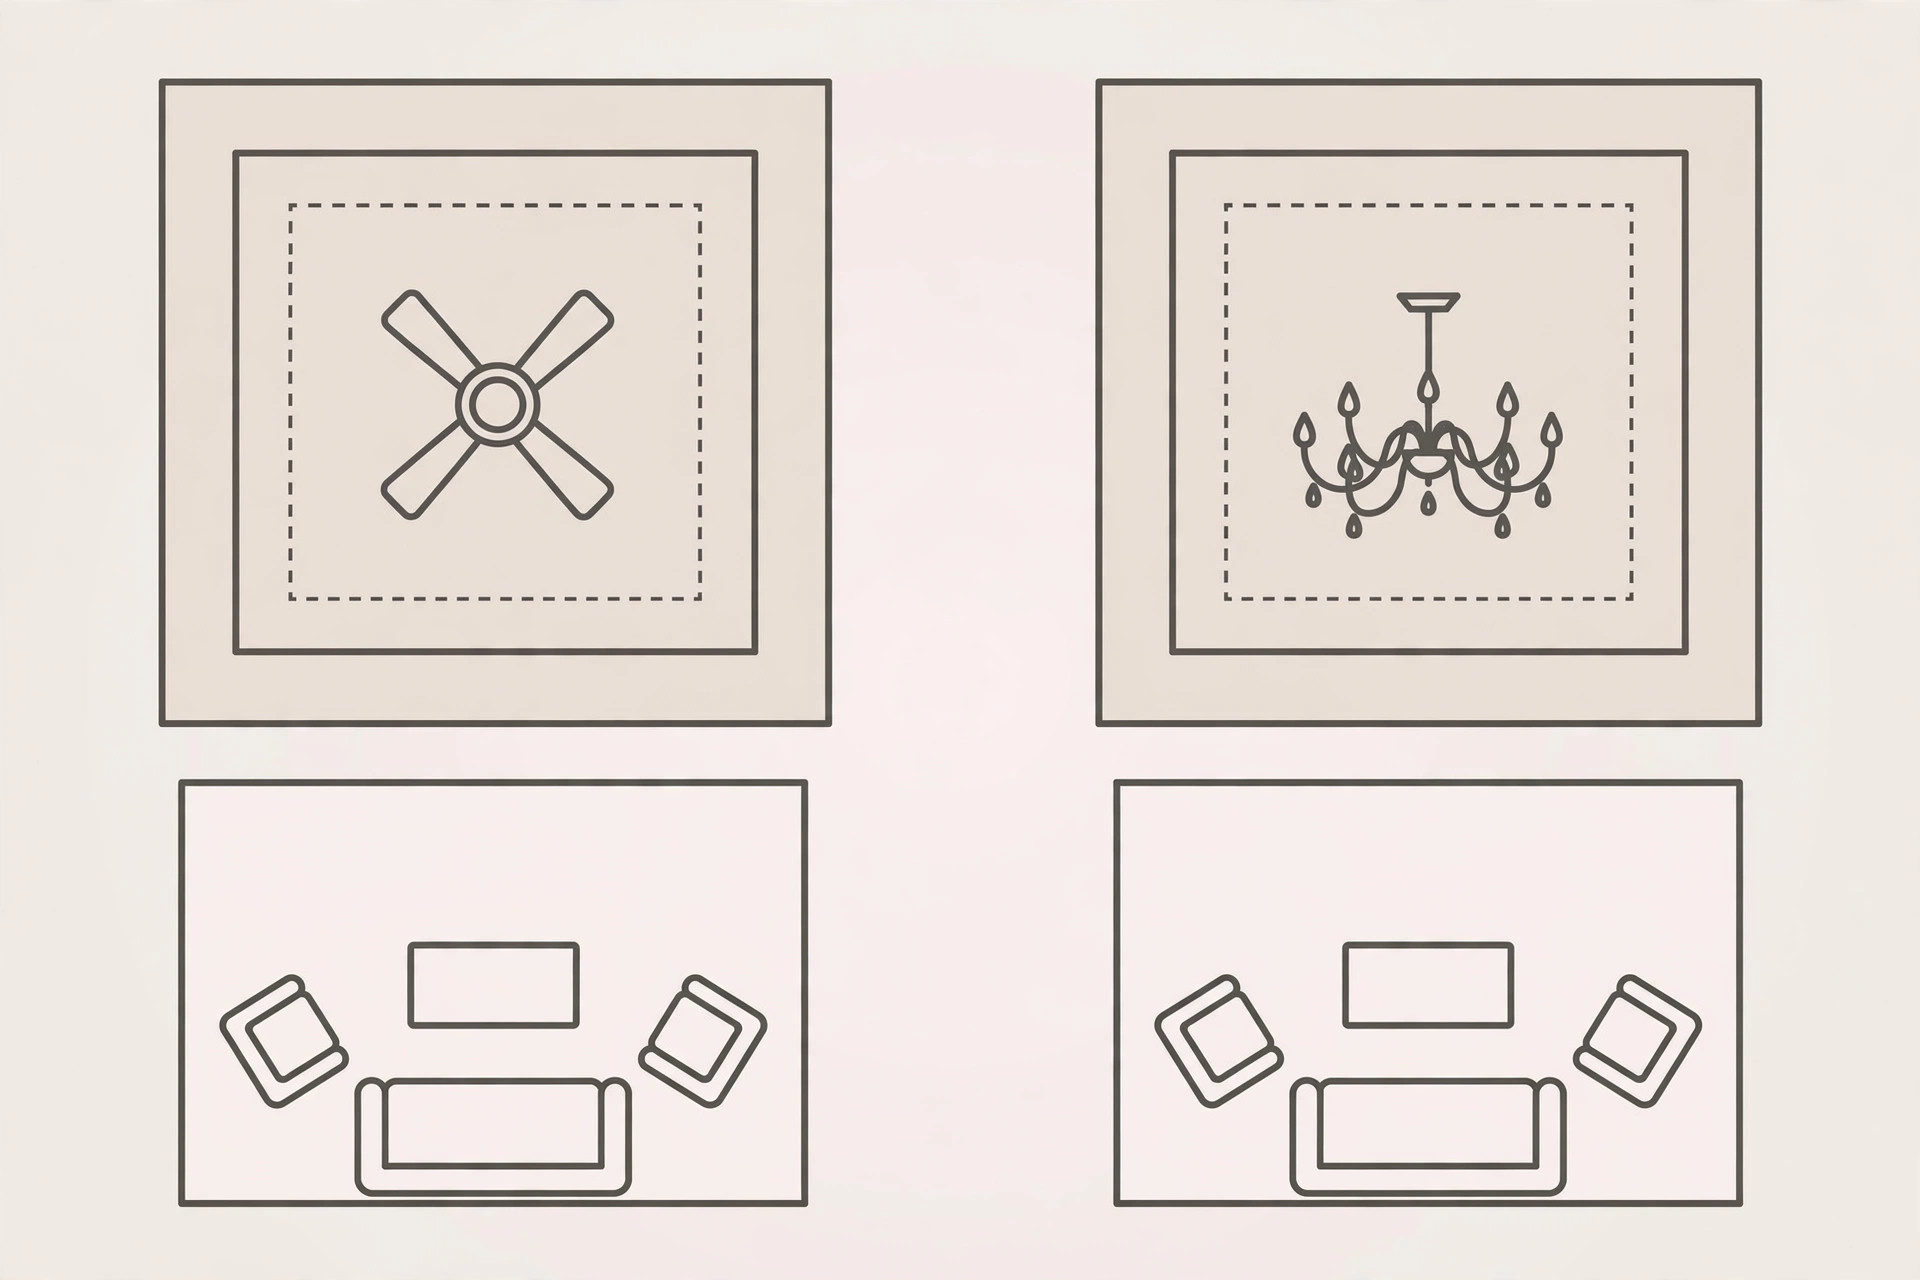
- Pendants and chandeliers share the centre with fans badly; if the room needs both, zone them (fan over seating, pendant over dining).
- The downrod length sets the fan’s height: with a dropped false ceiling, a shorter downrod usually keeps the fan at a comfortable height. Your electrician sizes this against the finished ceiling level, not the slab.
Fan plus lighting: planning them together
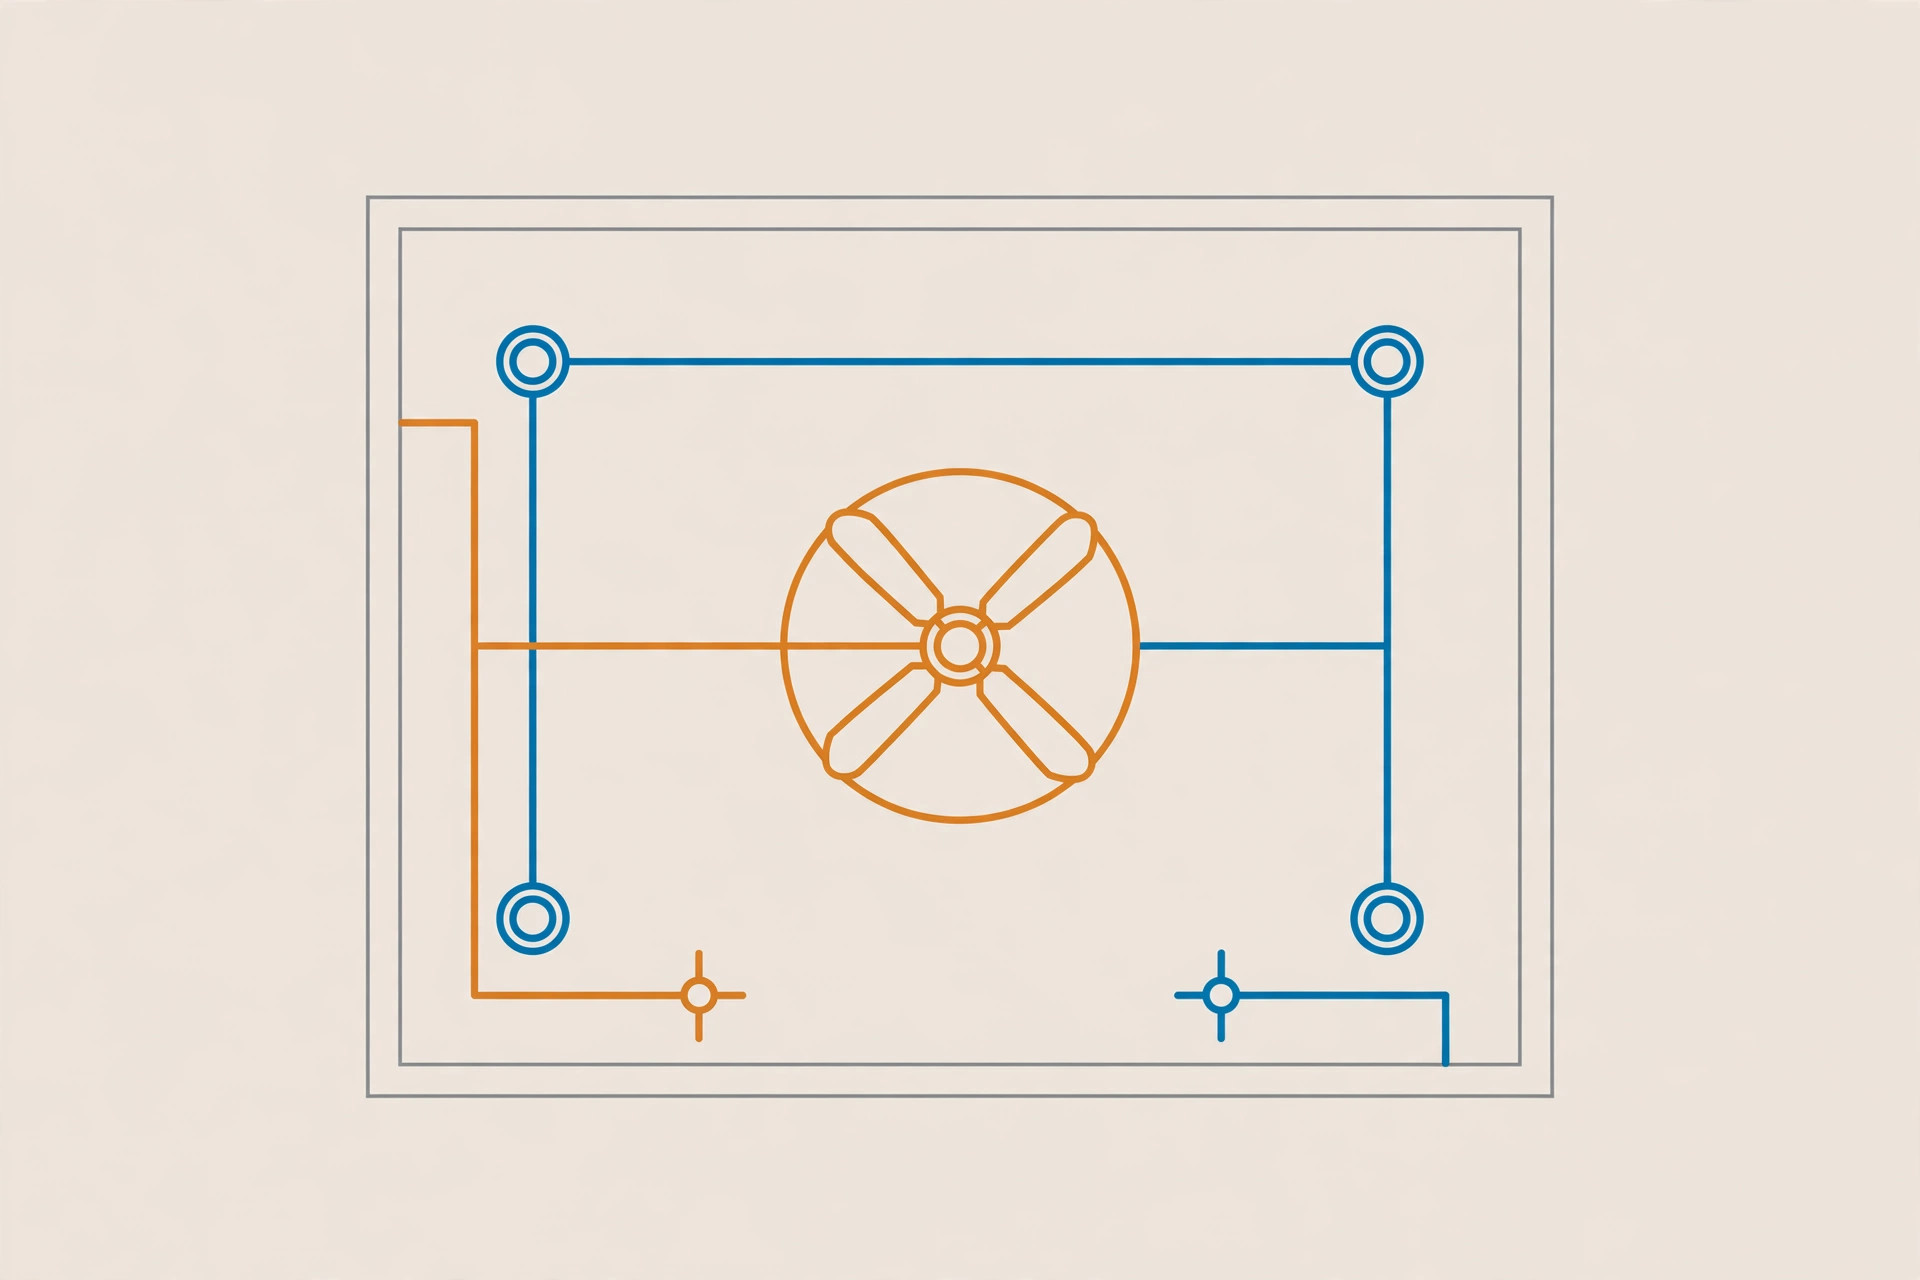
Fans and lights share the ceiling but want different things. Plan them as one system: cove strips for ambient glow (outside the blade circle), recessed spots for task light (also outside it), and the fan at the centre doing its own job. Wire fans and lights on separate circuits with separate switches — a fan humming on a dimmer circuit meant for LEDs is a classic wiring mistake your electrician will thank you for avoiding.
Fan or chandelier? The centre-stage decision
Every living room ceiling has one centre, and the fan and the chandelier both want it. In most Indian living rooms the fan wins on daily use — a chandelier that never gets admired because the fan had to go beside it pleases nobody. The practical compromises: a fan with an integrated light kit at the centre (many designer fans now include one), or the chandelier over the dining zone with the fan over the seating zone in an open plan. Decide this before the ceiling is designed, not after.
Floating panel with fan
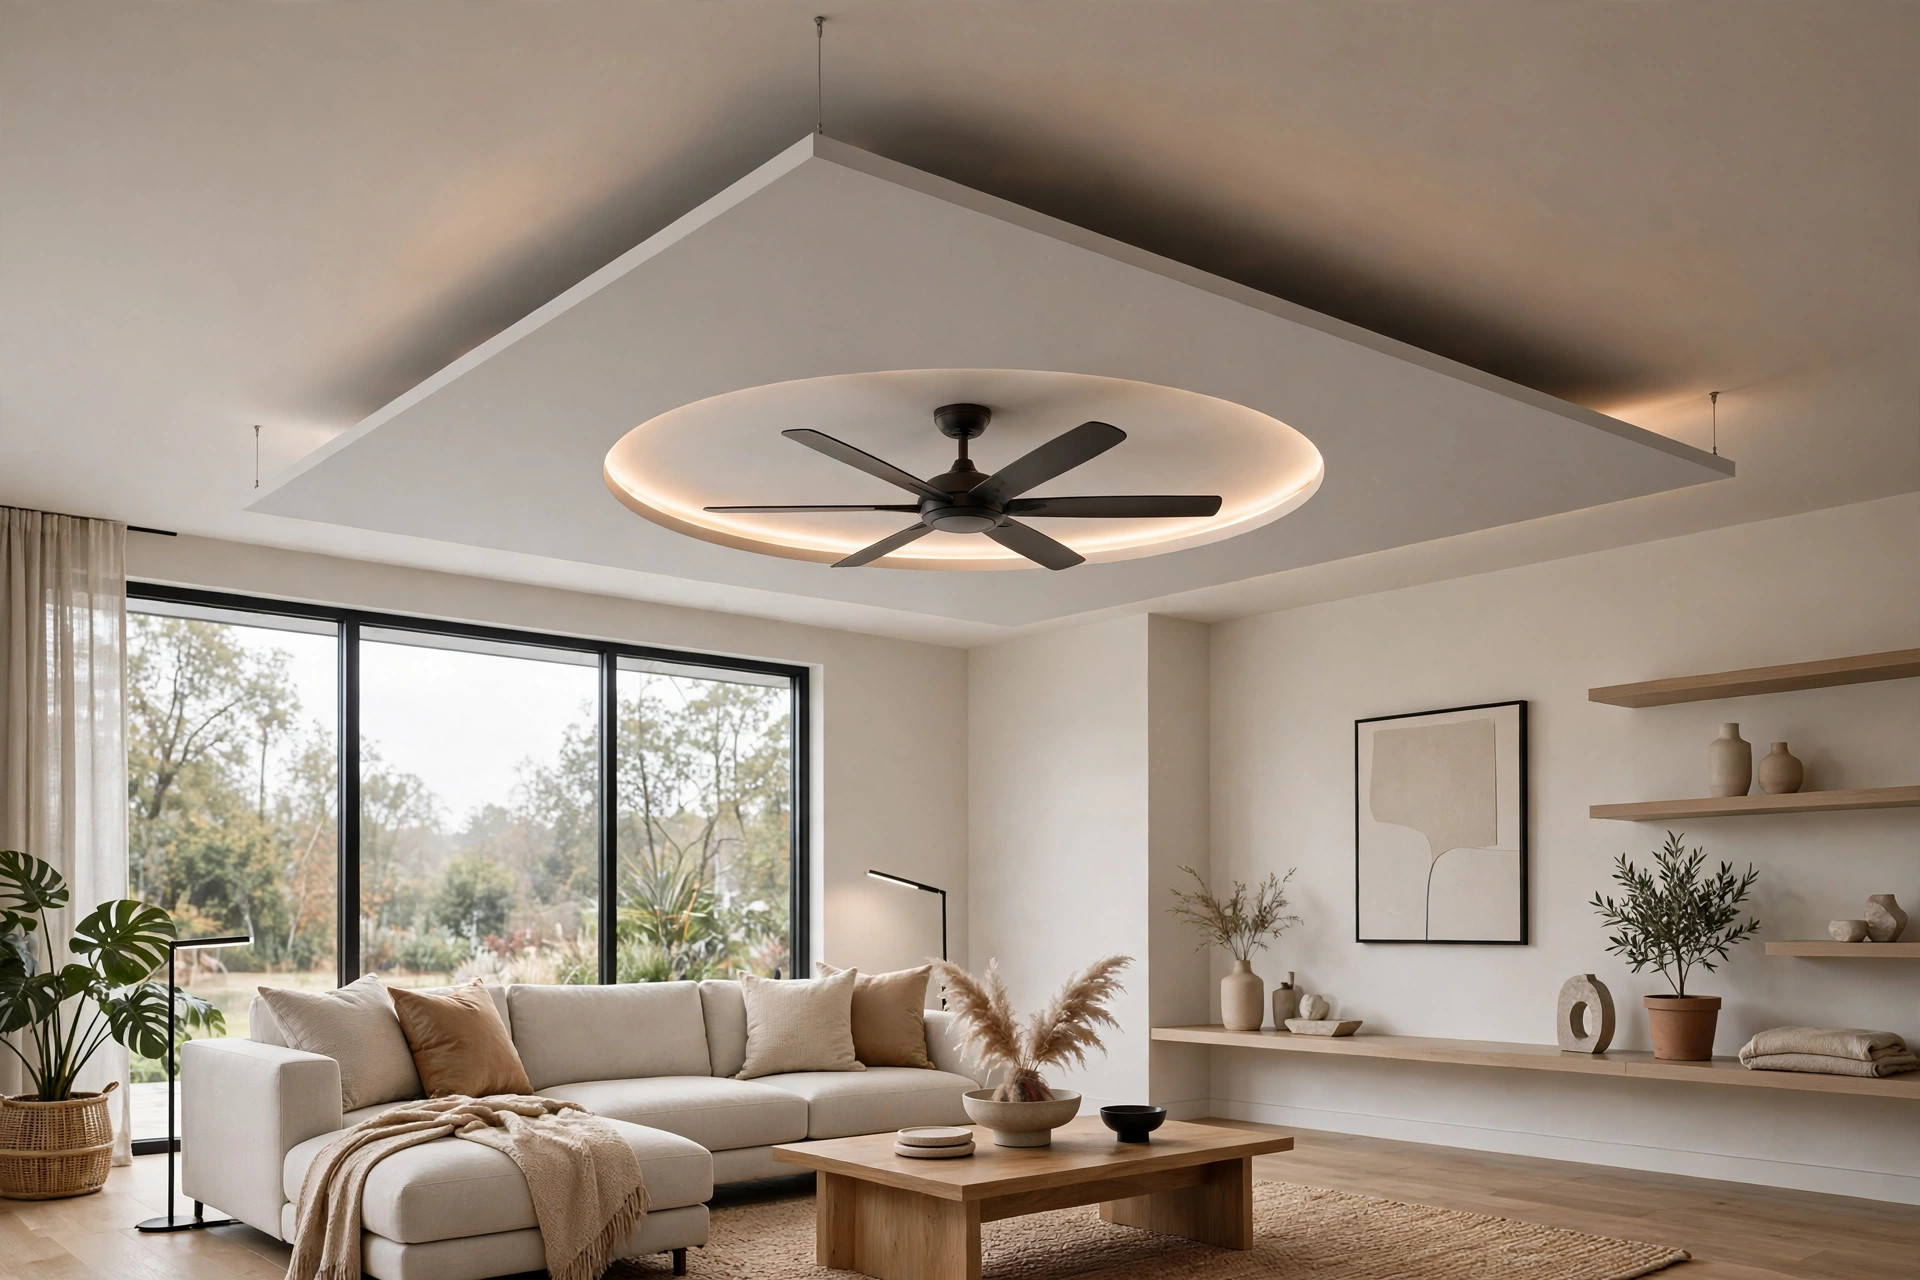
A central panel suspended below the main ceiling with a shadow gap all around, the fan mounted through its centre. LED strips hidden in the gap make the panel glow and appear to float. The fan cut-out must be framed cleanly — a ragged cut-out in a floating panel ruins the effect. This suits medium halls where the owner wants one clear gesture.
Dining edge: fan over the table?
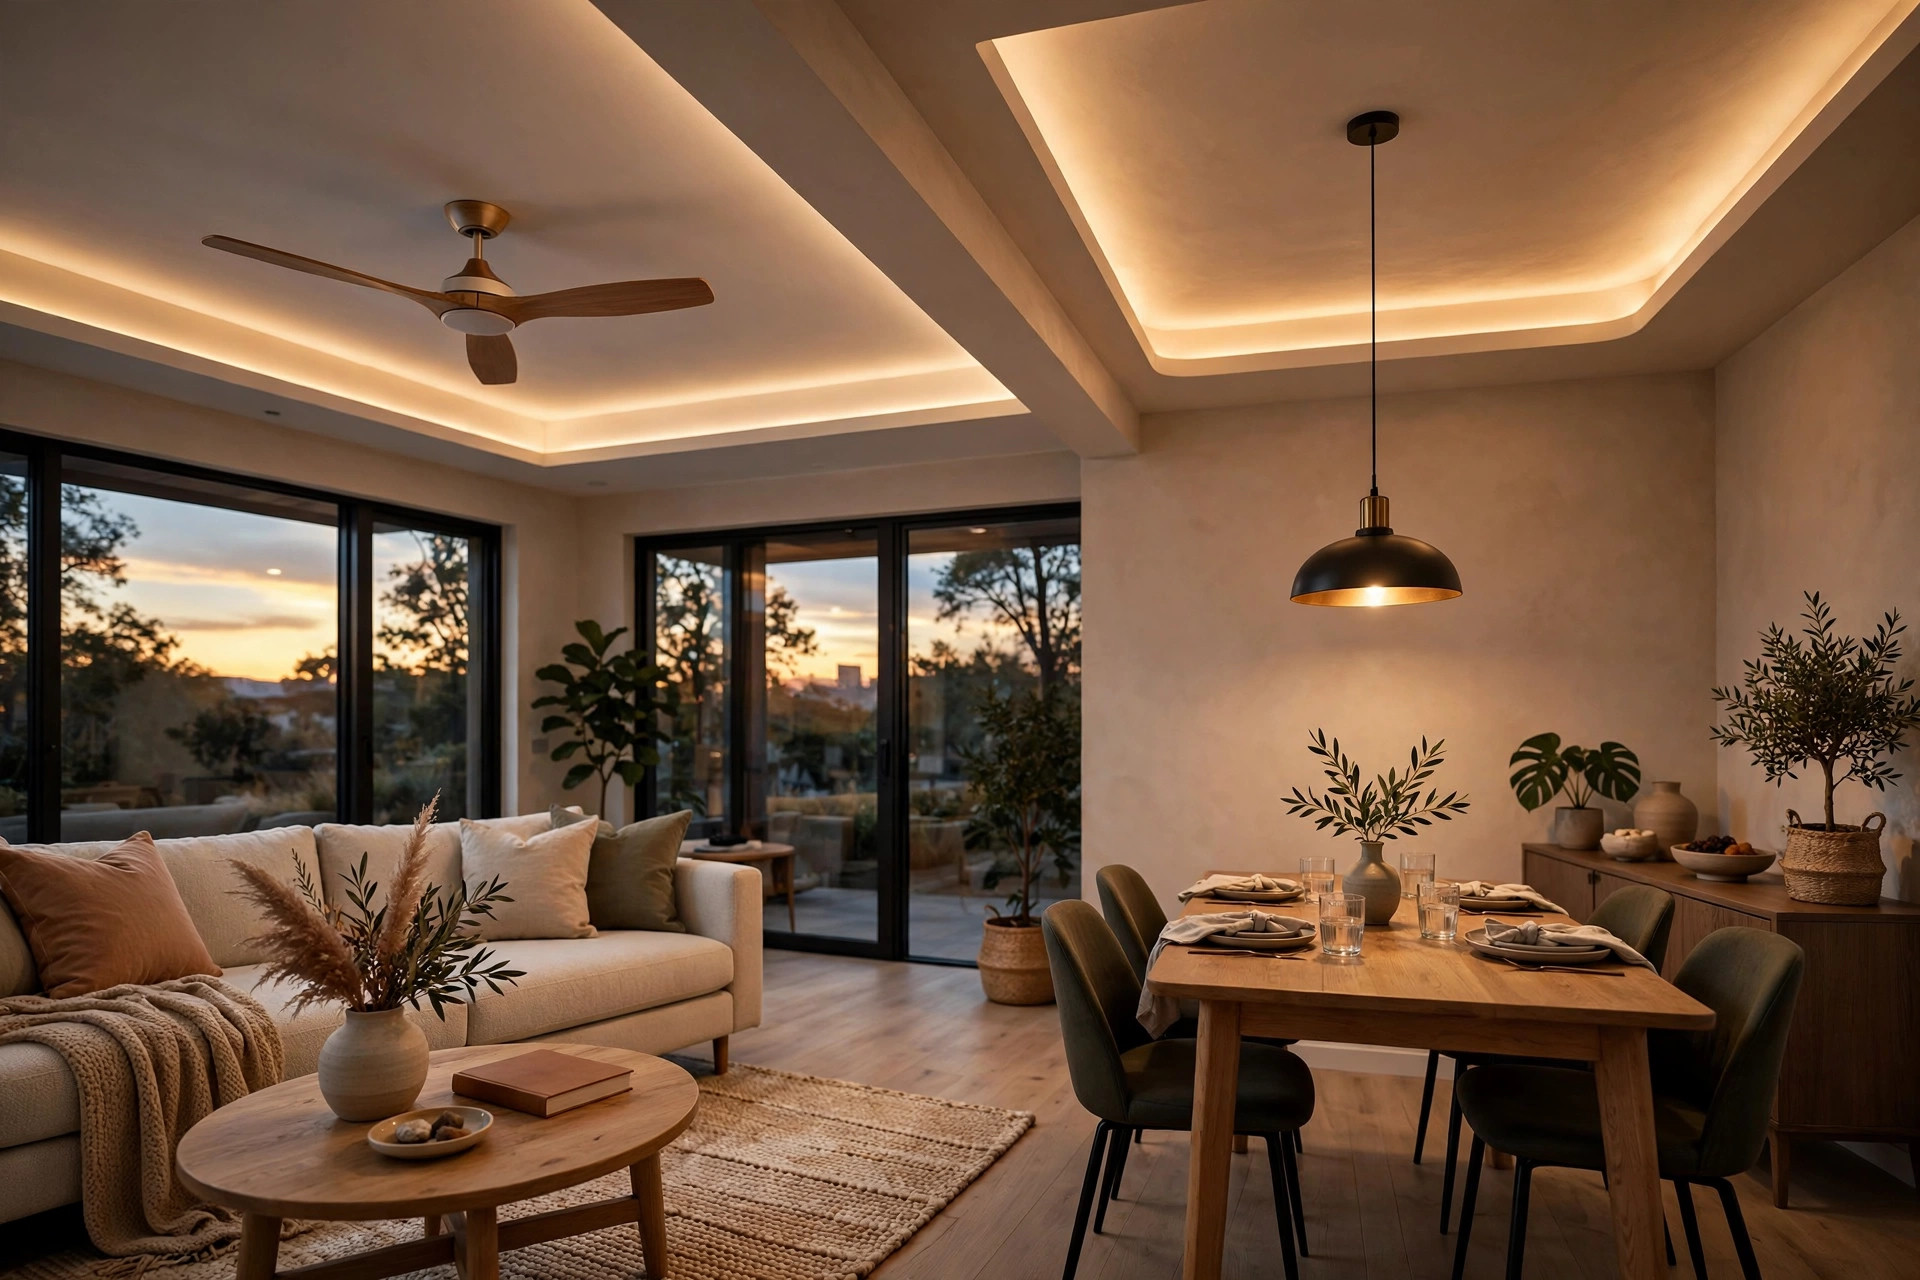
Where the living hall opens to dining, the second fan (or the only fan, in a dining-led layout) often sits over the dining table. Keep pendants and fans apart — one or the other over the table, not both fighting. A fan over dining works; a fan plus a low pendant over the same table does not.
What a fan-integrated living room ceiling costs
Fan integration adds modest cost to a ceiling — the fan box provisions, cut-outs, and extra planning. As a 2026 India reference, a POP living room ceiling with fan integration runs roughly ₹75–₹120 per sq ft installed (NoBroker 2026 design guide, India, installed). Two-fan layouts cost more in wiring and cut-outs than single-fan ones, and deep multi-level designs with fans cost more than flat ones — but the fan itself is a small fraction of any ceiling budget.
The honest cost levers: the ceiling design complexity (flat vs tray vs coffered), the number of fan points and their wiring, the lighting (cove LED per running foot, spots per fixture), and room size. Get the quote itemised — boards/plaster, framework, fan provisions and cut-outs, wiring, and lighting separately.
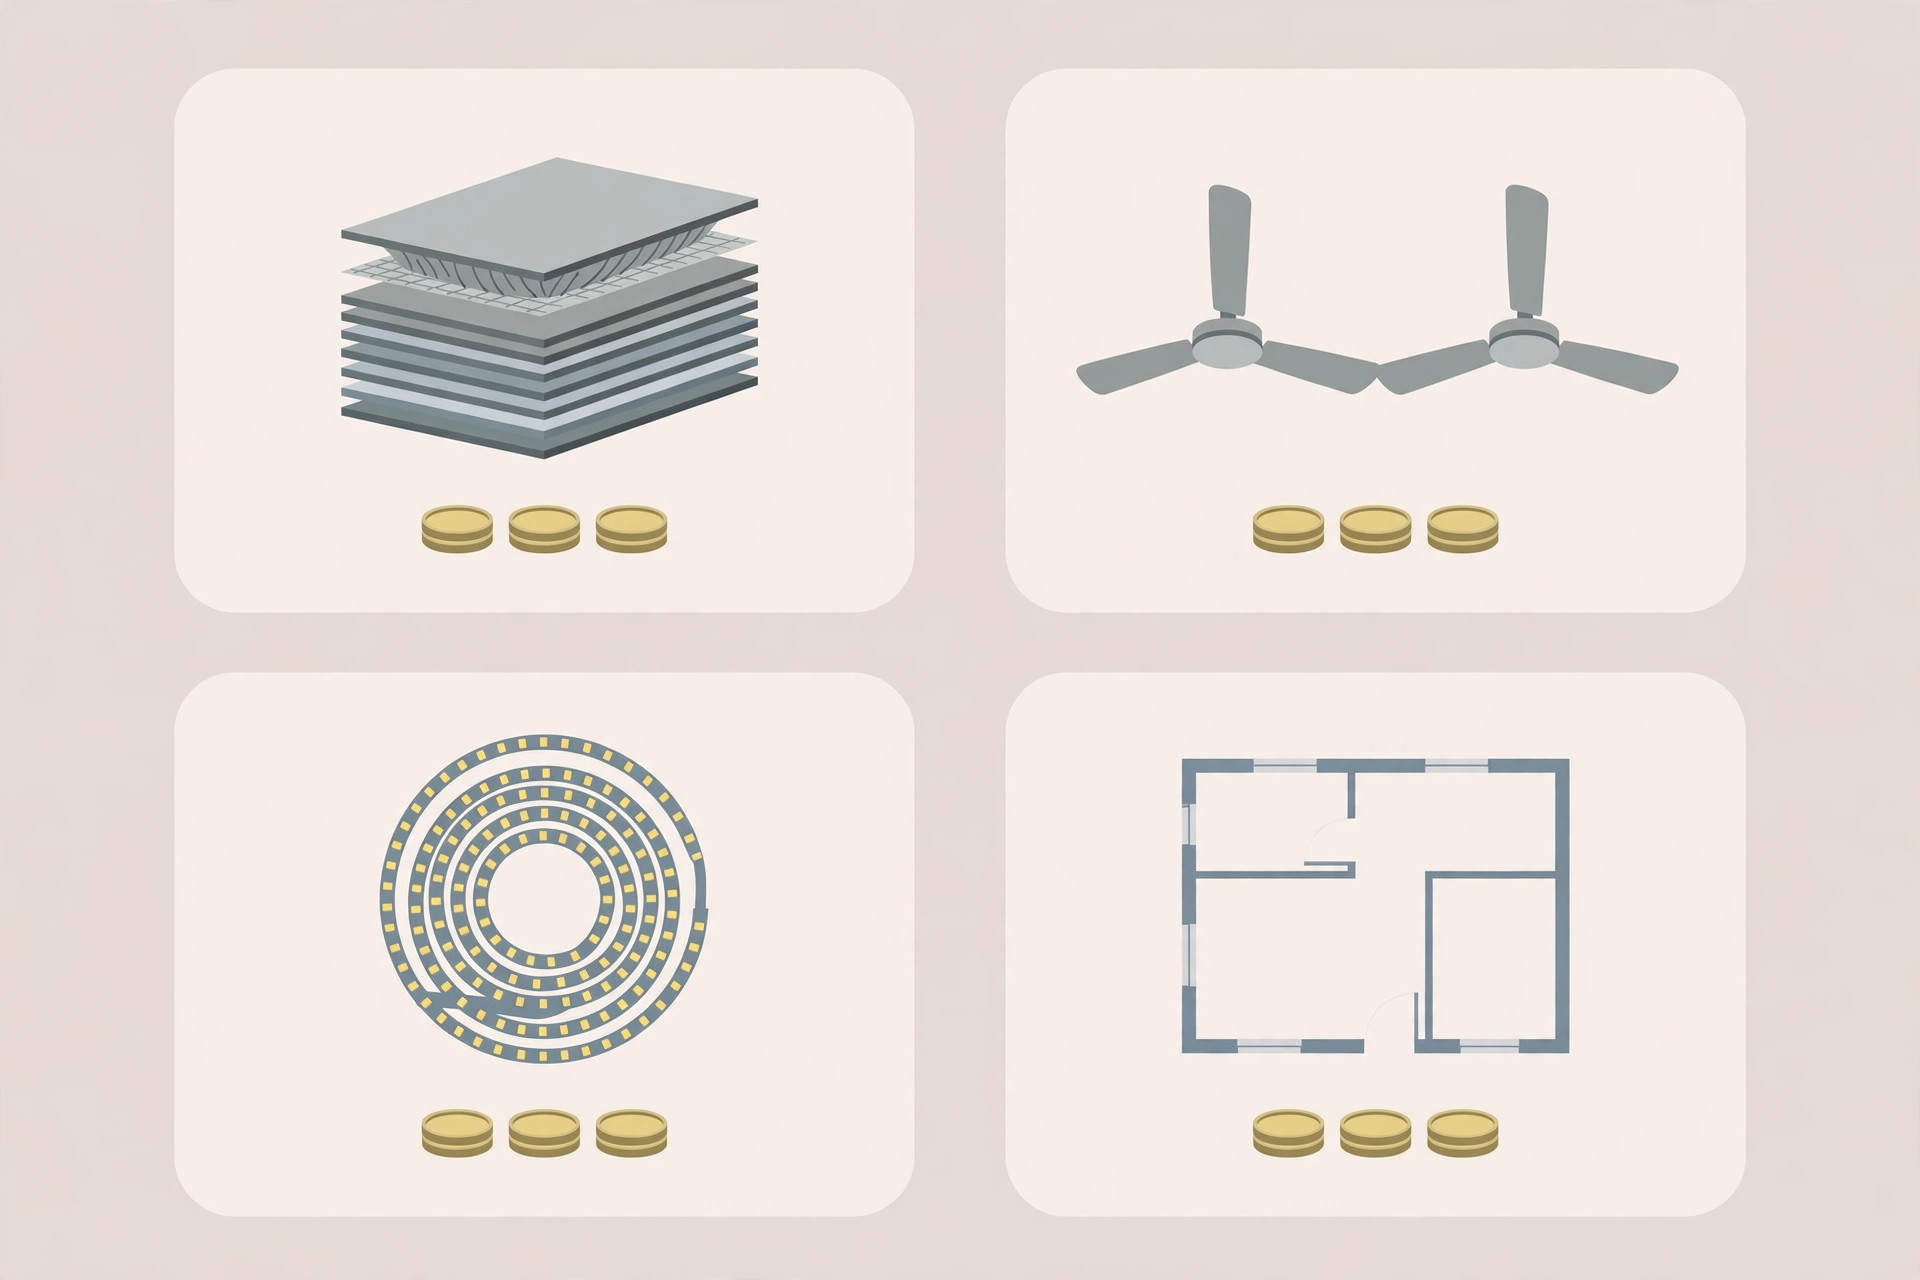
For the full India cost picture across materials, see our false ceiling cost guide.
Mistakes that spoil fan ceilings
Hanging the fan from the false ceiling frame. The slab anchor is non-negotiable — a fan on boards alone is dangerous.
Blades vs coves. Measure the sweep against every lowered feature on paper first.
Downlights inside the blade circle. The strobe effect is maddening; move the lights out.
Fan and pendant fighting over the table. One per zone.
Planning the fan after the ceiling. The anchor, cut-out, wiring, and downrod all belong in the design stage.
Living with it: maintenance
Fans throw dust onto the ceiling above them — wipe the ceiling area around the fan every few months, and clean the blades (dusty blades wobble and throw dust back). Check the downrod and anchor for play once a year; any new wobble means a check by your electrician, not a tighter DIY fix. Dust the cove channels near the fan more often — moving air deposits dust faster there.

Frequently asked questions
Can a false ceiling hold a ceiling fan?
The false ceiling itself should not hold the fan — the fan must hang from the structural slab through a cut-out in the false ceiling. Planned this way from the design stage, any false ceiling (gypsum, POP, wood) coexists safely with any fan. Have your contractor and electrician mark the anchor point before the frame goes up.
How do I plan two fans in a long living room?
Place them symmetrically along the room’s length — a central spine channel with equal spacing, or two equal coffered bays, one fan per bay. Align fans with seating zones rather than the room’s geometric centre if the furniture is off-centre. Keep blade clearances and separate light circuits for each zone.
What is the minimum ceiling height for a fan with a false ceiling?
Count from the finished ceiling, not the slab: keep comfortable clear height below the blades. For halls under 9 feet of slab, use a slim border ceiling and a short downrod. Deep multi-level designs with fans need 10 feet or more to avoid a cramped feel.
Should I choose a fan or a chandelier for the living room?
For daily Indian use, the fan usually wins the centre. Compromises that work: a designer fan with an integrated light, or the chandelier over the dining zone with the fan over seating. Decide before the ceiling design is finalised.
Quick recap
A living room ceiling with a fan is planned fan-first: slab anchor before the frame, the fan centred (or paired symmetrically in long halls), blade clearances measured against every lowered feature, lights outside the blade circle, and fans and lights on separate circuits. Single-fan halls suit centred rings, trays, and slim borders; long halls earn two fans on a spine or in twin bays. For the general fan-layout playbook, see our false ceiling designs with fans, and for the room itself, our hall false ceiling guide. All images in this article are original concept renders created to illustrate the ideas, not photographs of completed projects.