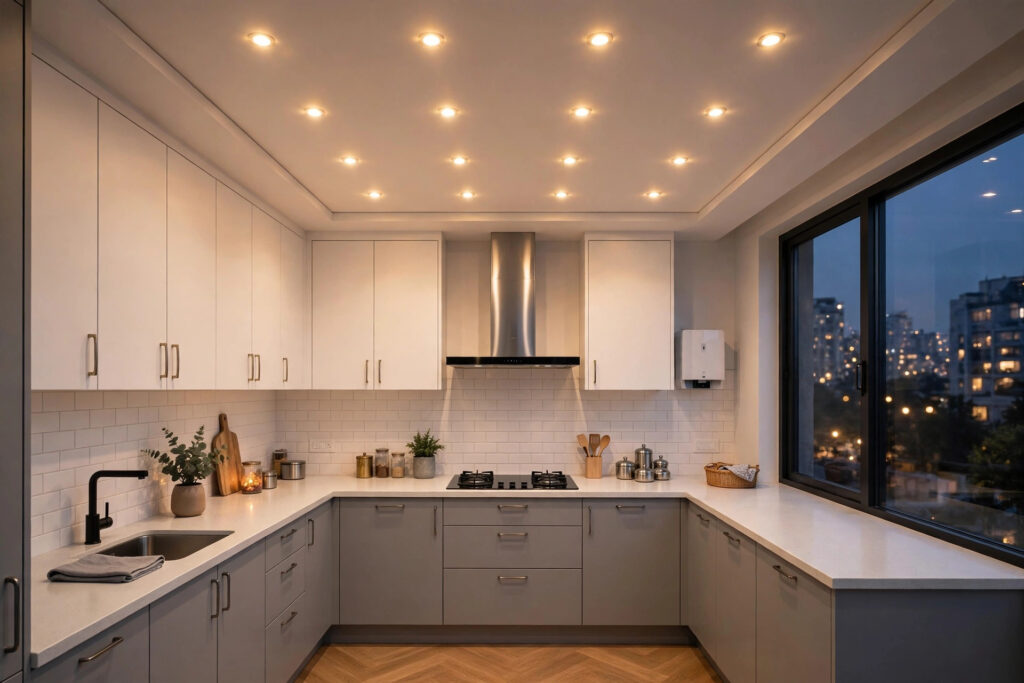

An Indian kitchen is a hard-working room: daily tadka, steam from boiling milk, oil fumes that settle on every surface — and the ceiling takes it all. That is why a kitchen false ceiling design starts from practicality, not decoration. It means wipeable, heat-tolerant surfaces; slim profiles for 8–9 feet ceilings; lights placed for chopping, not ambience; and the chimney duct hidden before the boards go up. This guide covers the kitchen-specific decisions — materials, 7 practical designs, cooking-zone rules, lighting, ventilation and cleaning — so your ceiling looks good in year five, not just on day one.
For planning the ceilings of every room together, see our complete false ceiling design guide.
What makes a kitchen ceiling different
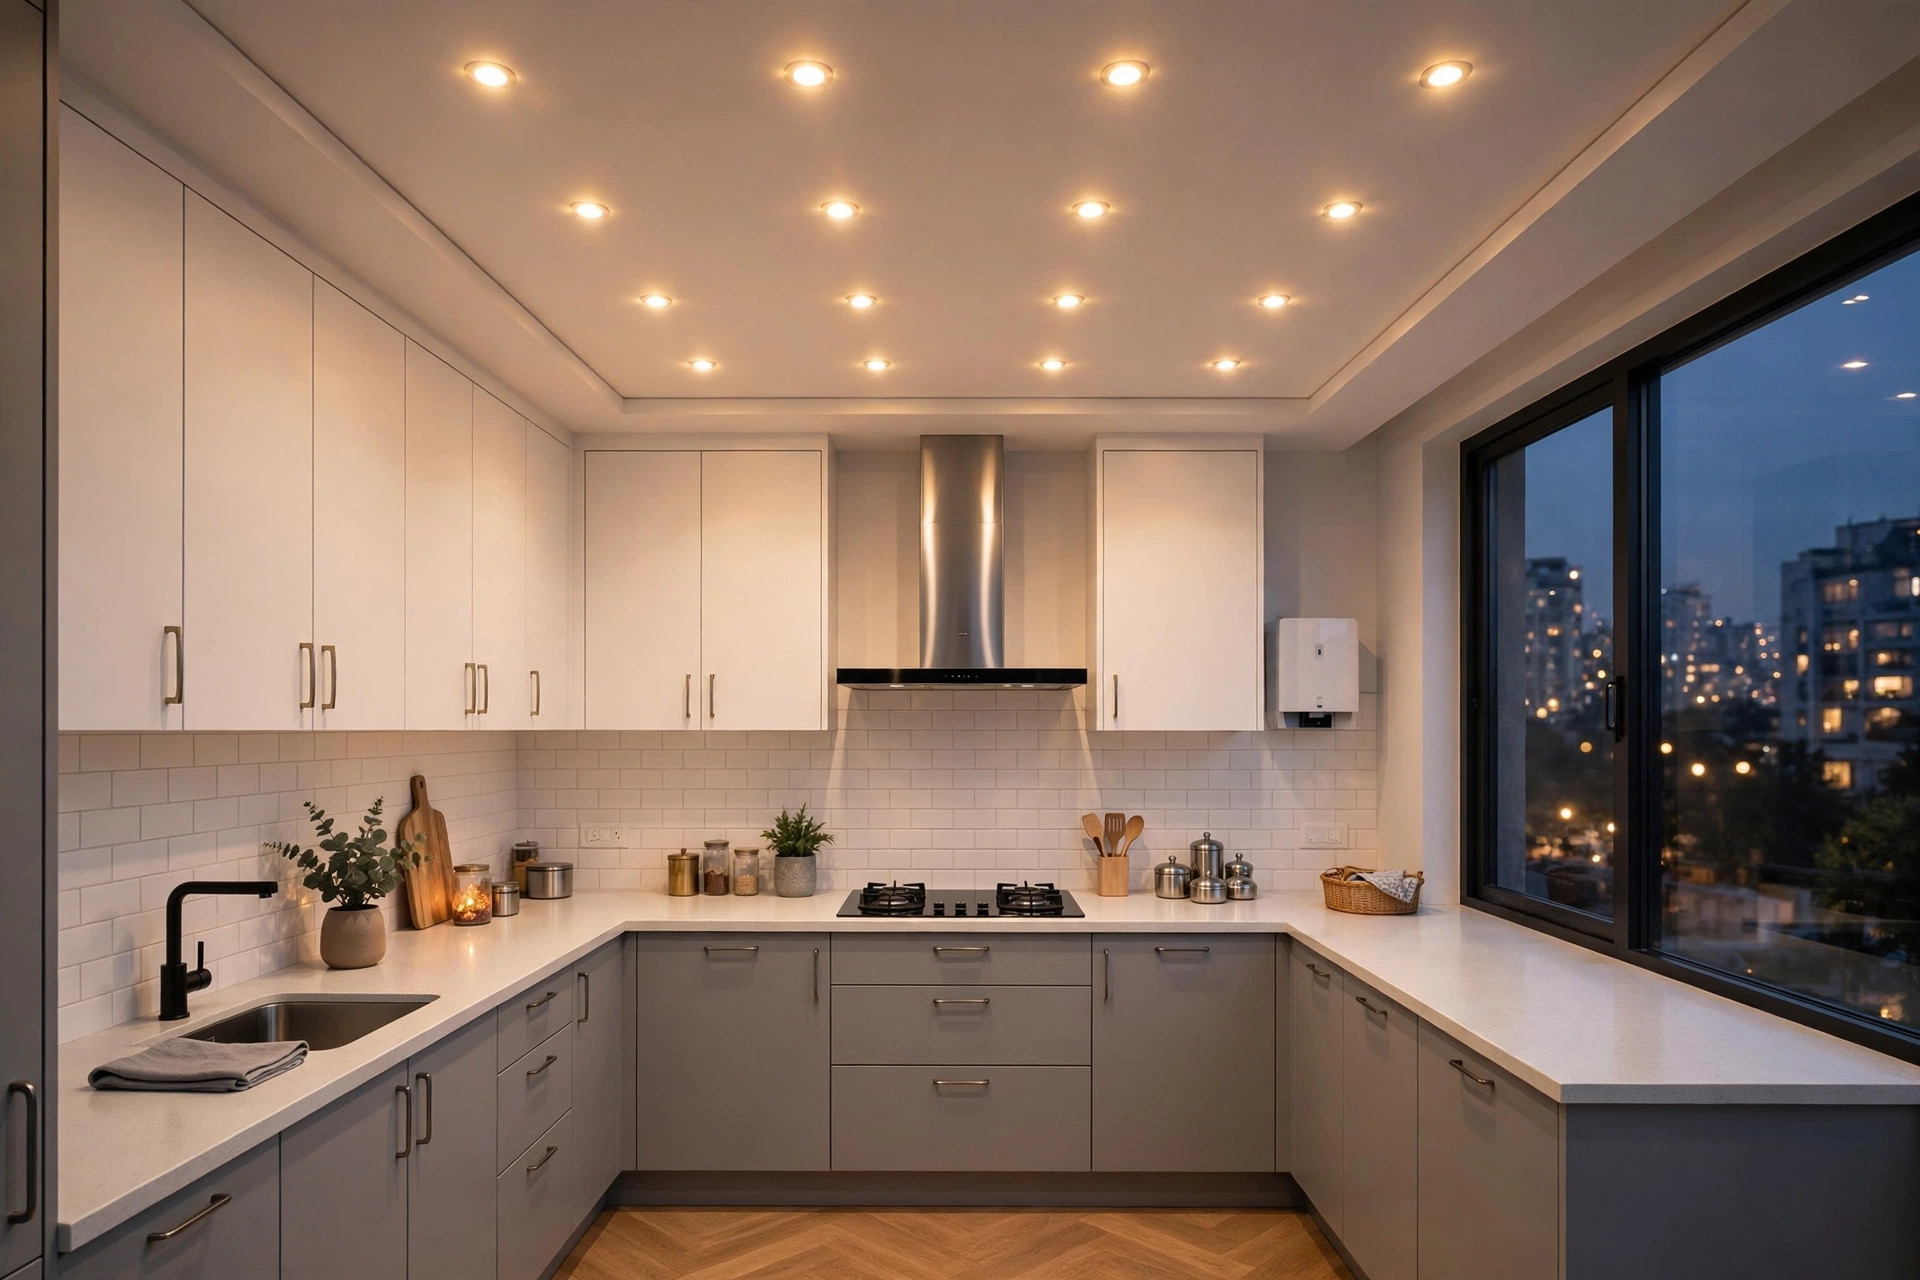
Bedrooms want calm light; kitchens produce grease, heat and steam every single day. A thin film of cooking oil settles on surfaces near the hob, steam from the wash area adds moisture, and the chimney moves hot air past the ceiling. So the kitchen’s design rules are different:
- Grease first: the surface above the cooking zone must be smooth and wipeable. Deep grooves, coffers and heavy ornament are grease traps.
- Heat and steam: materials and paint must tolerate warmth and humidity; near the chimney, the ceiling should be flat and heat-tolerant.
- Cleanable, not just pretty: every design choice should pass one test — can you wipe it clean without a ladder-and-scrub operation?
- Serviceable: LED drivers, wiring junctions and the chimney duct all live above the ceiling. Plan access before framing, not after.
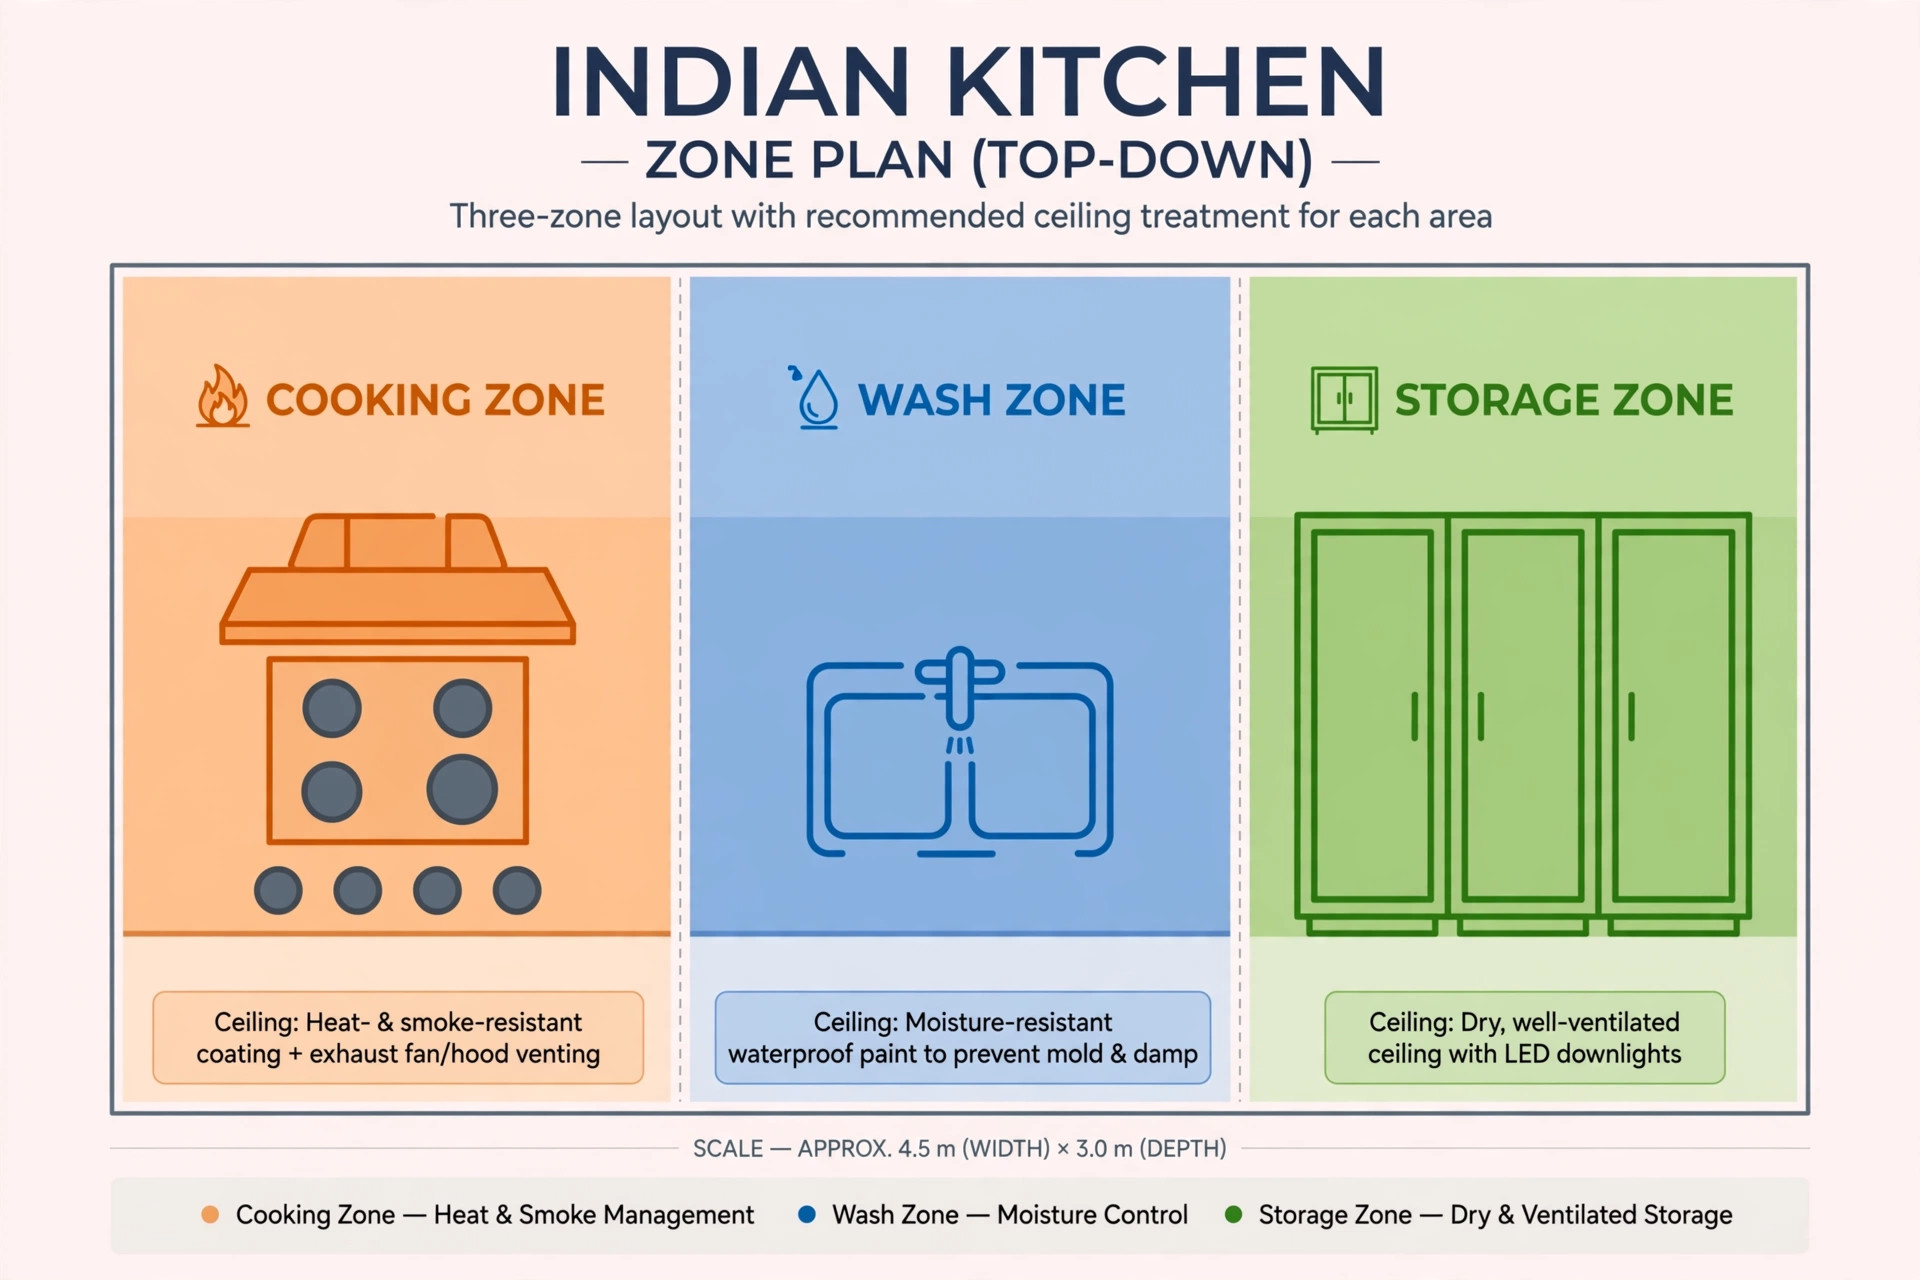
Material choices for a kitchen false ceiling
Indian interior guides recommend moisture-resistant options with good ventilation for kitchens (MagicBricks, retrieved September 2026). Here is how each material behaves:
- Gypsum: the default for modern kitchens — smooth, factory-finished, neat joints. Near the cooking and wash areas, ask your contractor about moisture-resistant board and washable (wipeable) paint. Gypsum also hides wiring and ventilation in the void above (InteriorCompany, retrieved September 2026).
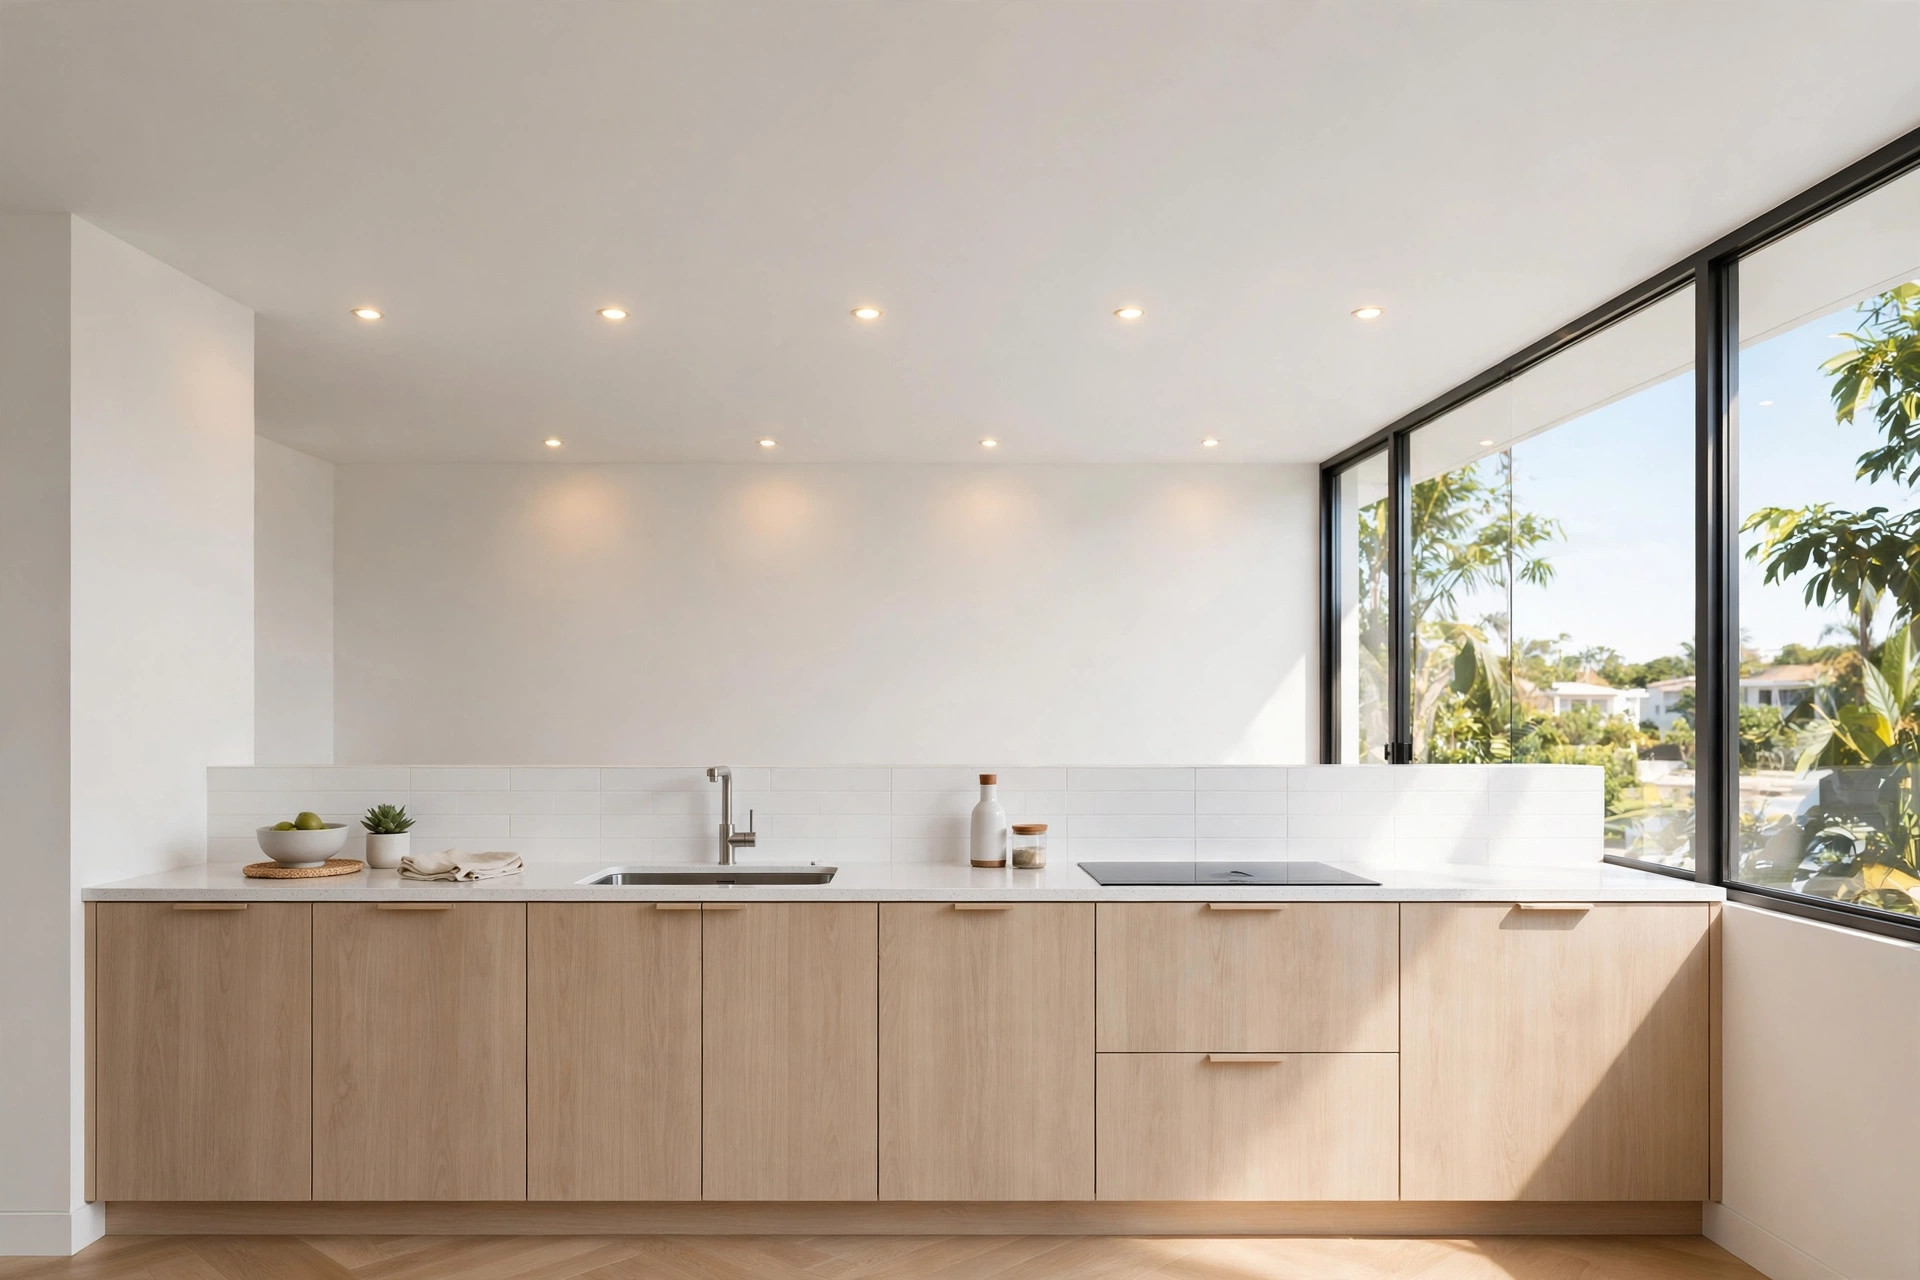
- PVC panels: lightweight, moisture-resistant and budget-friendly, in many finishes (MagicBricks, retrieved September 2026). The glossy surface wipes clean easily, which is exactly what a kitchen ceiling needs. The visible panel joints are a style trade-off.
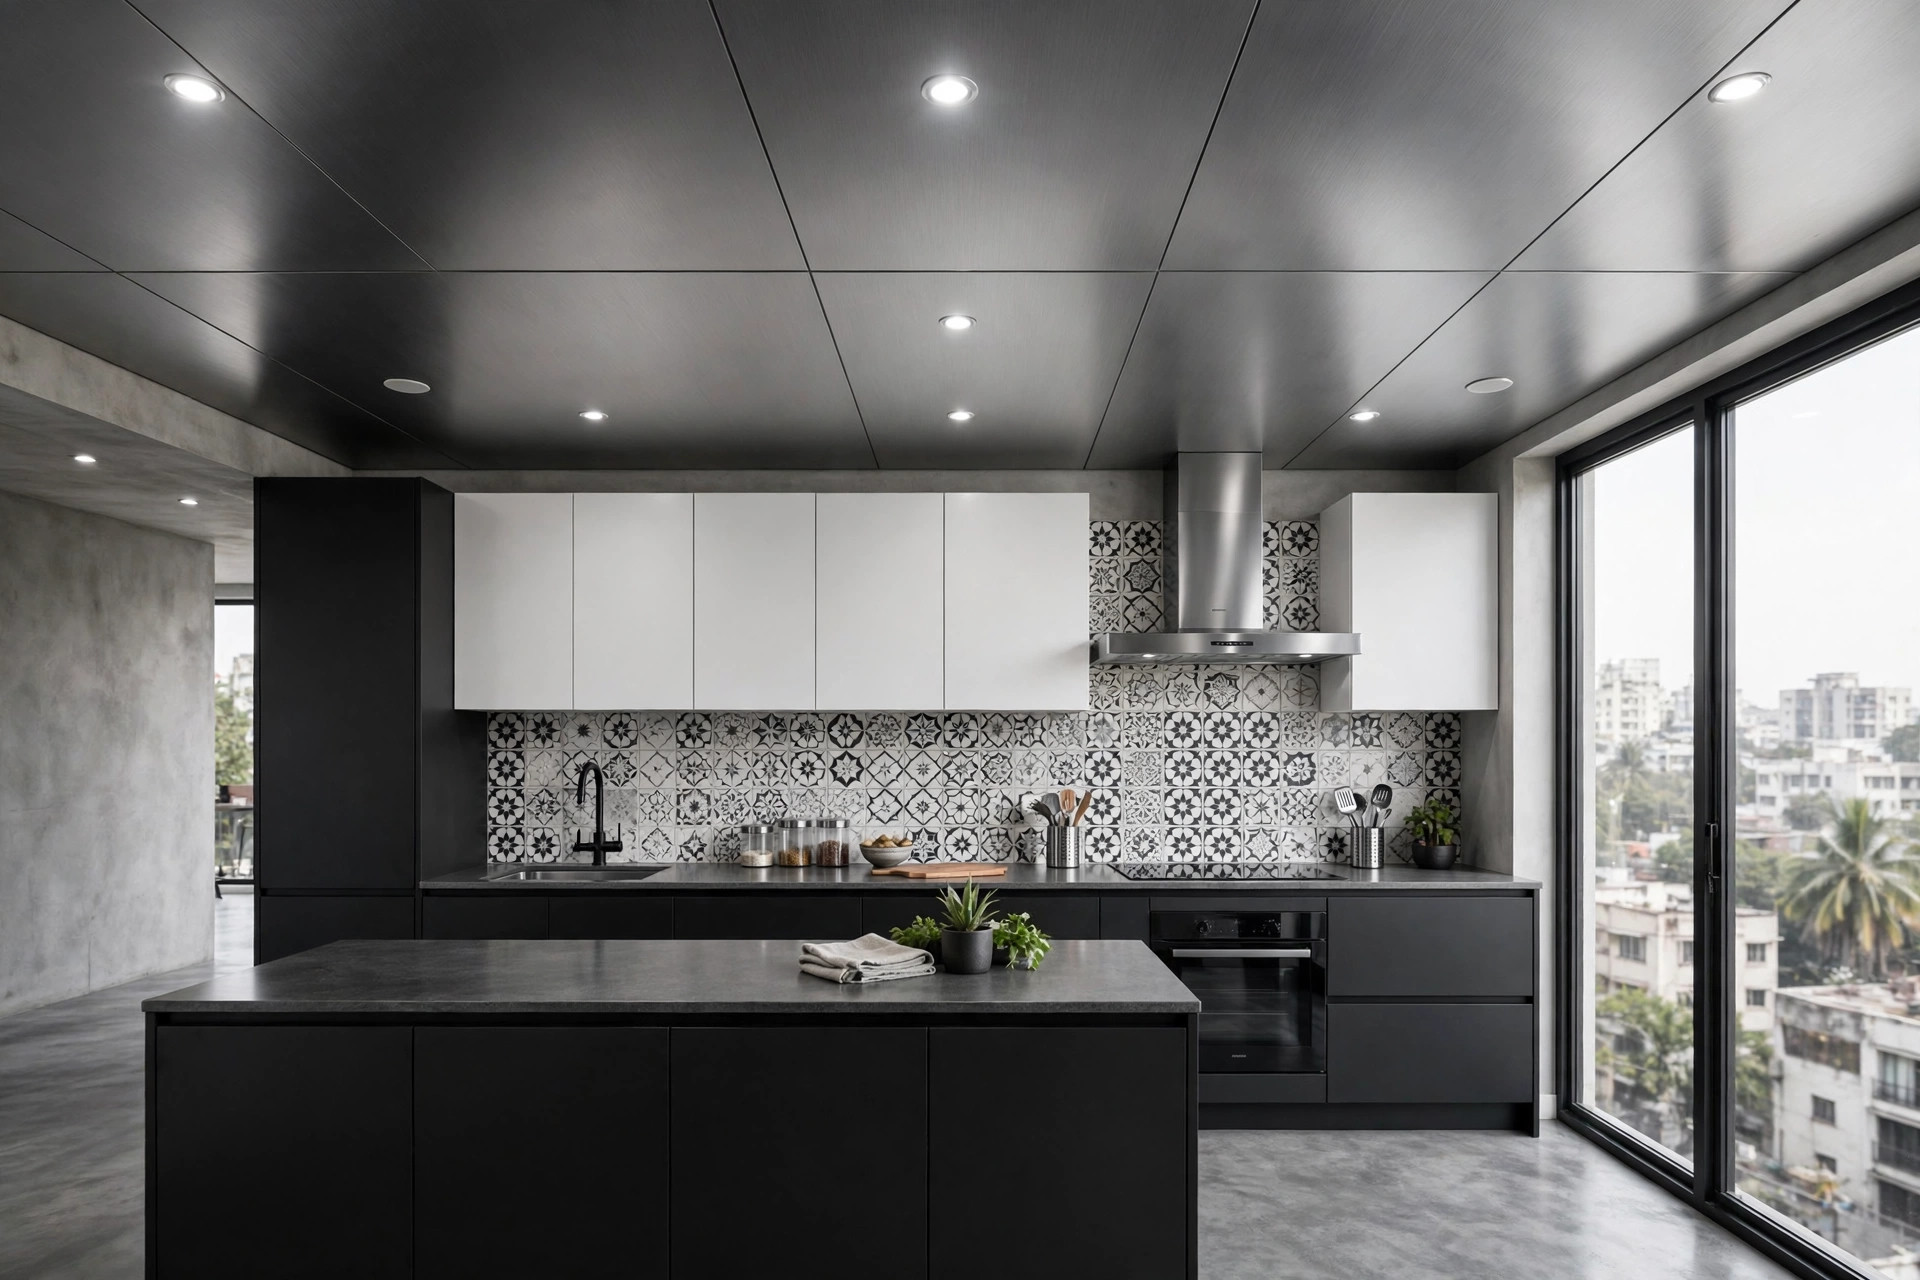
- Aluminium/metal: brushed or matte metal ceilings look sleek and wipe clean with a damp cloth. They cost more than gypsum or PVC, but in heavy-cooking kitchens the easy cleaning is worth considering.
- POP: good for coves and curved details when properly sealed and painted (Coohom FAQ, retrieved September 2026). Keep the detailing simple above high-steam zones — intricate POP near the hob collects grease.
- Wood / wood-look: use as an accent away from the hob, with termite-treated material; near the cooking zone, prefer wood-look PVC for the same warmth with a wipeable surface.
If the room you are most worried about is wet rather than greasy, the calculus changes — see our bathroom false ceiling design guide, where moisture and mould drive every decision.
7 practical kitchen false ceiling designs
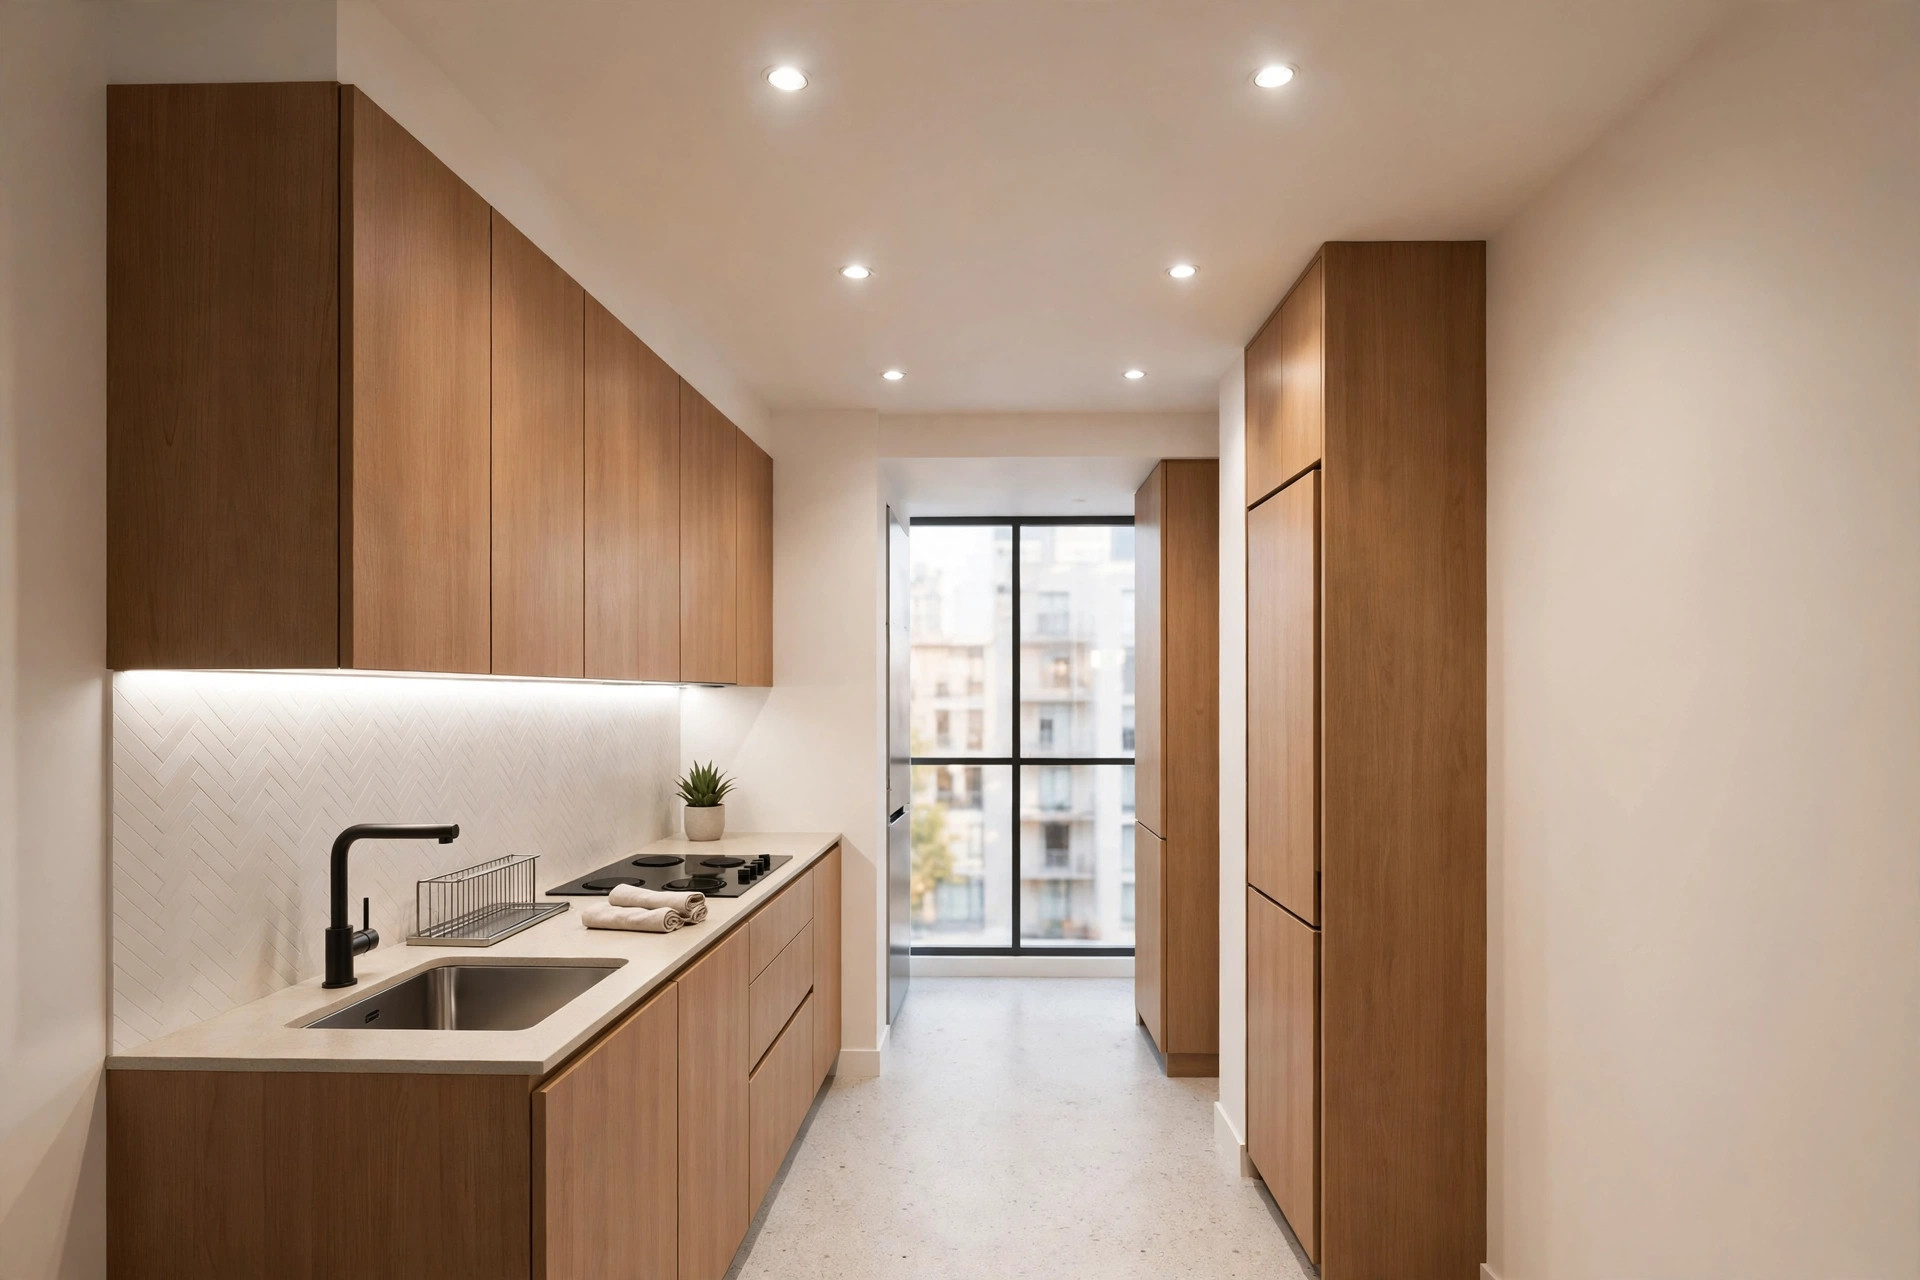
1. Slim flat ceiling with recessed spots — the safest bet
One flat layer, evenly spaced recessed downlights. Minimal height loss, nothing for grease to hide in. The default for most Indian apartment kitchens.
2. Peripheral border ceiling — height where it matters
Only the edges drop; the centre keeps full height. You get a cove light strip and spotlights with almost no cramping effect — ideal for 8–9 feet kitchens.
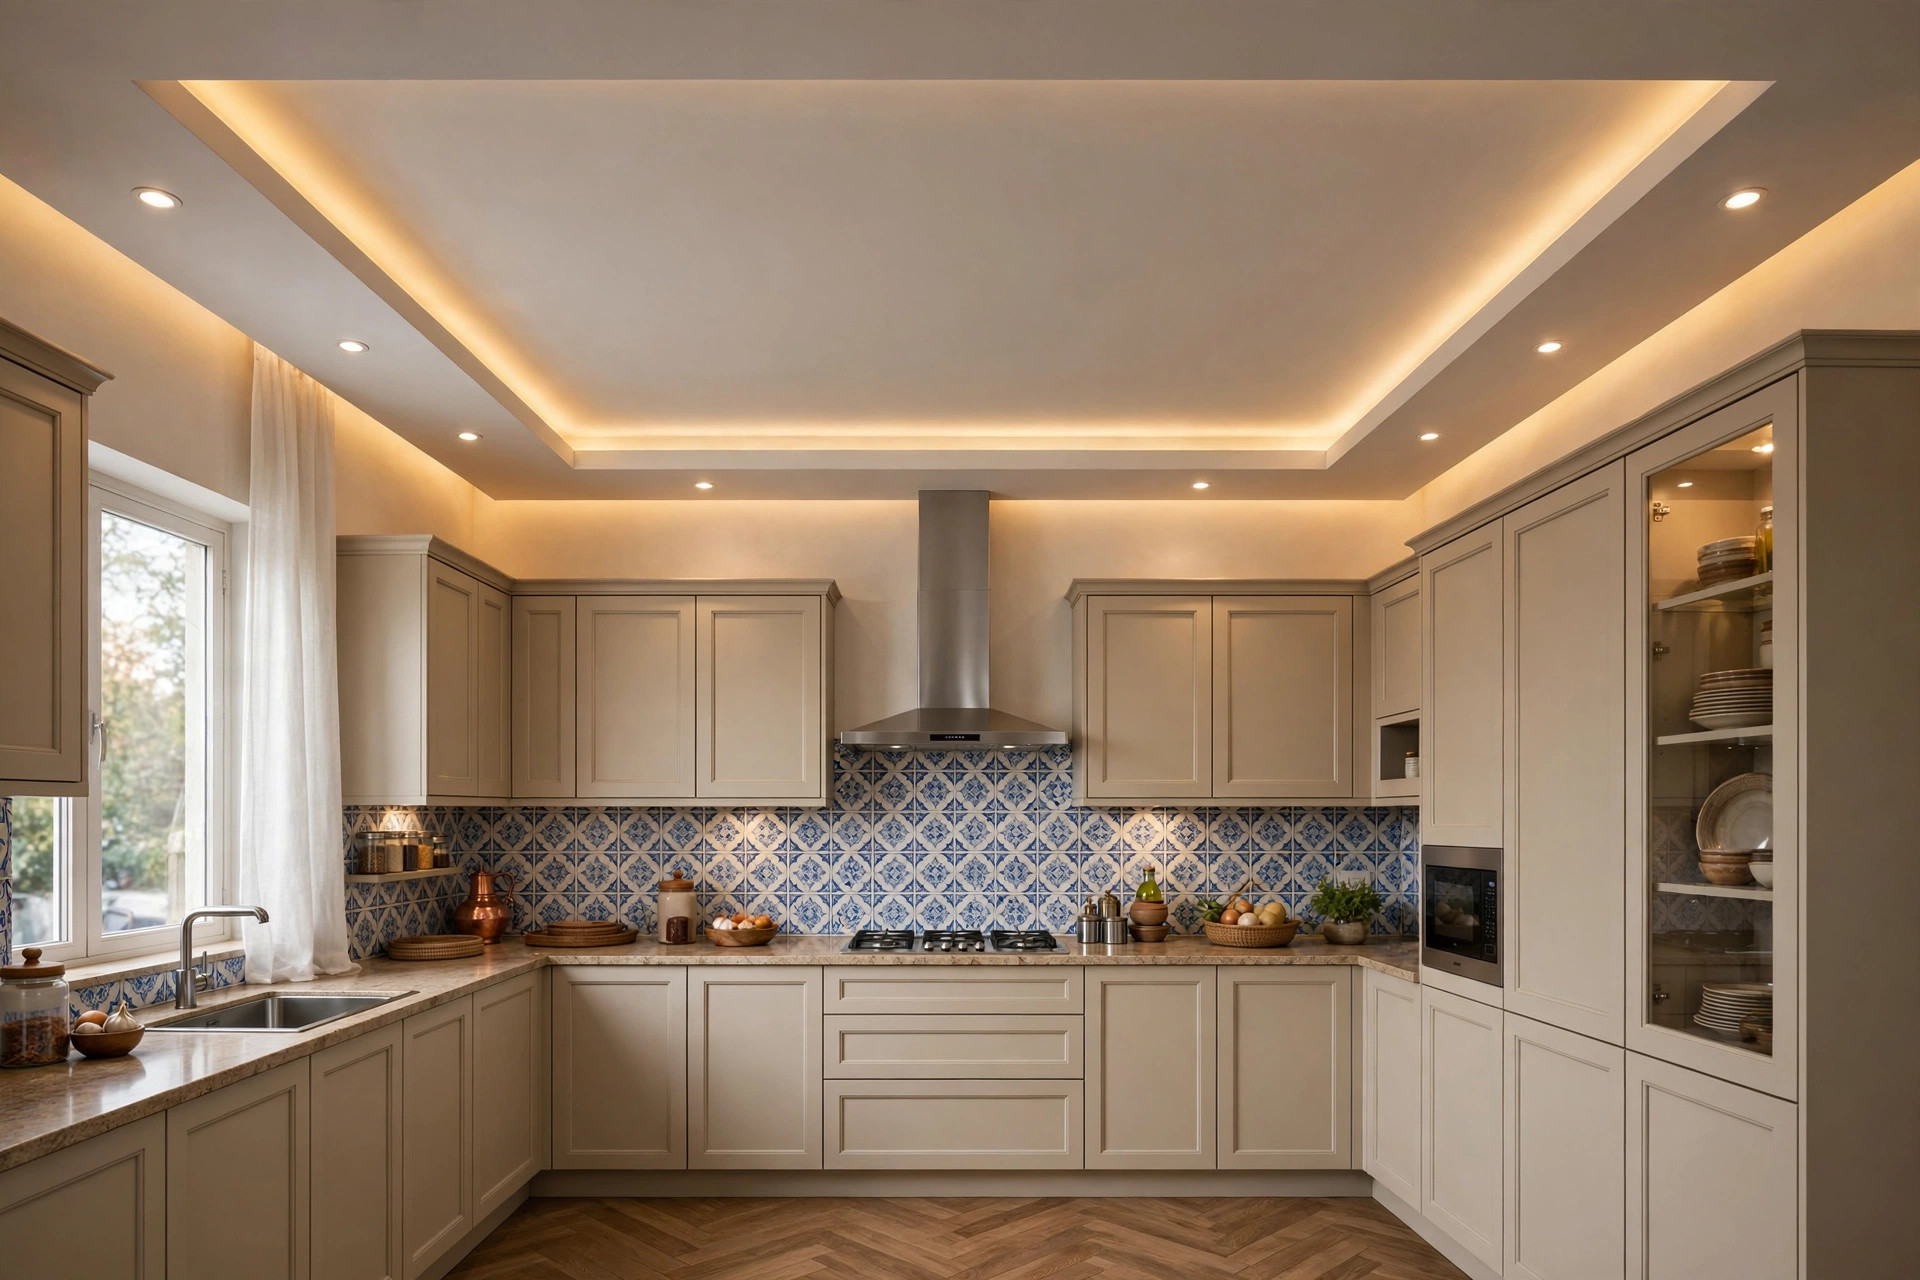
3. Layered cove ceiling — for large kitchens
Two levels with hidden LED strips between them, plus pendants over an island. Luxurious and great for big kitchens, but skip it in compact ones — and keep layered coves away from the cooking zone, where ledges collect oil film.
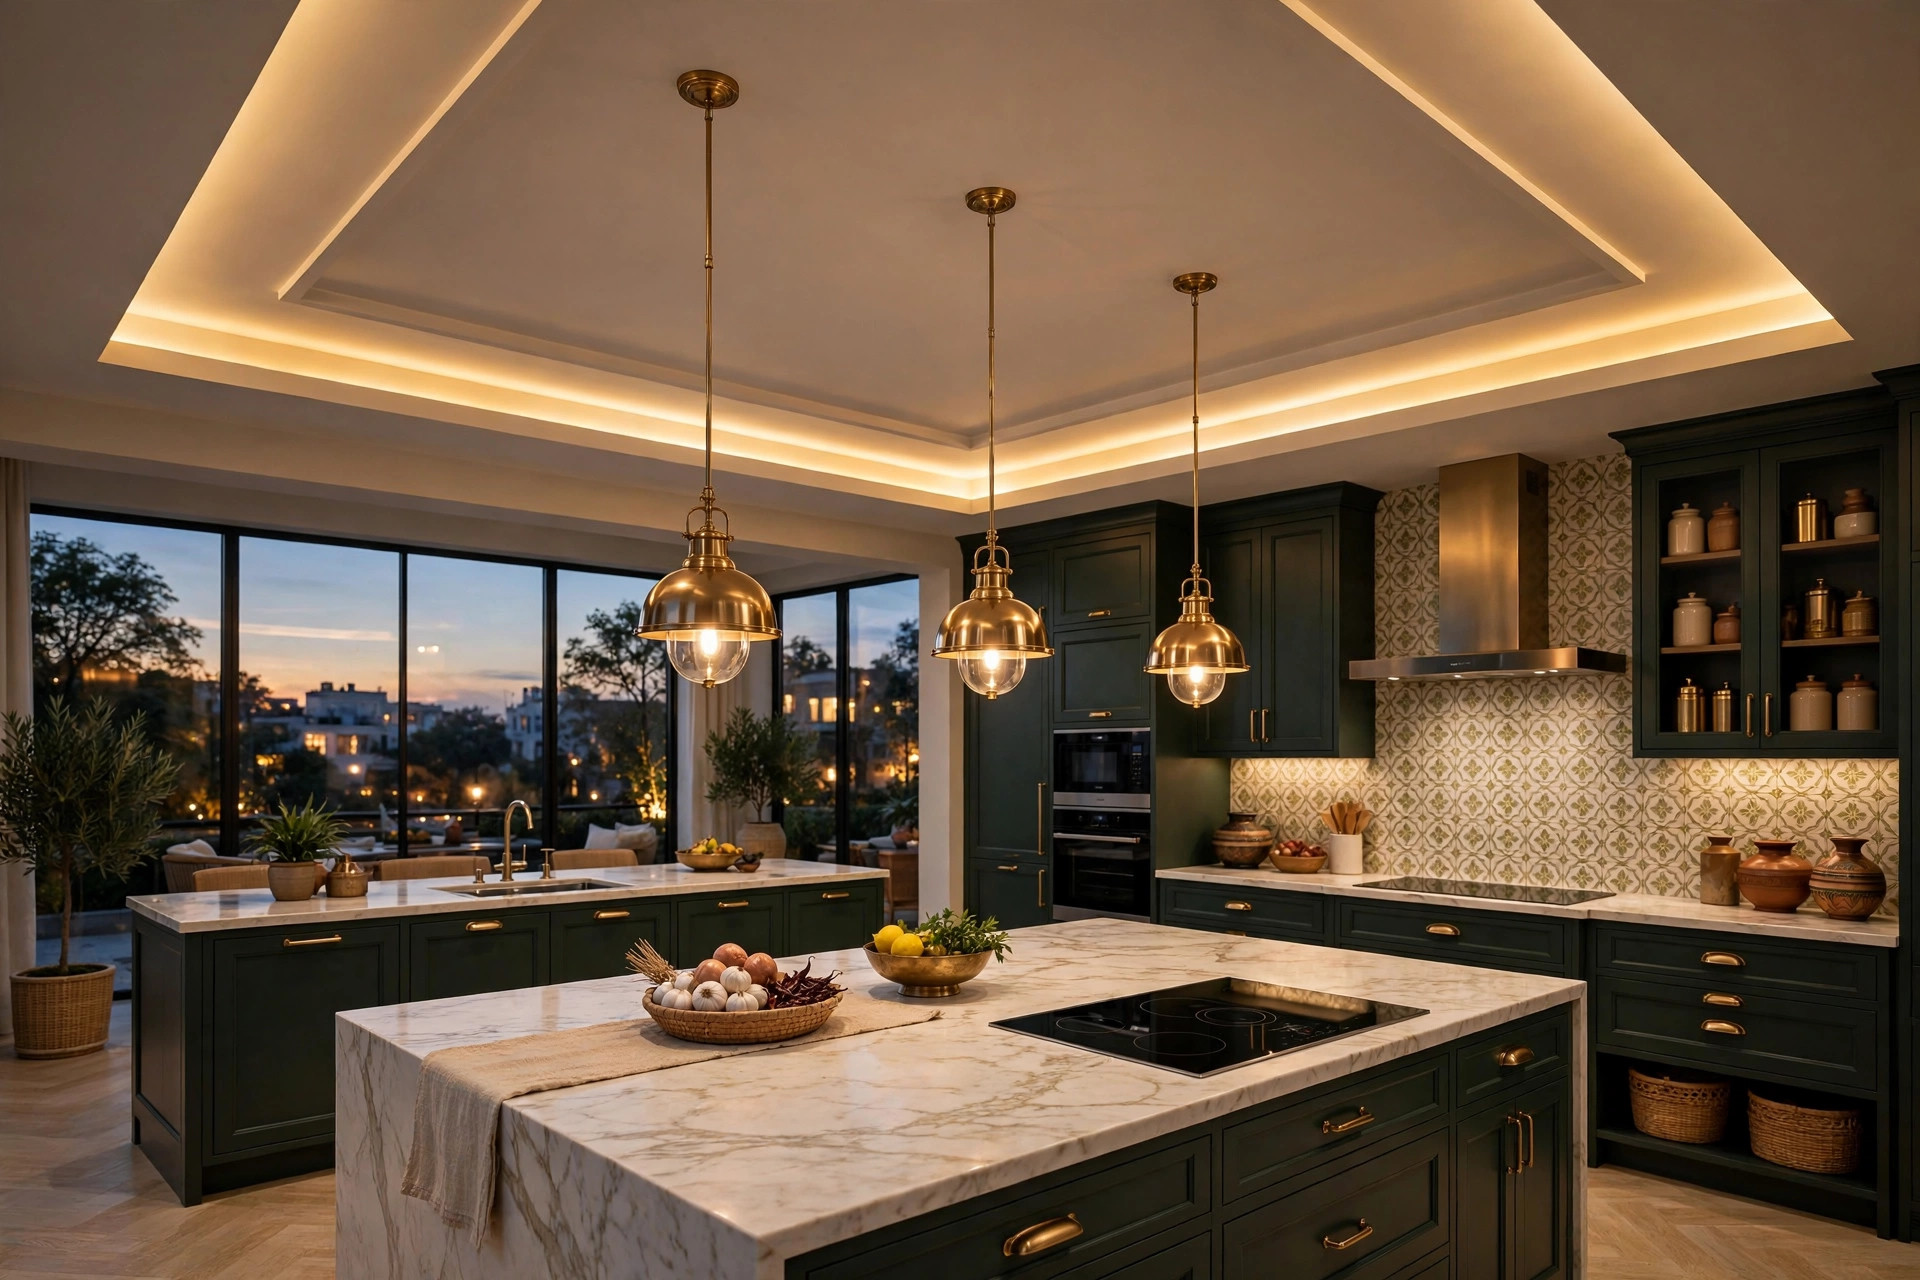
4. Wood-look PVC — warmth without the upkeep
Wood-grain PVC panels give a warm ceiling that wipes clean like any PVC. A good middle ground if you like wooden ceilings but cook daily.
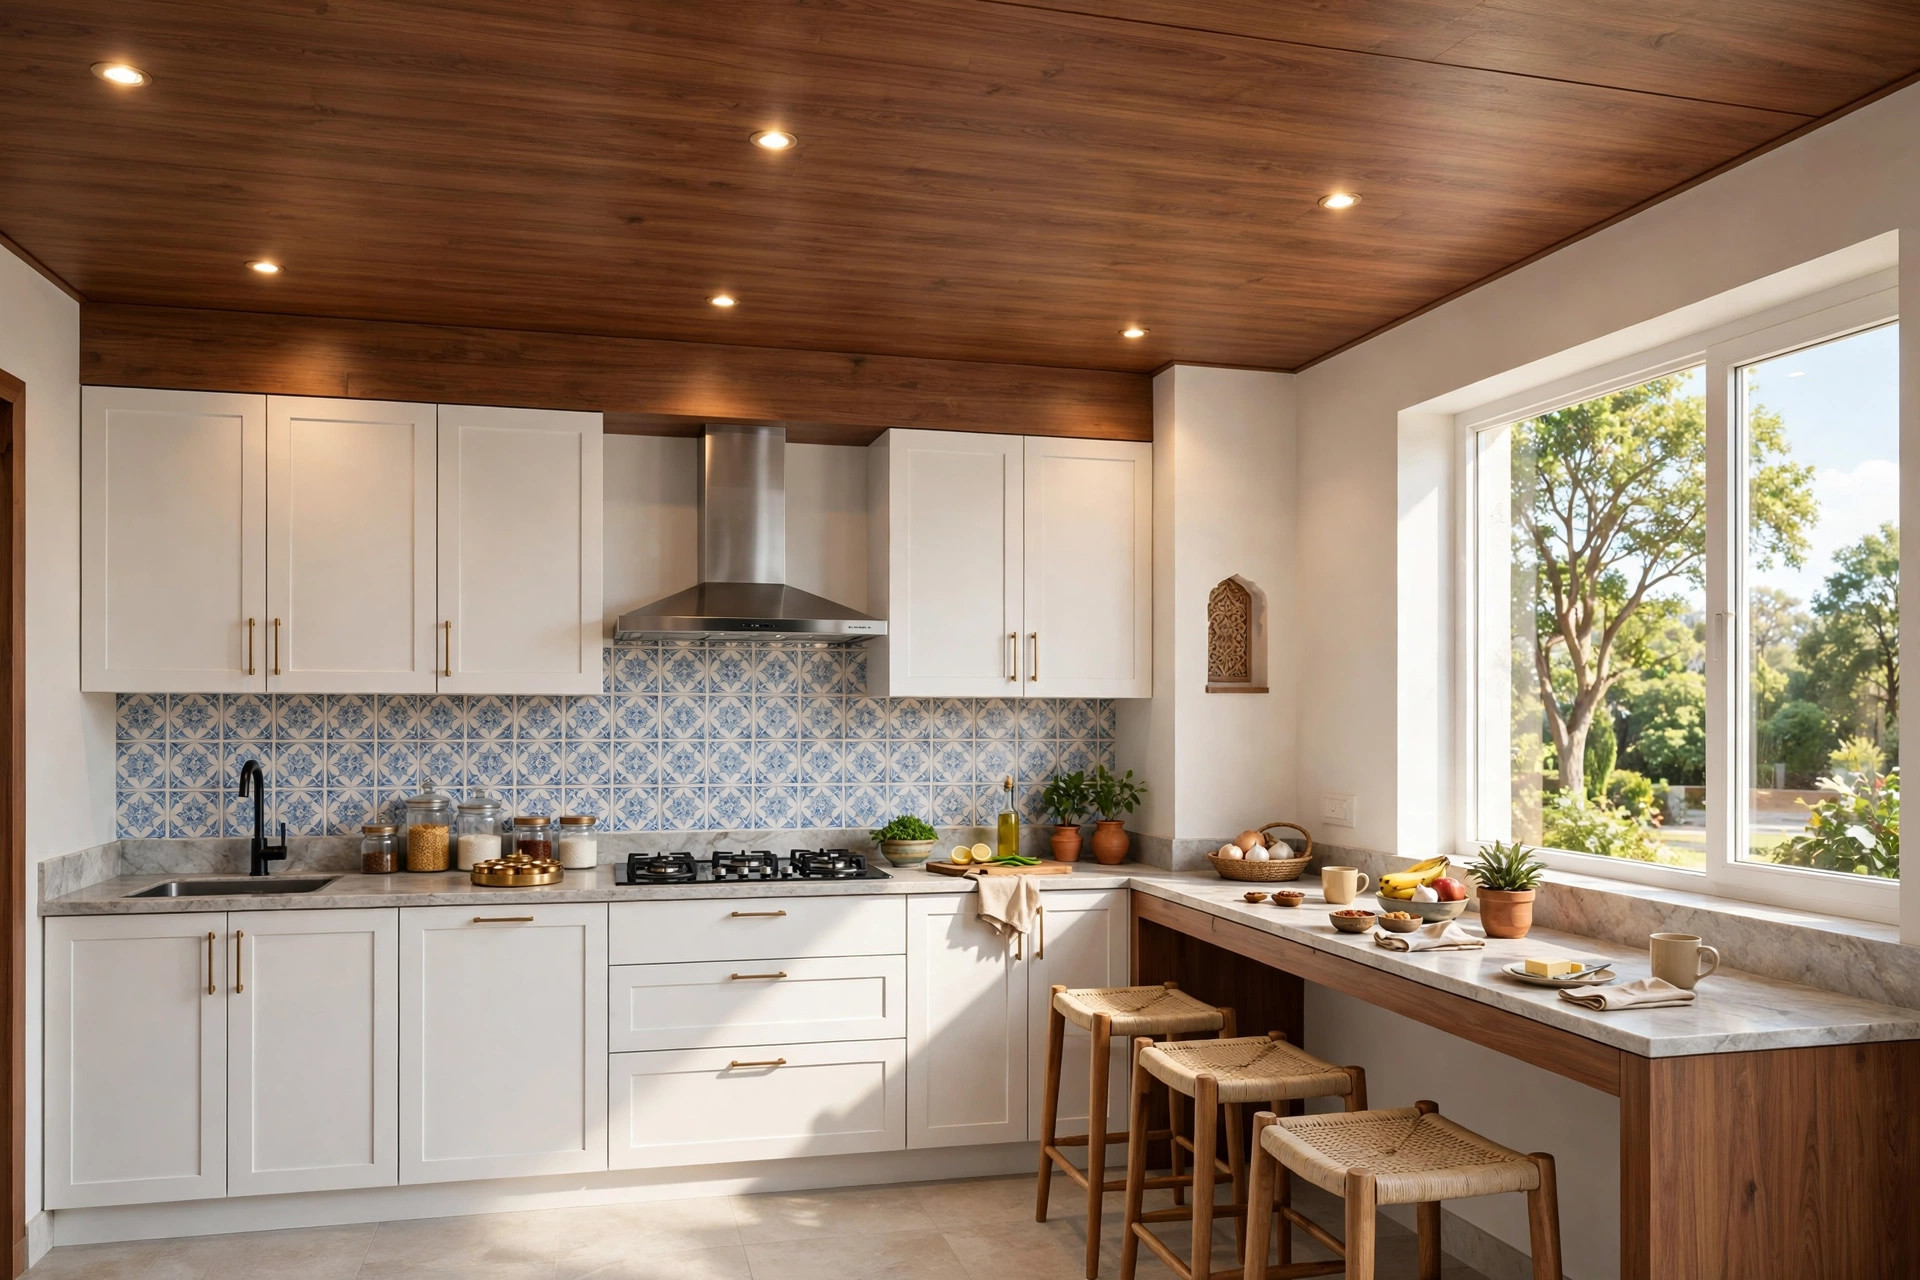
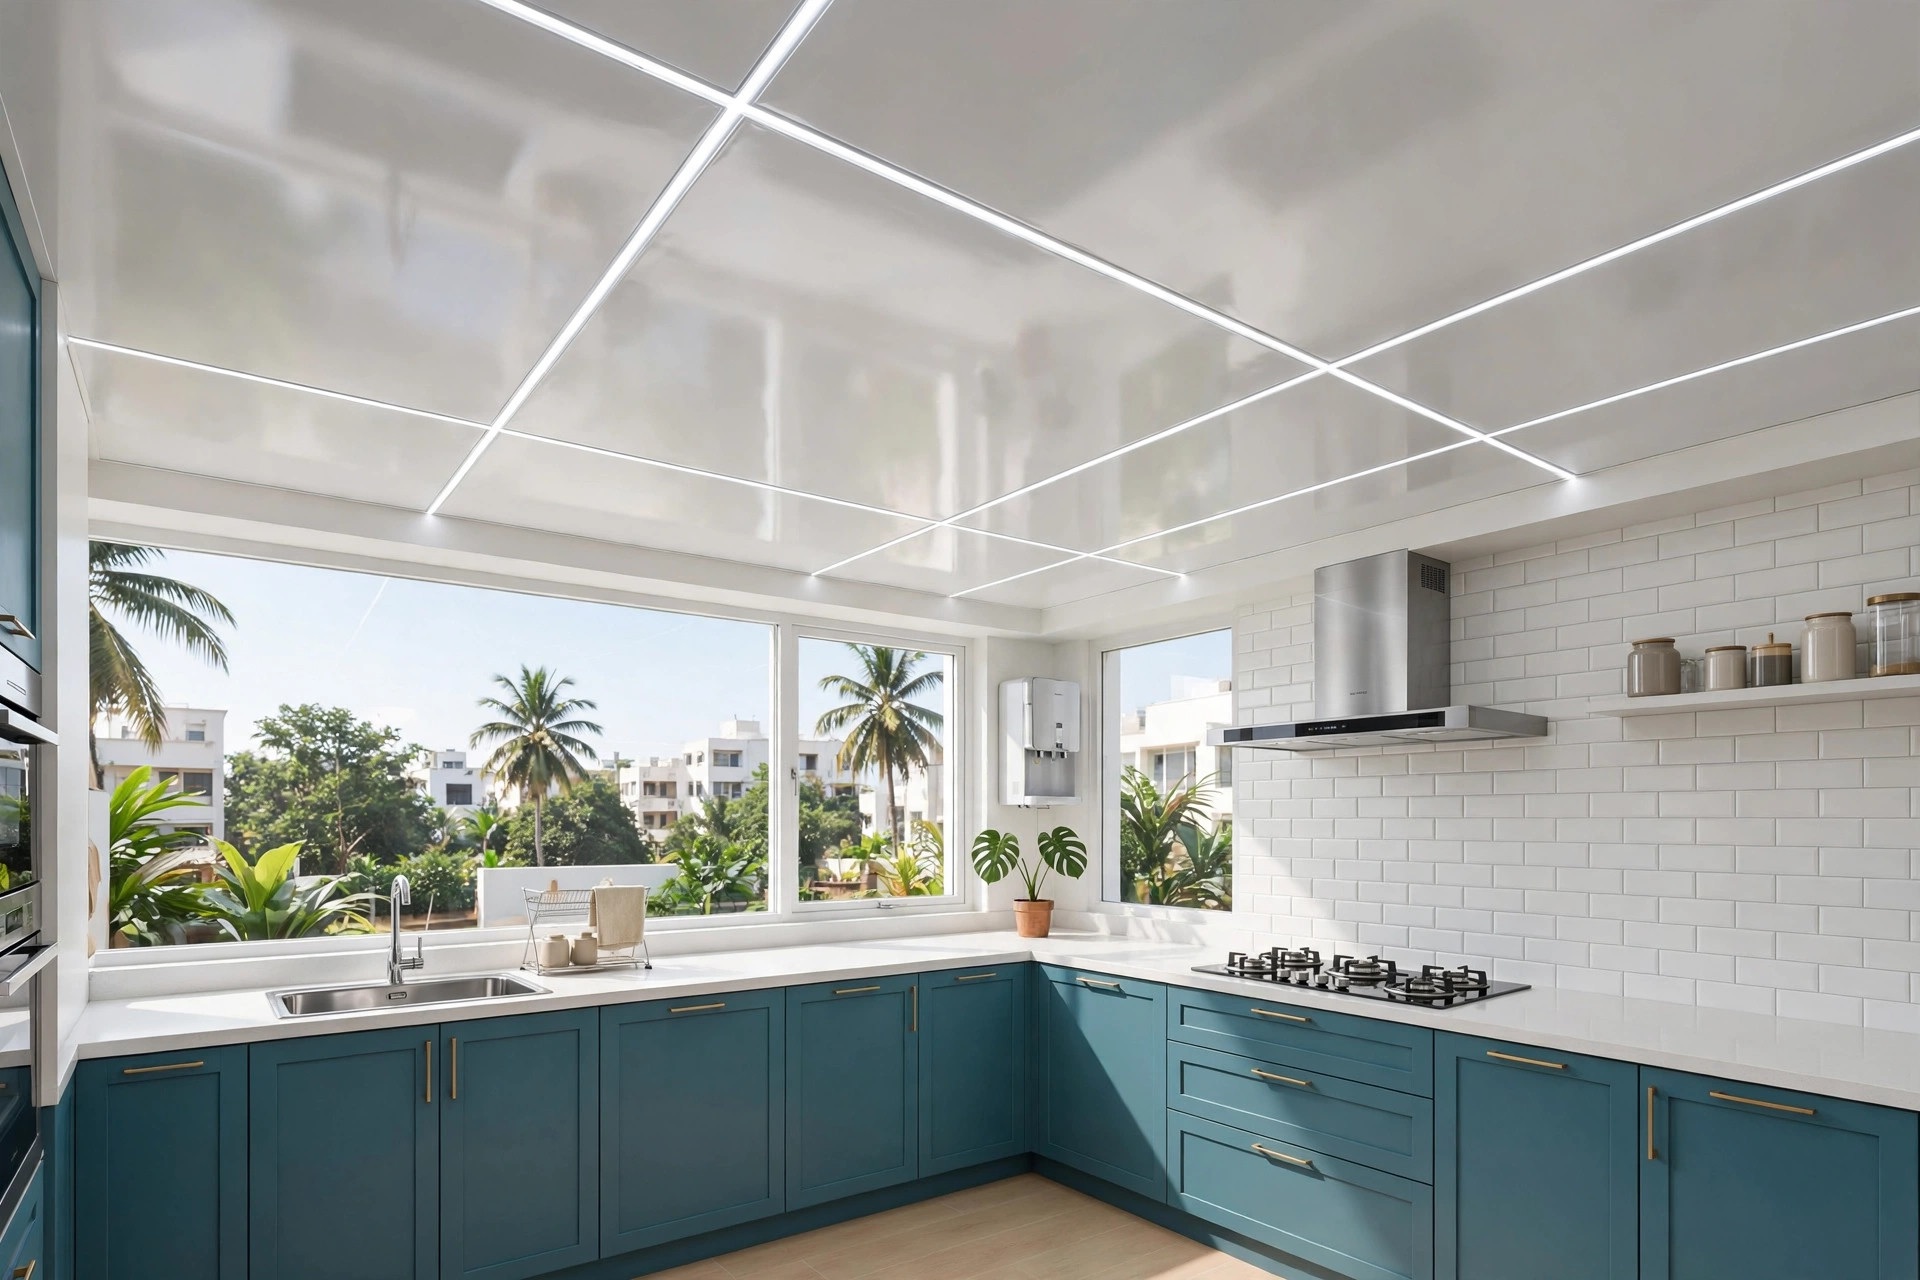
5. Geometric grid — modern, but keep it shallow
Rectangular grid patterns in gypsum look contemporary and suit larger kitchens (InteriorCompany, retrieved September 2026). Keep the bays shallow in a kitchen, and avoid the grid directly above the hob.
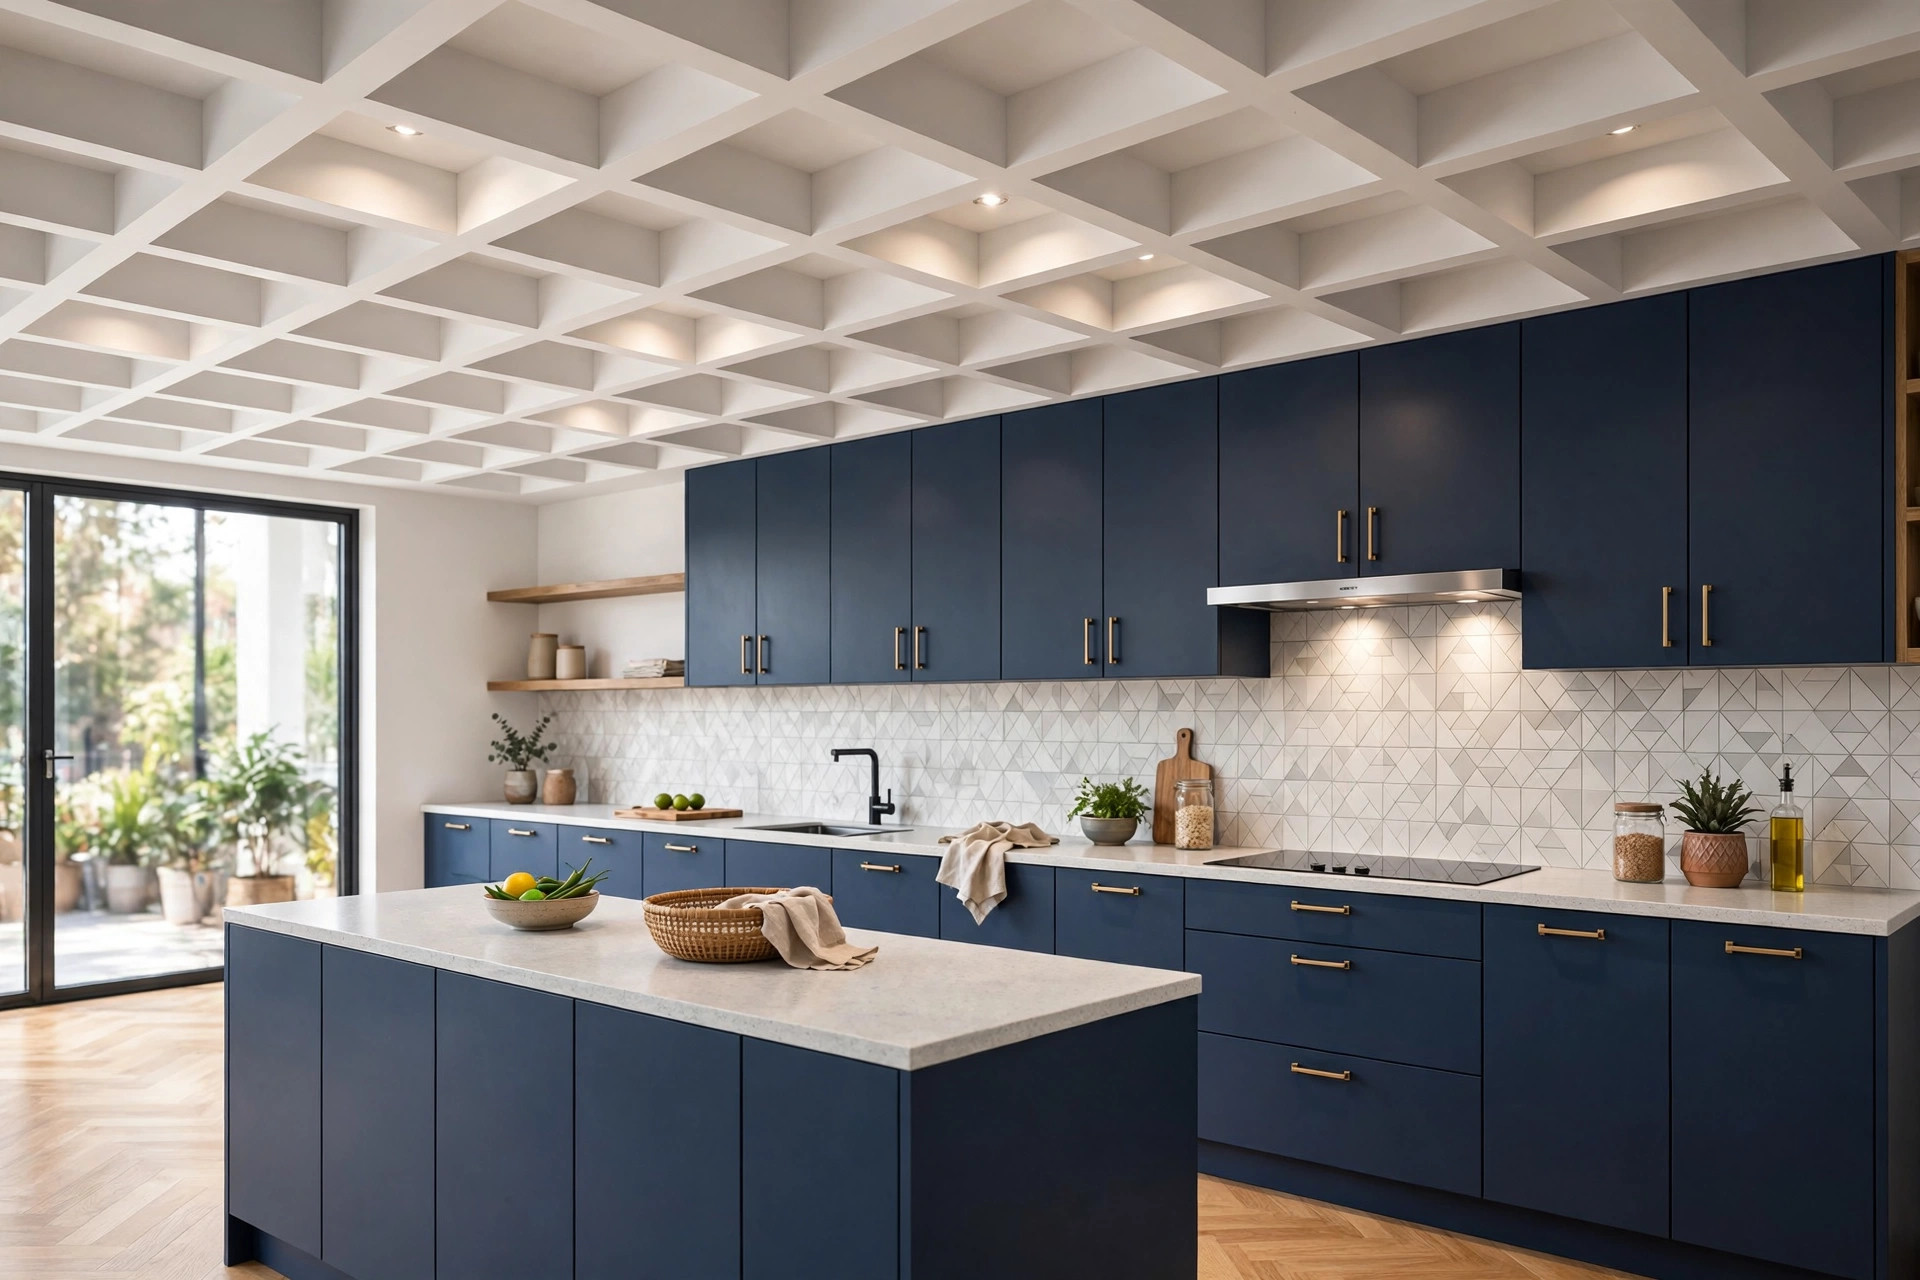
6. Dark accent ceiling — dramatic, needs strong light
Matte black or dark grey ceilings contrast beautifully with light cabinets. They need plenty of downlights to stay bright, and dark paint still needs the same cleaning routine.
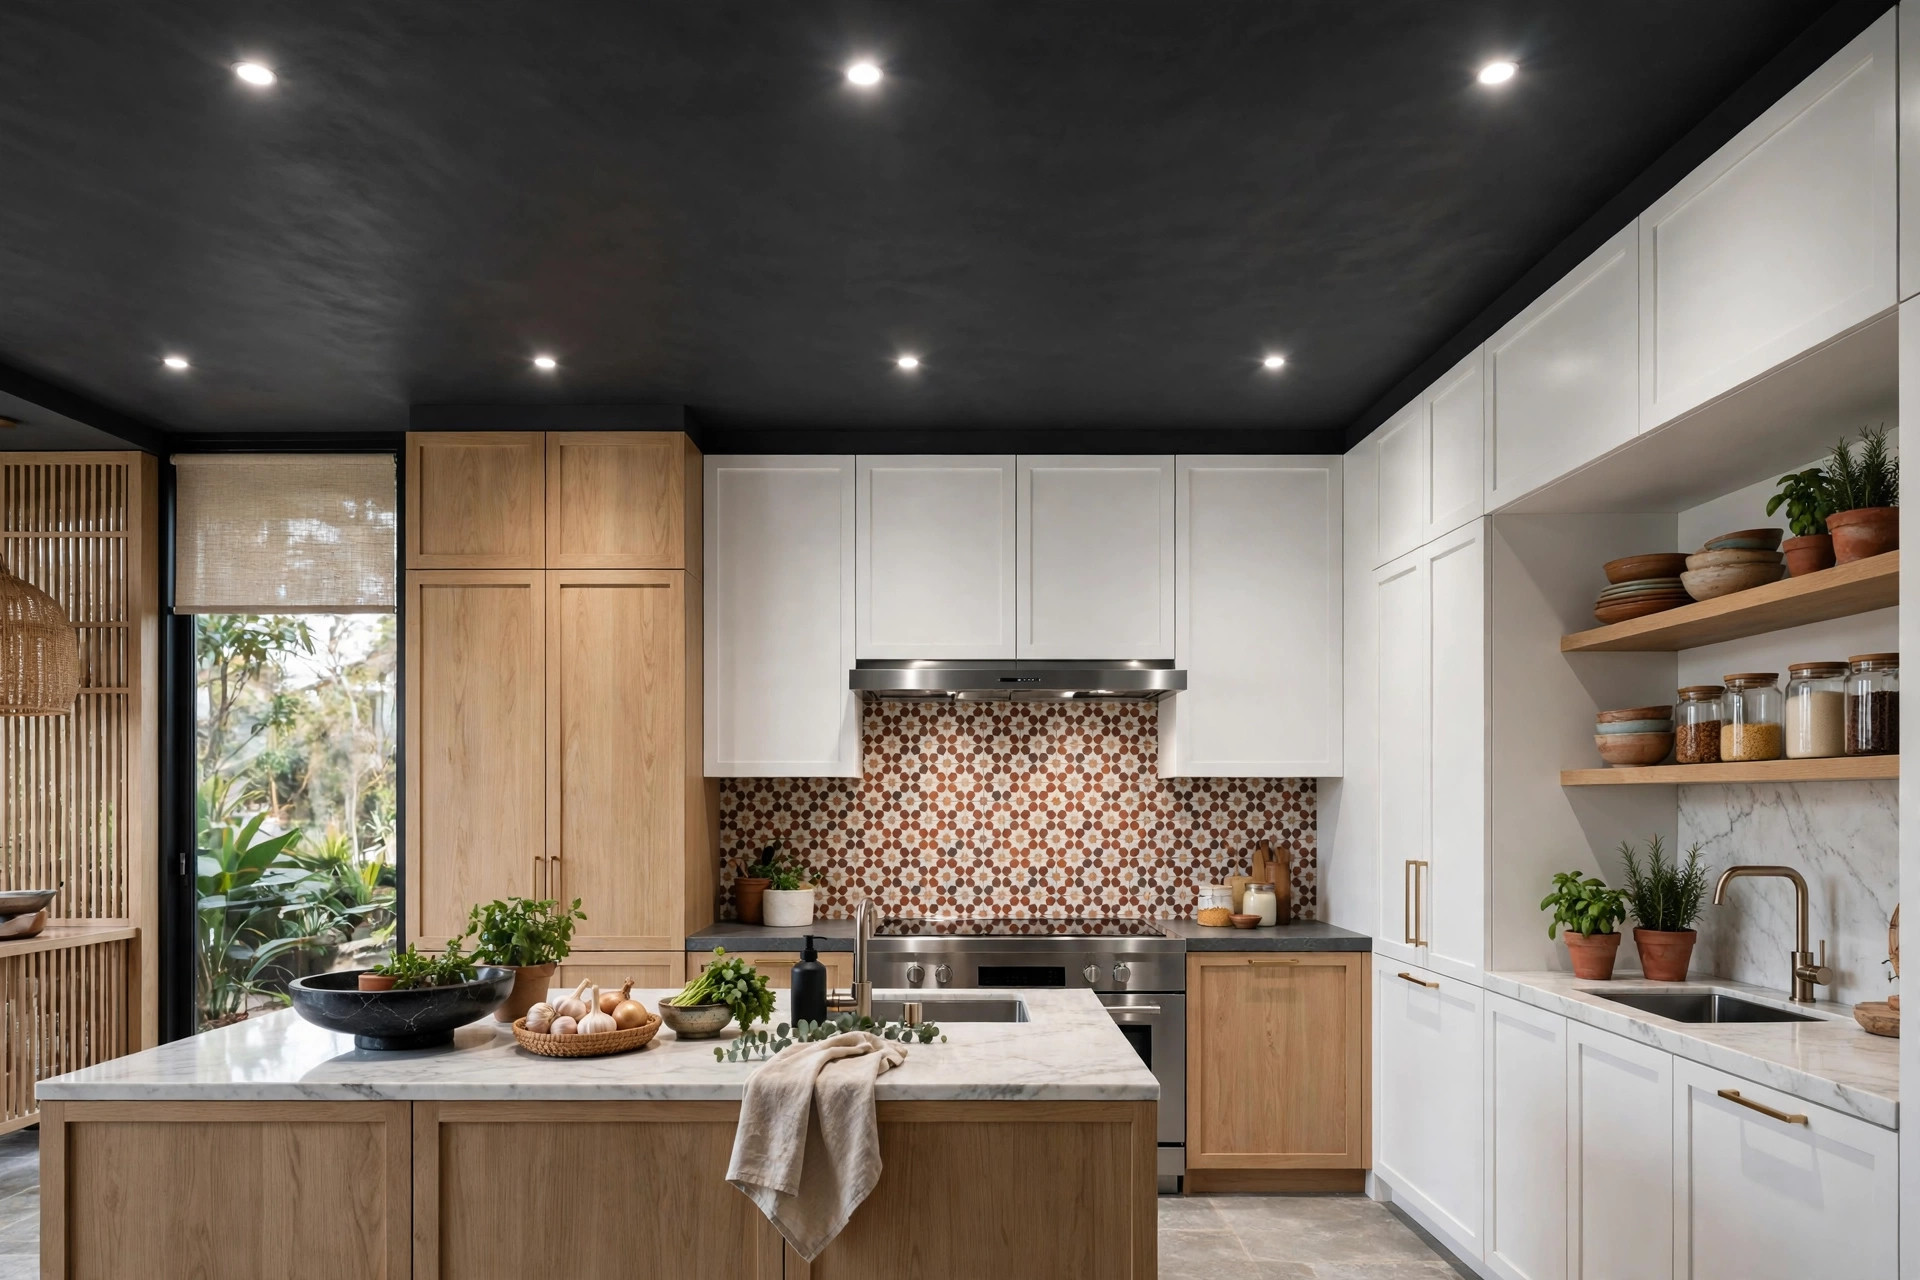
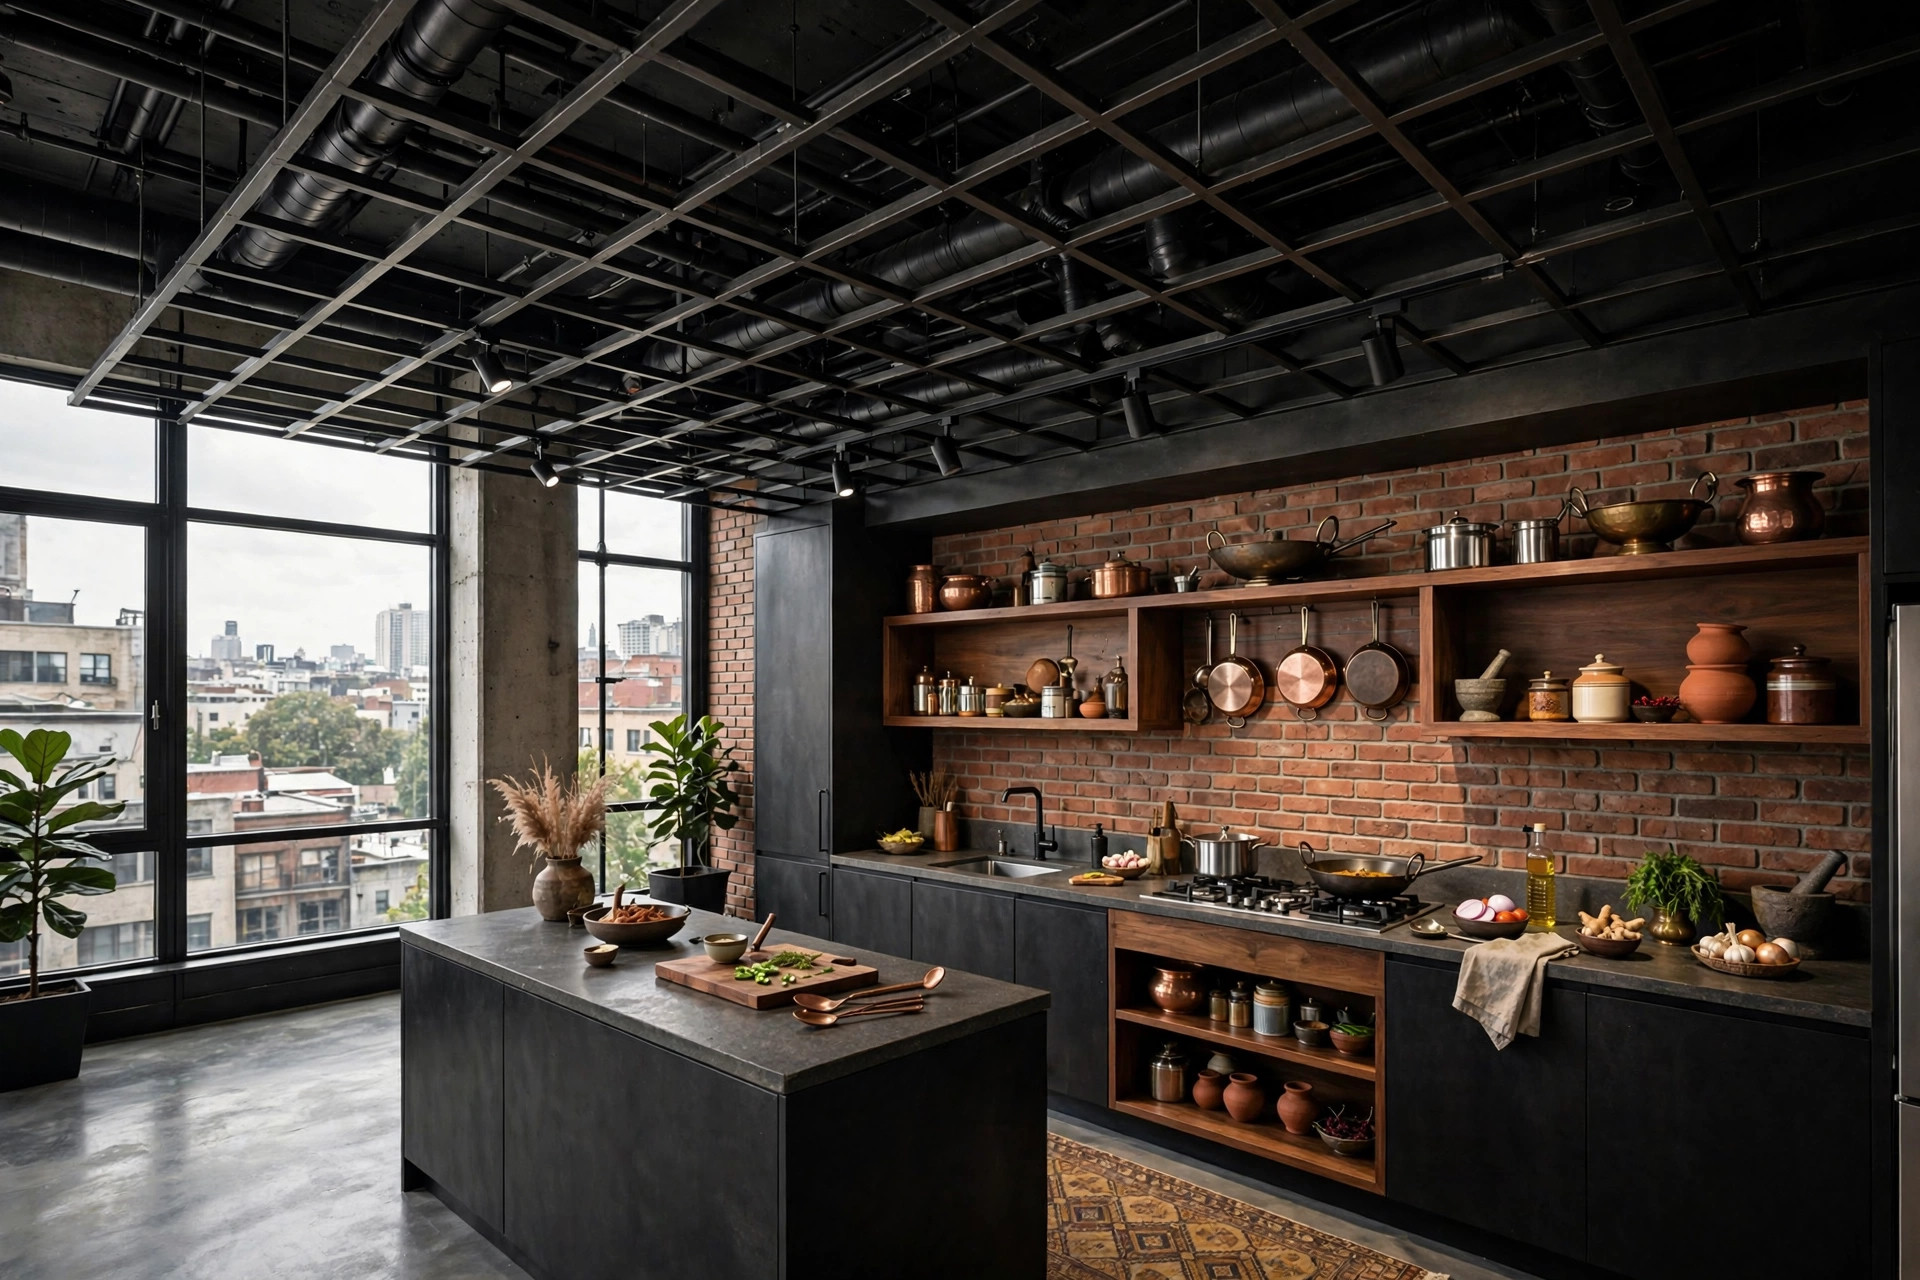
7. Industrial open grid — only if you will clean it
Black metal grids with visible ducts and track spots suit loft-style kitchens. The grid and ducts collect cooking film, so choose this only if you will clean it regularly.
The cooking zone: rules above the hob
The square metre above your hob is the harshest ceiling surface in the house. Design it by these rules:
- Flat and smooth: no coffers, grooves or deep patterns directly above the hob — they become permanent grease traps.
- Wipeable finish: washable paint or PVC/metal surface here, even if the rest of the ceiling is standard gypsum.
- Coordinate the chimney first: fix the chimney’s position and duct route with your contractor before the ceiling frame goes up. A slim gypsum or POP box can conceal the duct run neatly (Coohom FAQ, retrieved September 2026) — but the contractor must confirm the correct duct diameter and clearances above the cooktop.
- Lights, not decoration: place recessed spots on either side of the chimney.
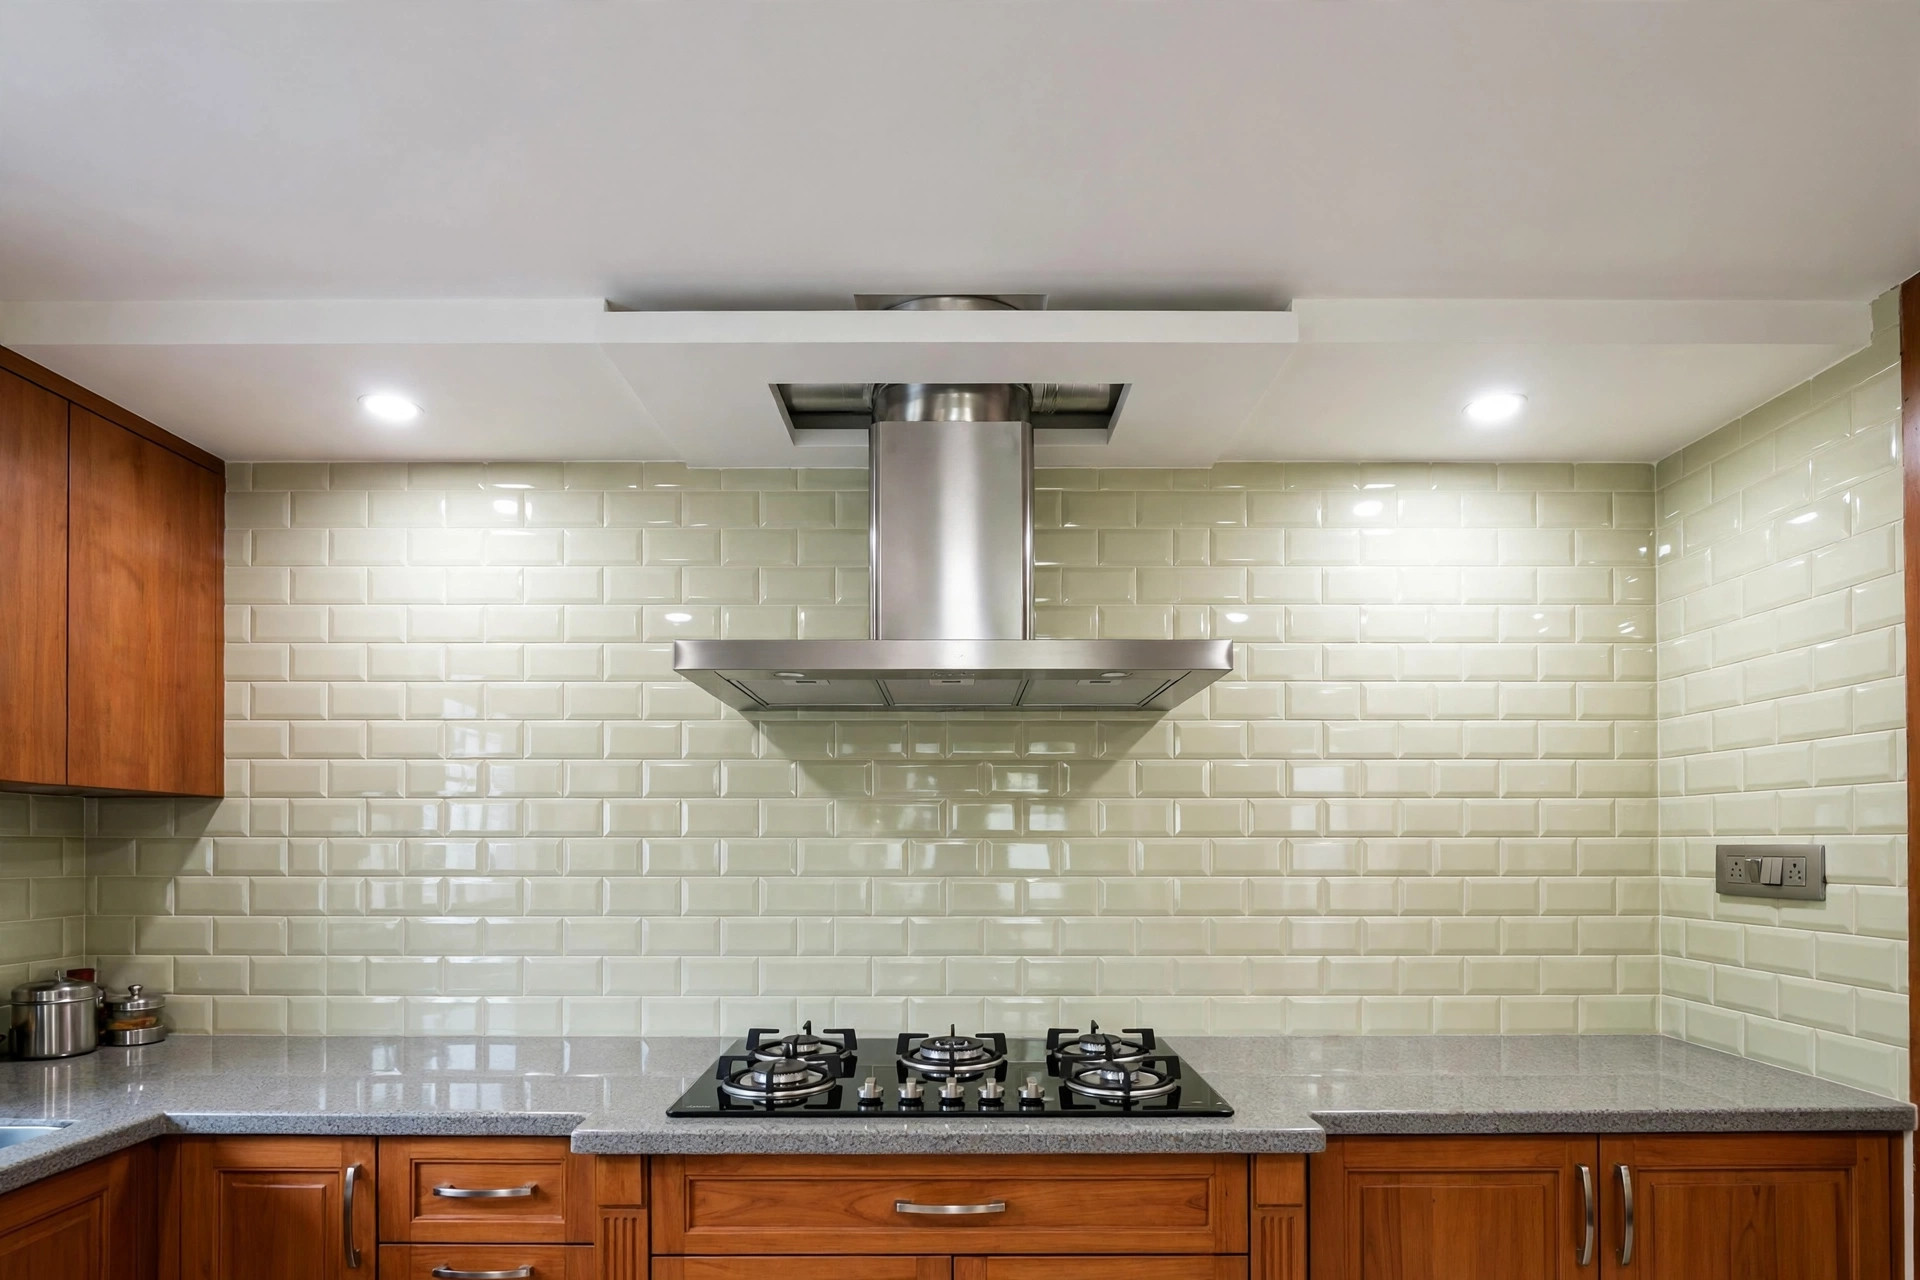
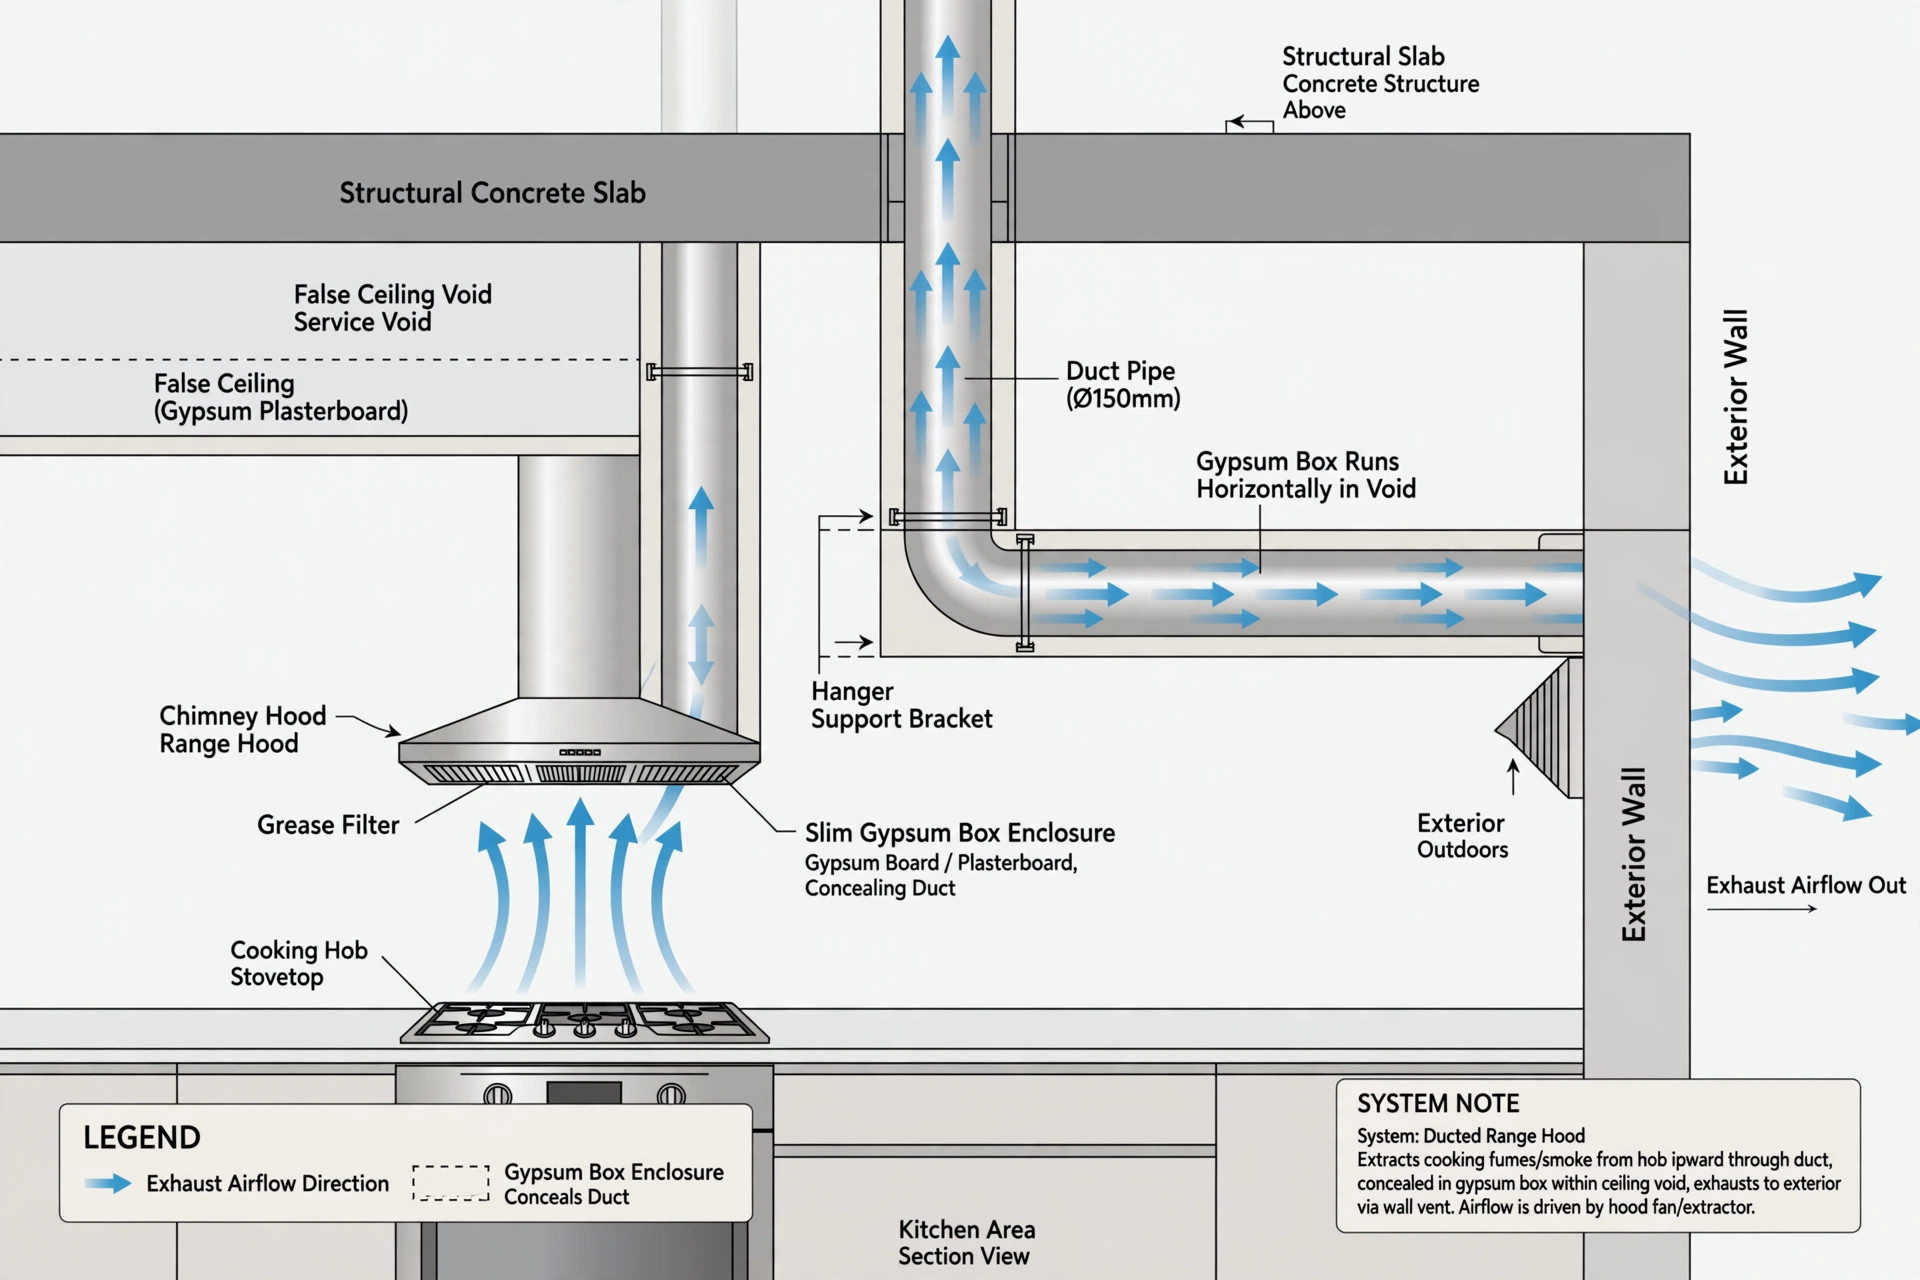
Chimney installation involves electrical work and ducting — have a qualified electrician and your installer coordinate directly, and never mount the chimney or any heavy fitting to the ceiling board; heavy loads anchor to the structural slab as determined by a qualified installer.
Lighting: plan task light, not mood light
A kitchen ceiling’s main job is to light the work. Recessed downlights over the counters, paired with under-cabinet LED strips for the backsplash zone, cover most kitchens well. Two practical points from kitchen design guidance (Coohom FAQ, retrieved September 2026):
- Colour and quality: 2700–3000K with 90+ CRI suits warm kitchens; many Indian kitchens use ~4000K neutral over counters for task clarity. Keep it consistent across fixtures.
- Glare control: place downlights about 10–14 inches back from the wall so the light washes the backsplash and counter instead of shining into your eyes. Matte finishes and indirect cove light also cut glare on glossy tiles.
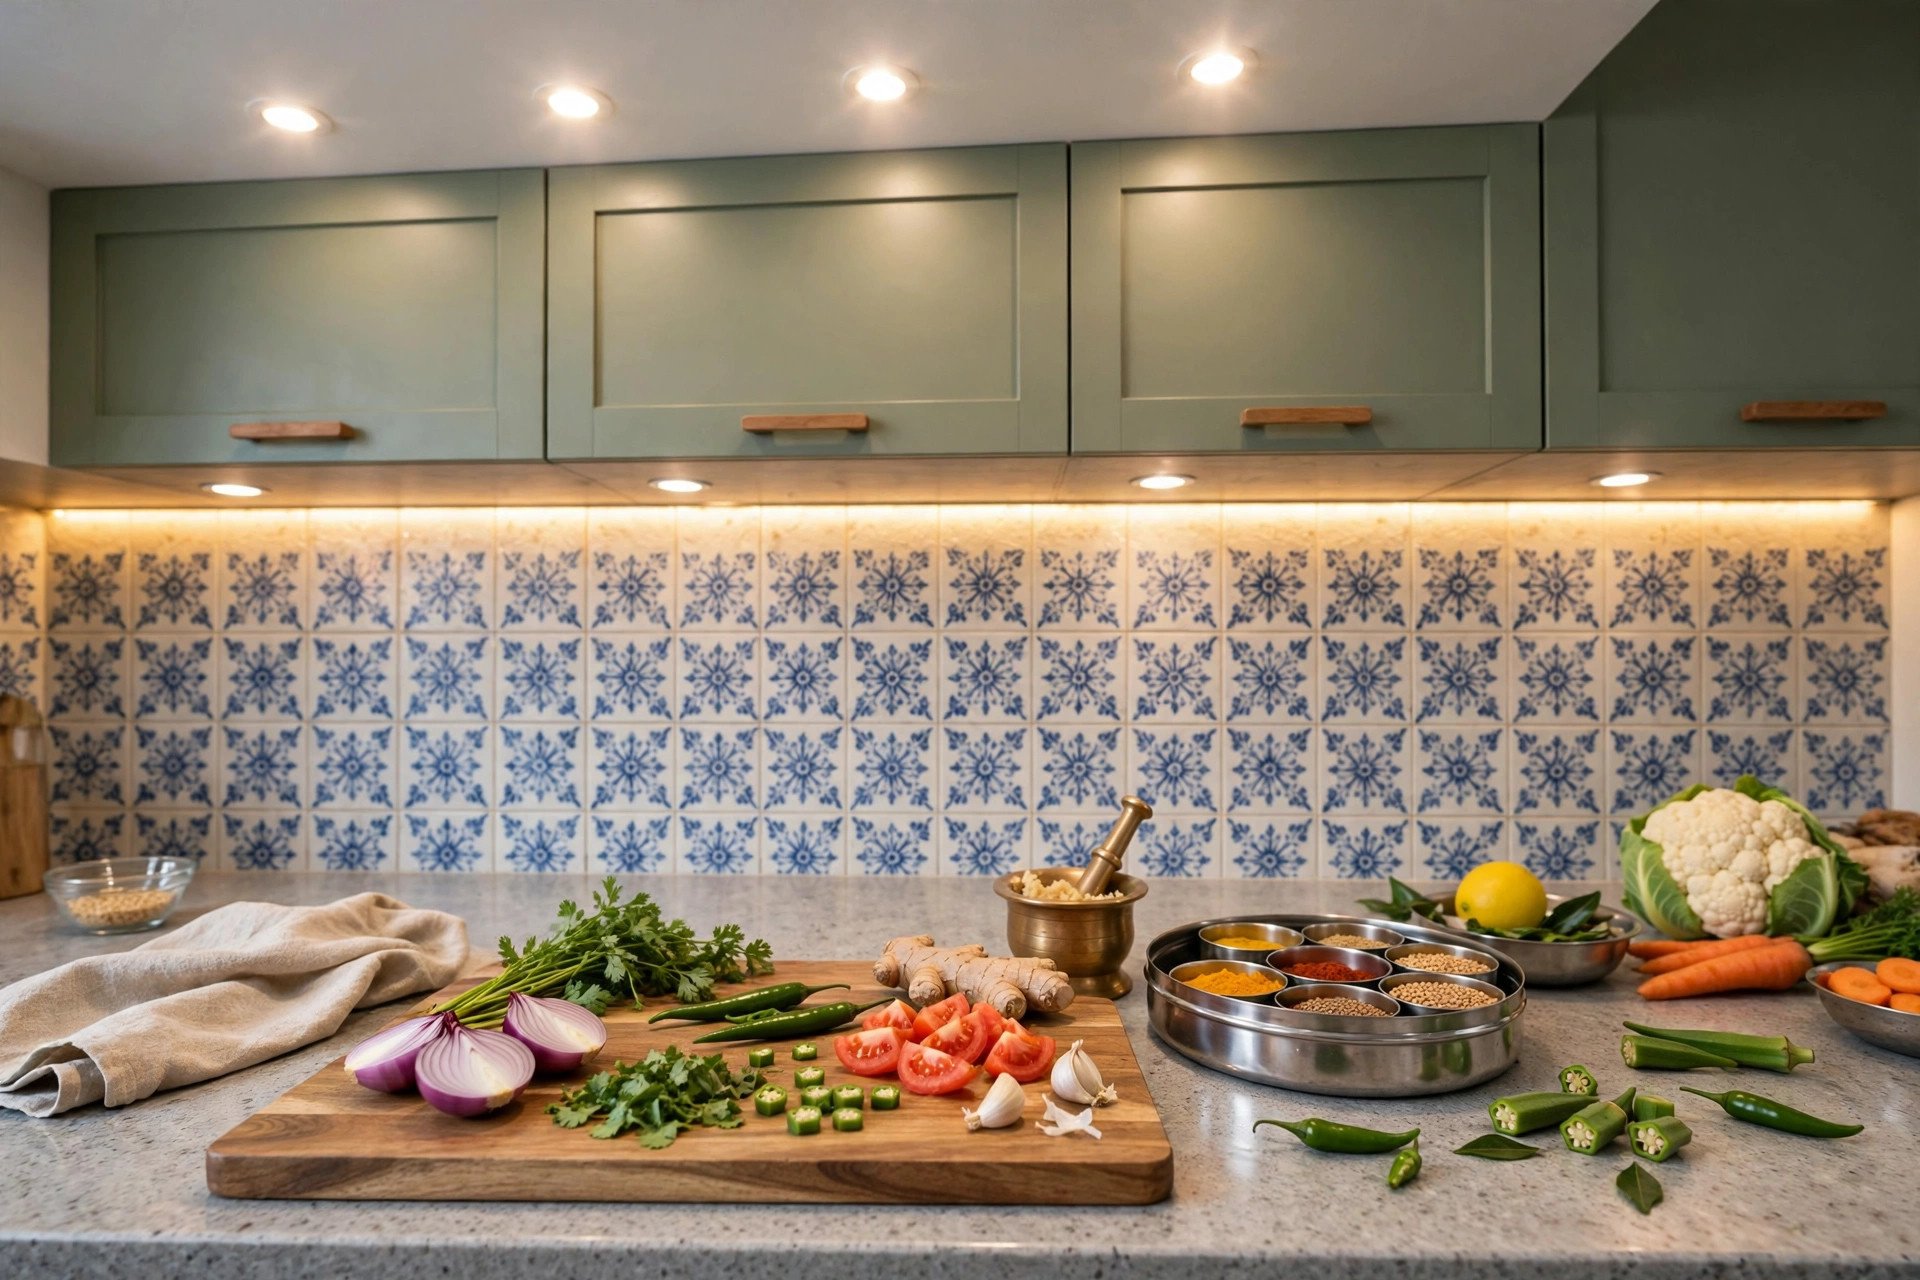
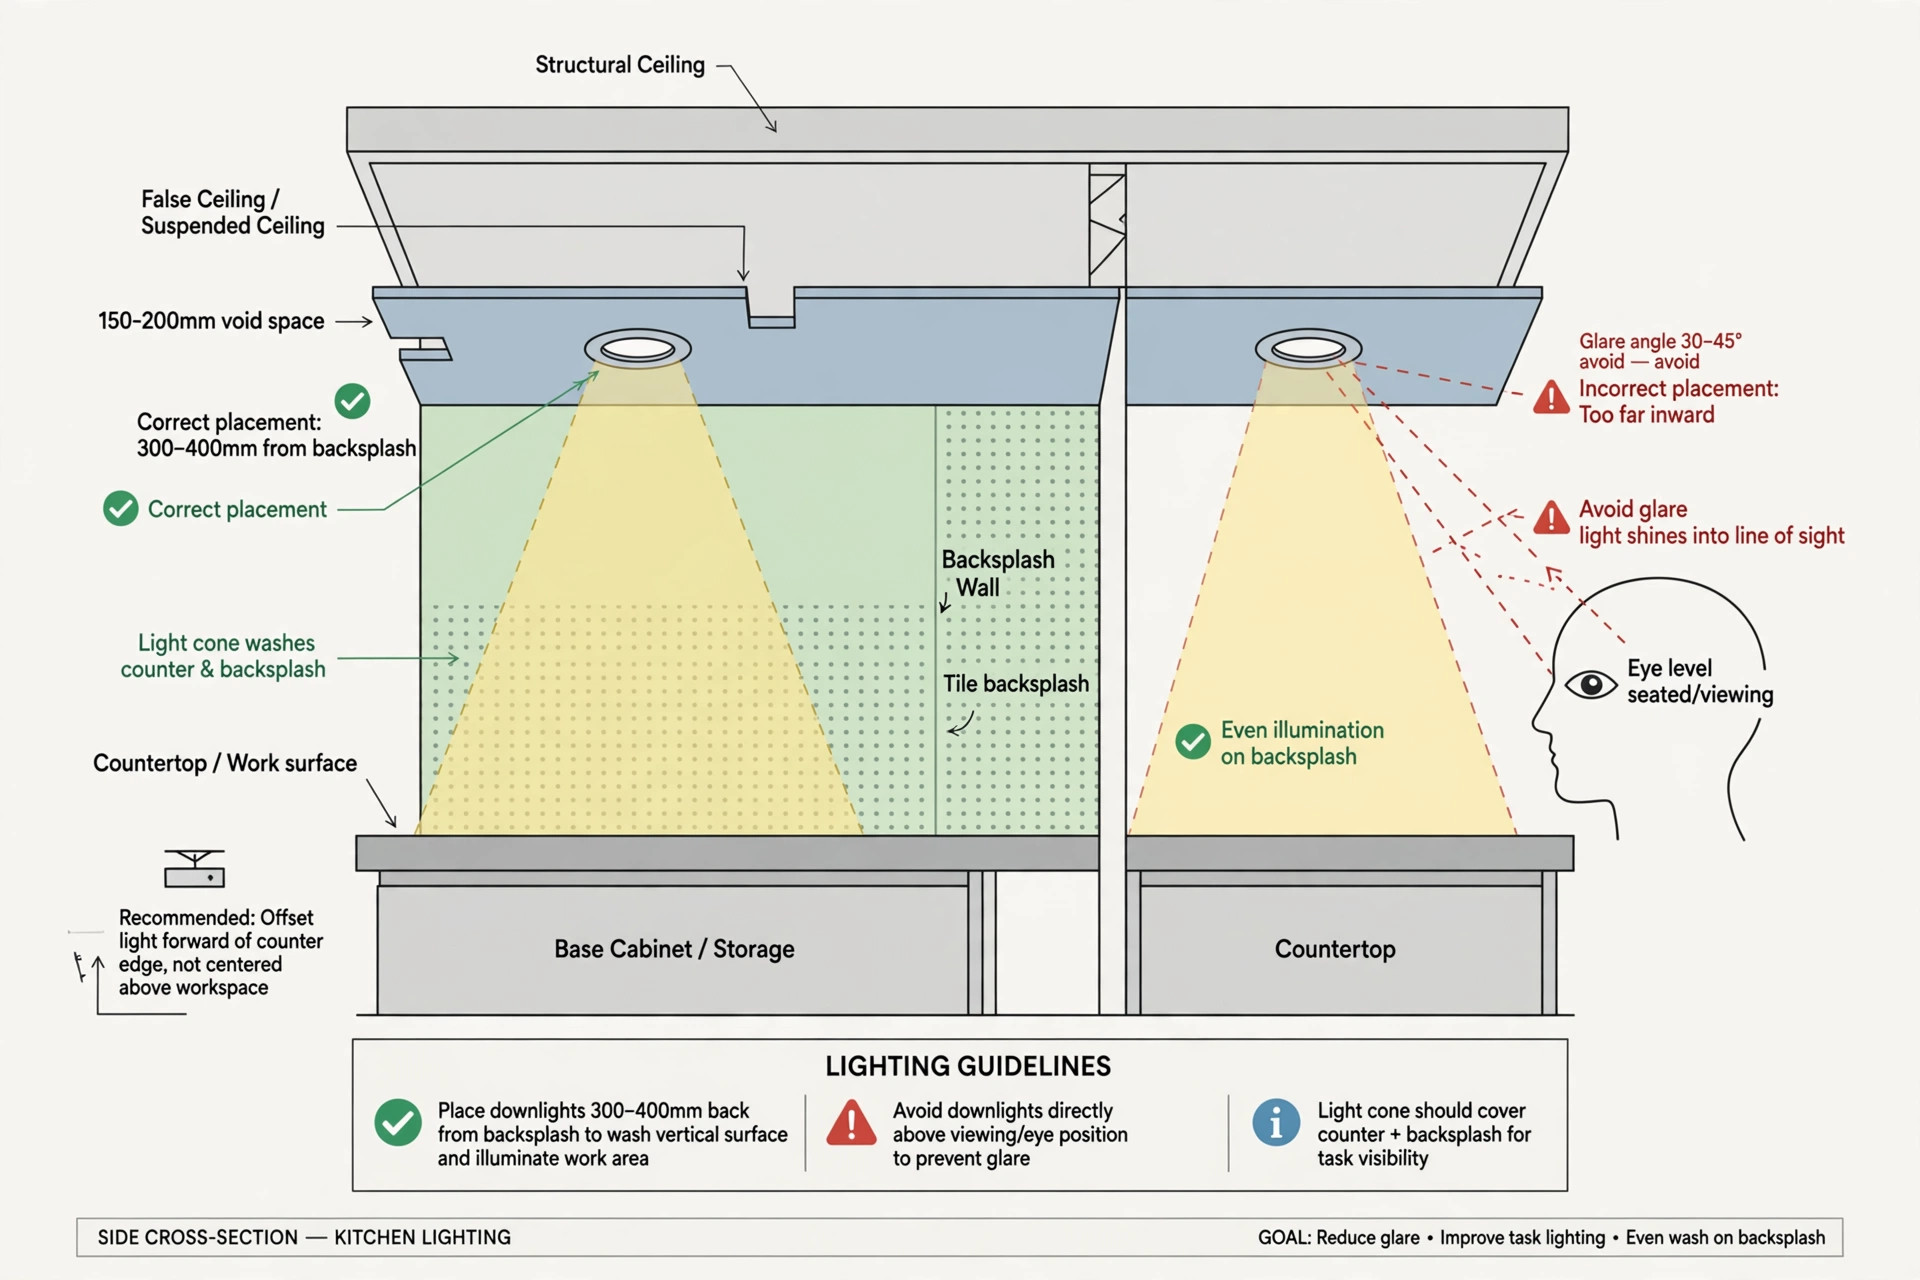
LED strips inside coves need aluminium profiles for heat dissipation and accessible drivers (Coohom FAQ, retrieved September 2026). All ceiling lighting wiring must be done by a qualified electrician.
Ventilation and access panels
The ceiling void also holds LED drivers and wiring junctions — ask for at least one discreet access panel near them, or a failed driver means cutting the ceiling open (Coohom FAQ, retrieved September 2026).
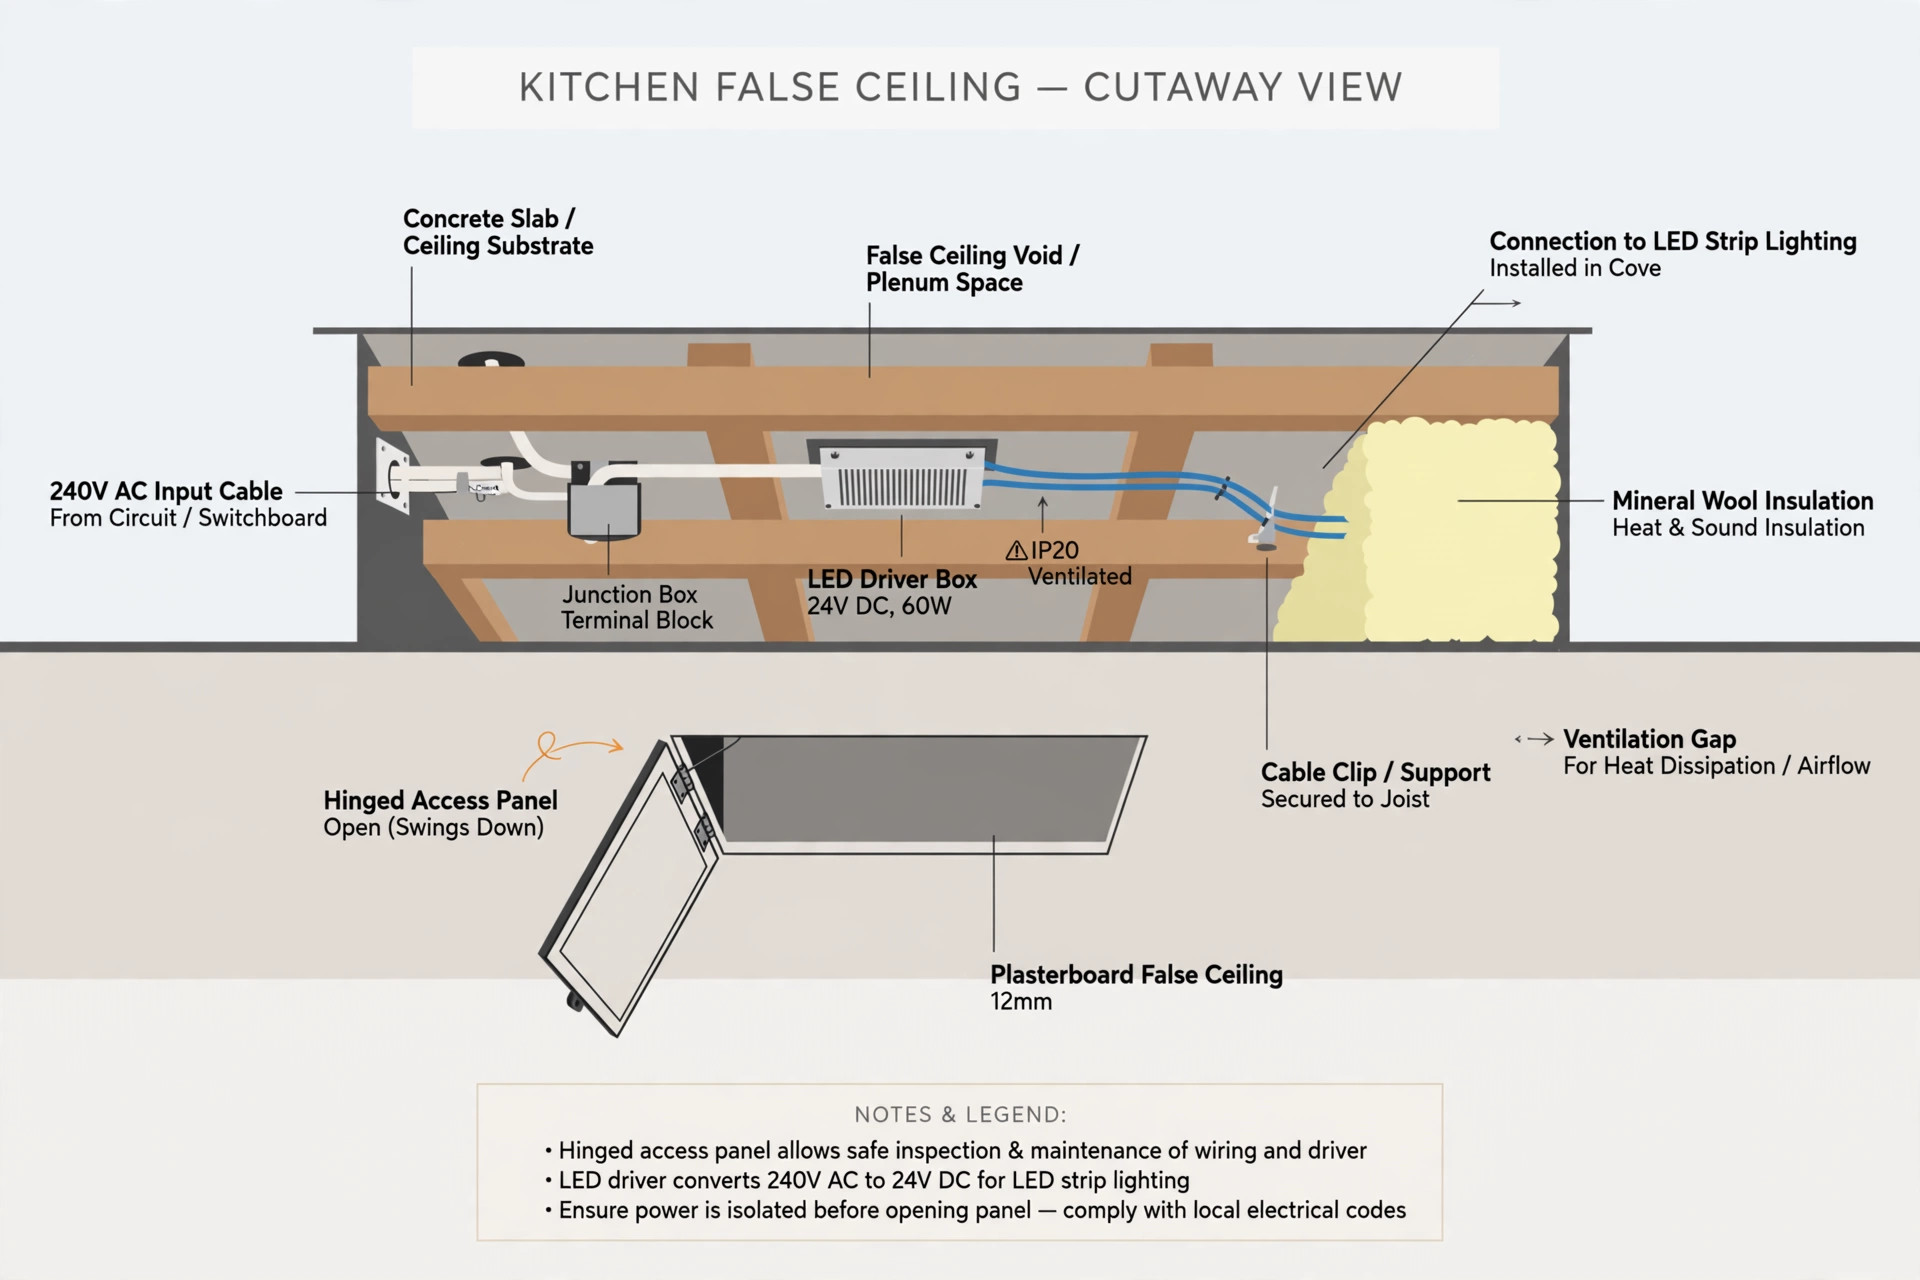
A working chimney plus a window or exhaust also protects the ceiling itself, by moving humid, grease-laden air out instead of letting it settle on the paint.
Cleaning and maintenance routine
A kitchen ceiling stays fresh with a simple routine:
- Wipe the cooking-zone ceiling every month or two with a soft cloth dampened with mild soapy water; dry it after. This is the area that yellows first.
- Dust the rest of the ceiling quarterly with a dry microfibre mop.
- Repaint every 3–5 years with a washable paint; sooner if the patch above the chimney has yellowed.
- Never: harsh solvents or abrasive scrubbers on painted gypsum — they dull and damage the finish.
- Fix leaks first: any water stain on a kitchen ceiling (from the flat above, usually) must be fixed at the source before repainting — moisture damages gypsum and POP.

Small and low kitchens
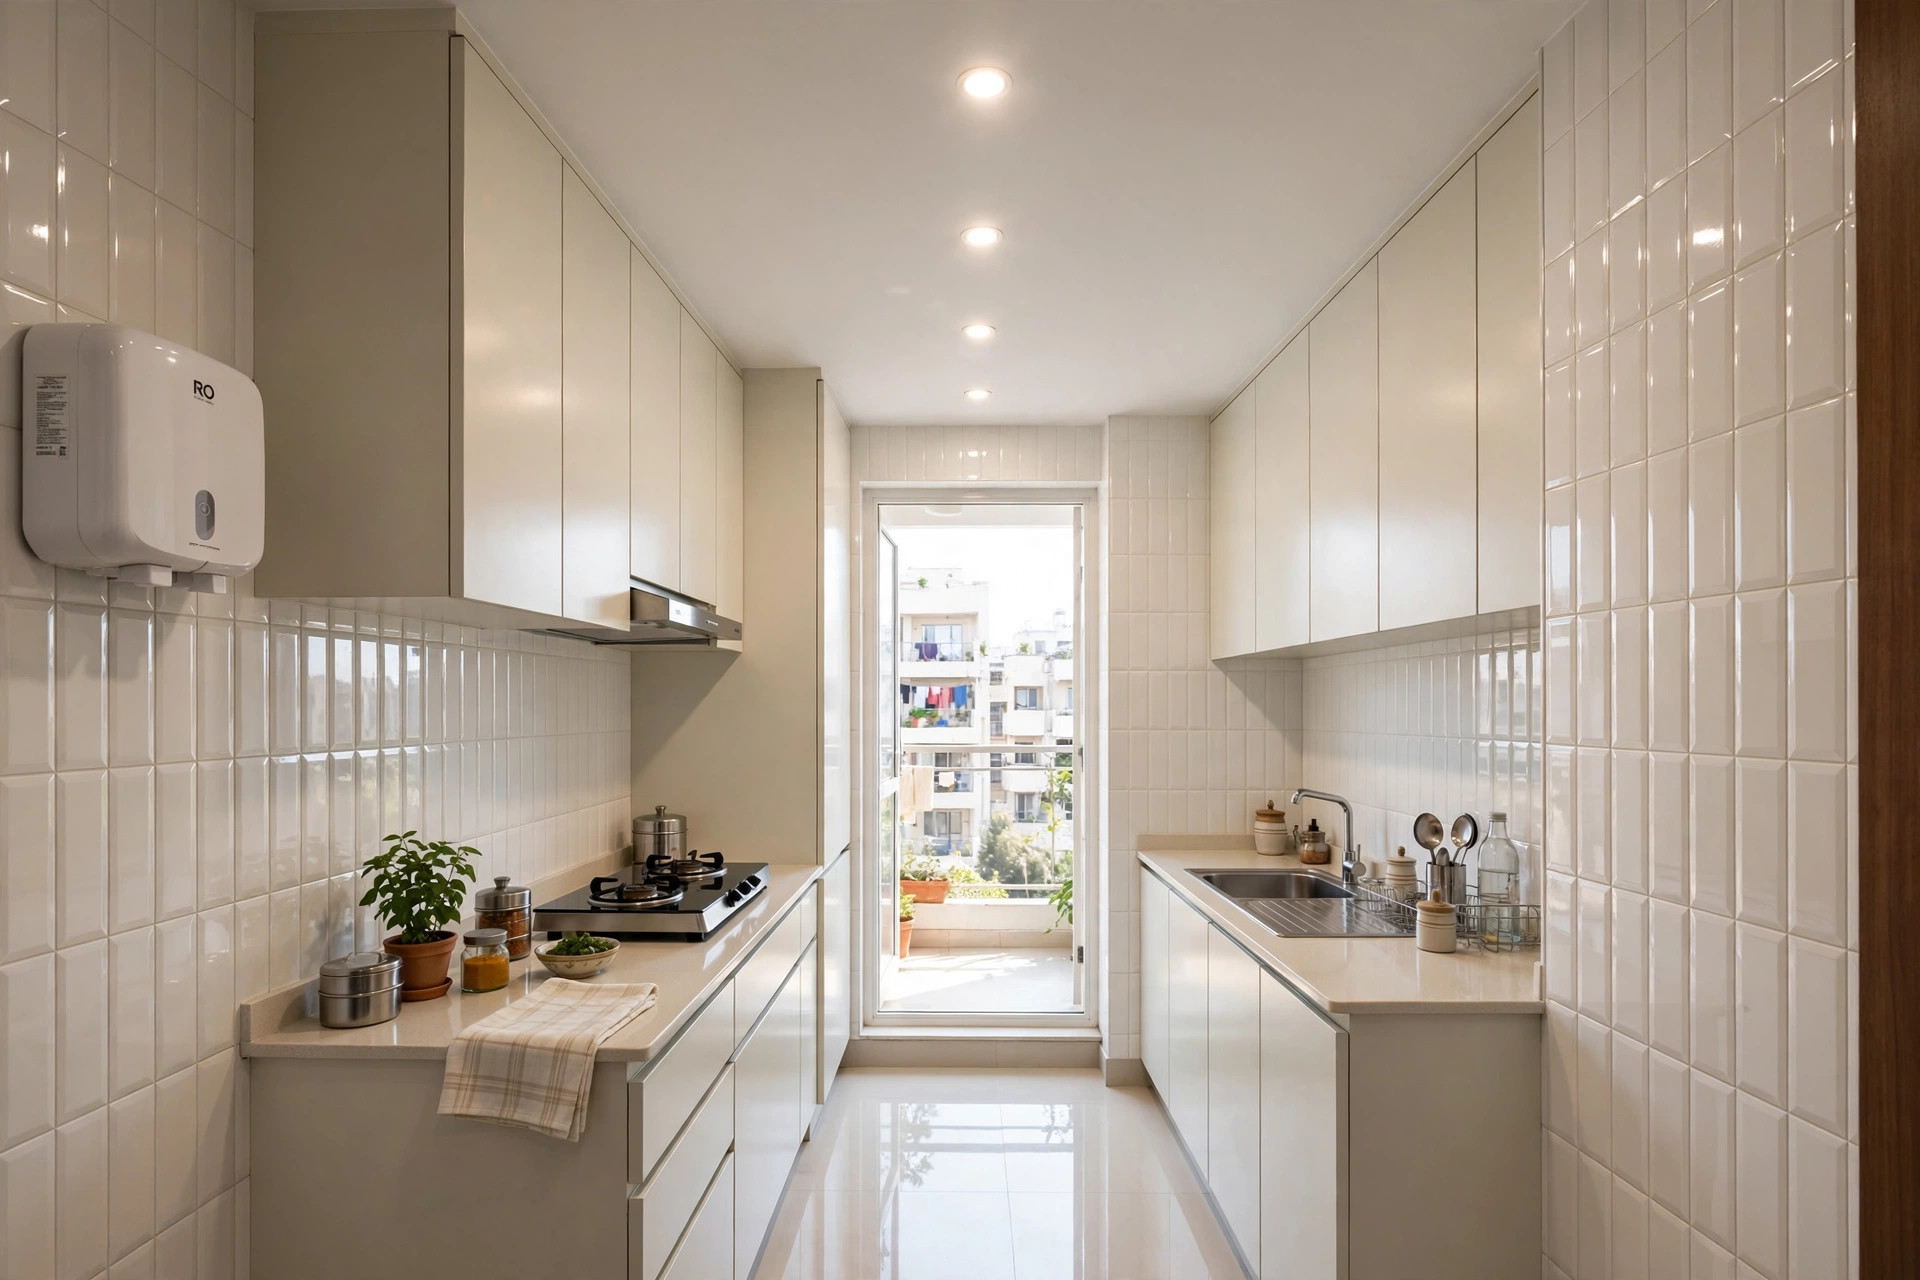
Most Indian apartment kitchens sit at 8–9 feet. The rule from kitchen ceiling guidance (Coohom FAQ, retrieved September 2026): keep drops to 1–3 inches unless you are hiding ducts, and use slim coves or surface channels for lighting effect. That means flat or peripheral designs in light colours, which keep a small kitchen feeling tall.
What a false ceiling hides
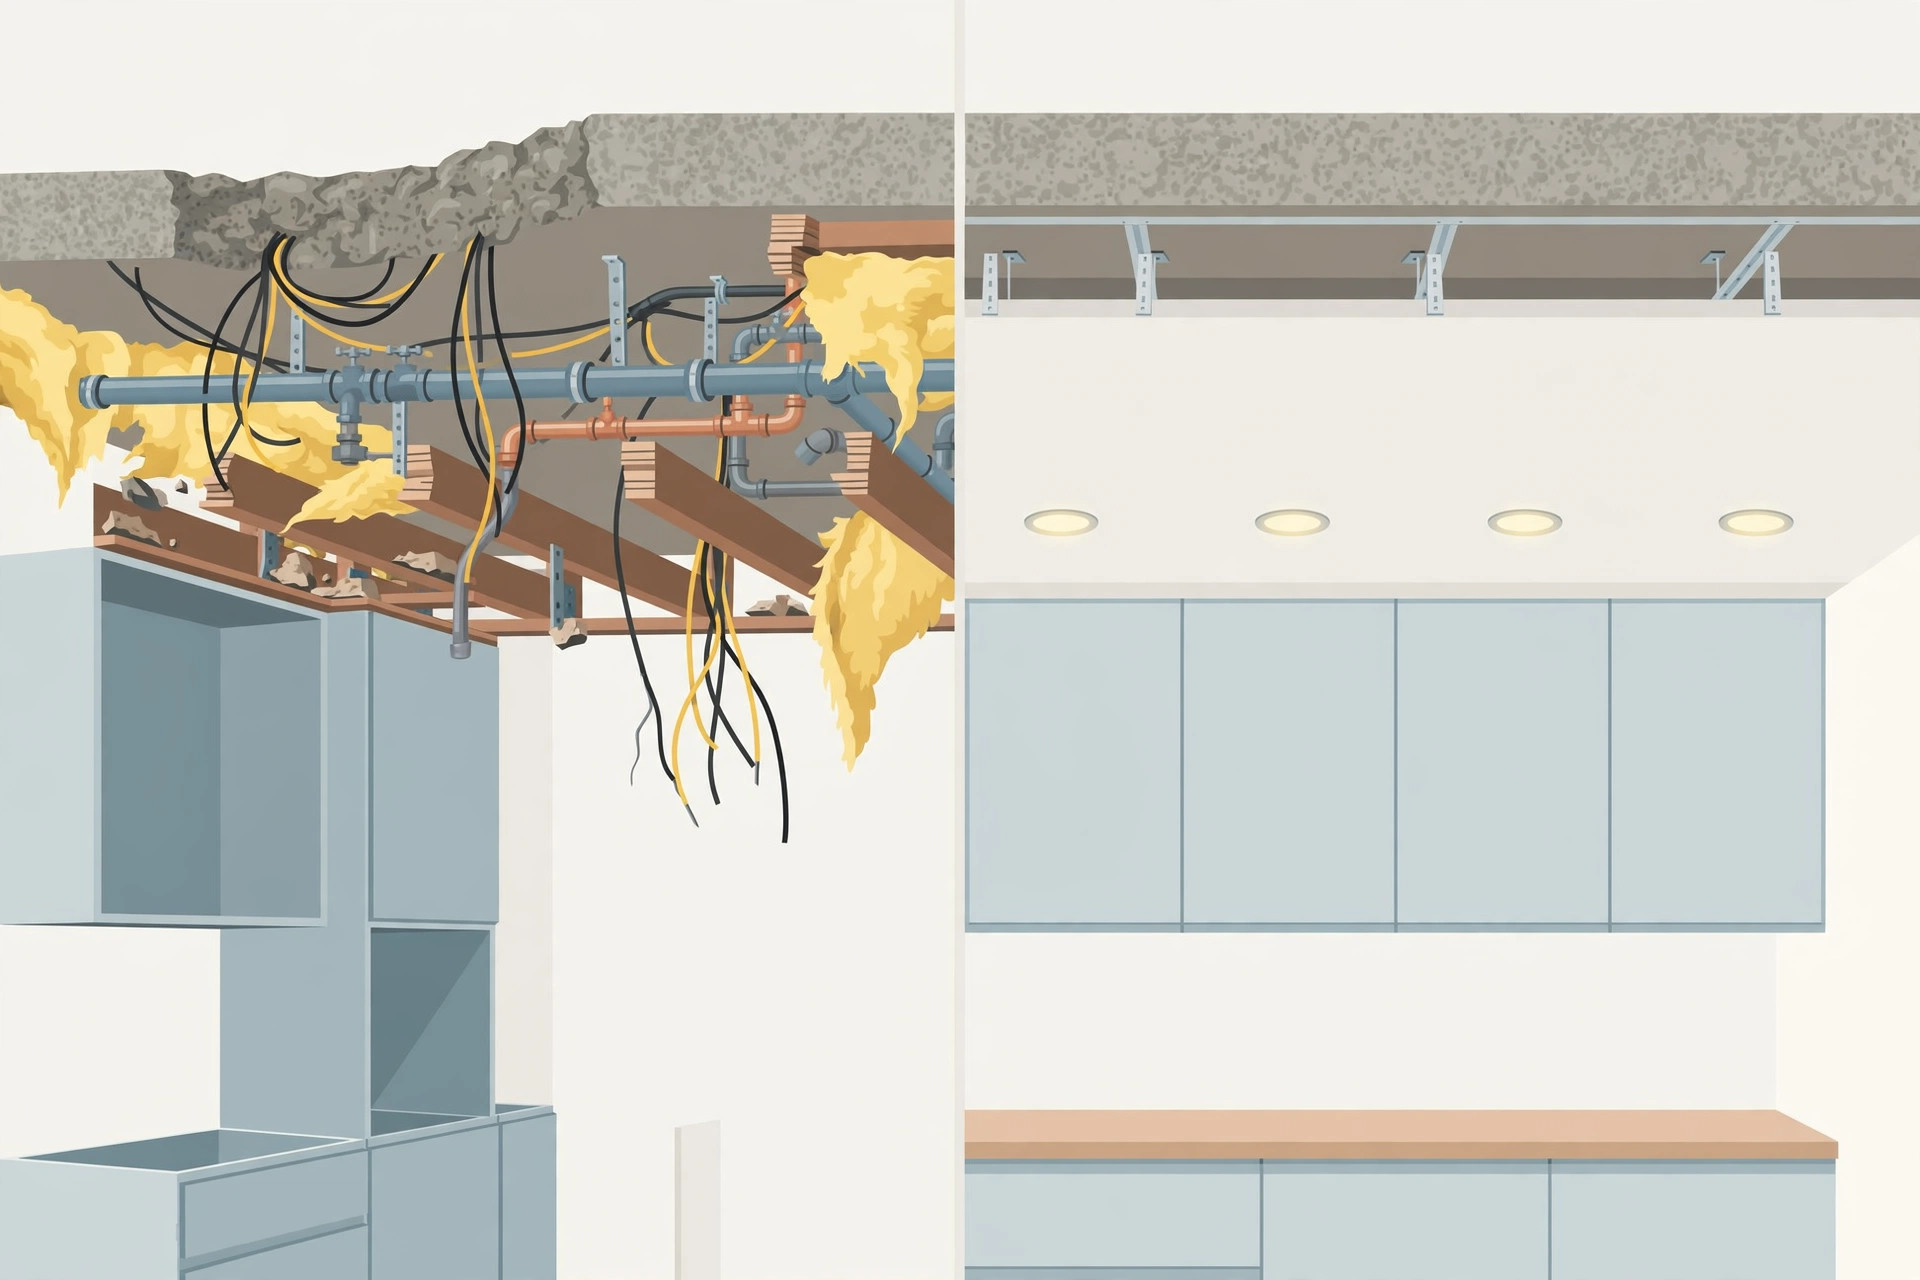
One of the strongest practical arguments for a kitchen false ceiling is concealment: electrical wiring, water pipes and the chimney duct all disappear into the void between slab and board, leaving a clean surface (MagicBricks; InteriorCompany, retrieved September 2026).
Open-plan kitchen–dining continuity
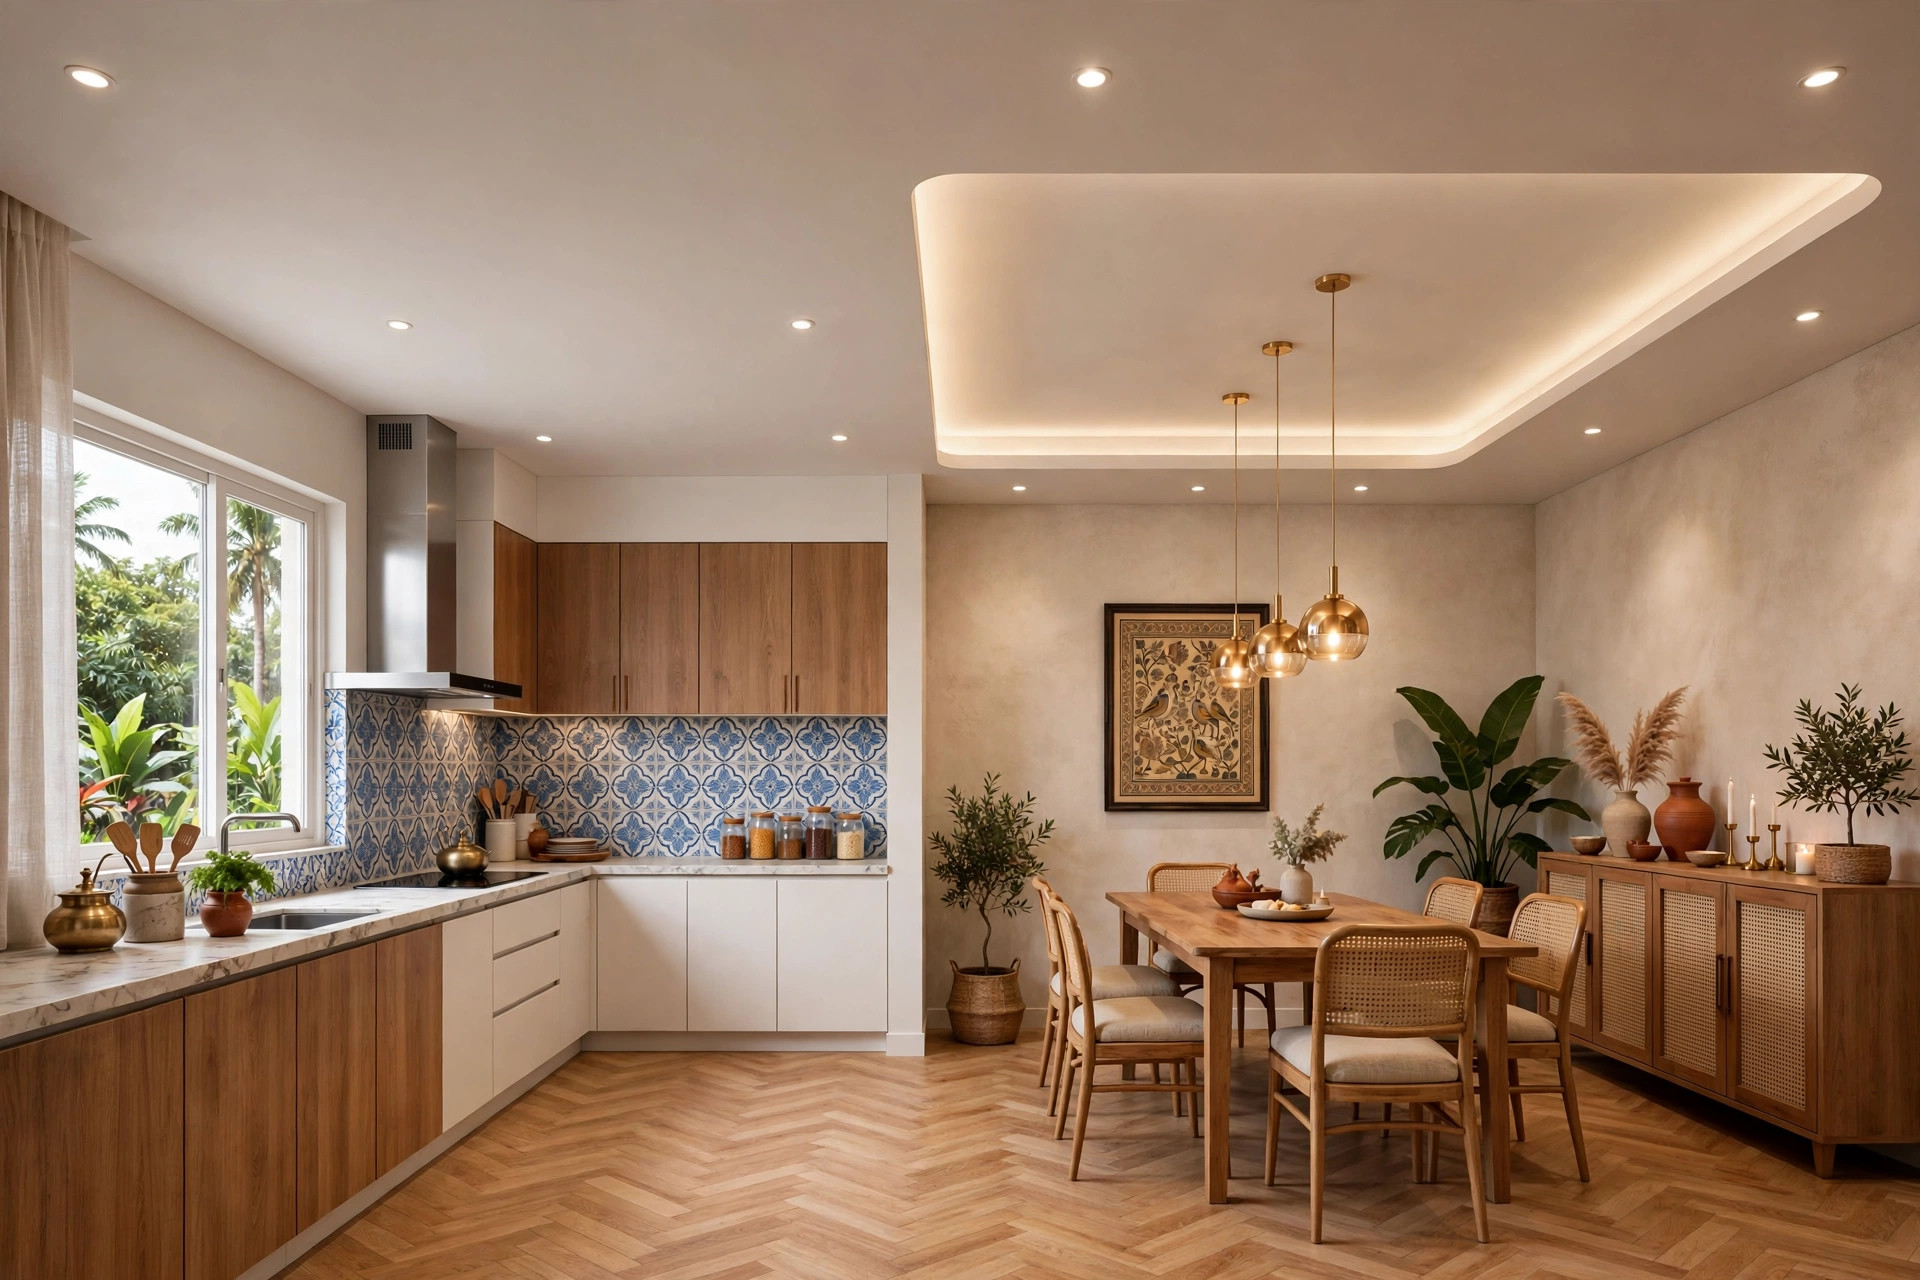
In open-plan homes, keep the kitchen side flat and wipeable, and add a dropped cove-lit panel over the dining table to mark the transition. For the dining side’s design and lighting ideas, see our dining room false ceiling designs.
Budget planning: what drives the cost
I found no dated, India-specific published kitchen-ceiling price figures with clear scope, so none are quoted here — but these factors reliably move the cost:
- Material: PVC panel ceilings typically cost less than gypsum; metal ceilings cost more.
- Complexity: a flat ceiling is the cheapest; layered, geometric and coffered designs add labour and framing cost.
- Lighting count: every recessed spot and LED strip adds fixture and wiring cost.
- Duct and access work: chimney duct boxes and access panels are small but real line items.
Always get an itemised quote covering boards, frame, labour, finishing, paint, lights, wiring and taxes — “per sq ft” quotes that exclude lights are the classic surprise.
When NOT to get a false ceiling in your kitchen
- There is an active leakage problem from the flat above — fix it first.
- The ceiling is very low and you cannot spare even a 2–3 inch drop.
- You are renting without the landlord’s written approval.
- You only want better counter lighting — under-cabinet LED strips may be enough (and a false ceiling is not mandatory; MagicBricks FAQ, retrieved September 2026).
Quick decision summary
- Design from the hob outward: flat, smooth and wipeable above the cooking zone.
- Gypsum for the modern default, PVC for wipeable budget practicality, metal for heavy-cooking kitchens; keep POP detailing simple near steam.
- Coordinate the chimney position and duct route before framing — not after.
- Light the counters for tasks; place spots to wash the backsplash, not to glare.
- One access panel near wiring/LED drivers saves future repair headaches.
- Wipe the cooking zone regularly; repaint with washable paint every few years.
- For planning all rooms together, read our whole-home ceiling planning guide.
Before you pay the final bill: a short handover checklist
- Every light works from every switch; no flickering spots.
- The chimney duct connection is sealed and the chimney runs without rattling the ceiling box.
- Ceiling surface is smooth and paint is even — check in daylight and at night.
- The access panel opens and closes cleanly.
- Grease filters are reachable and the washable paint is confirmed in writing (brand/shade noted).
- You have the contractor’s contact and the LED driver wattage/spec for future replacement.

Frequently asked questions
What is the best material for a kitchen false ceiling?
Gypsum board is the most popular all-rounder, while moisture-resistant materials such as PVC are specifically recommended for kitchens (Coohom FAQ; MagicBricks, retrieved September 2026). For heavy daily Indian cooking, prioritise a wipeable surface — PVC, metal, or gypsum finished in washable paint.
Is POP suitable for a kitchen false ceiling?
Yes, when properly sealed and painted — it gives smooth finishes for coves and lighting details. Avoid complex POP detailing directly above high-steam zones, and use wipeable paint with sealed edges (Coohom FAQ, retrieved September 2026).
Can the chimney duct be hidden inside the false ceiling?
Yes — a slim gypsum or POP box can conceal the duct run inside the ceiling void (Coohom FAQ, retrieved September 2026). Fix the chimney position and duct route with your contractor before framing, and have them confirm duct diameter and clearances above the cooktop.
Are LED strips safe inside kitchen ceiling coves?
They are, when installed with aluminium profiles for heat dissipation and accessible drivers (Coohom FAQ, retrieved September 2026). All wiring must be done by a qualified electrician, with the mains switched off during any servicing.
How often should I clean my kitchen false ceiling?
Wipe the area above the cooking zone every month or two with a damp cloth and mild soap; dust the rest quarterly. Repaint with washable paint every 3–5 years, or sooner if the chimney patch yellows.
Will a false ceiling make my small kitchen feel cramped?
Only if the drop is too deep. At 8–9 feet, a slim flat or peripheral ceiling with 1–3 inch drops keeps the kitchen feeling tall — especially in light colours with good lighting.
Gypsum or PVC — which should I pick?
Pick gypsum for the smoothest, most premium-looking finish; pick PVC if wipeability and budget matter most. Many Indian kitchens combine both — gypsum for the main ceiling, PVC panels in the hardest-to-clean stretch near the hob.
Do I really need a false ceiling in my kitchen?
No — it is not mandatory (MagicBricks FAQ, retrieved September 2026). If your only goal is better counter lighting, under-cabinet LED strips may be enough. A false ceiling earns its place when you also want hidden wiring/ducts, layered lighting, or a finished look.
All images in this guide are original concept renders and illustrations created for falseceiling.in — they show design ideas, not completed projects.