
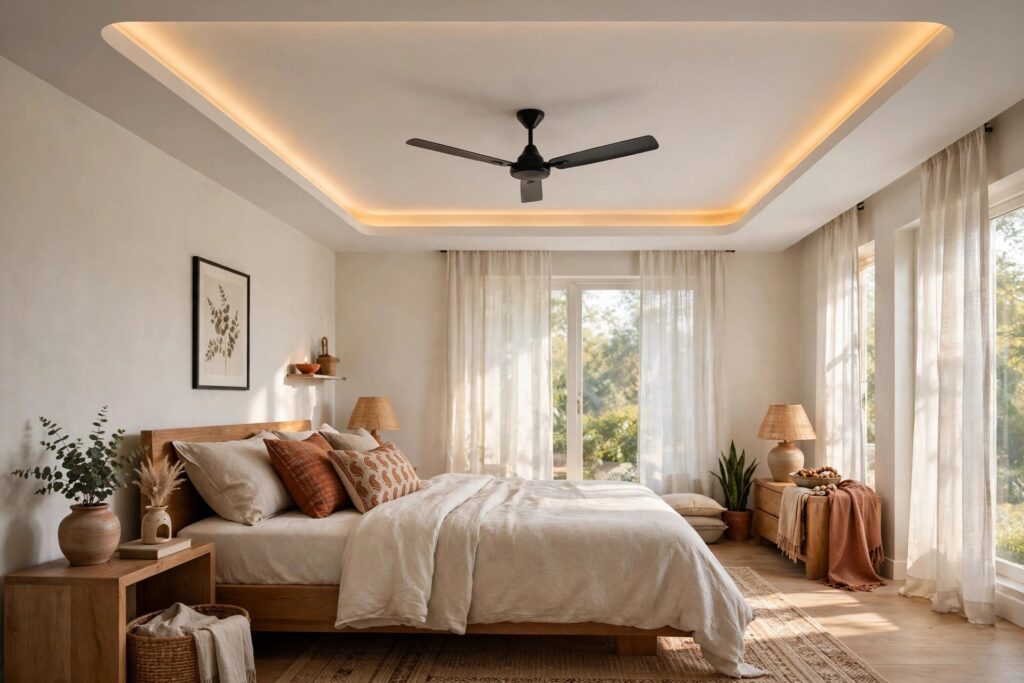

Most Indian bedrooms need a ceiling fan, and most Indian bedrooms now get a false ceiling. The two have to share the same slab, and when they are planned together the result looks calm and deliberate. When they are not, you get a fan that crowds a tray edge, lights that flicker through the blades, or a wobbling fan hanging from a board that was never meant to carry it. This guide covers bedroom false ceiling layouts built around the fan from the start: the one safety rule that matters, clearance and height planning, twelve layout ideas for small and large bedrooms, lighting that works with a moving fan, and the checklist to give your contractor before the frame goes up.
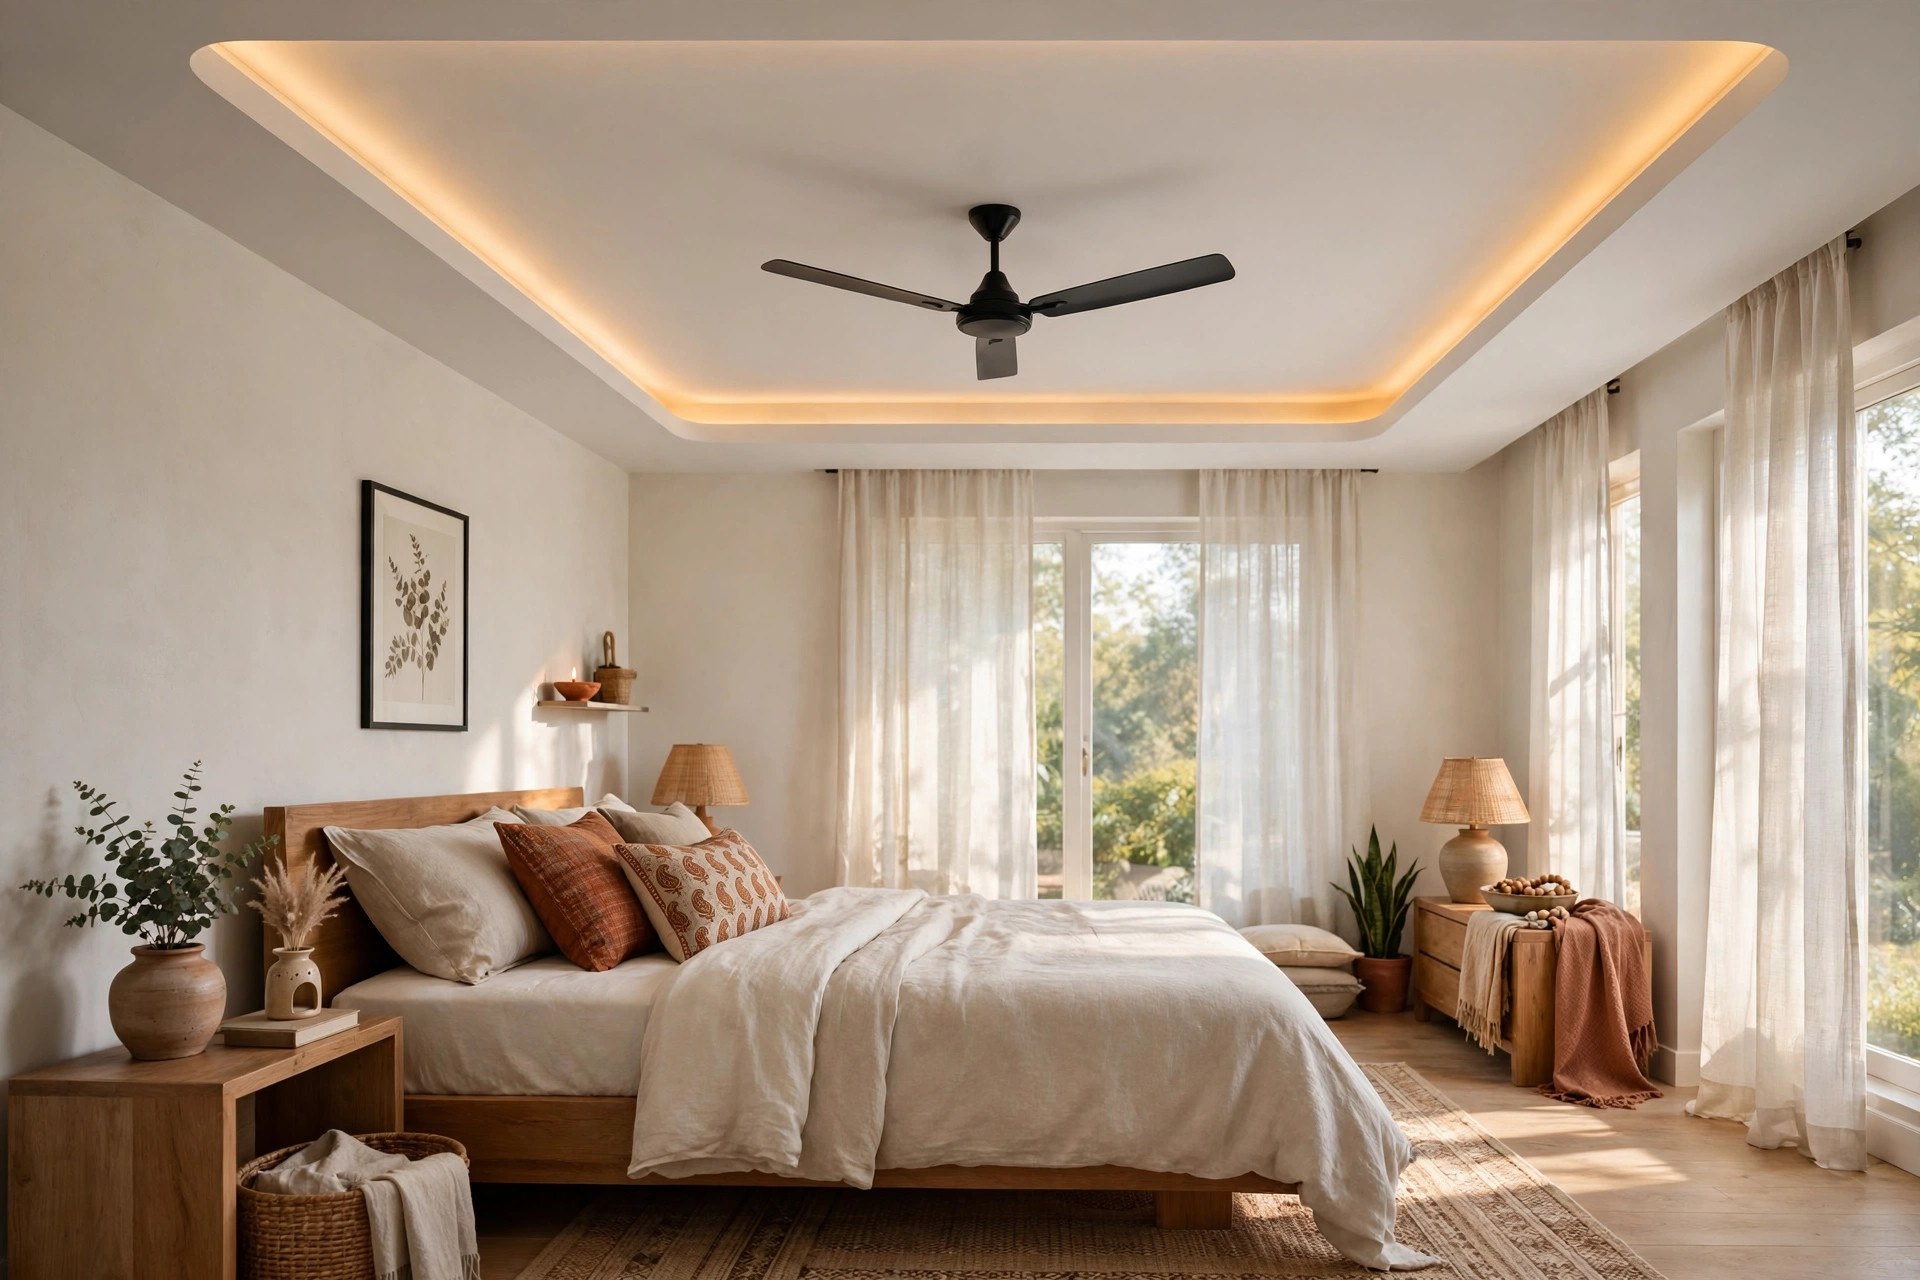
The one rule: the fan hangs from the slab, never from the board
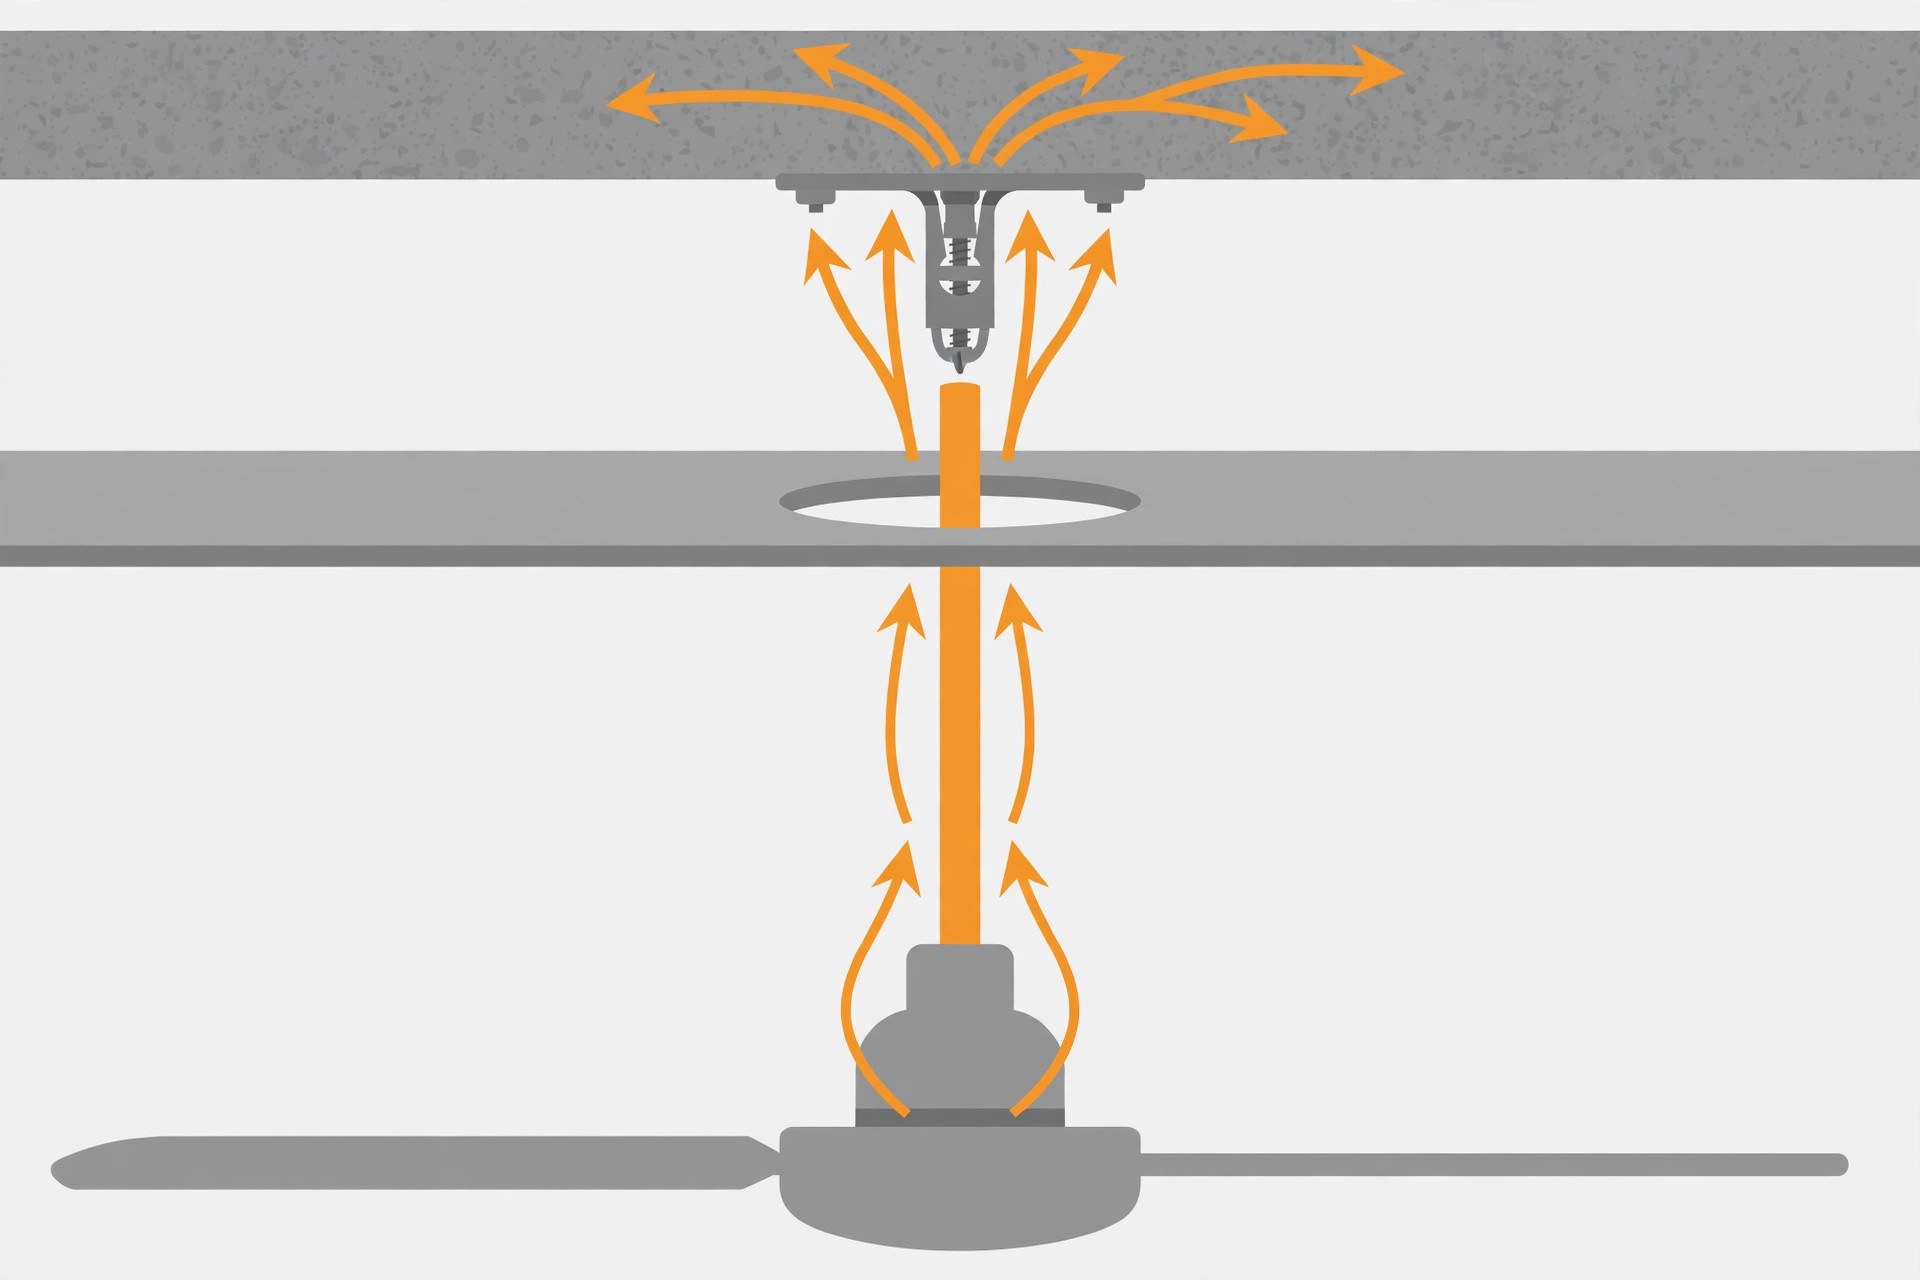
Everything else in this guide is design. This part is safety, and it is simple. A ceiling fan must be anchored to the structural slab above — the actual concrete — through a planned opening in the false ceiling. The gypsum board or POP layer is a finish, not a support. A fan mounted only to the board can work loose over time, and a loose fan is dangerous.
This is not a special opinion. It is standard practice that installers and ceiling guides repeat: heavy fixtures, including fans and chandeliers, fix to the main ceiling, not the false ceiling board. The practical consequence is that the fan position has to be decided before the false ceiling frame goes up, not after. The contractor leaves a cut-out at the fan point, runs a proper downrod from the slab anchor, and the ceiling board is finished neatly around it. If you are reading this after your ceiling is already done, an electrician can still add a fan point — but it means opening the ceiling at that spot, so it is a small repair job, not a five-minute fitting.
You do not need to engineer this yourself. Your contractor or electrician sizes the anchor and the downrod. Your job is to make sure the point is planned, marked, and left accessible before the boards go on.
Clearance and height: the numbers to agree on first
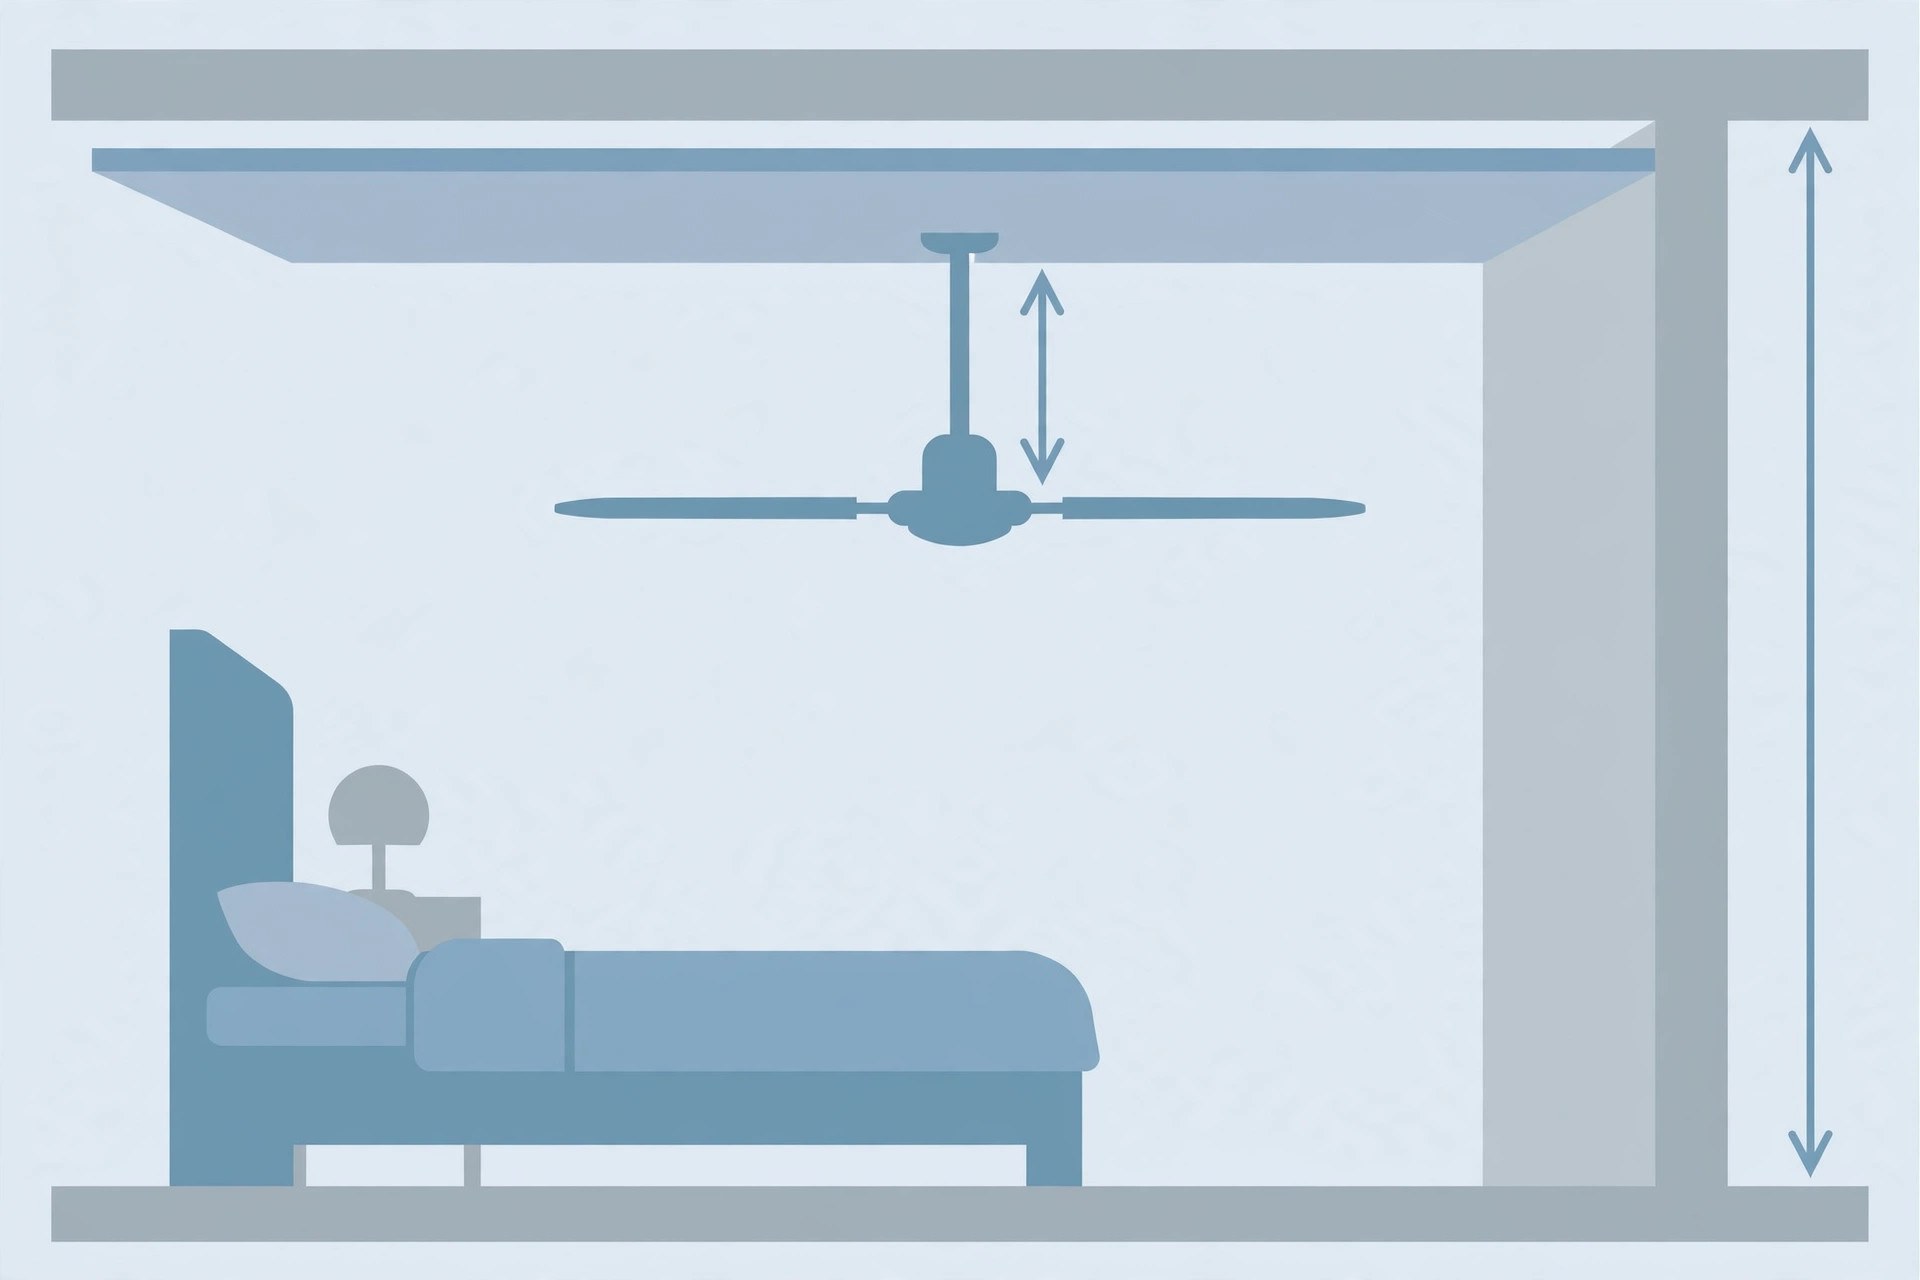
Two measurements decide whether a fan feels right under a false ceiling. First, the blades need clear space below the ceiling surface — a commonly cited rule of thumb in Indian interior guides is at least 8 inches of clearance between the fan blades and the false ceiling face, so the blades do not visually crowd the ceiling and air can move above them. Second, the blades should hang roughly 7.5 to 8 feet above the floor for comfortable, safe air circulation.
These are planning guides, not building codes — your contractor adjusts them to your room. But they are useful because they turn “will the fan fit?” into arithmetic. If your slab is at 10 feet and the false ceiling drops 6 inches, a standard downrod still leaves the blades well above 8 feet. If your slab is at 9 feet and you drop a two-level designer ceiling by 10 inches, the numbers get tight, and that is exactly when people end up with a fan that feels too low or a tray that the blades almost touch.
For low slabs (9 feet or less), prefer shallow drops and hugger-style fans that sit close to the ceiling. For 10 feet and above, you have room for a tray or a border with cove lighting and a standard fan.
Fan size and room size: keep the proportions honest
A 48-inch fan in a 10×10 bedroom moves plenty of air; a 60-inch fan in the same room looks oversized and its blades sweep uncomfortably close to the walls and any tray edge. As a rough guide, rooms up to about 120 sq ft suit a standard 48-inch fan, larger bedrooms up to 200 sq ft suit 52 inches, and only big master bedrooms beyond that justify 60 inches. Match the fan to the room first, then design the ceiling around the sweep of the blades — not the other way round.
Also think about where the bed sits. The fan does not have to be at the geometric centre of the room; it should be over the space where people sleep. In a bedroom where the bed is pushed to one side, a slightly off-centre fan over the bed feels better than a perfectly centred fan over empty floor.
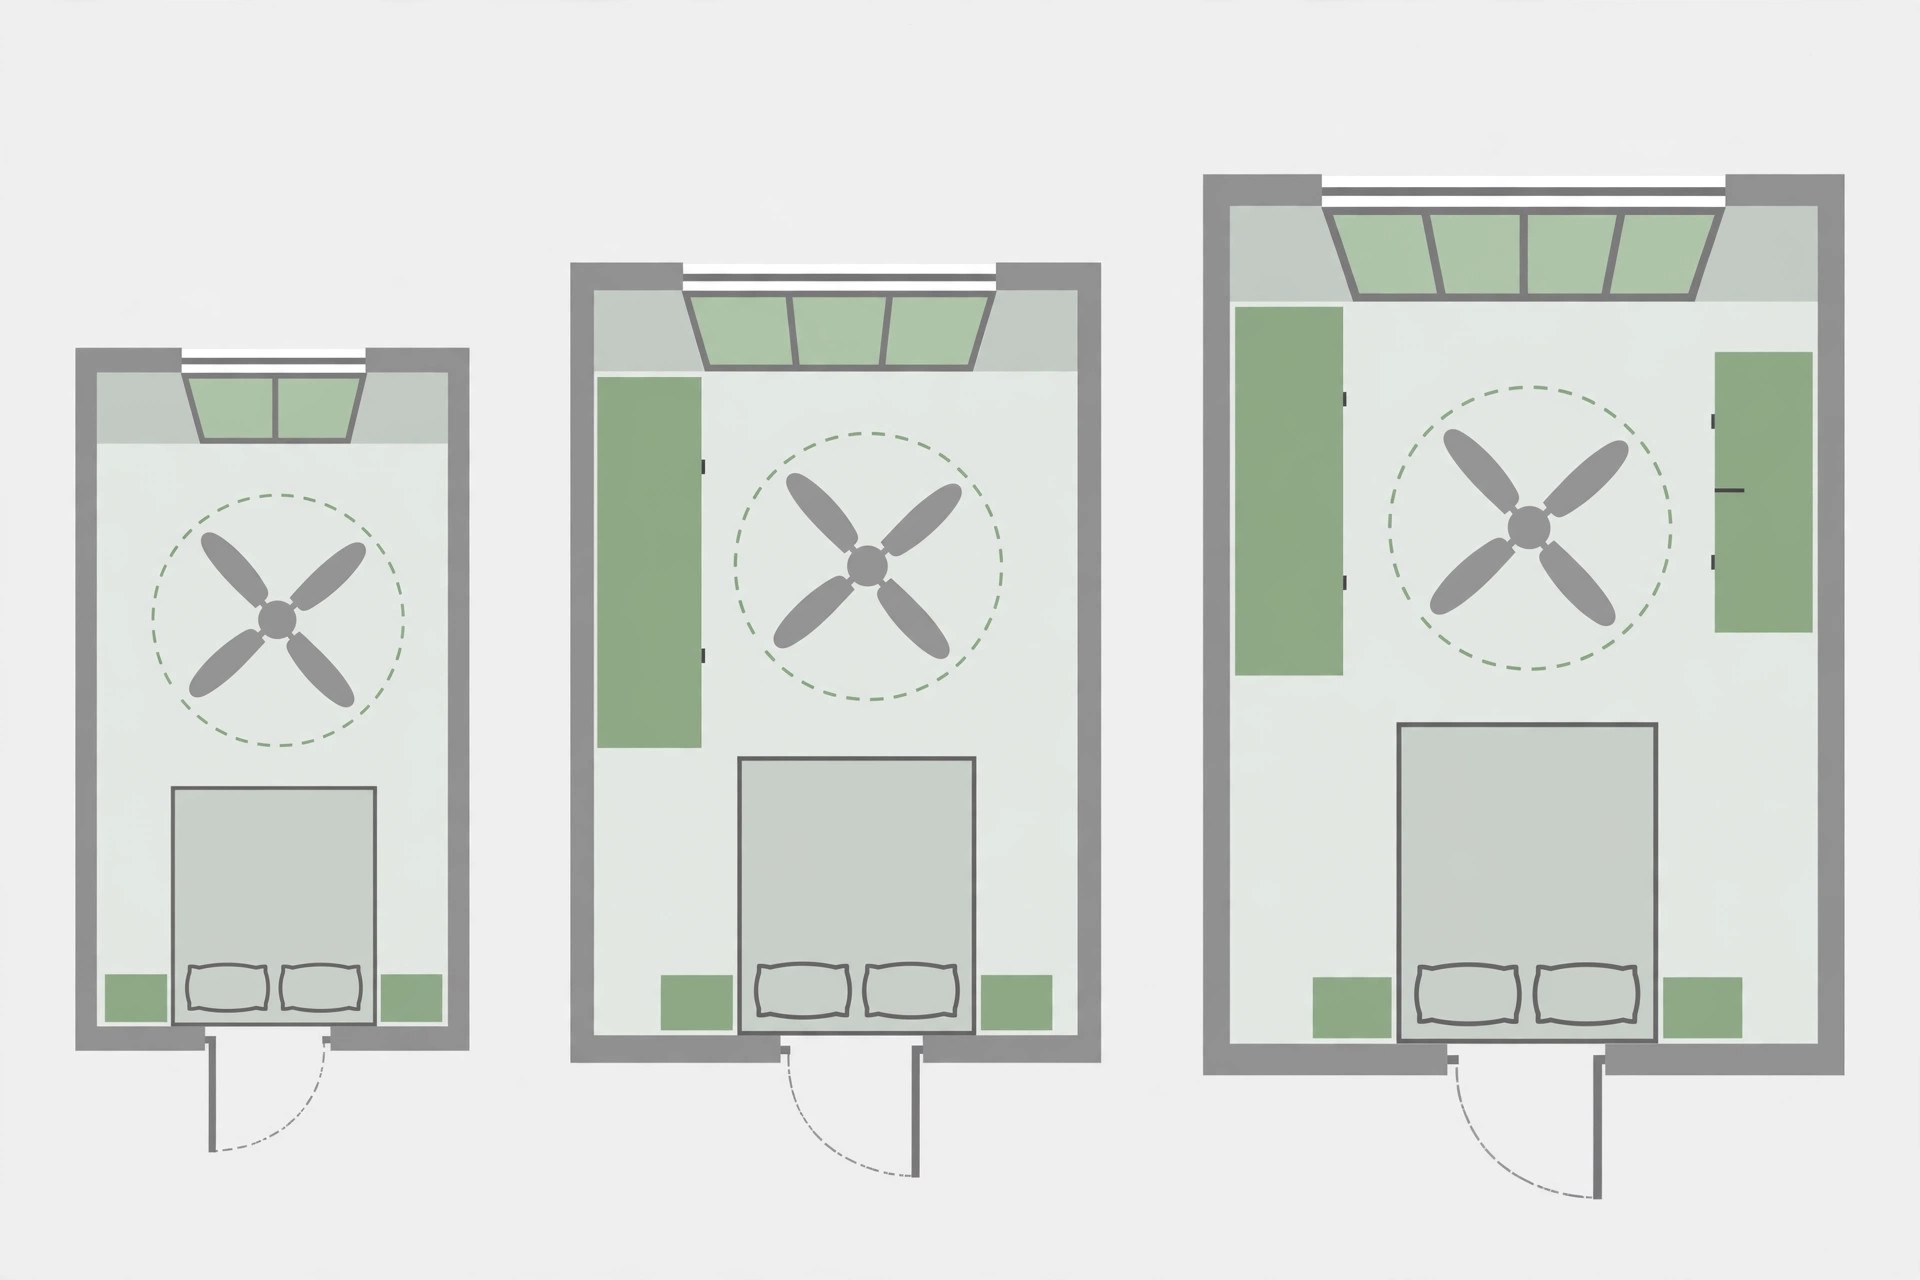
Fan-friendly layouts for small bedrooms
Small bedrooms punish deep, multi-level ceilings: every inch of drop is felt. The layouts below keep the drop shallow and leave the fan zone open.
1. Peripheral border with the fan on the original slab
The false ceiling runs only along the edges of the room — a border 8 to 12 inches wide carrying cove lighting — while the centre stays at full slab height. The fan mounts directly on the original ceiling in the middle. You lose no headroom where it matters, the room keeps its height, and the cove glow gives you a finished look for the cost of a border. This is the layout to choose when the slab is at 9 feet or the room is under 120 sq ft.
2. Single-layer gypsum tray with a slim fan
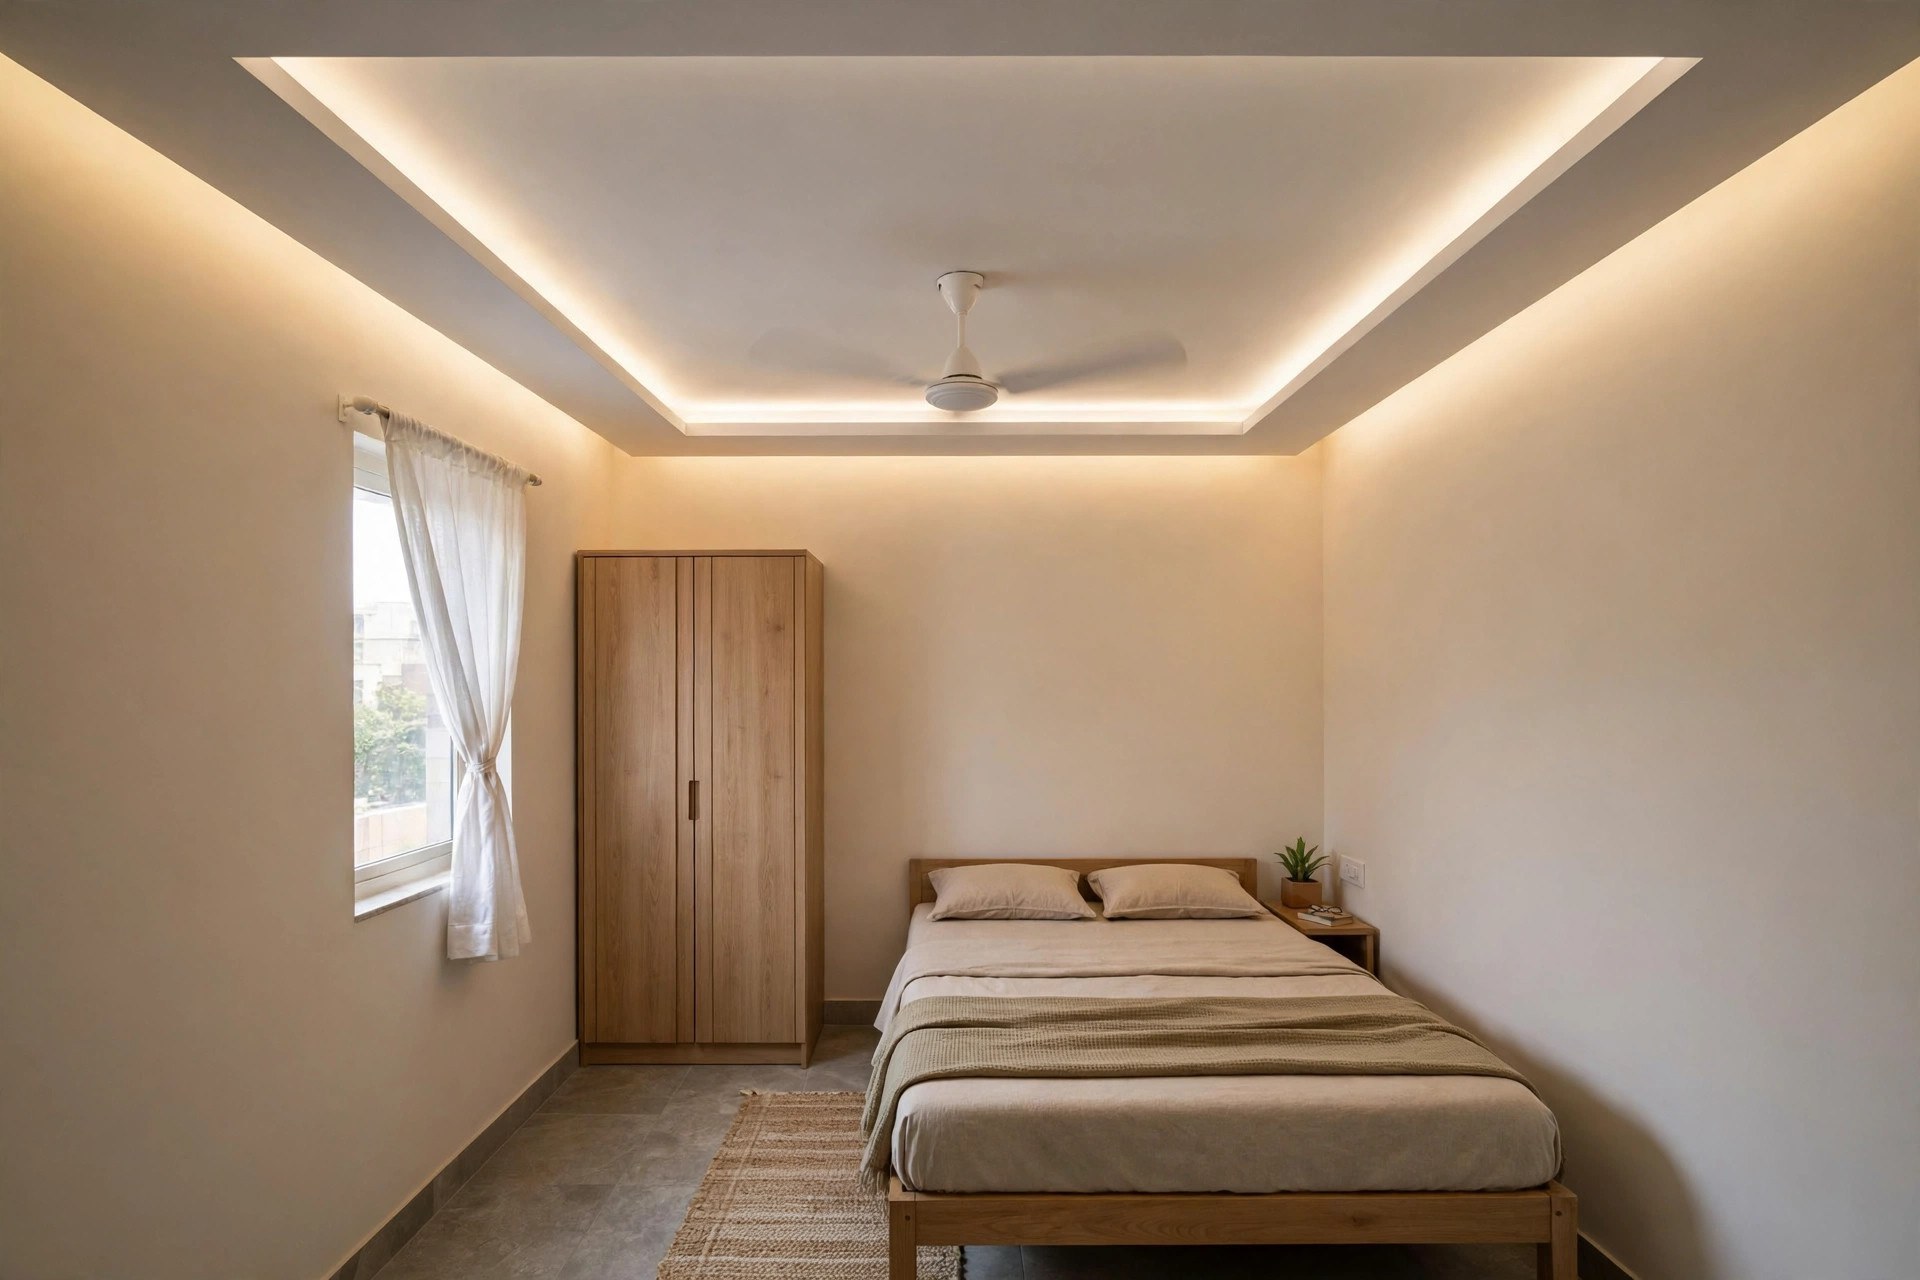
One shallow tray recess in the centre of a flat gypsum ceiling, with the fan sitting in the recess. The raised border around the tray carries recessed LED spots. Keep the tray shallow — 4 to 6 inches — and the whole ceiling one colour, white or off-white, so the small room does not feel divided. A slim-profile fan keeps the proportions tidy.
3. L-shaped corner ceiling with an open centre
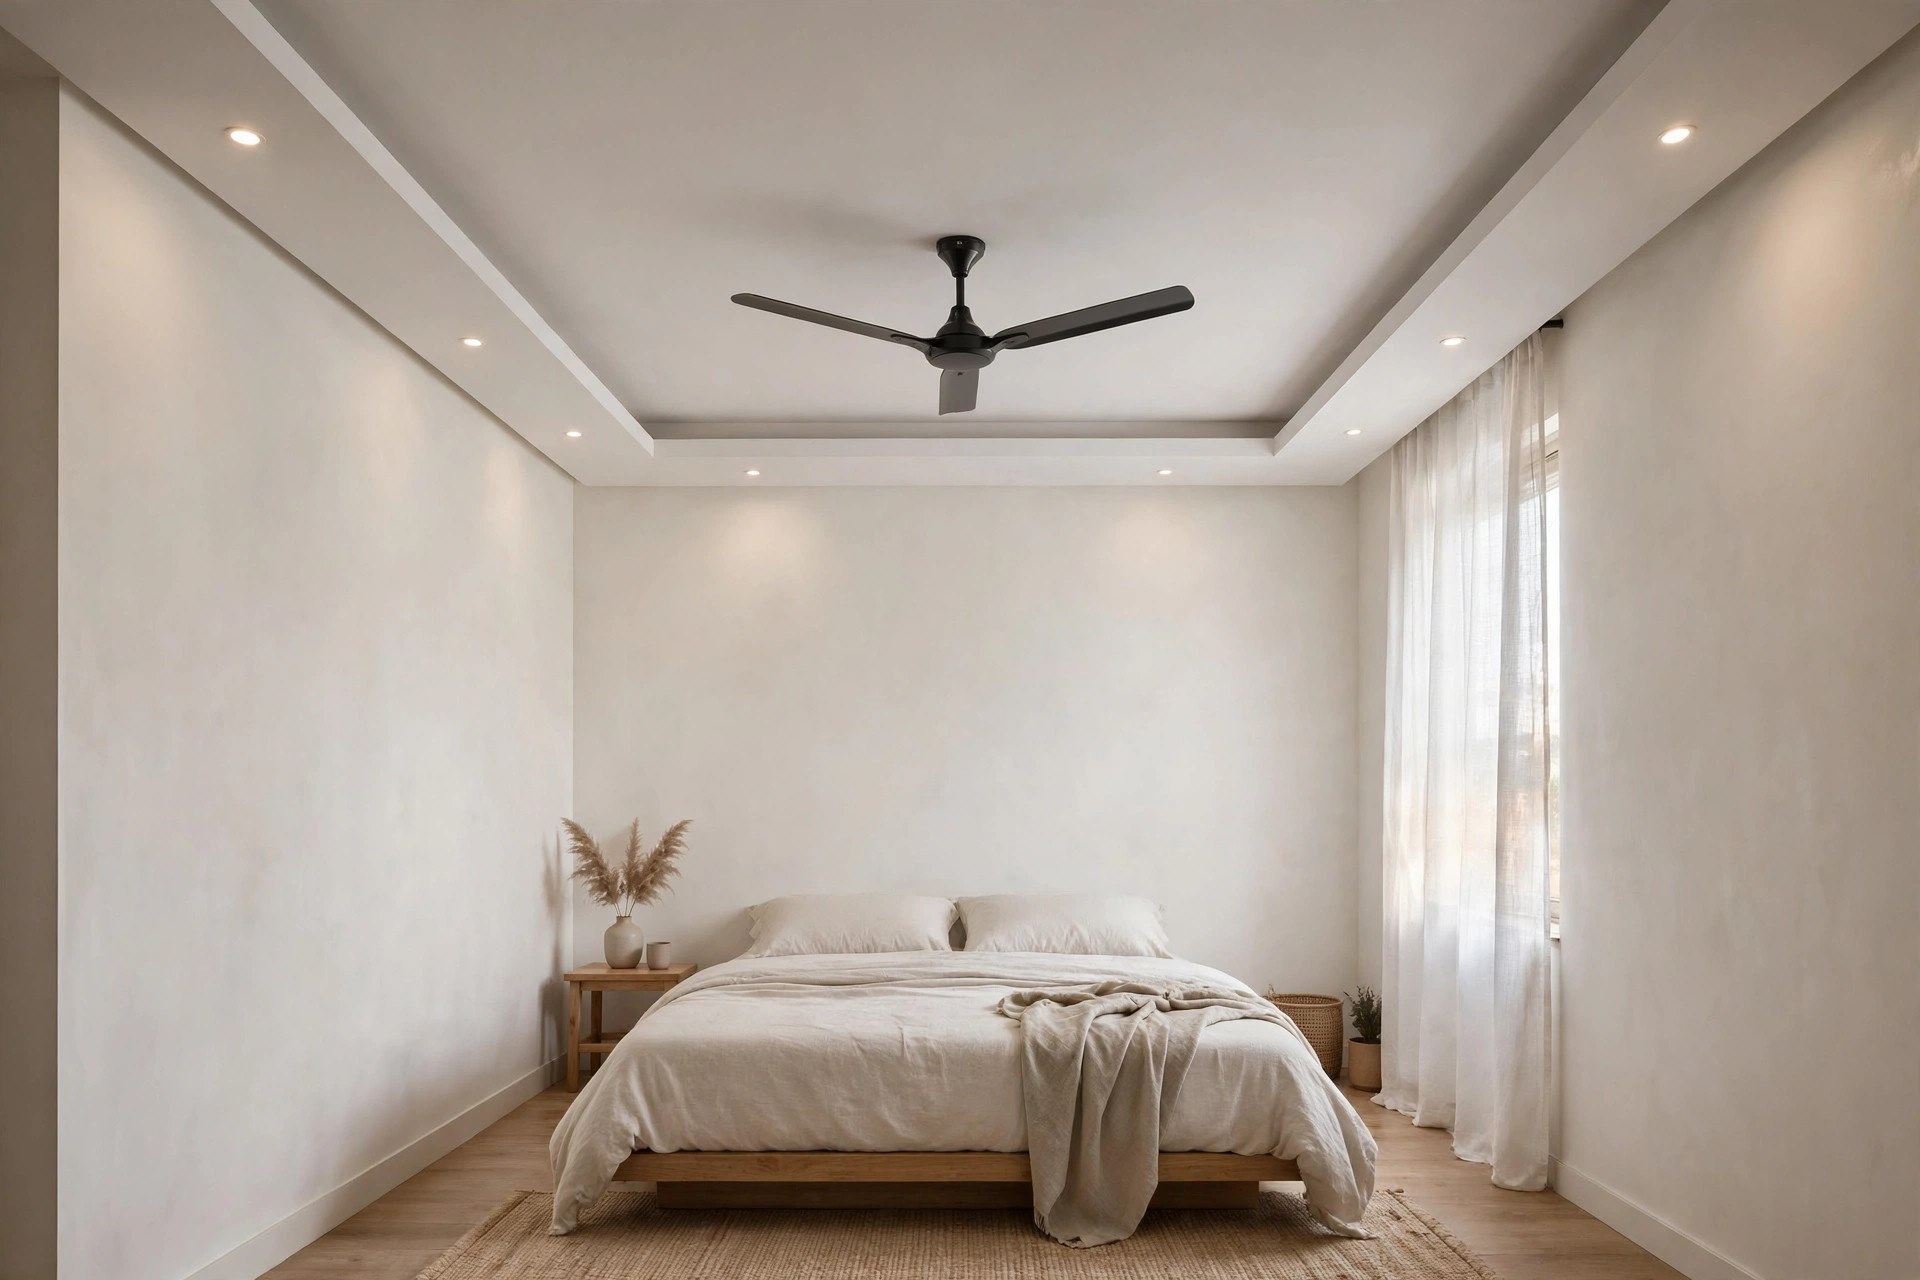
The false ceiling covers just two adjacent walls in an L, leaving a large open rectangle in the middle for the fan. It suits rooms under 120 sq ft where even a full border would feel heavy. The L carries the cove light; the fan gets open air and full height.
4. Flat gypsum panel with a hugger fan
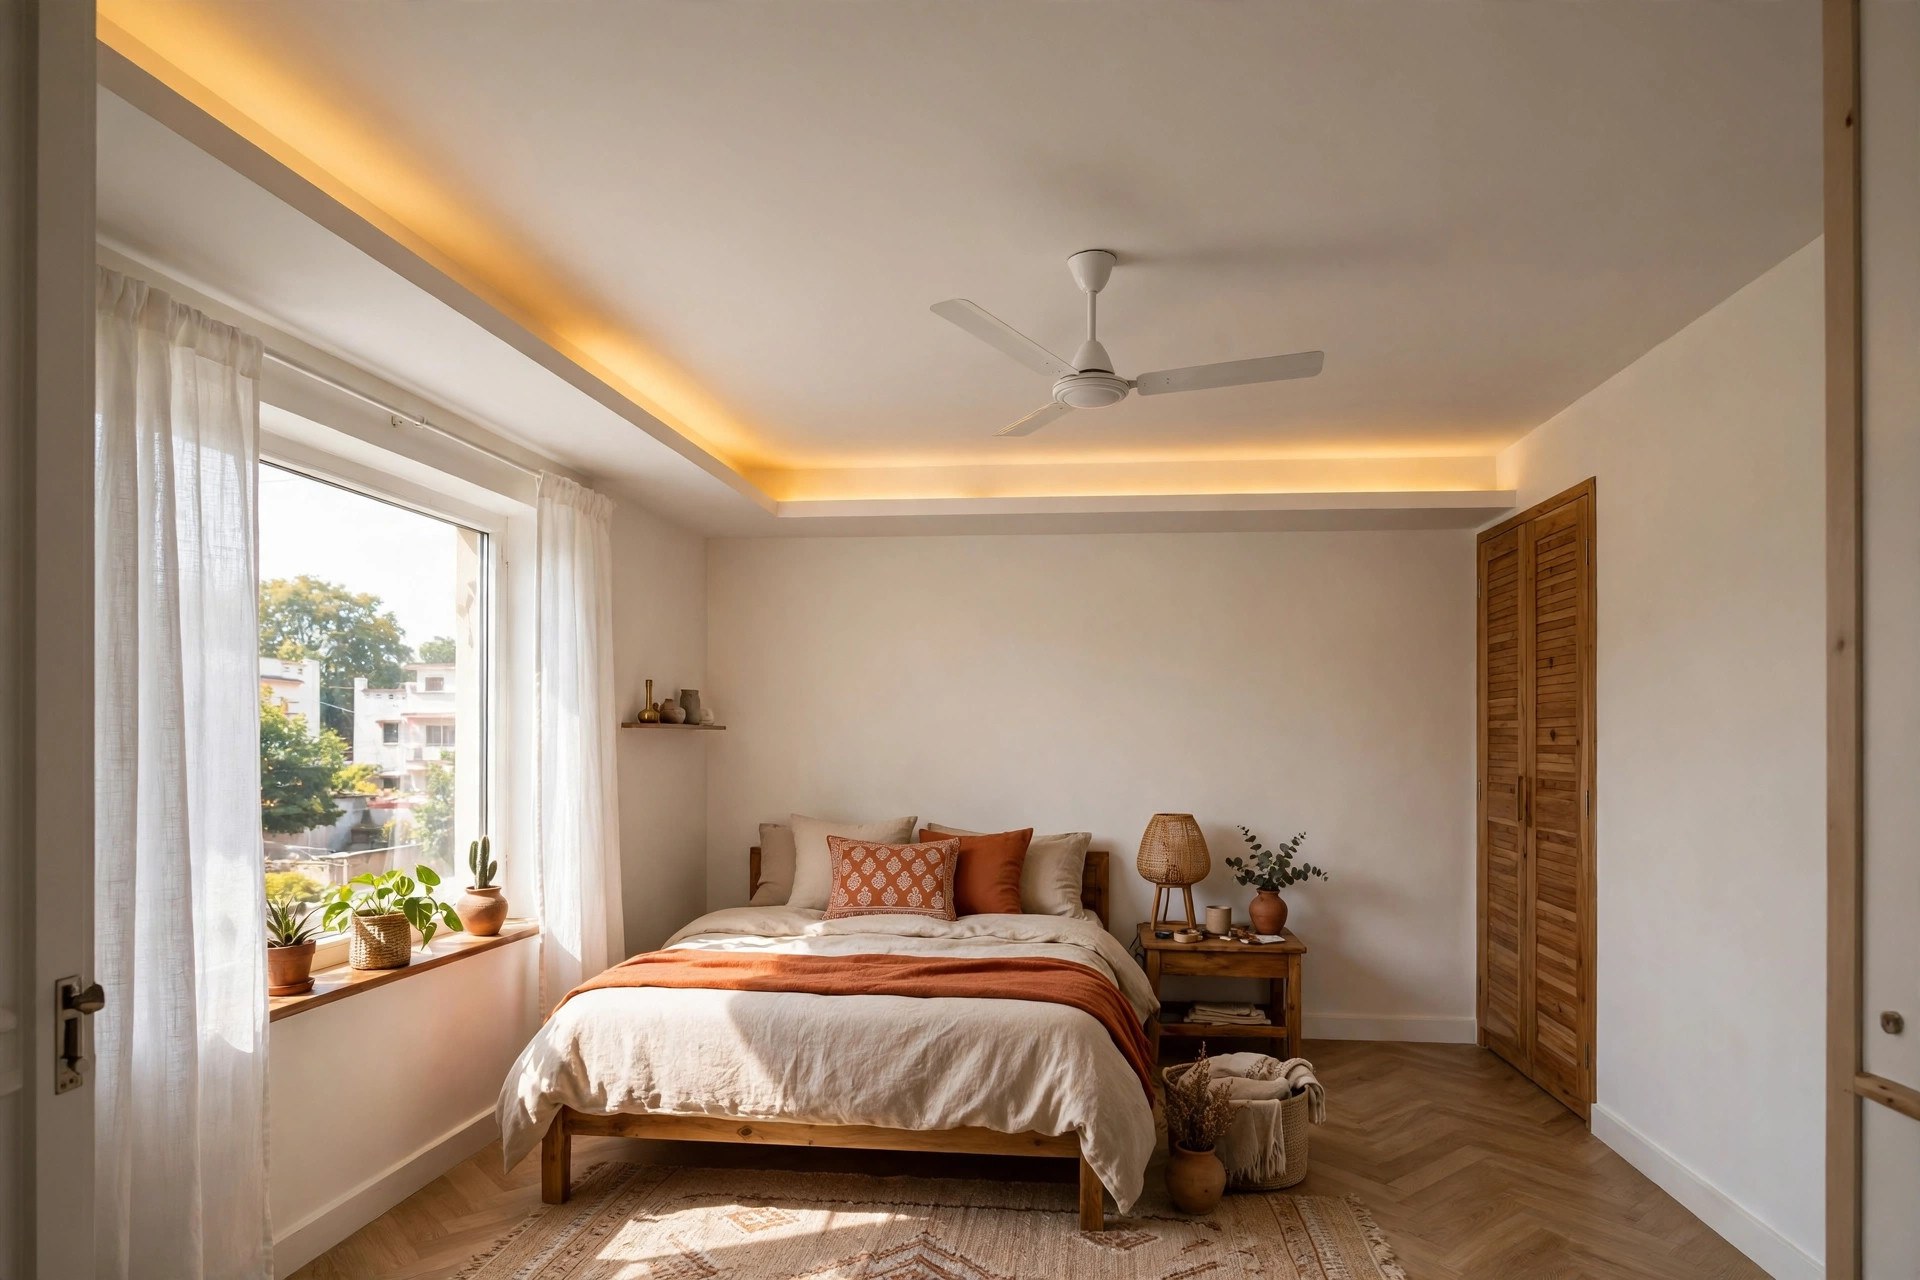
A flat, edge-to-edge gypsum layer with no trays, no drops, no borders — and a hugger-style fan that sits almost flush with the surface. This is the cleanest modern look for low-ceiling flats, and it is also the cheapest ceiling to build because there is almost no framing complexity. The design interest comes from paint and lighting, not levels.
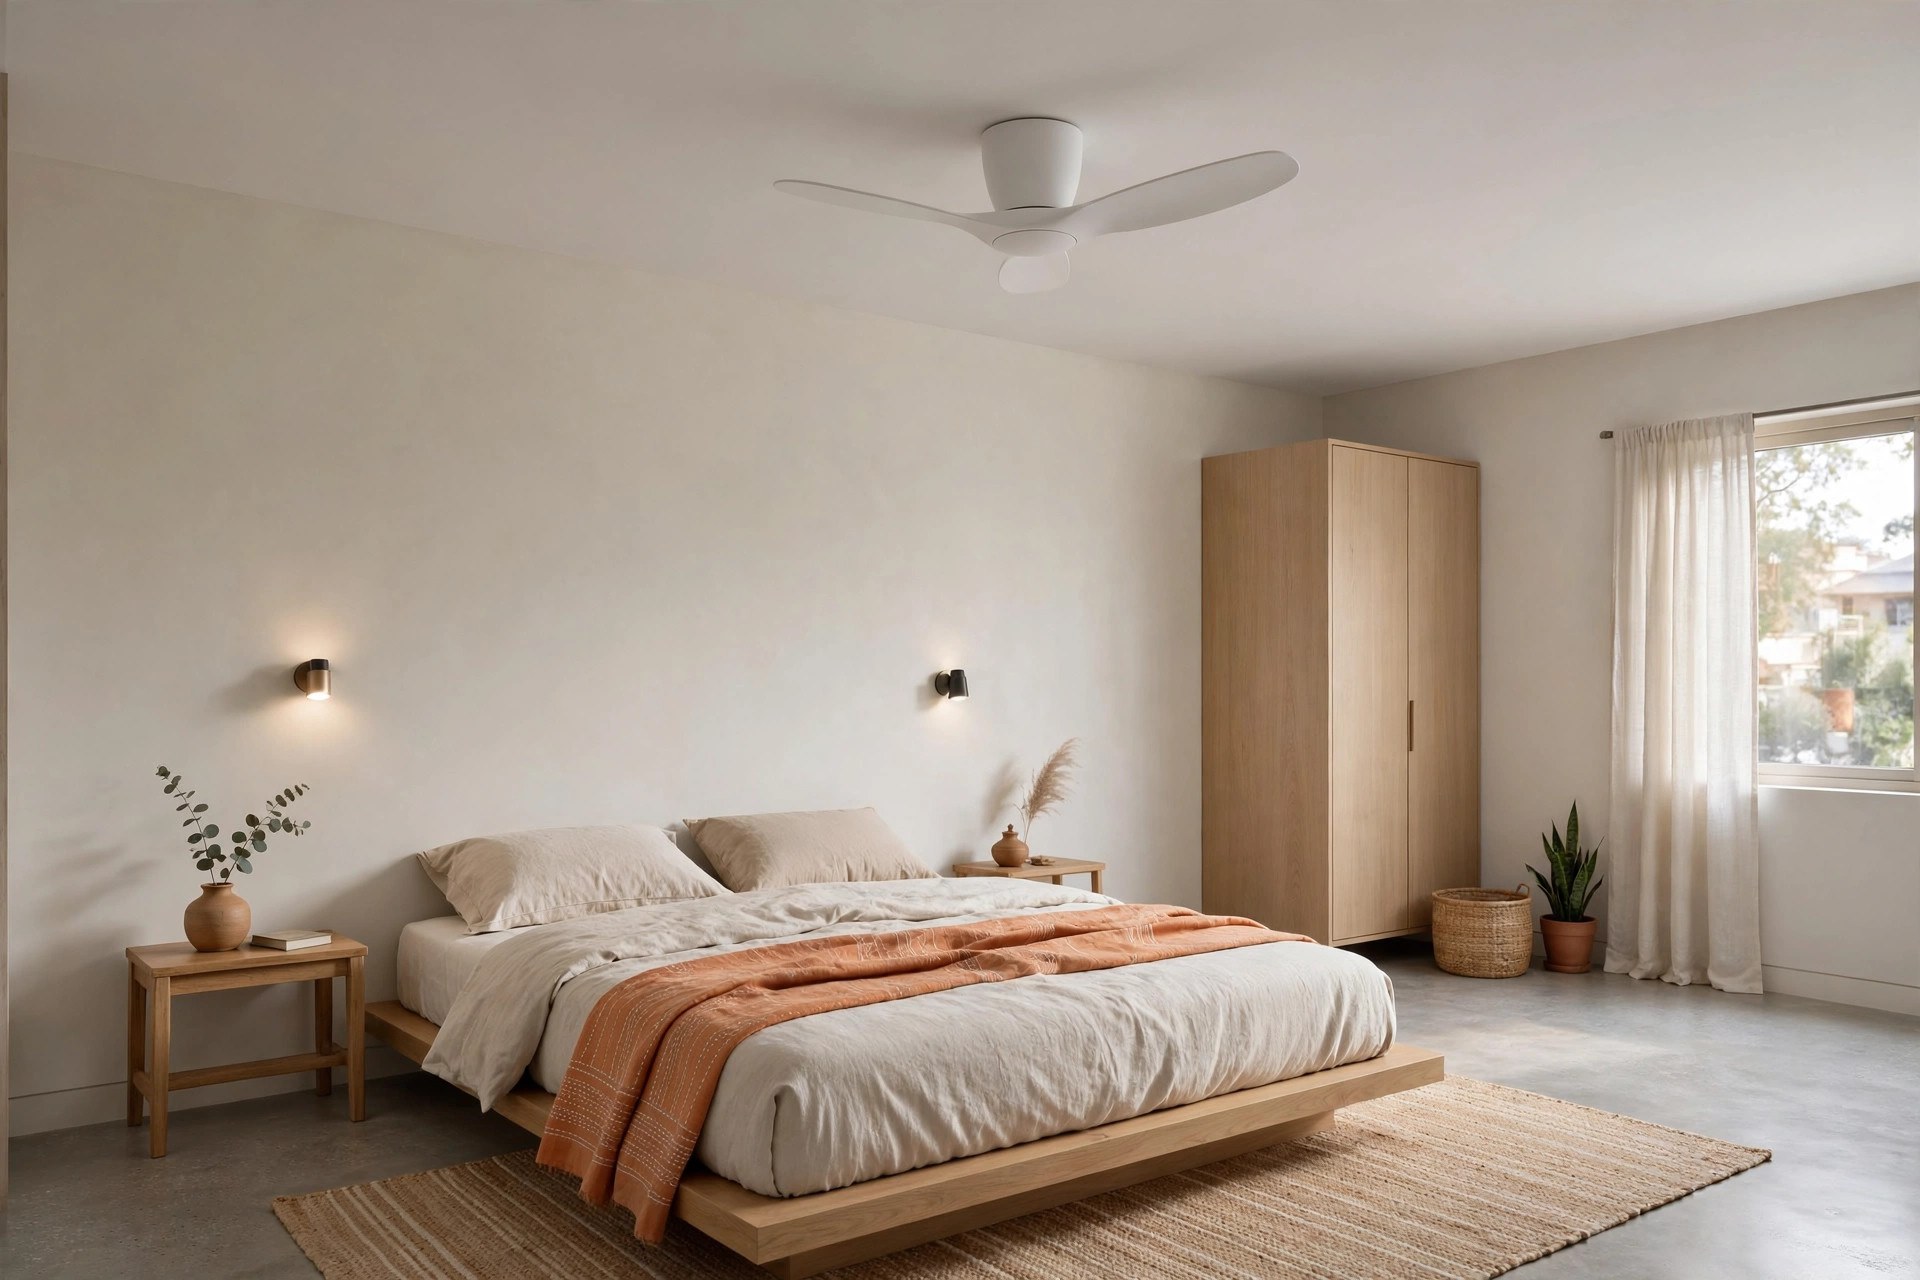
5. Thin border with warm cove light
A narrow POP border, 6 to 8 inches wide, frames the ceiling perimeter with a hidden warm LED strip. The fan hangs at the centre from the slab. The cove glow replaces the need for a central light fixture, so the fan area stays visually quiet and the room feels taller than it is.
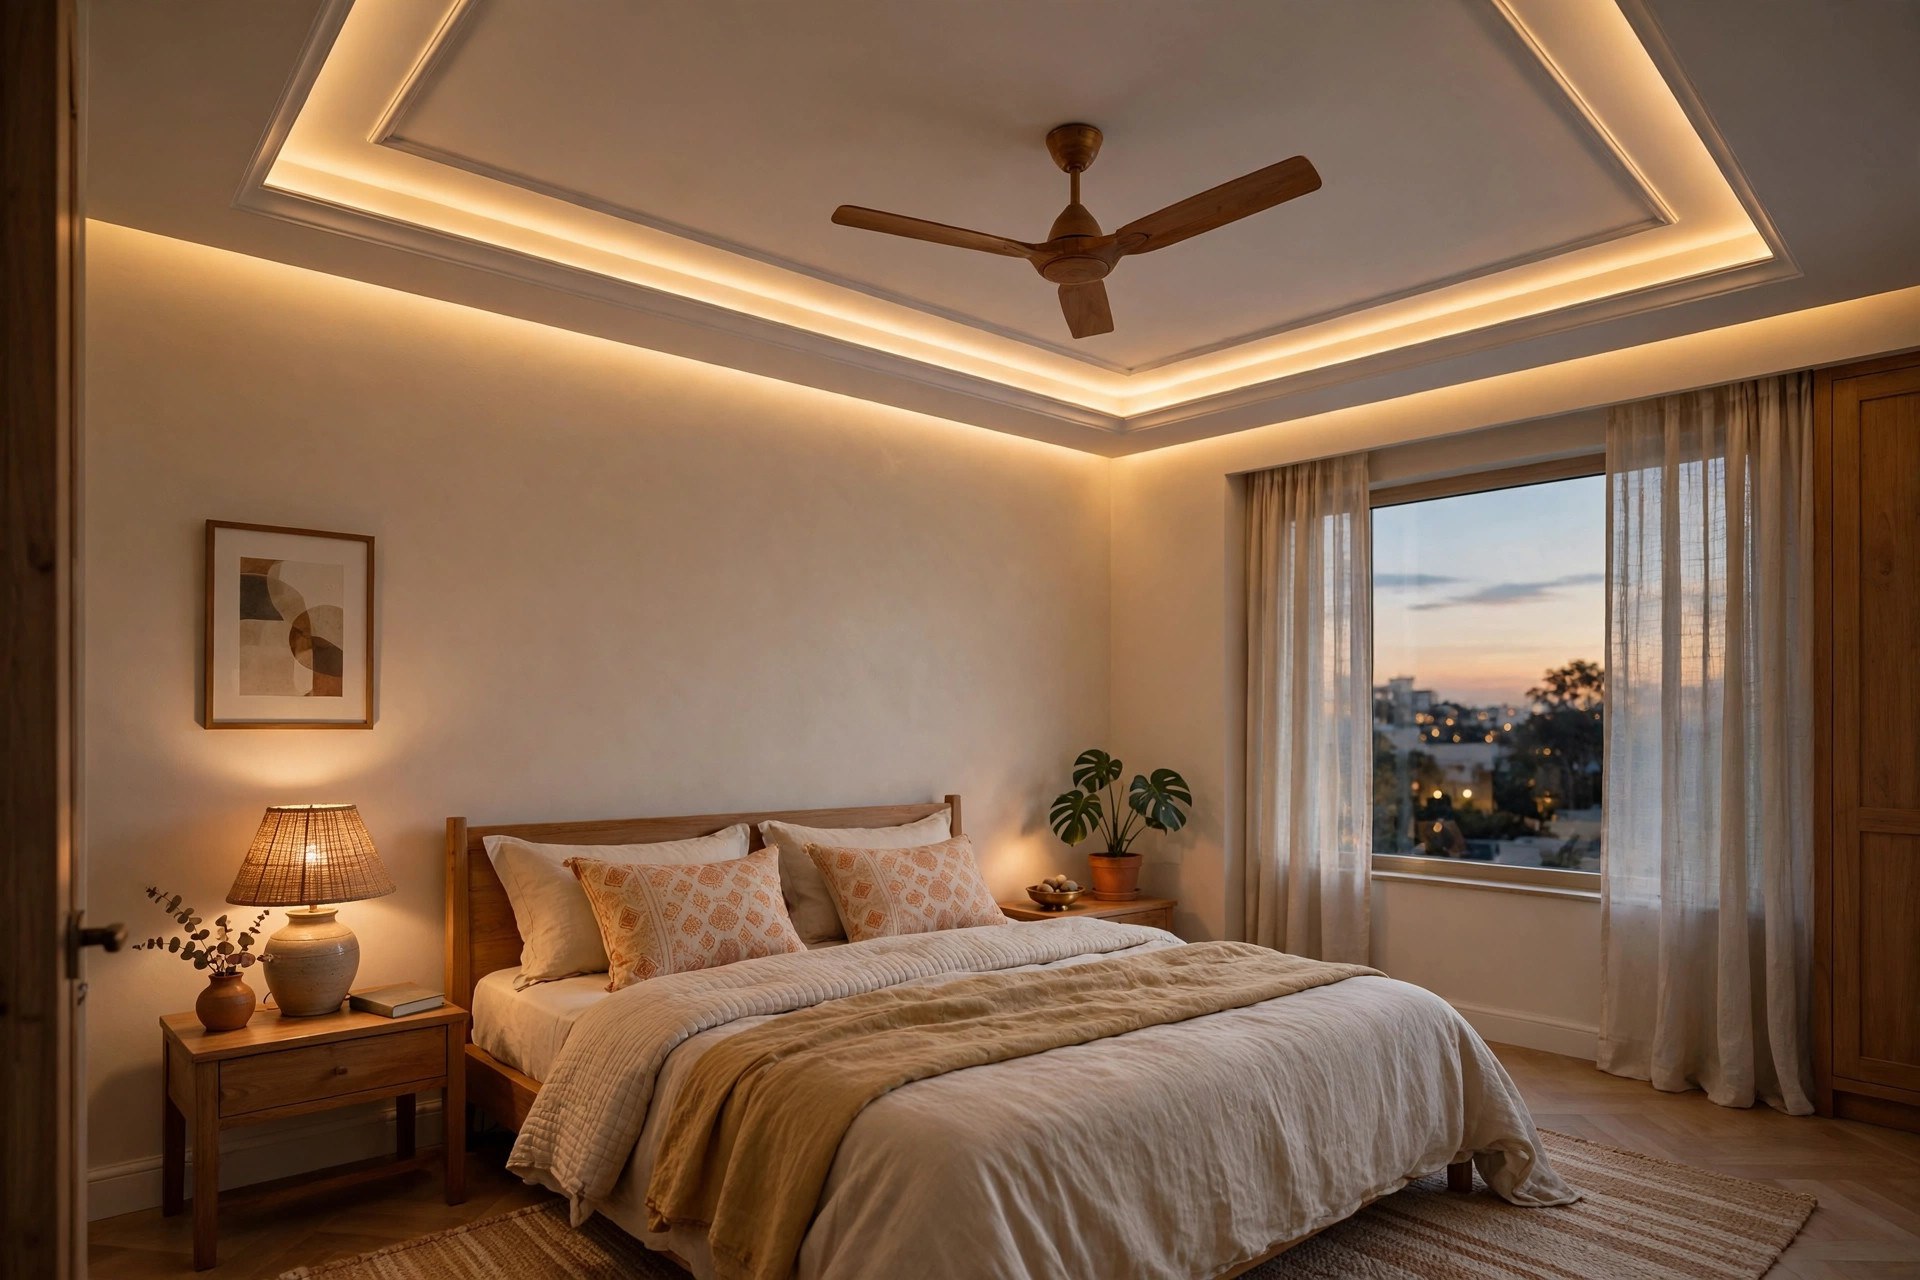
Fan-friendly layouts for master bedrooms
Bigger rooms and higher slabs earn you layers. The fan still anchors to the slab; the design around it can be more ambitious.
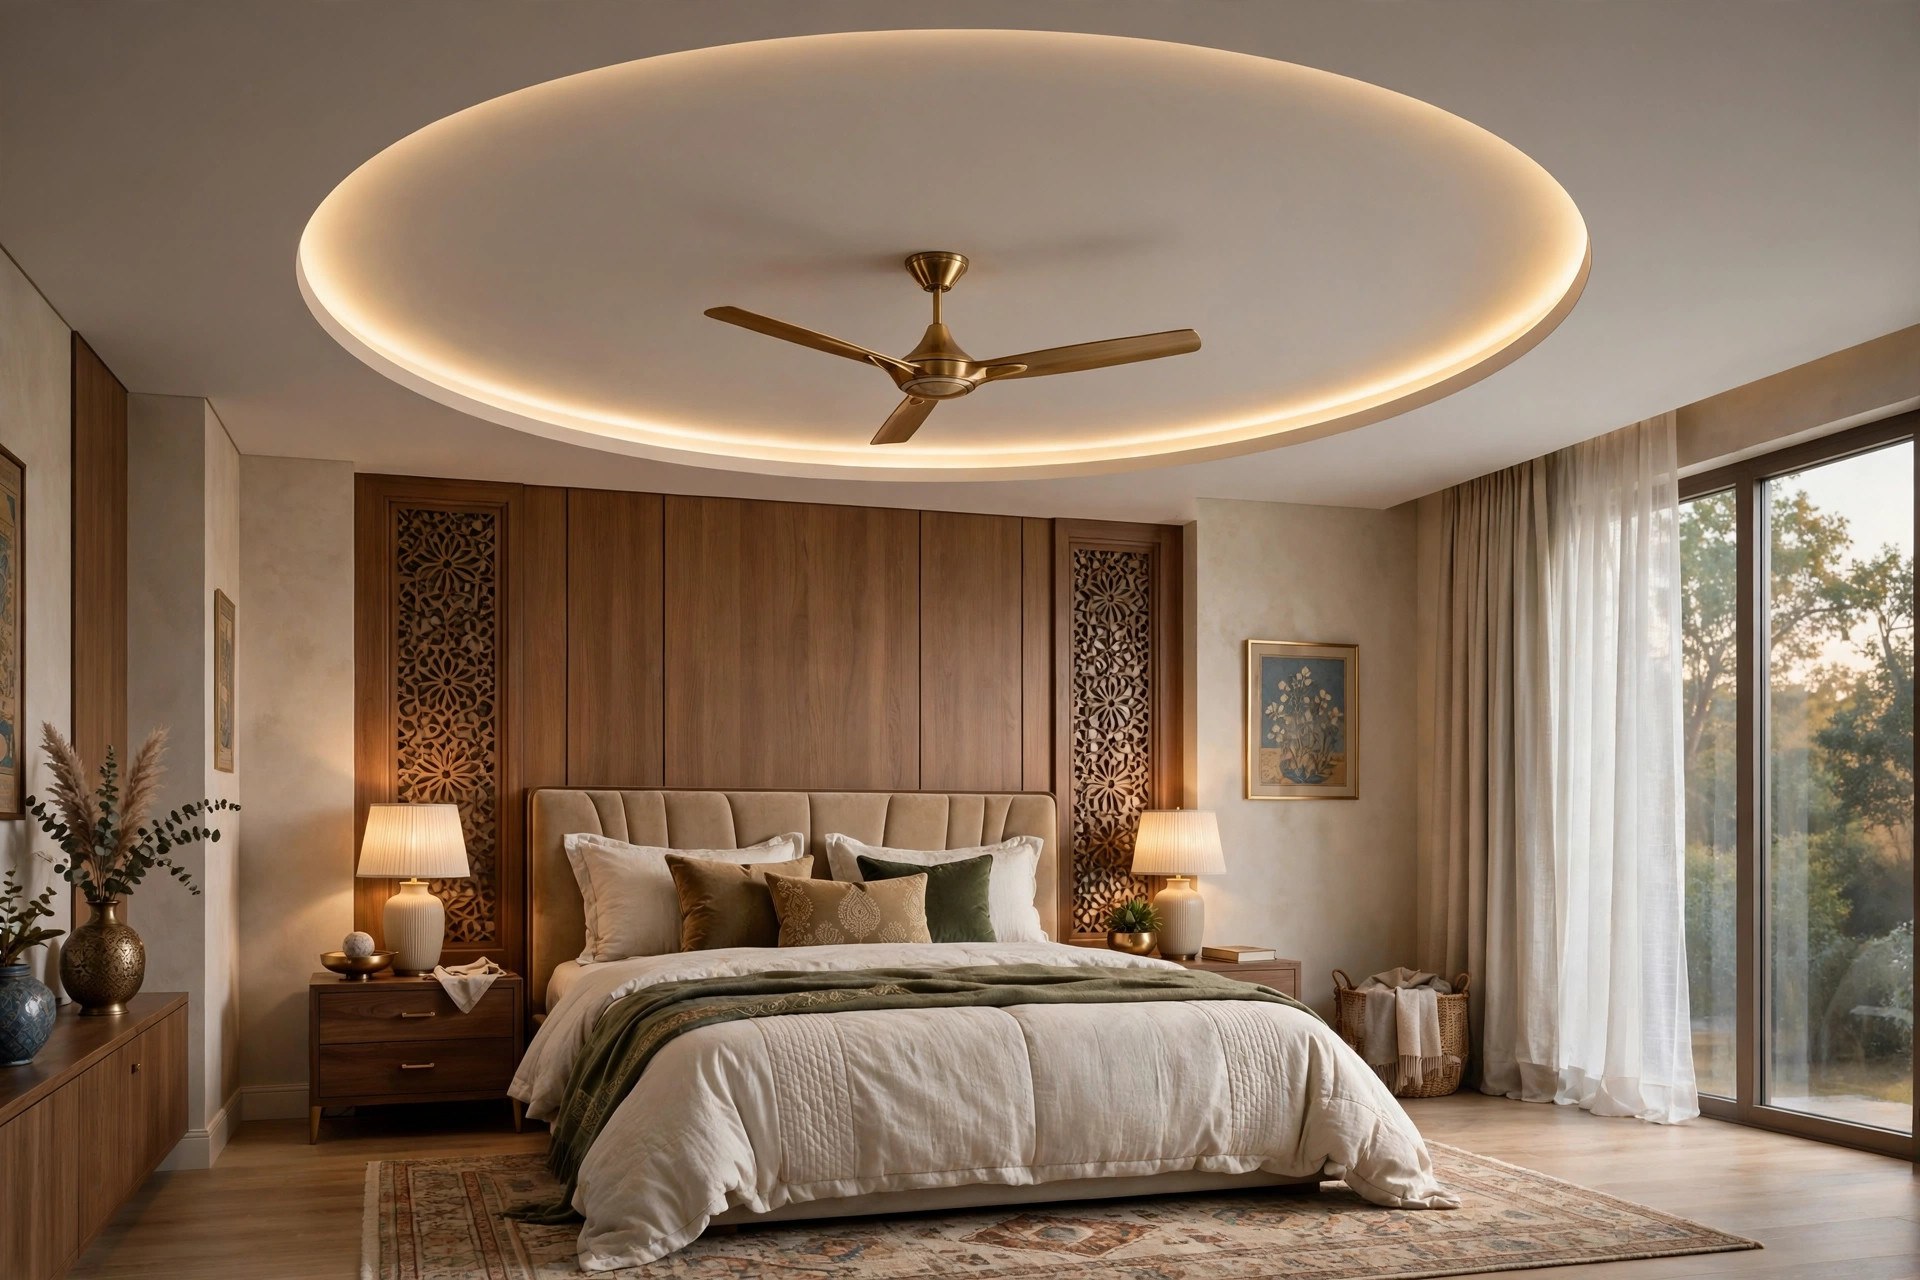
6. Circular recess with a backlit fan zone
A round cut-out in the centre of the ceiling frames the fan, with an LED strip around the circular edge creating a halo. It turns the fan from an appliance into a deliberate focal point. Pair a wooden-finish fan with a white ceiling for contrast that does not need any other decoration.
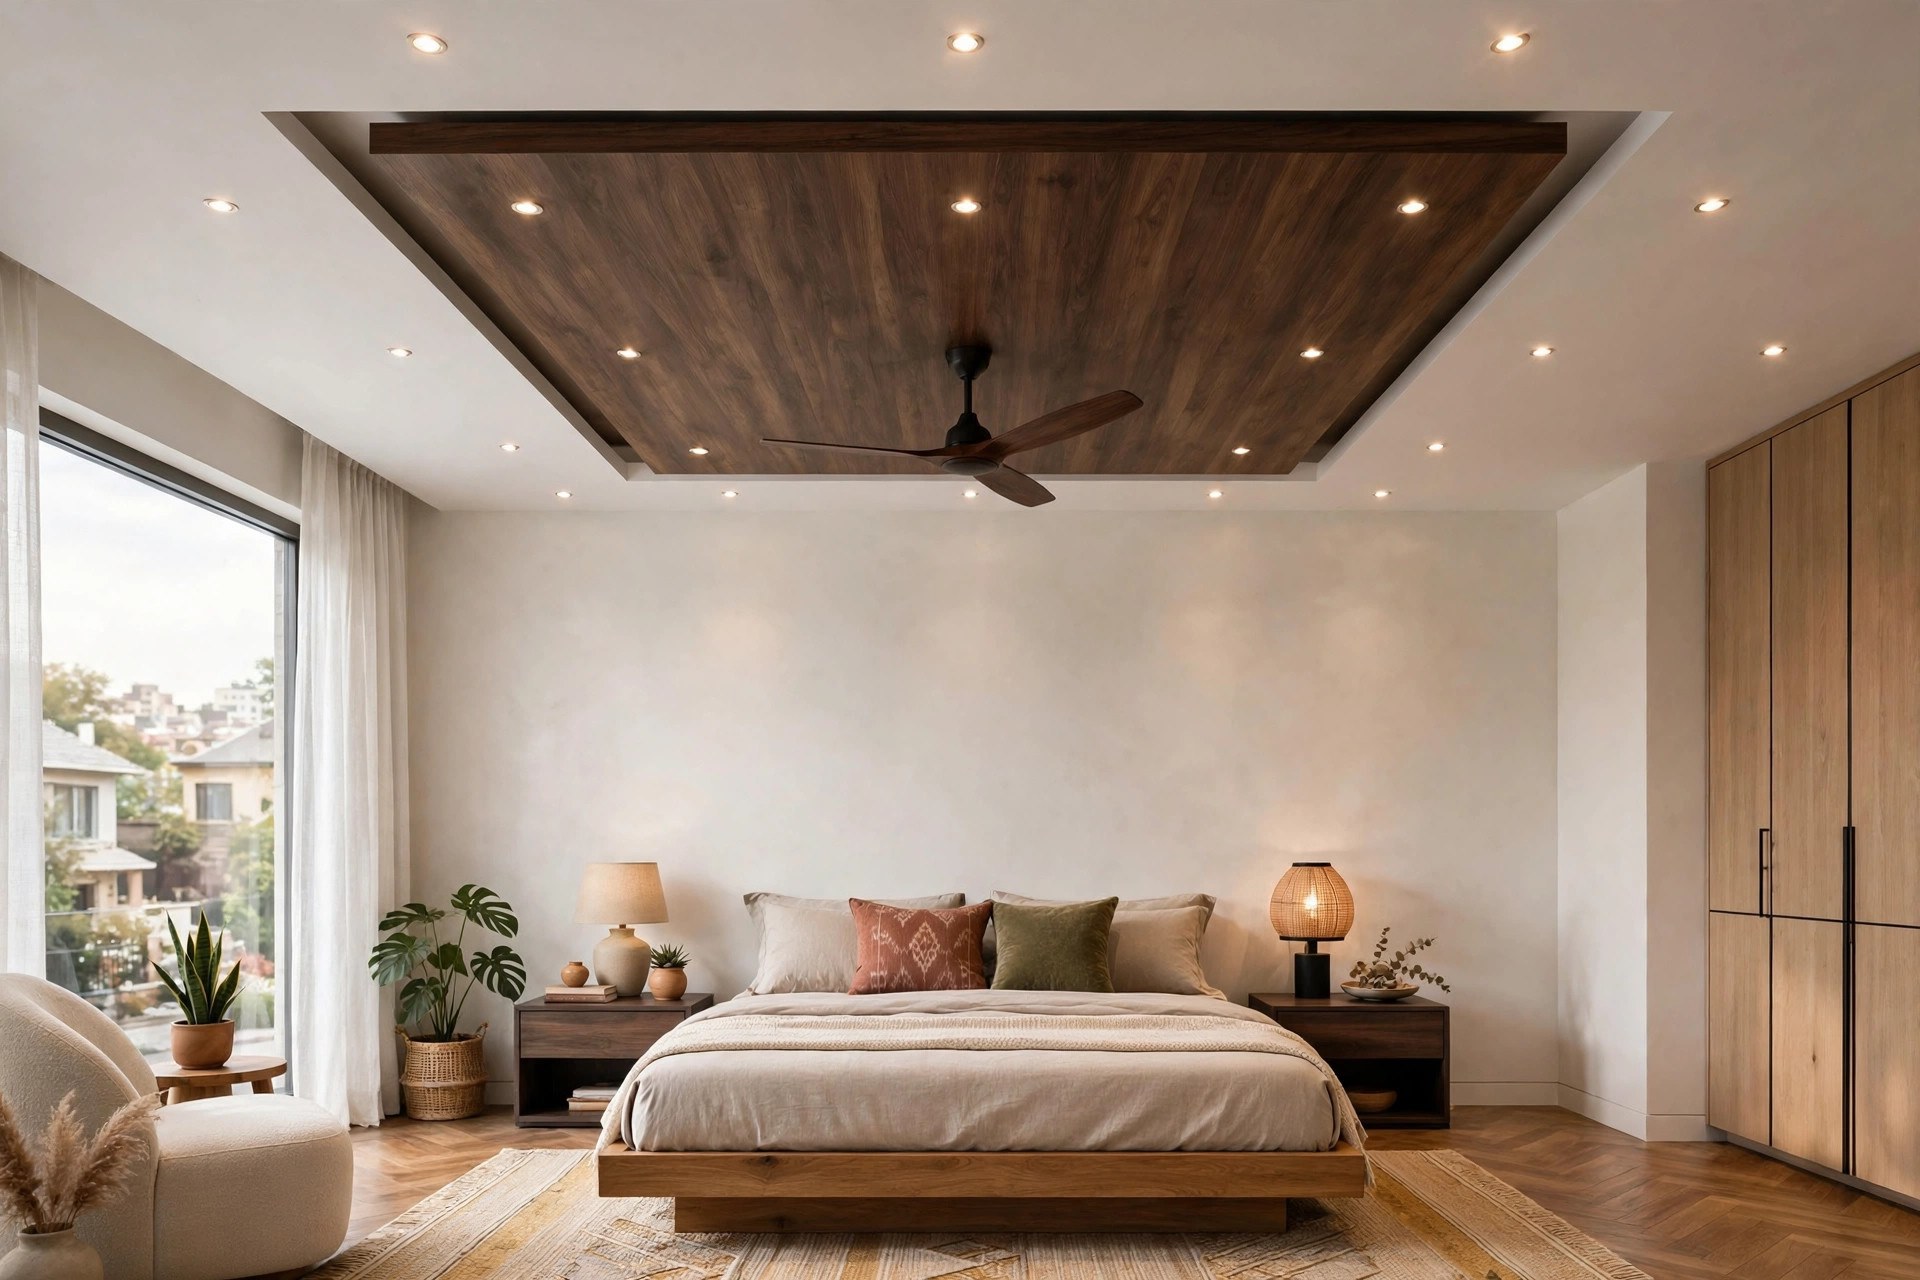
7. Floating island panel with a contrasting finish
A rectangular panel appears to float at the centre of the ceiling, finished in wood laminate or a deeper paint shade, holding the fan. The surrounding ceiling stays flat with spotlights. The contrast does the decorating — no mouldings, no extra levels.
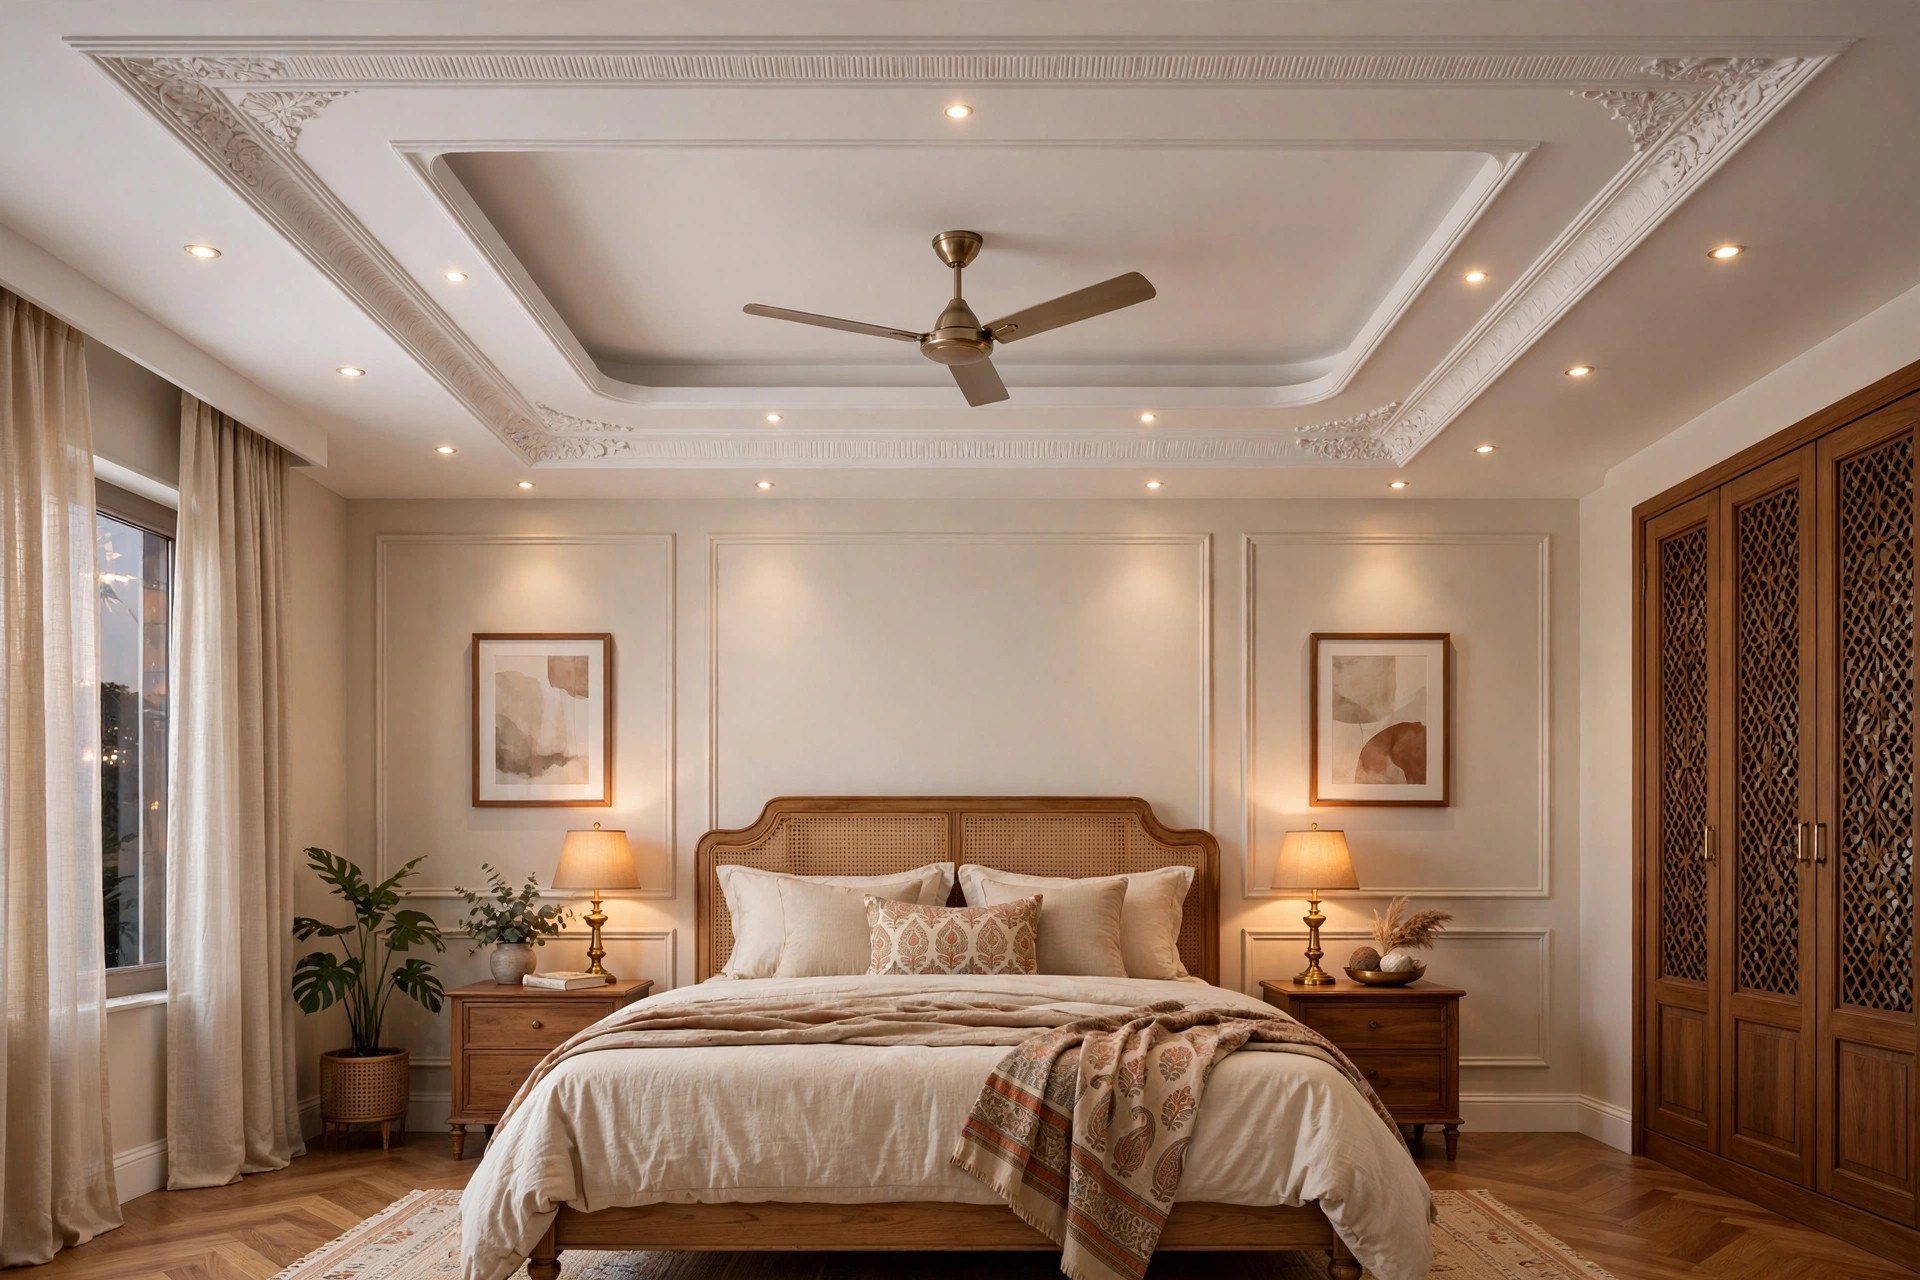
8. Double-layer POP with a recessed fan pocket
Two POP layers create depth: the lower outer layer carries decorative detailing and lights, while a raised inner section forms a clean pocket that the fan sits in. The pocket reads as intentional architecture rather than a hole cut for the fan. Keep the pocket at least a foot wider than the blade sweep on every side.
9. Split zones for fan and statement light
In bedrooms over 200 sq ft, divide the ceiling: one half gets a clean tray with the fan above the bed, the other gets a decorative section with a pendant or chandelier above a seating or dressing zone. Each half gets the fixture it suits, and neither compromises the other. This is the layout for people who want both a fan and a statement light without the two fighting.

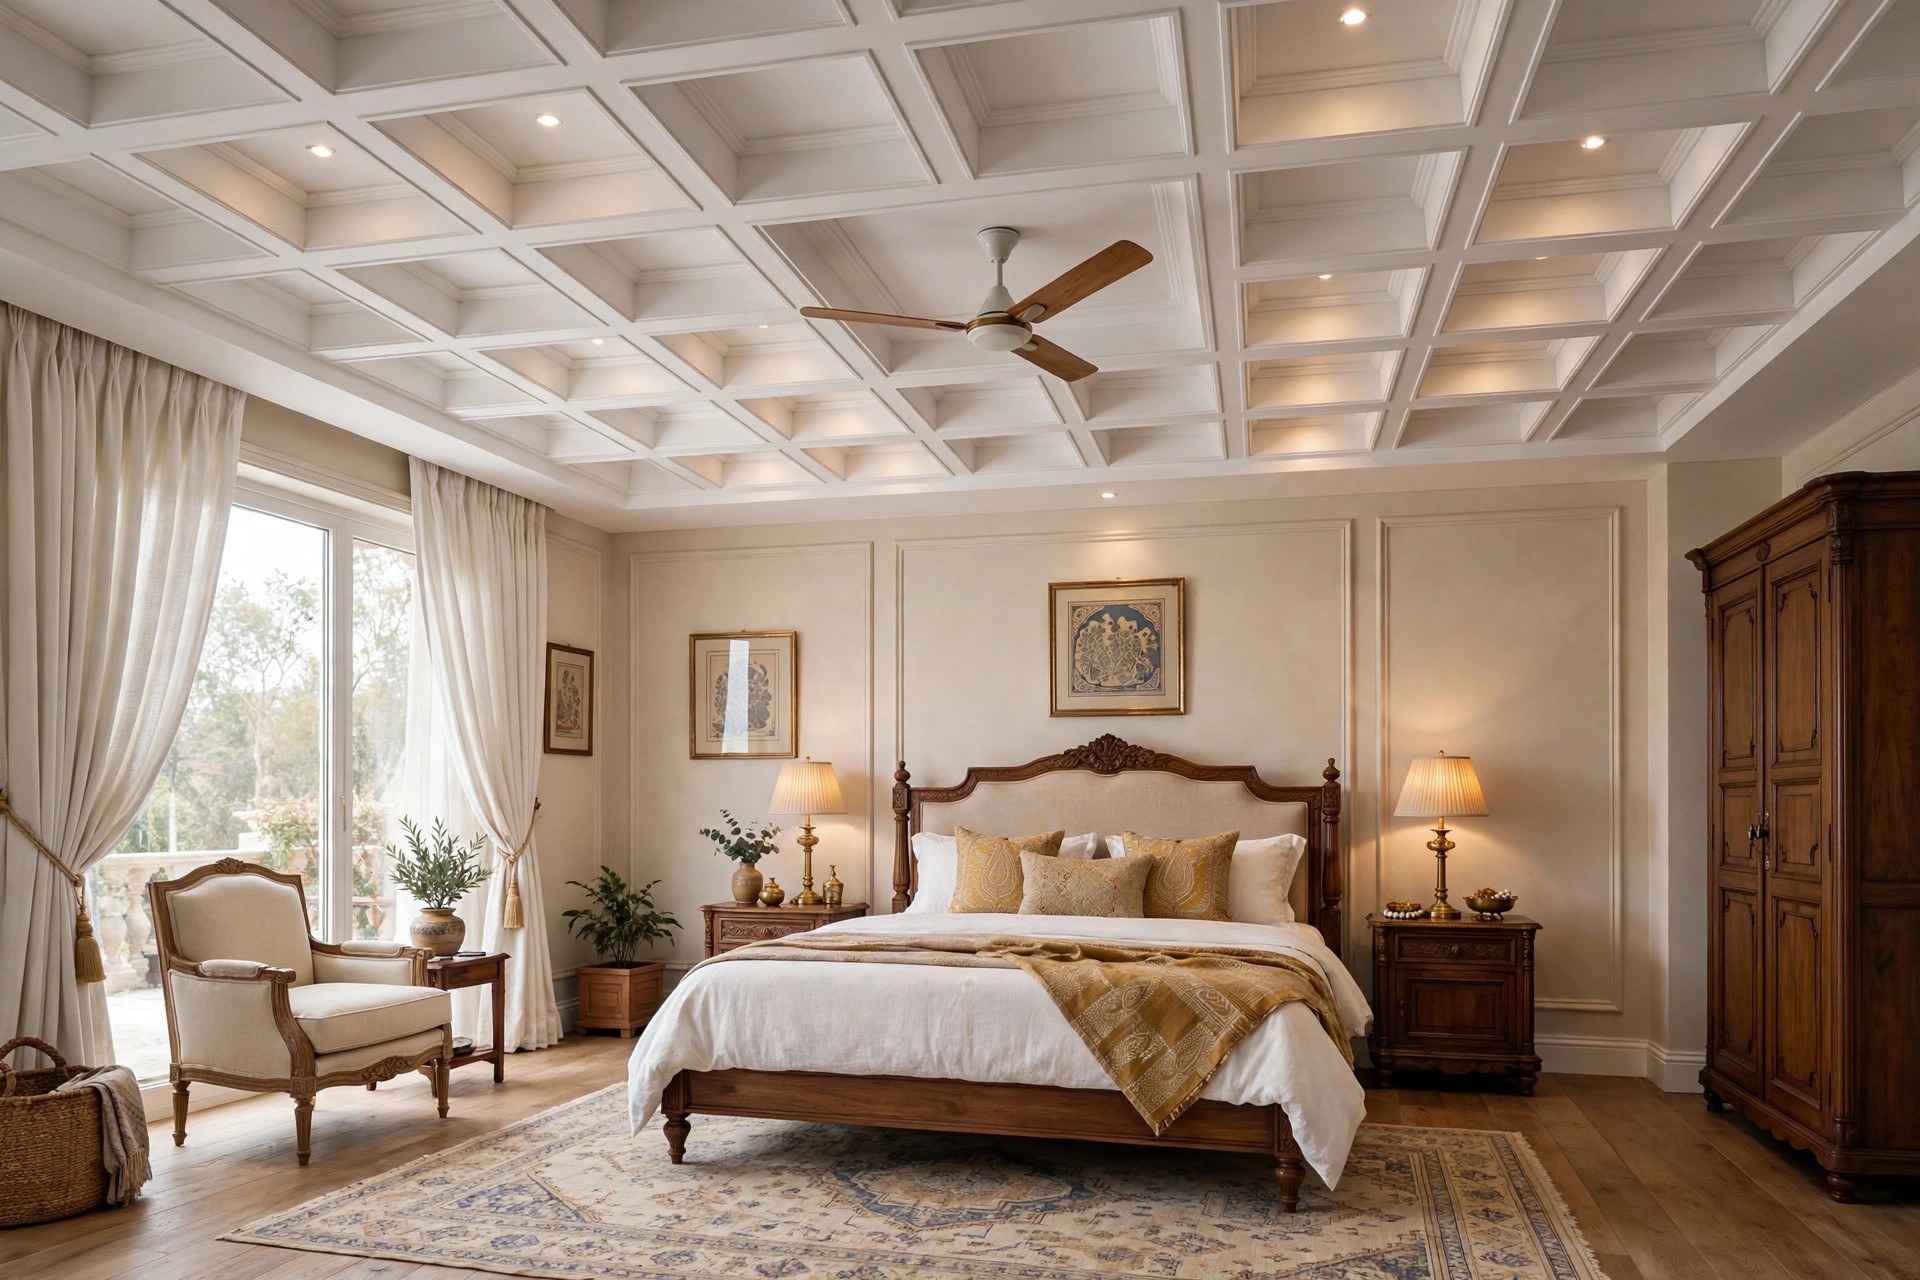
10. Coffered grid with a central fan panel
A grid of recessed square panels gives an old-world, architectural character. The fan mounts in the central panel; the surrounding coffers hold subtle downlights. It suits larger master bedrooms with 10-foot-plus slabs, where the grid has room to breathe.
Wood accents that work with fans
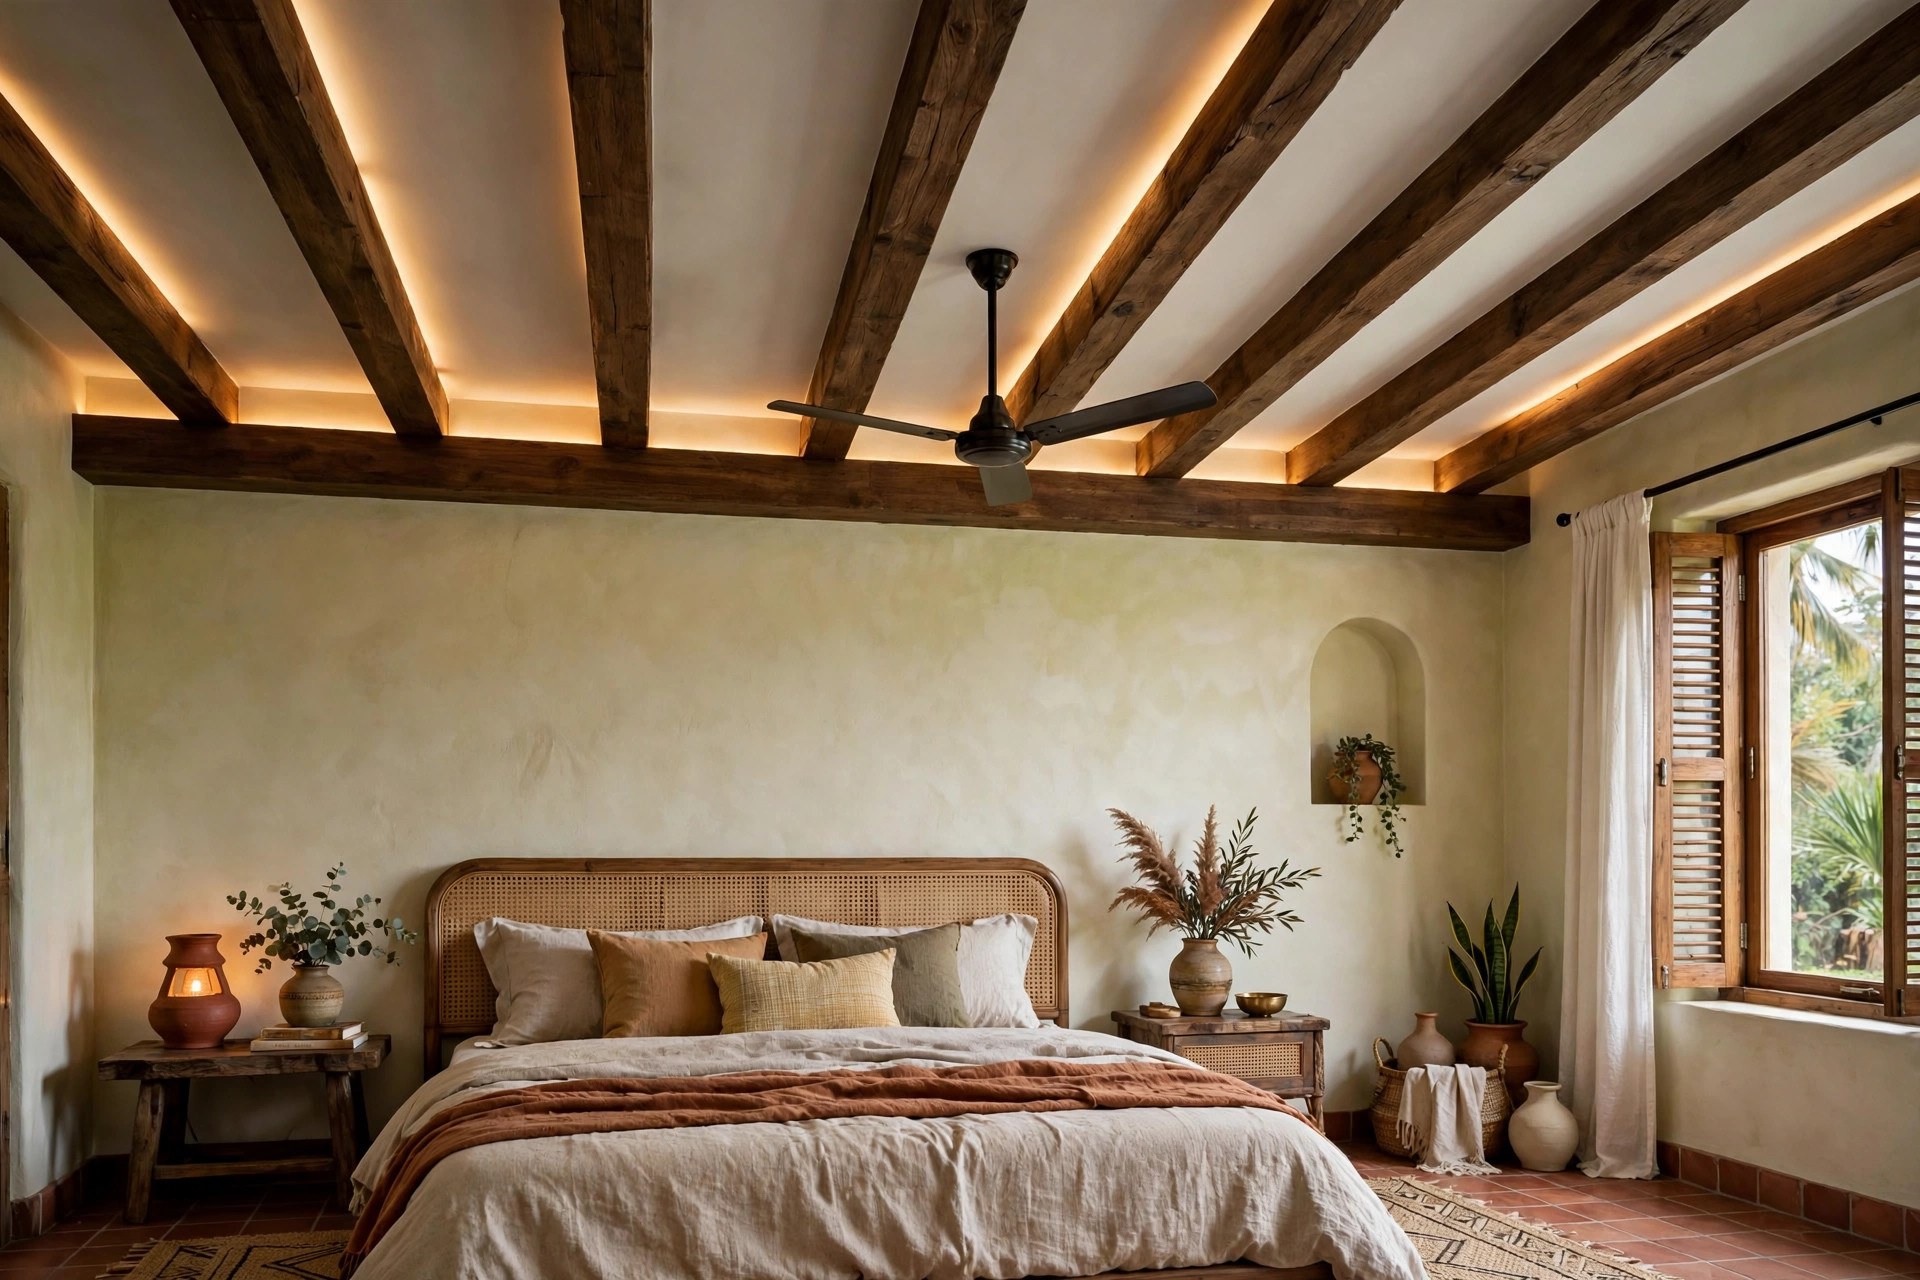
11. Wooden rafters over a POP base
Parallel wooden beams run across the ceiling while the fan hangs between two rafters. The POP base behind the beams hides wiring and can carry concealed strip lights between the beams. The fan gets a natural frame, and the wood adds warmth that plain gypsum cannot.
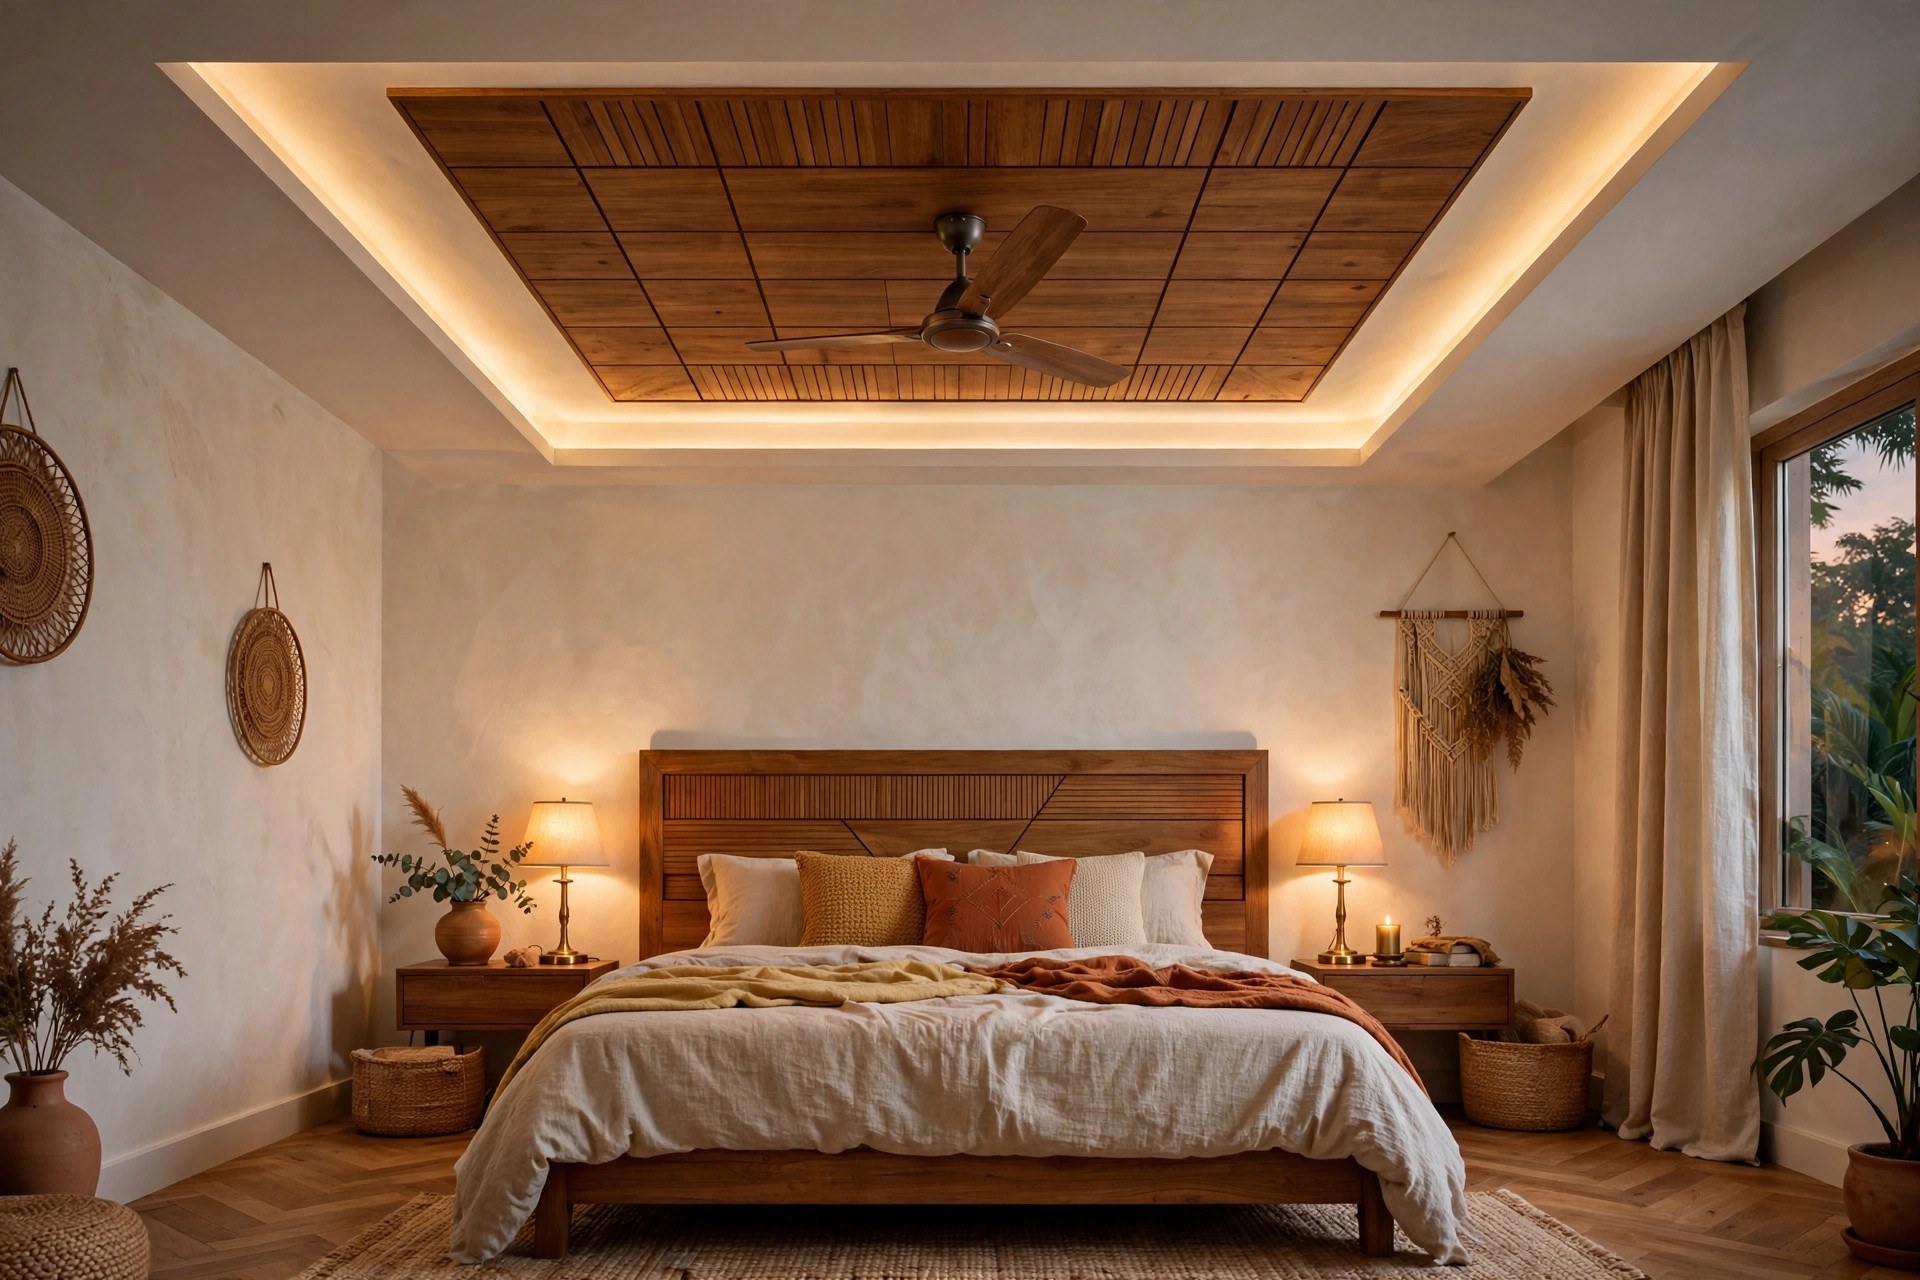
12. Wooden centre panel with a gypsum border
A rectangular wooden panel at the centre holds the fan, surrounded by a gypsum frame with cove lighting. It is a quieter version of the island panel — one warm rectangle, one lit border — and it pairs well with wooden headboards and flooring. For more bedroom ideas, see our bedroom false ceiling guide.
Geometric and themed options
Not every bedroom wants a tray. A few bolder treatments still leave the fan a clear, safe zone.
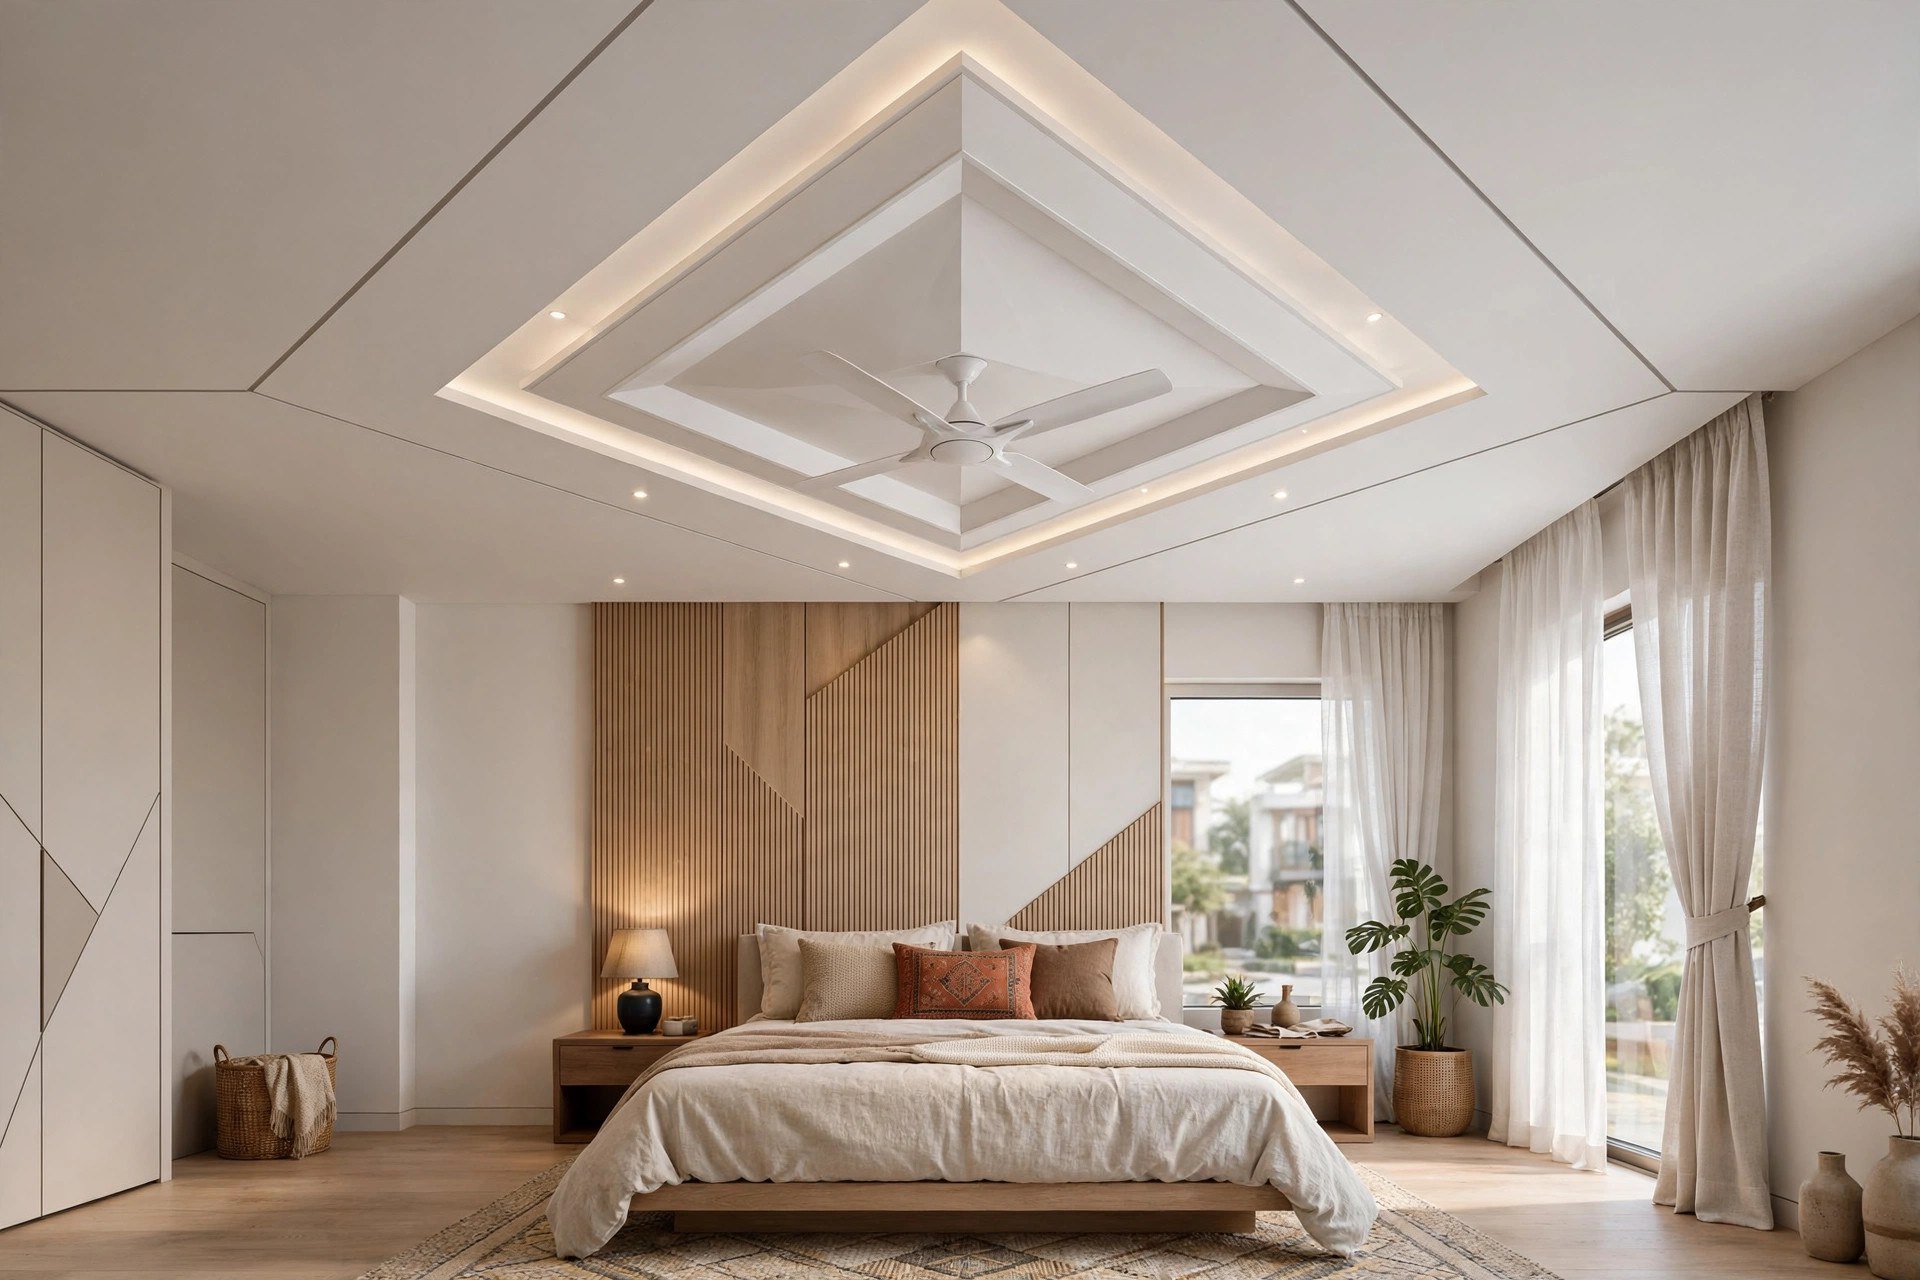
Diamond panel with a centred fan
A raised diamond or rhombus panel at the ceiling centre holds the fan; the angular lines draw the eye and make the fan look intentional rather than added on. Keep the panel’s edges well outside the blade sweep.
Hexagonal recess with spotlights
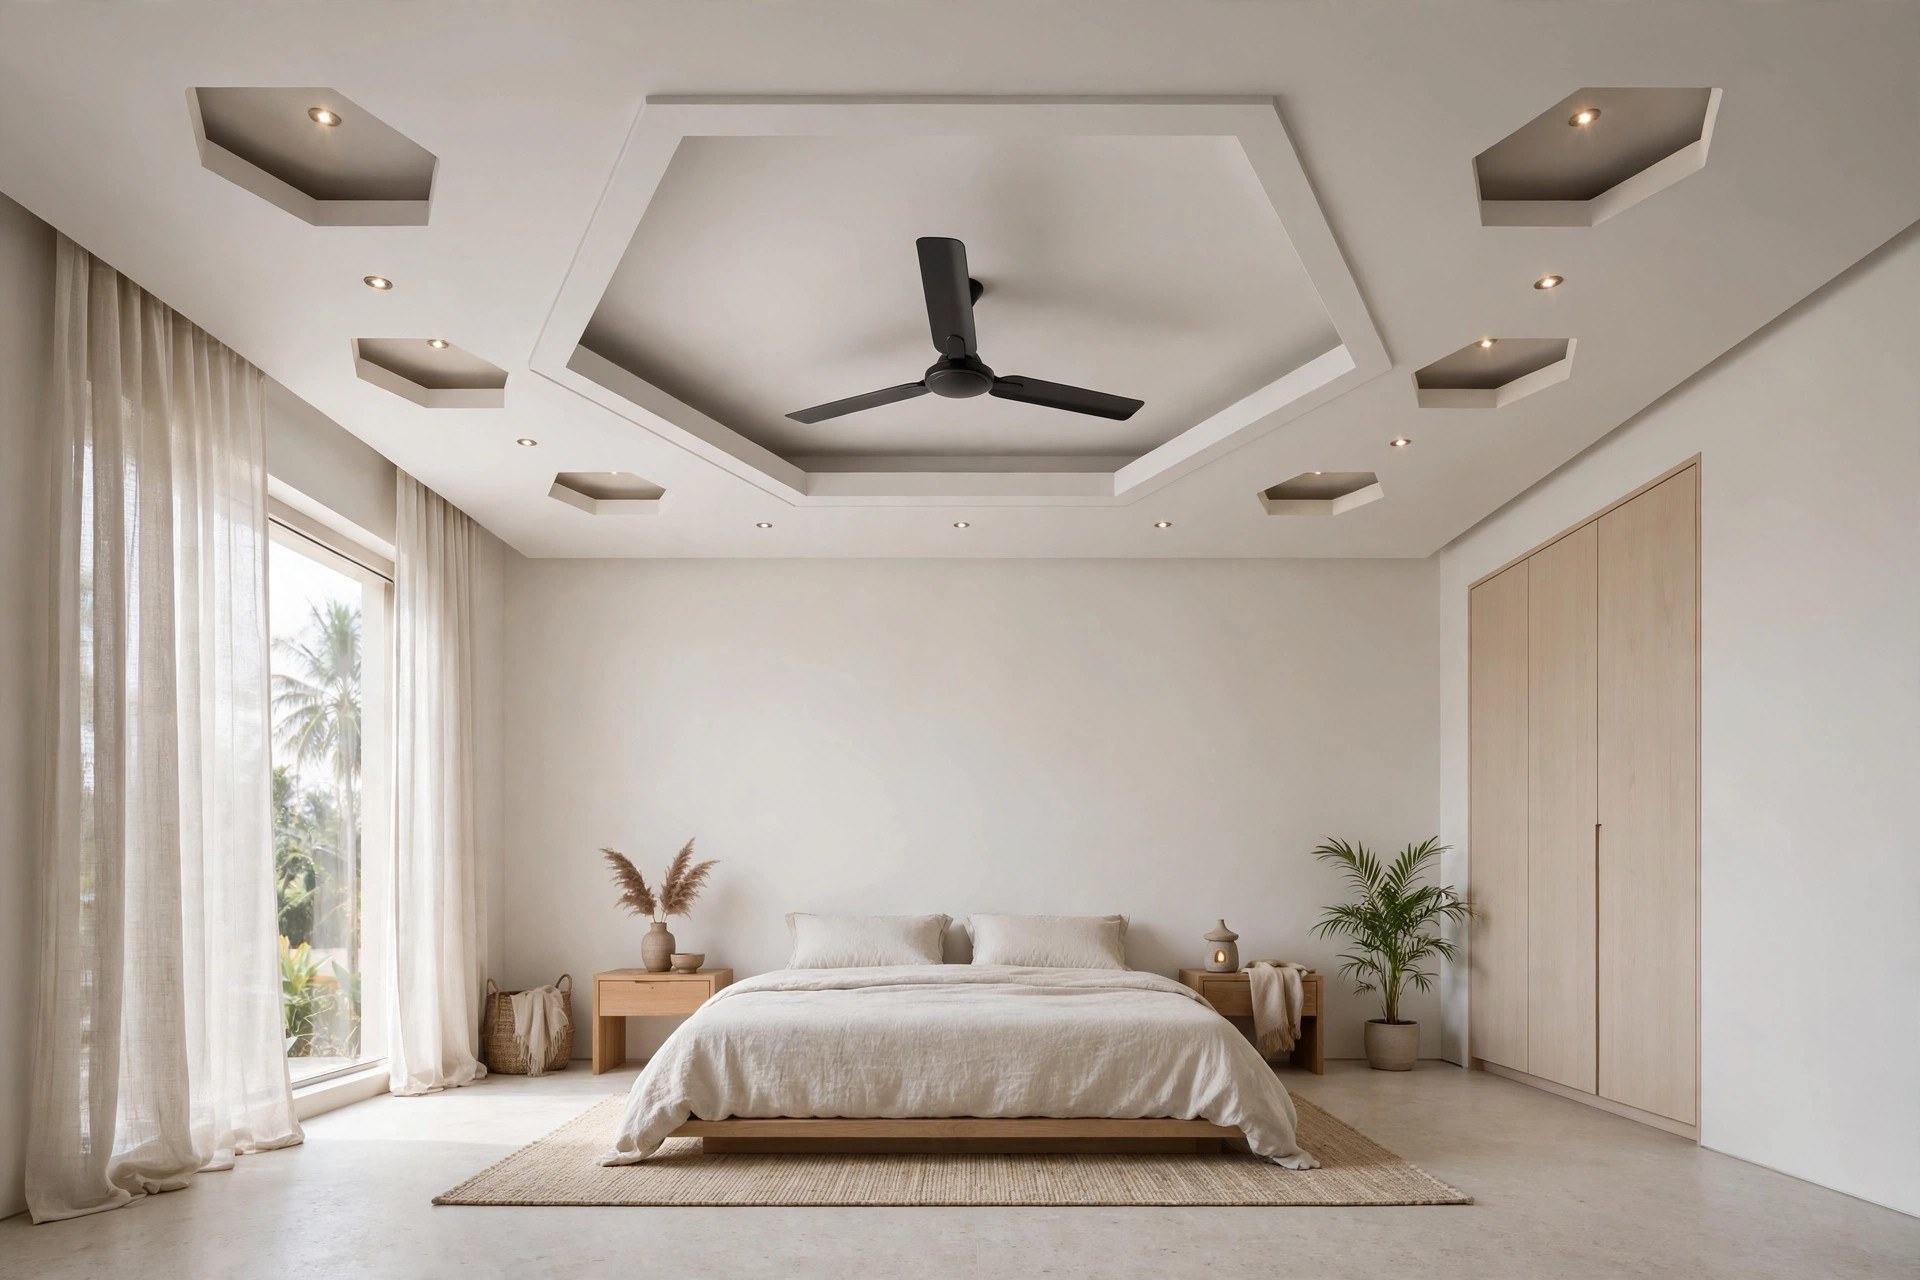
A hexagonal cut-out frames the fan while smaller hexagonal accents on the surrounding ceiling hold spotlights. It suits modern, minimalist bedrooms where geometry is the decoration. As with any recess, confirm the hexagon is comfortably wider than the blade sweep before the boards are cut.
Cloud ceiling for kids’ rooms
Soft, rounded POP shapes resembling clouds, with the fan hanging from the centre of the largest cloud form. Pair with a pastel wall for a dreamy effect that still follows the same rules — slab-anchored fan, lights outside the sweep, shallow forms so the room keeps its height.

Lighting that works with a moving fan
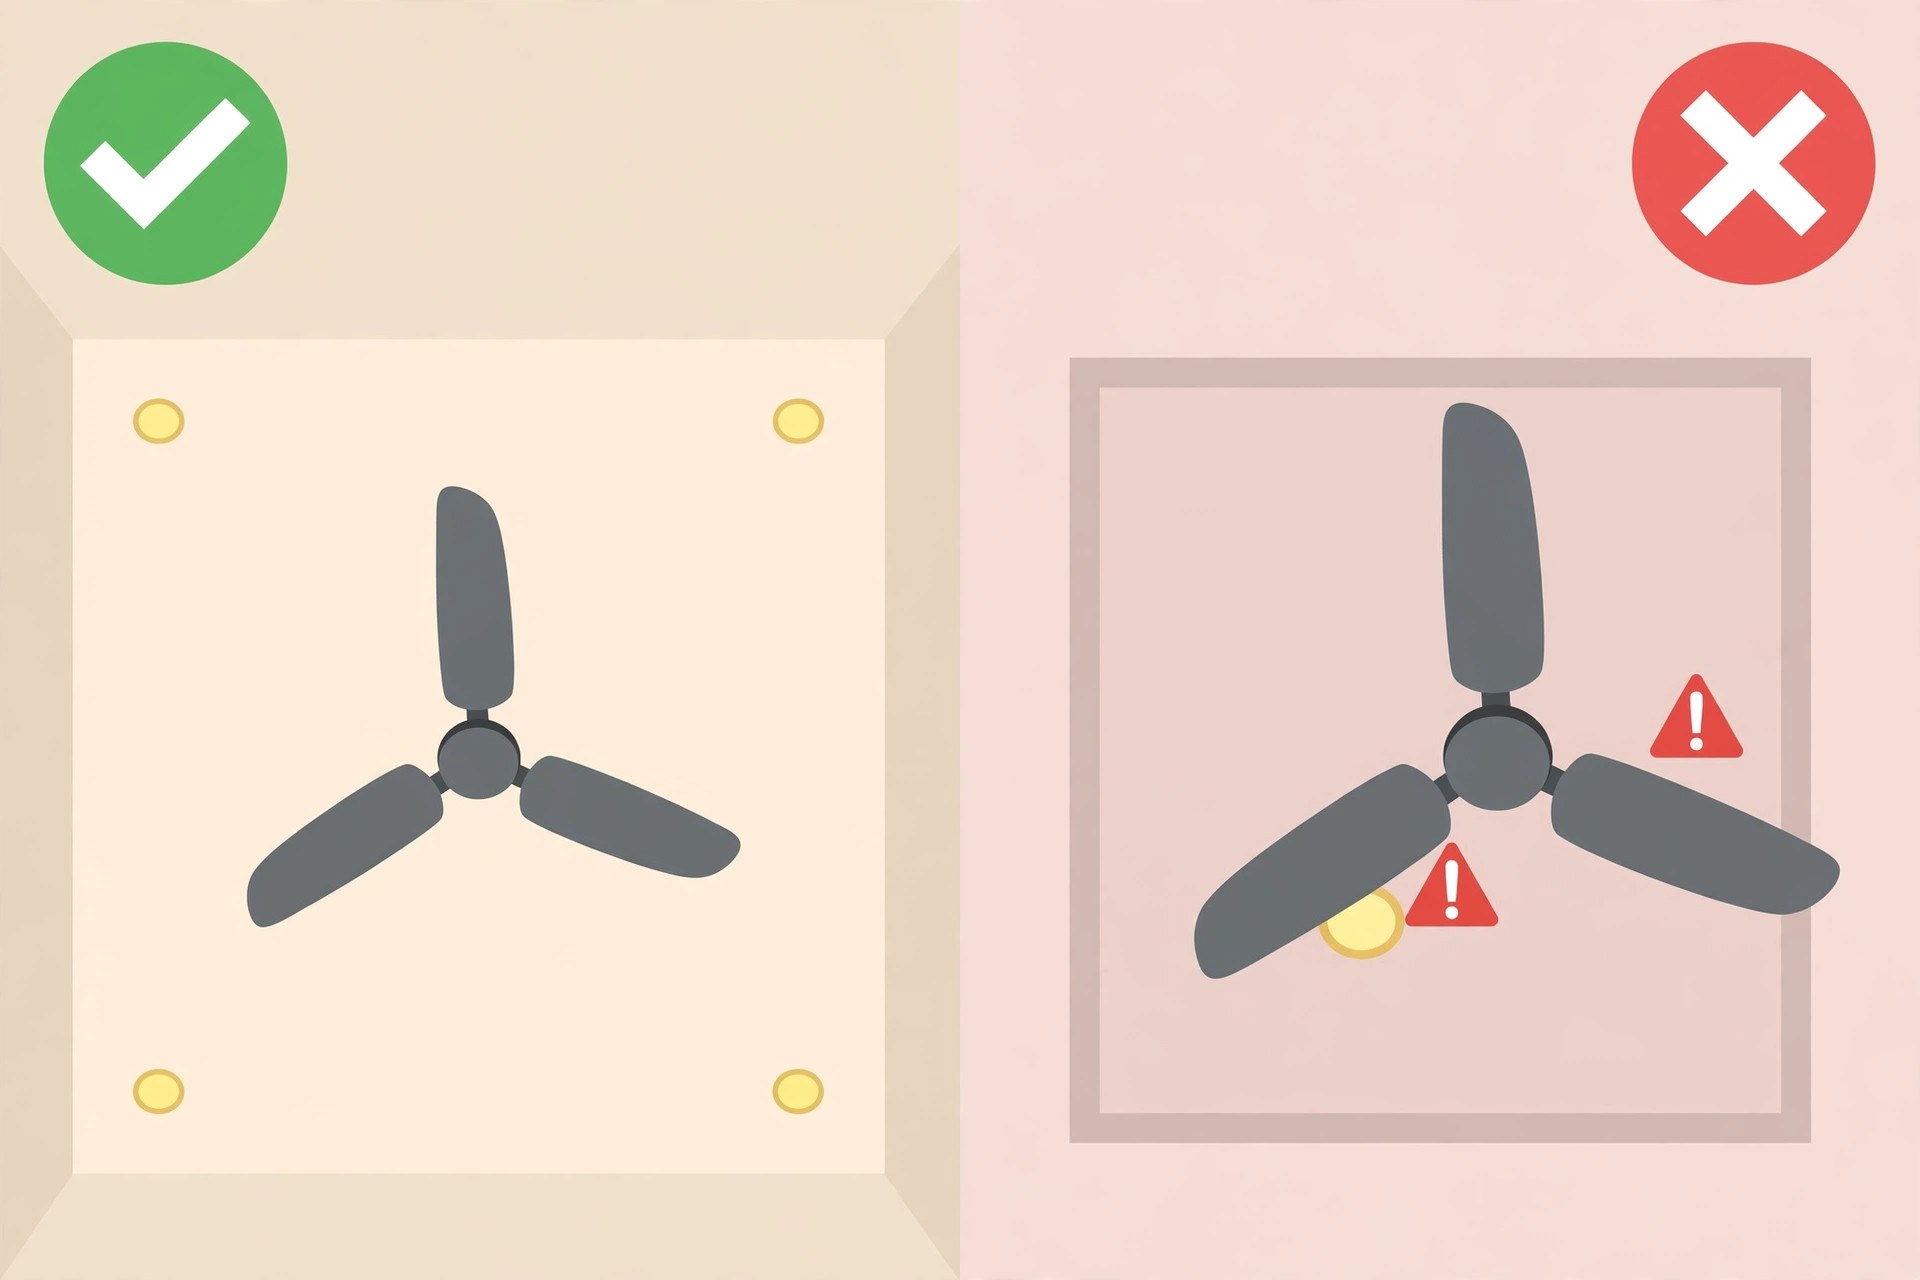
A fan and a badly placed light create an annoying strobe: blades chopping through a downlight beam cast moving shadows across the room. Plan the lighting around the fan sweep, not through it.
Keep recessed spotlights outside the circle the blades sweep. Put the general lighting — spots, cove strips — on the border or perimeter, and let the centre belong to the fan. If you want a light at the centre, use the fan’s own integrated light kit or a fixture mounted below the blade level, never a spotlight just above the blades. Cove lighting along tray edges or borders is naturally fan-friendly because it washes the walls rather than pointing down through the blades.
Dimmers help. A bedroom rarely needs full brightness and full fan speed at once; dimmable cove lighting lets you drop the light level in the evening while the fan runs. Plan dimmer wiring before the ceiling closes — adding it later means opening the board.

What to brief your contractor before the frame goes up
Hand these over as a written list, not a verbal mention on site:
1. Fan point marked on the slab. The exact fan position, confirmed against the bed placement, marked on the concrete before any framing starts.
2. Anchor, not board. Written confirmation that the fan downrod anchors to the slab through a cut-out, with the board finished around it — not screwed to the board or the metal frame.
3. Wiring and switch points. Fan regulator wiring, and dimmer wiring for the cove circuit, run before the boards close. Decide now whether the fan and lights share a switch plate.
4. Access. A discreet access panel near the fan point if the design has deep trays — future regulator or wiring work should not need the ceiling broken.
5. Blade clearance check. Before final paint, hold the actual fan (or its sweep diameter) against the design and confirm no tray edge, cove lip, or pendant sits inside the sweep.
6. No light inside the sweep. Confirm on the lighting plan that no downlight sits within the blade circle.
Most fan-ceiling problems are not design problems; they are sequencing problems. The fan was an afterthought. Make it the first decision and the ceiling design follows.
Cleaning and living with a fan in a false ceiling
Dust settles on tray edges and cove lips, and a fan stirs it around, so fan bedrooms show dusty ceilings faster. Wipe tray edges and cove channels with a dry cloth every month or two; a long-handled duster reaches the cove without a ladder. Check once a year that the fan has no new wobble — a wobble that appears over time can mean a loose anchor or an unbalanced blade, and that is an electrician’s visit, not a design tweak. If the ceiling is POP, watch the fan pocket for hairline cracks in the first year; small settlement cracks are common and cosmetic, but anything that grows or flaps in the fan’s airflow needs a look.

Mistakes to avoid
Hanging the fan from the board or frame. The single most dangerous shortcut. Always slab-anchored.
Designing the tray around the wrong fan. Pick the fan model first — blade sweep and drop length — then size the recess or pocket. A pocket designed for a 48-inch fan will not take a 60-inch upgrade later.
Downlights inside the blade sweep. The strobe-shadow problem described above; fix it on paper, not after installation.
Deep multi-level ceilings on low slabs. A 9-foot slab with a 10-inch double tray leaves blades uncomfortably close to the floor. Shallow wins.
Forgetting the regulator. Running fan wiring without a regulator point, then discovering the only control is the pull cord. Wire it before the boards go on.
FAQs
Can a ceiling fan be installed in a false ceiling?
Yes. The fan is anchored to the structural slab above through a planned cut-out in the false ceiling; the board or POP layer is finished around the downrod and carries no load. Plan the fan point before the frame goes up.
What is the ideal height for a false ceiling with a fan?
Work backwards from the blades: they should hang roughly 7.5 to 8 feet above the floor, with about 8 inches of clearance below the ceiling surface. On a 9-foot slab that means a shallow drop; on 10 feet and above you have room for trays and borders.
Which is better for a bedroom with a fan, gypsum or POP?
Both work. Gypsum gives a cleaner factory finish and faster installation for flat and tray designs; POP is better for curved pockets, cornices, and decorative mouldings around the fan zone. The fan anchoring is identical either way — slab, not board. Our gypsum guide and POP guide compare the materials in full.
Should the fan be at the centre of the room?
Not necessarily. Centre it over the bed or the main sleeping area rather than the geometric centre of the room. In small bedrooms the two are usually the same; in large or L-shaped rooms they often are not.
How do I stop light flicker from the fan blades?
Keep all downlights outside the circle swept by the blades, use cove or perimeter lighting for ambient light, and never place a spotlight directly above the fan. Dimmable cove lighting avoids the problem entirely.
Quick recap
Anchor the fan to the slab. Size the fan to the room and place it over the bed. Keep the drop shallow in small or low bedrooms and save the layers for master bedrooms. Keep lights out of the blade sweep. Brief the contractor in writing before the frame goes up. Do those five things and almost any of the twelve layouts above will work — the fan will look like it belongs, because it was planned first. For the broader picture, start with our false ceiling design guide. All images in this article are original concept renders created to illustrate the ideas, not photographs of completed projects.