

You have probably done this already: saved ten ceiling photos you love, asked a contractor for a quote, and heard a number that told you nothing about whether the design is right for your home. Choosing a false ceiling looks like a design decision, but it is really a sequence of smaller decisions — and the order you make them in matters more than the design you pick.
This guide walks you through that sequence: first the room (height, use, climate), then the material, then the design details, and finally the installer. Price specifics are handled separately — our detailed cost guide breaks down per-square-foot rates by material and room. What you get here is the thinking process that keeps you from paying for a ceiling that fights your room.
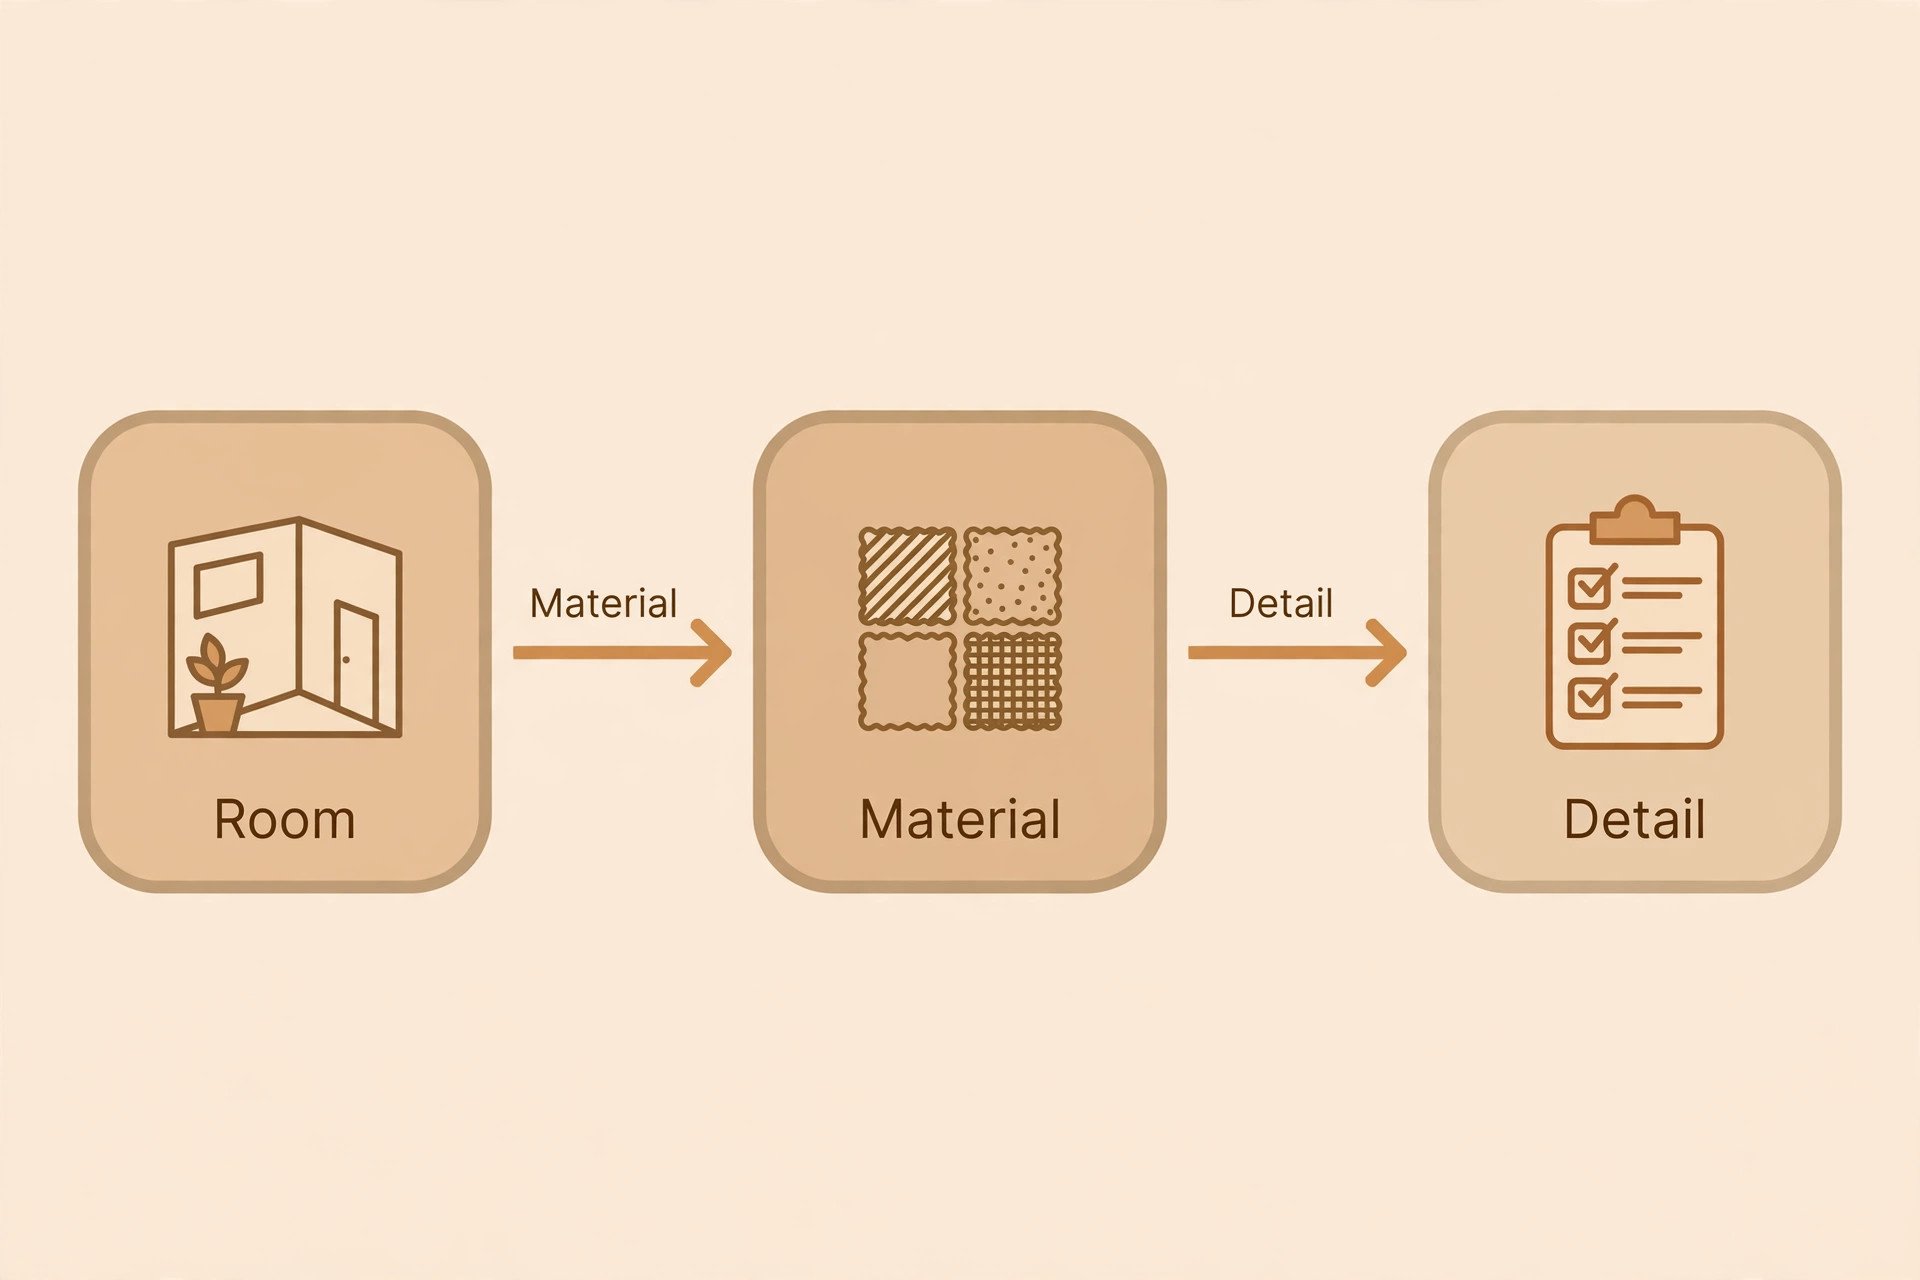
How choosing a false ceiling actually works: room, then material, then detail
Most bad ceiling decisions share one pattern: the material was chosen before the room was understood. The reliable order, echoed across every serious guide we studied for this article, is function first: moisture, access, and wiring come before aesthetics.
That order is worth committing to memory, because everything in this guide hangs off it:
- Room: How tall is it? What happens in it? How humid does it get?
- Material: Which material survives that room and suits its job?
- Detail: What design, lighting, and fixtures go on top of that choice — and who installs it?
Notice what is missing from step one: price. A cheaper material in the wrong room is the most expensive ceiling you can buy — you pay for it twice, once to install and once to fix.
Step 1 — Start with the room, not the material
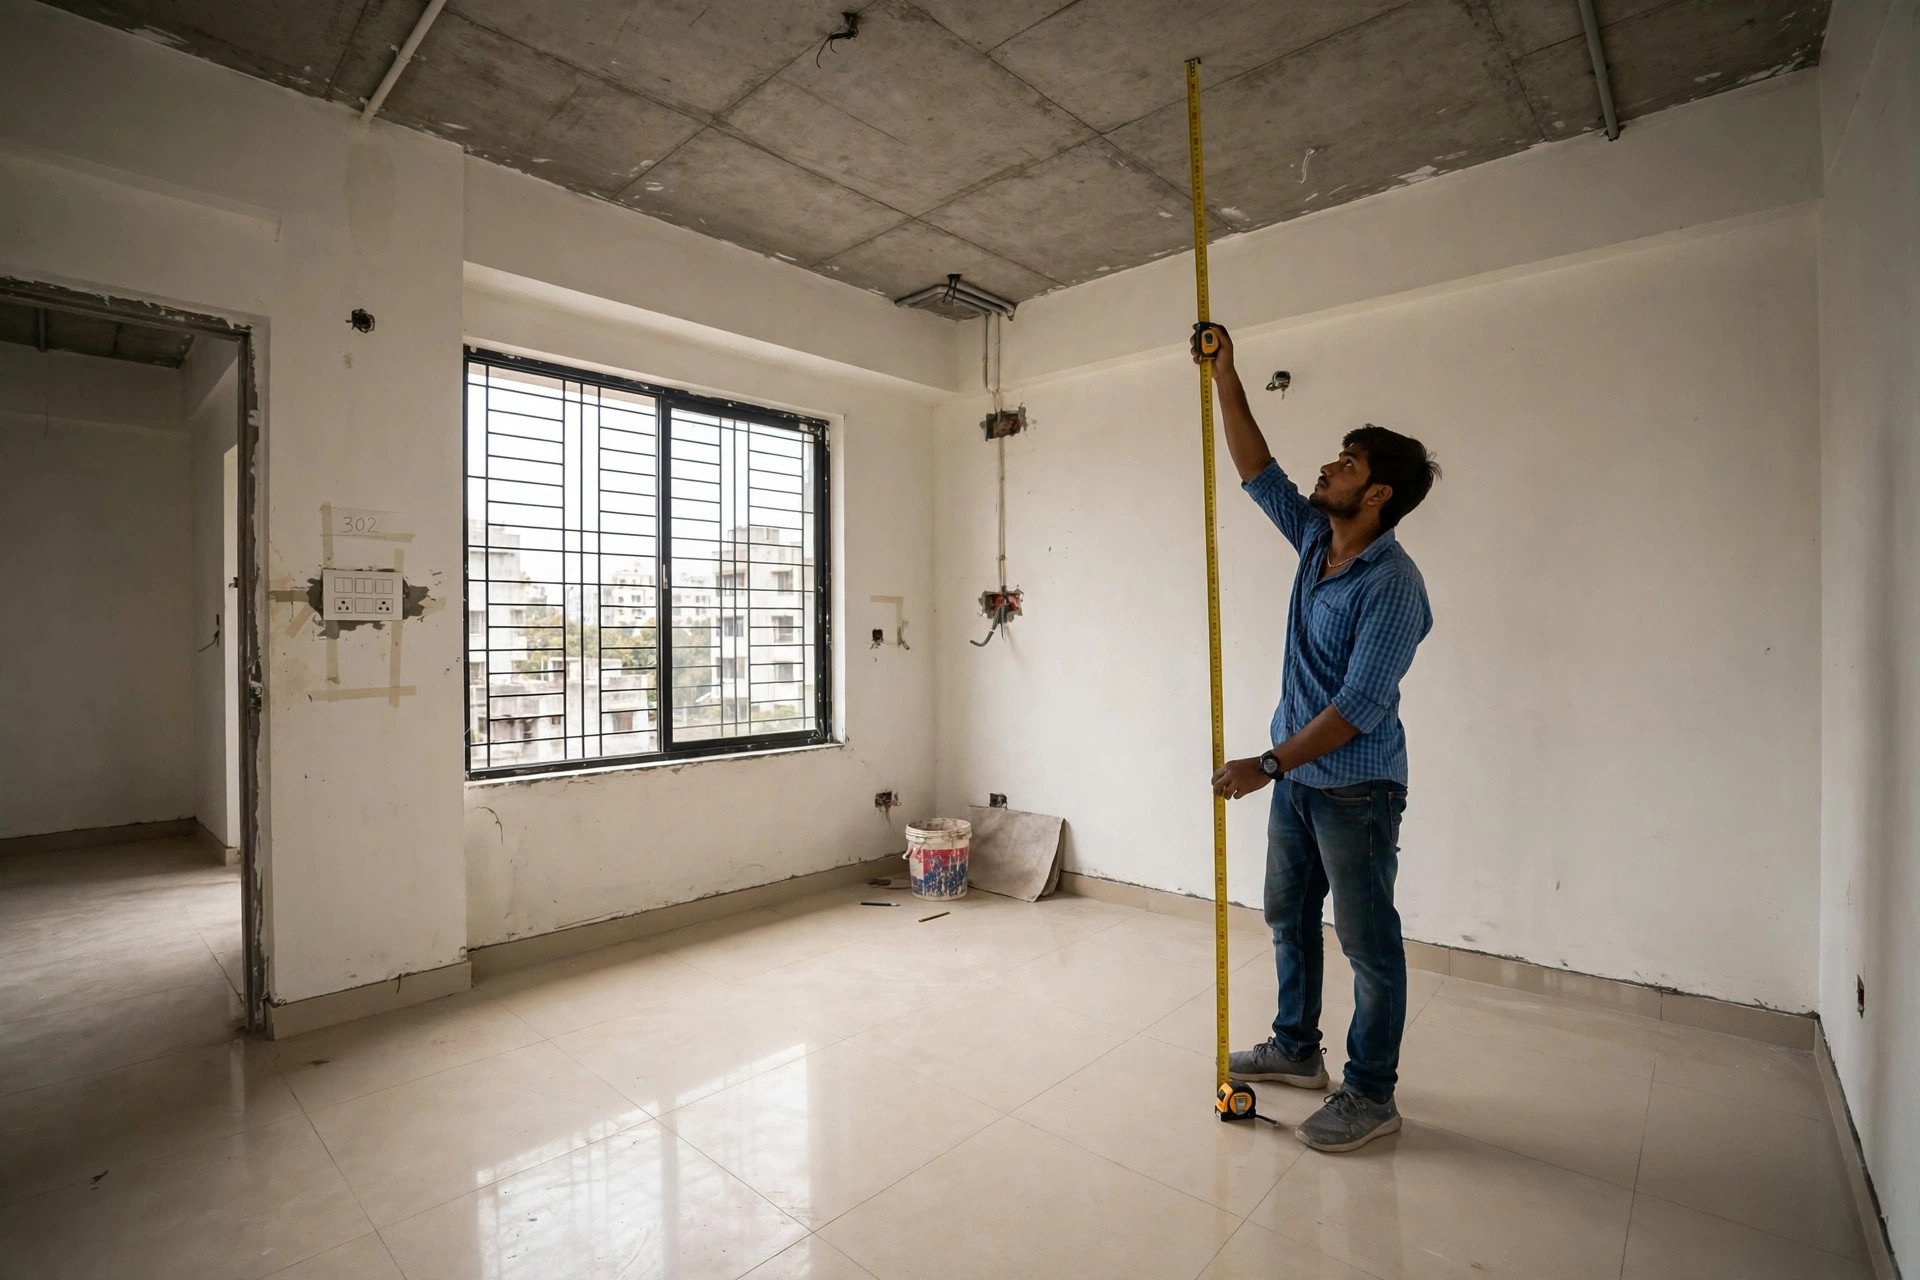
Measure the ceiling height first
Before you look at a single design, measure the clear height from the finished floor to the slab. Do it after flooring is laid, because flooring can eat an inch or two you were counting on. A false ceiling needs roughly 8 to 10 inches of clearance between the original slab and the new ceiling for the frame and services — and the finished room should not drop below about 9 feet, or it starts to feel boxed in.
That gives you a simple rule for height bands:
- Below 9 feet: keep the ceiling shallow. A slim border design or a partial ceiling (a band around the edges with the centre open) gives you the lighting and the finished look without stealing height.
- 9 to 10.5 feet: the comfortable zone for most Indian apartments. Single-level ceilings, shallow trays, and perimeter coves all work here.
- Above 10.5 feet: now multi-level and layered designs earn their keep — the extra height absorbs the depth instead of pressing down on the room.
If your room sits under 9 feet and someone is selling you a three-level designer ceiling, that is your first warning sign. Height is the one constraint no material can fix.
Match the ceiling to what the room does
Different rooms ask different things of a ceiling. A bedroom wants quiet and calm; a kitchen wants to survive steam and grease; a bathroom wants to survive everything. Starting from the room’s job makes the material choice almost automatic:
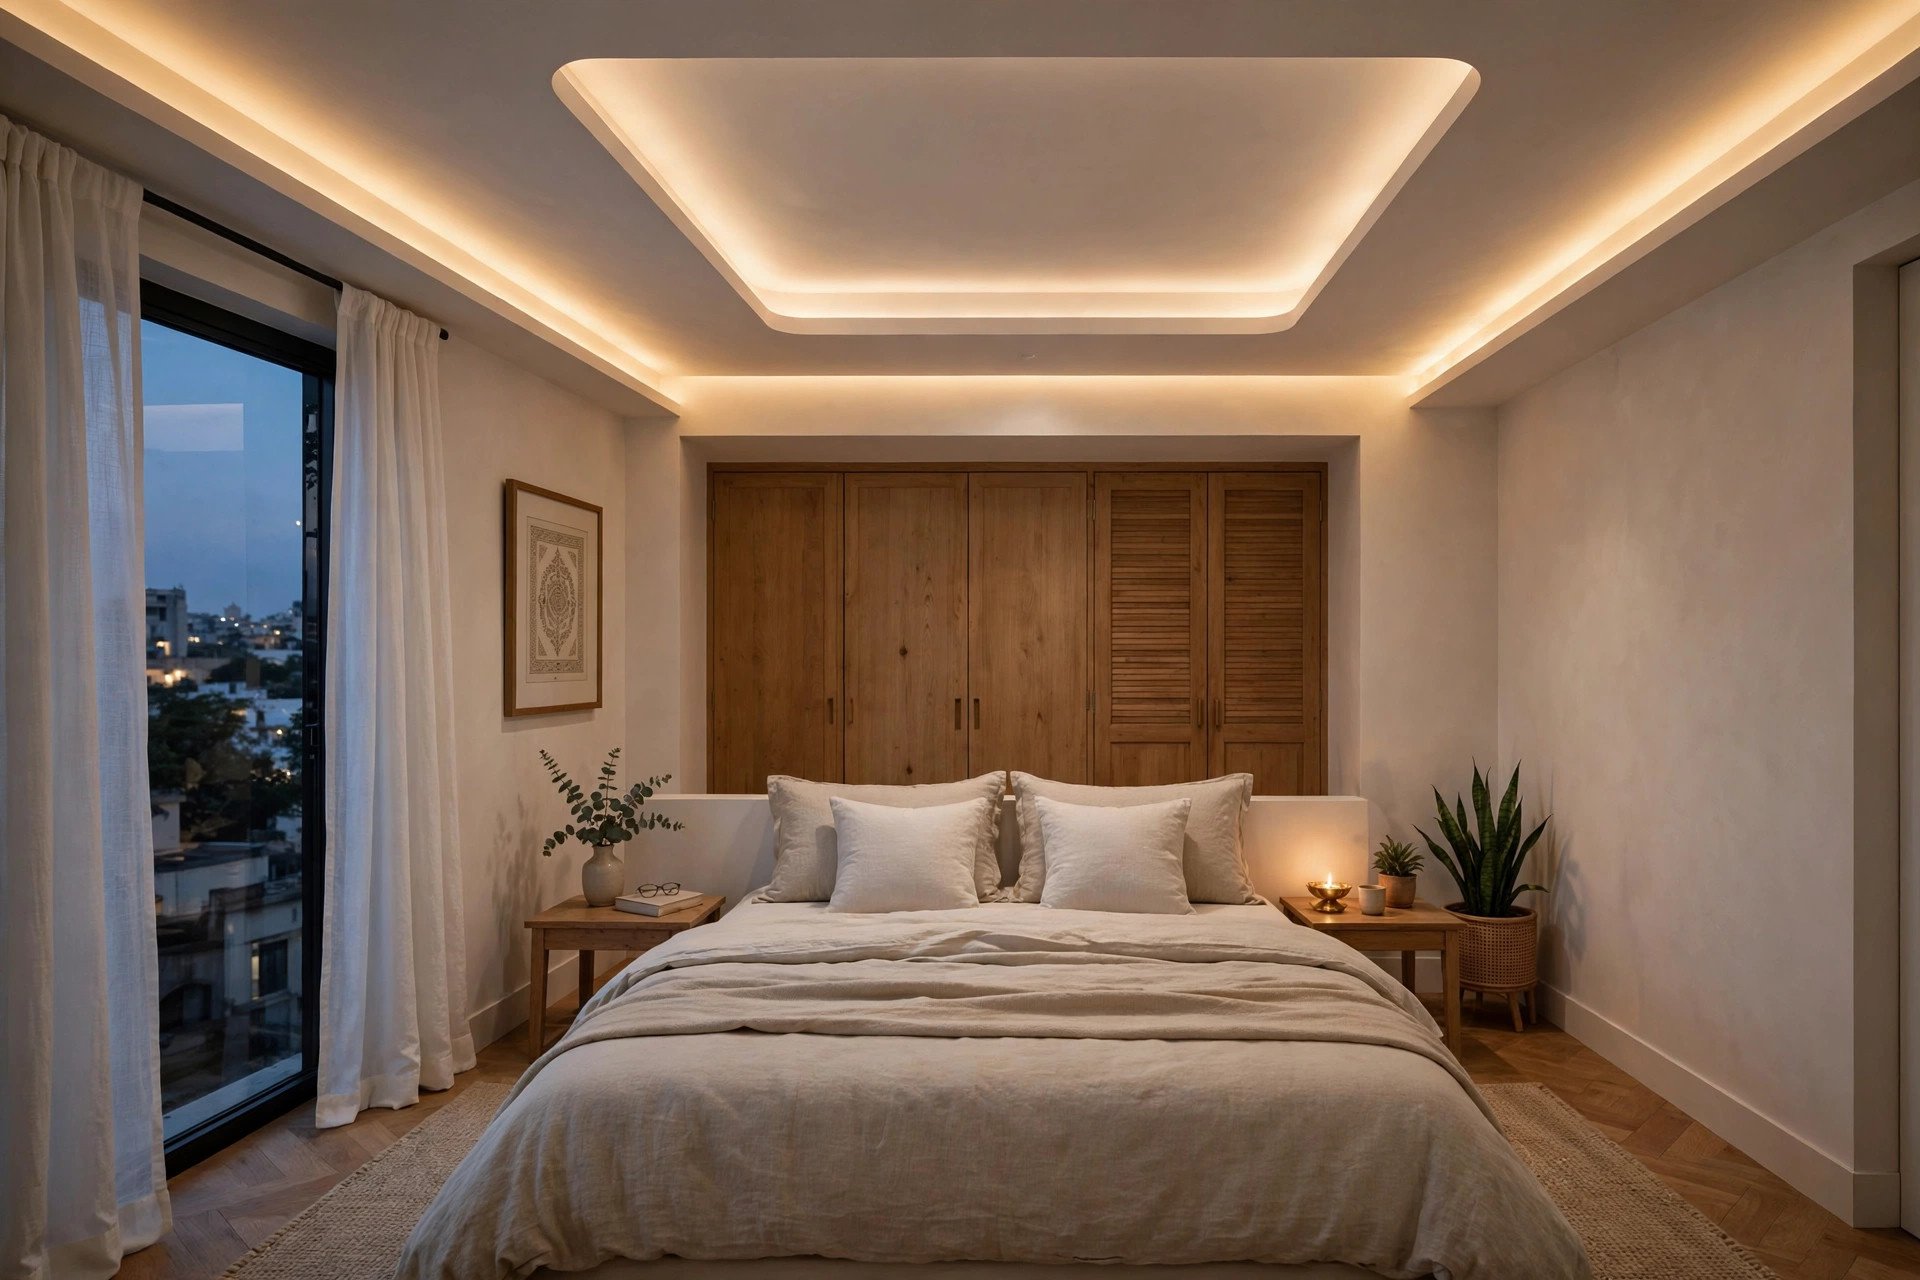
- Bedroom and living room: the default is gypsum. Smooth, paintable, good at sound insulation, and clean with concealed lighting. Our bedroom ceiling guide goes deeper on room-specific ideas if this is where you are starting.
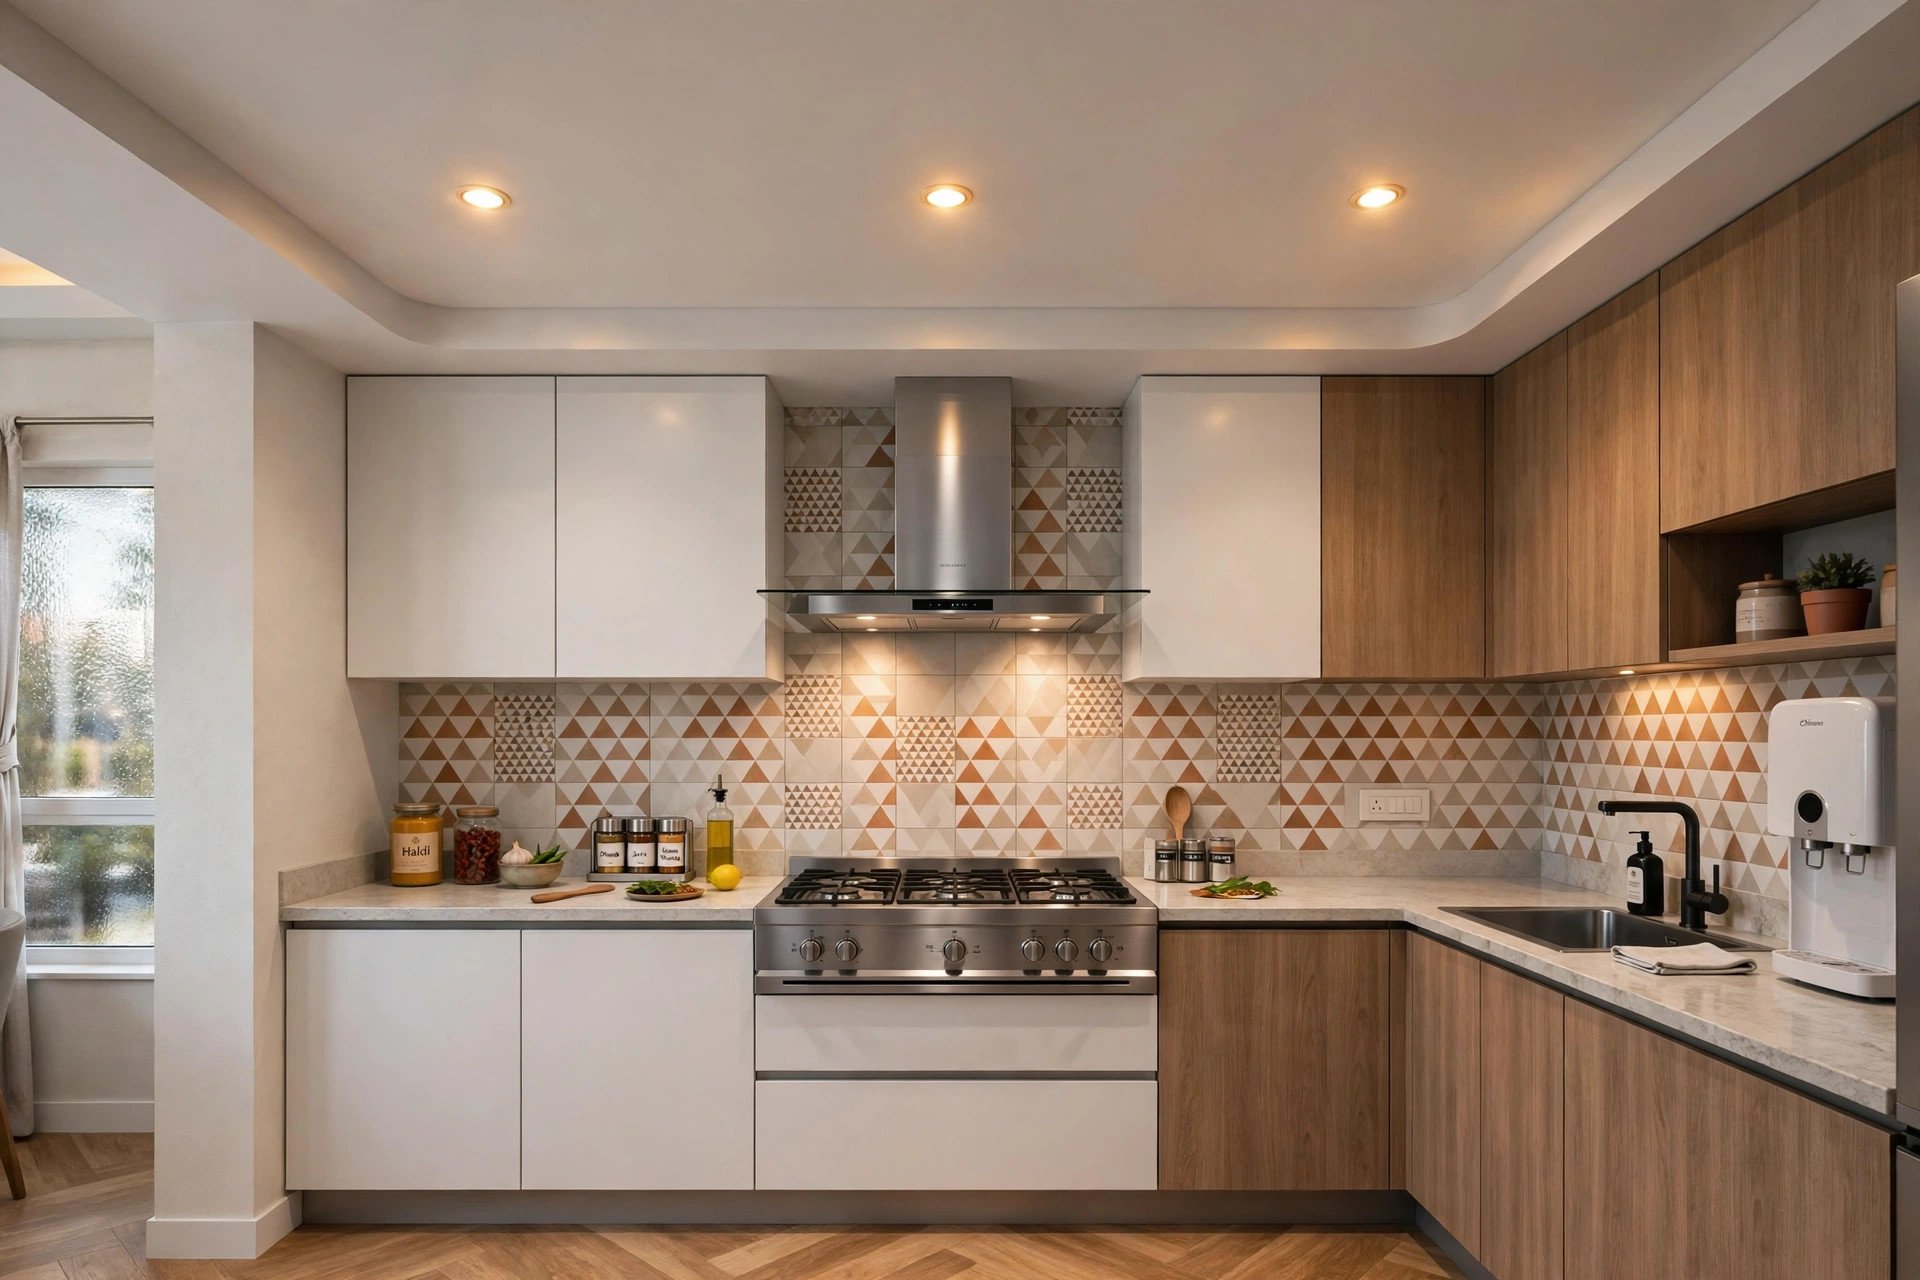
- Kitchen: steam, heat, and grease. Moisture-resistant boards or PVC survive here; standard gypsum and POP do not enjoy this room.
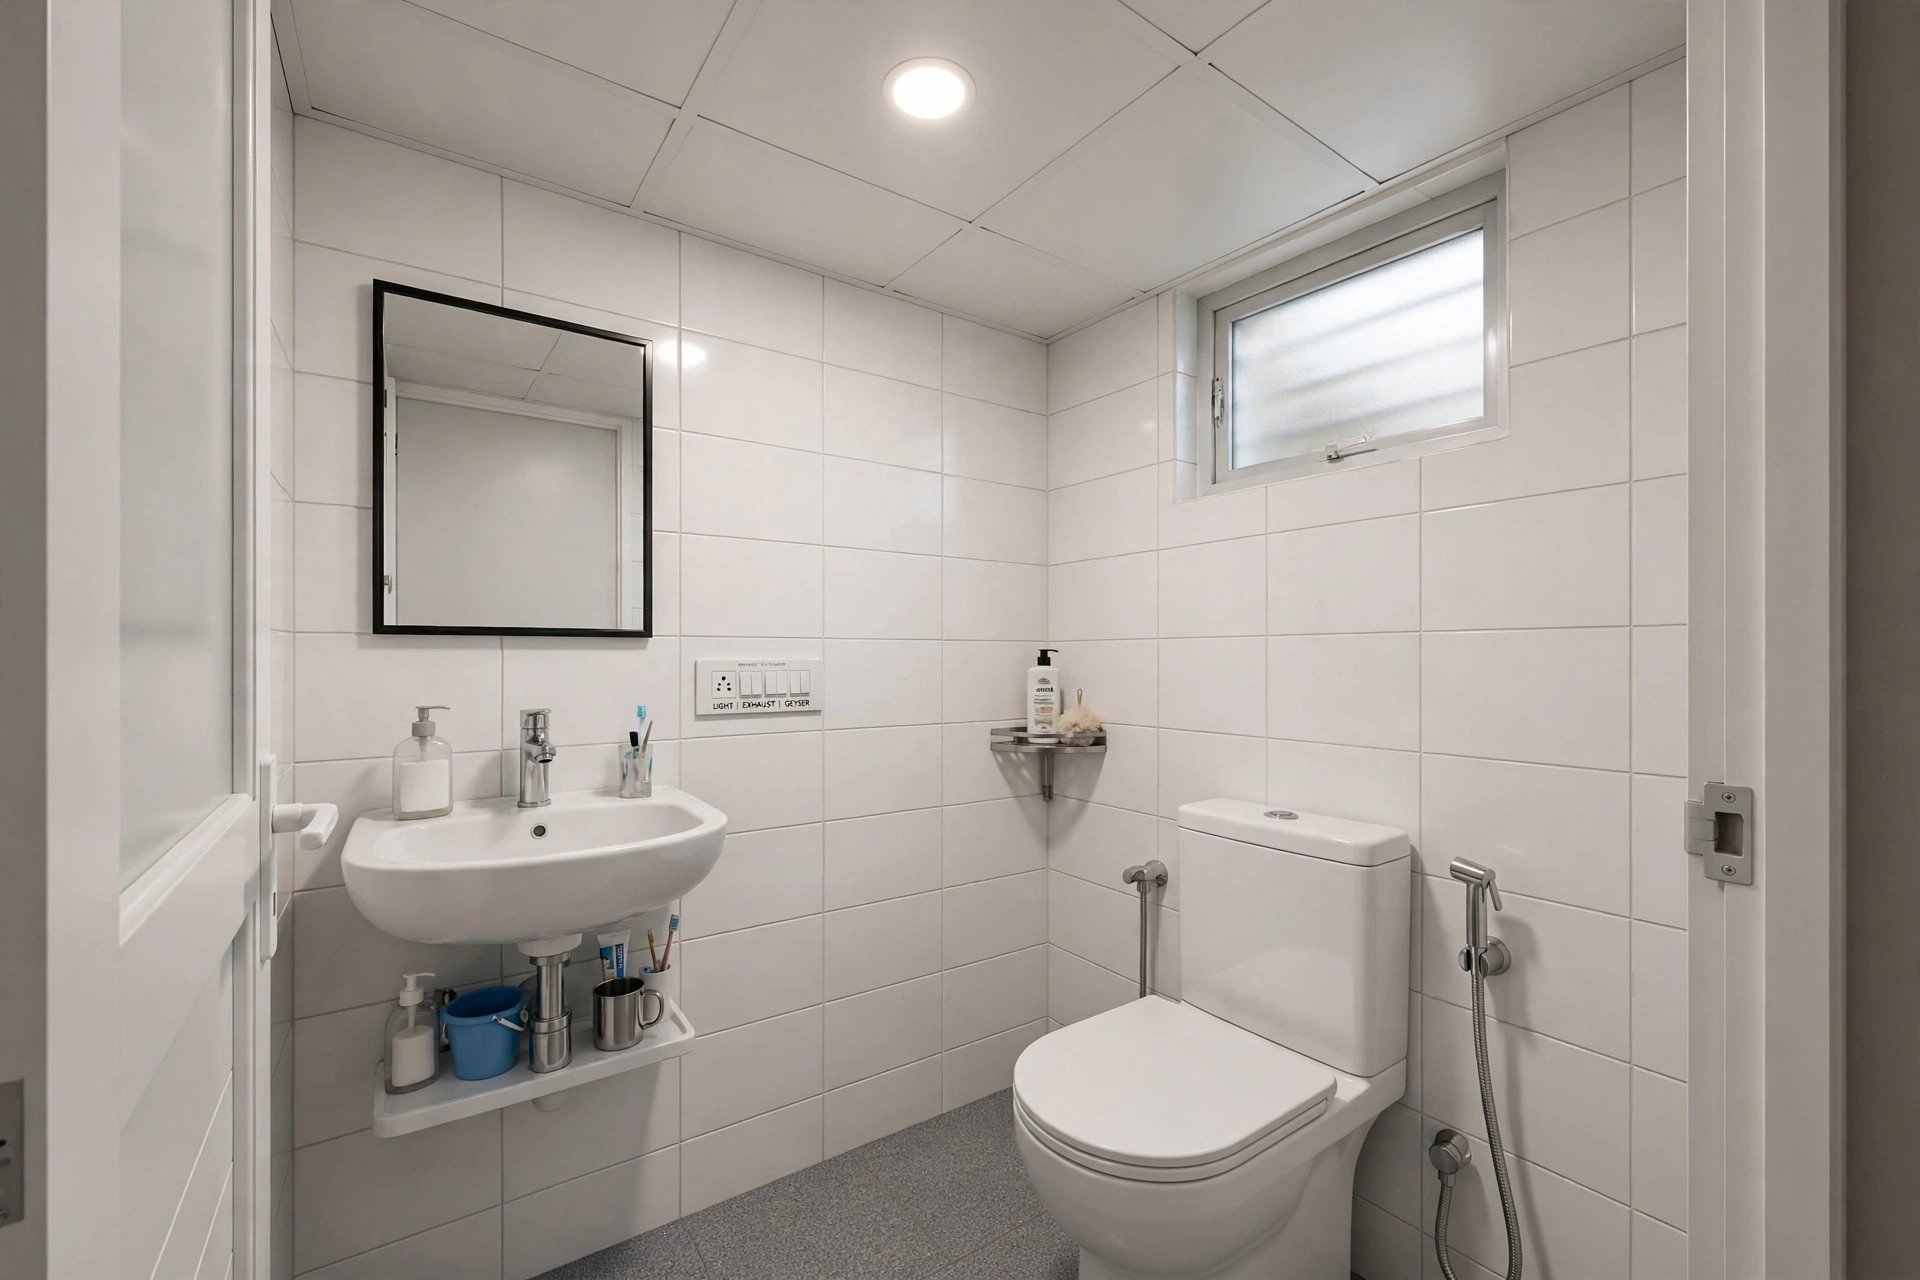
- Bathroom: the harshest room in the house for a ceiling. PVC panels are the safest pick — gypsum’s smooth finish needs serious waterproofing to survive here, and POP has been known to crack within a couple of monsoons in humid bathrooms.
- Pooja room: ornamental, traditional detailing is POP’s home turf — curves, cornices, and medallions that boards cannot match.
- Balcony and utility areas: exposed to weather swings and dust. PVC or metal handle this; gypsum and POP suffer.
- Home office: acoustics matter more than looks. Gypsum’s sound insulation is genuinely useful here, and mineral-fibre tiles are worth knowing about for noise control.
Two rooms deserve a special mention because they break the default. Bathrooms and kitchens are where the “choose the material for the room, not the photo” rule does its hardest work — the prettiest material in the showroom is often the worst one for a wet room.
Factor in your climate
India does not have one climate, and materials do not behave the same in all of them. The blunt version of the climate rule:
- Coastal and high-humidity cities (Mumbai, Chennai, Kochi and similar): humidity is the enemy. PVC is the safest choice; if you use gypsum, insist on moisture-resistant (green) boards; POP absorbs moisture and is best avoided.
- Hot and dry cities (Delhi, Jaipur, Ahmedabad): all common materials work. Gypsum’s thermal insulation is a genuine plus here — a false ceiling reduces the volume your AC cools, which shows up in the electricity bill.
- High-rainfall regions: waterproof the roof or terrace above before any ceiling work begins. No ceiling material survives a leak from above; this step is not optional.
- Moderate climates (Bengaluru, Pune): choose on budget and design preference — the climate gives you the full menu.
Climate also decides maintenance. In humid cities, plan to check for water stains after every monsoon and act on leaks immediately — a small stain caught early is a repaint; ignored, it is a rebuild.

Step 2 — Pick the material that fits the room’s job
With the room understood, the material shortlist is short. India really has five materials worth knowing for homes: gypsum, POP, PVC, wood, and metal. Here is how they compare on the things that actually decide the choice:
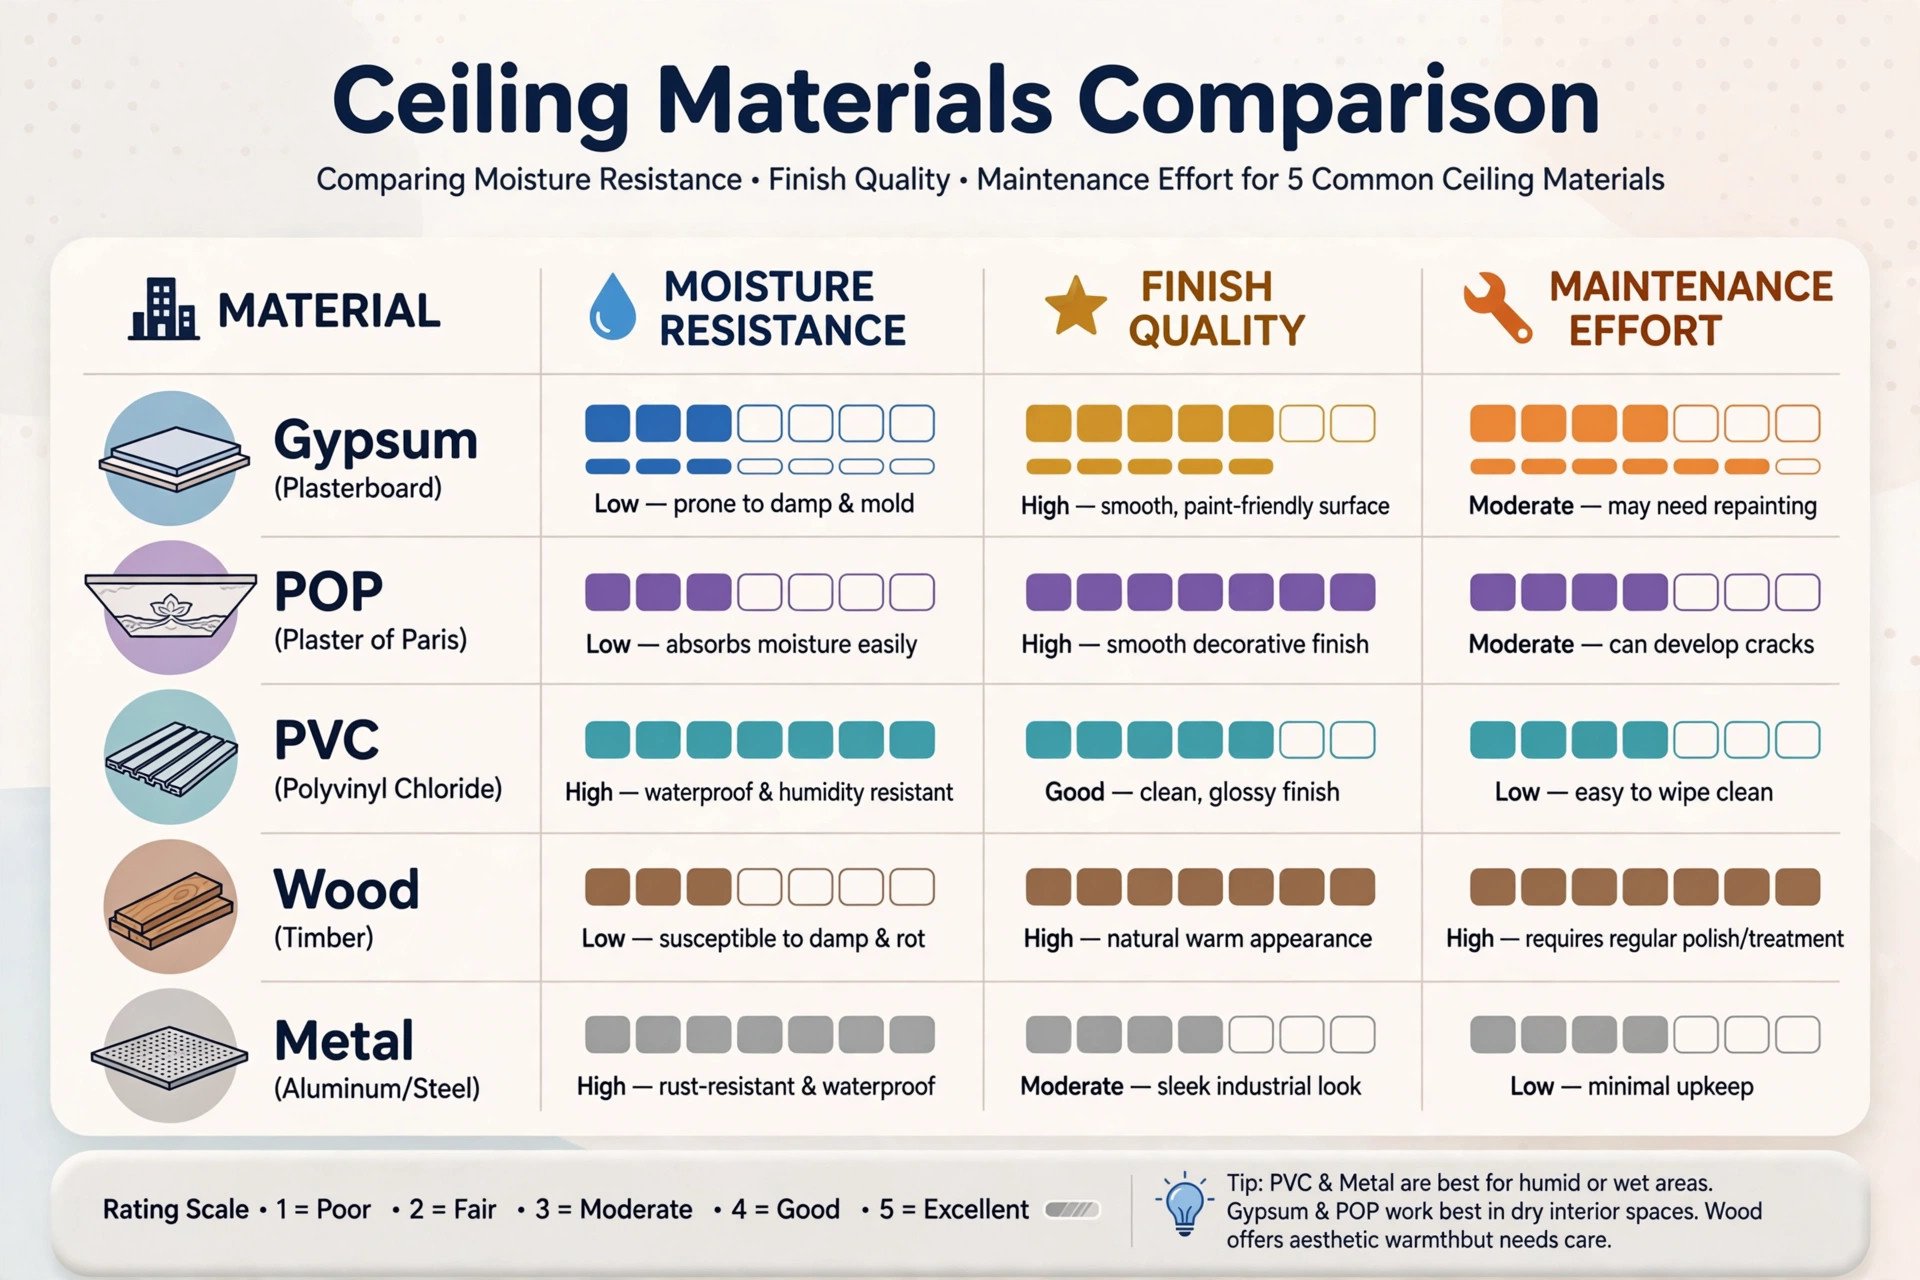
| Material | Best for | Moisture behaviour | Look & finish | Maintenance | Relative cost band |
|---|---|---|---|---|---|
| Gypsum board | Living rooms, bedrooms, offices — the modern default | Poor unless moisture-resistant (green) boards are used | Smooth, seamless, paintable; clean modern lines | Low — dusting; repaint every 5–7 years | Mid to upper |
| POP | Ornate, traditional, curved designs; pooja rooms | Poor — absorbs moisture, cracks in humidity | Unlimited custom moulding, cornices, curves | Medium — inspect for hairline cracks yearly; repaint every 4–5 years | Moderate (curves and cornices cost extra) |
| PVC panels | Kitchens, bathrooms, balconies, rentals | Excellent — impervious to water | Clean but visibly panelled; limited premium feel | Very low — wipe with a damp cloth | Most affordable |
| Wood / veneer | Accent ceilings, luxury living rooms, libraries | Needs proper treatment and protection | Warm, rich, unmistakably premium | Higher — termite checks, periodic refinishing | Premium |
| Metal | Wet areas, commercial-style kitchens, modern industrial looks | Excellent — corrosion-resistant options | Crisp, contemporary; less warm for homes | Low | Upper |
Relative bands only — for detailed per-square-foot rates with city, scope, and date context, see our false ceiling cost guide.
Gypsum: the modern default
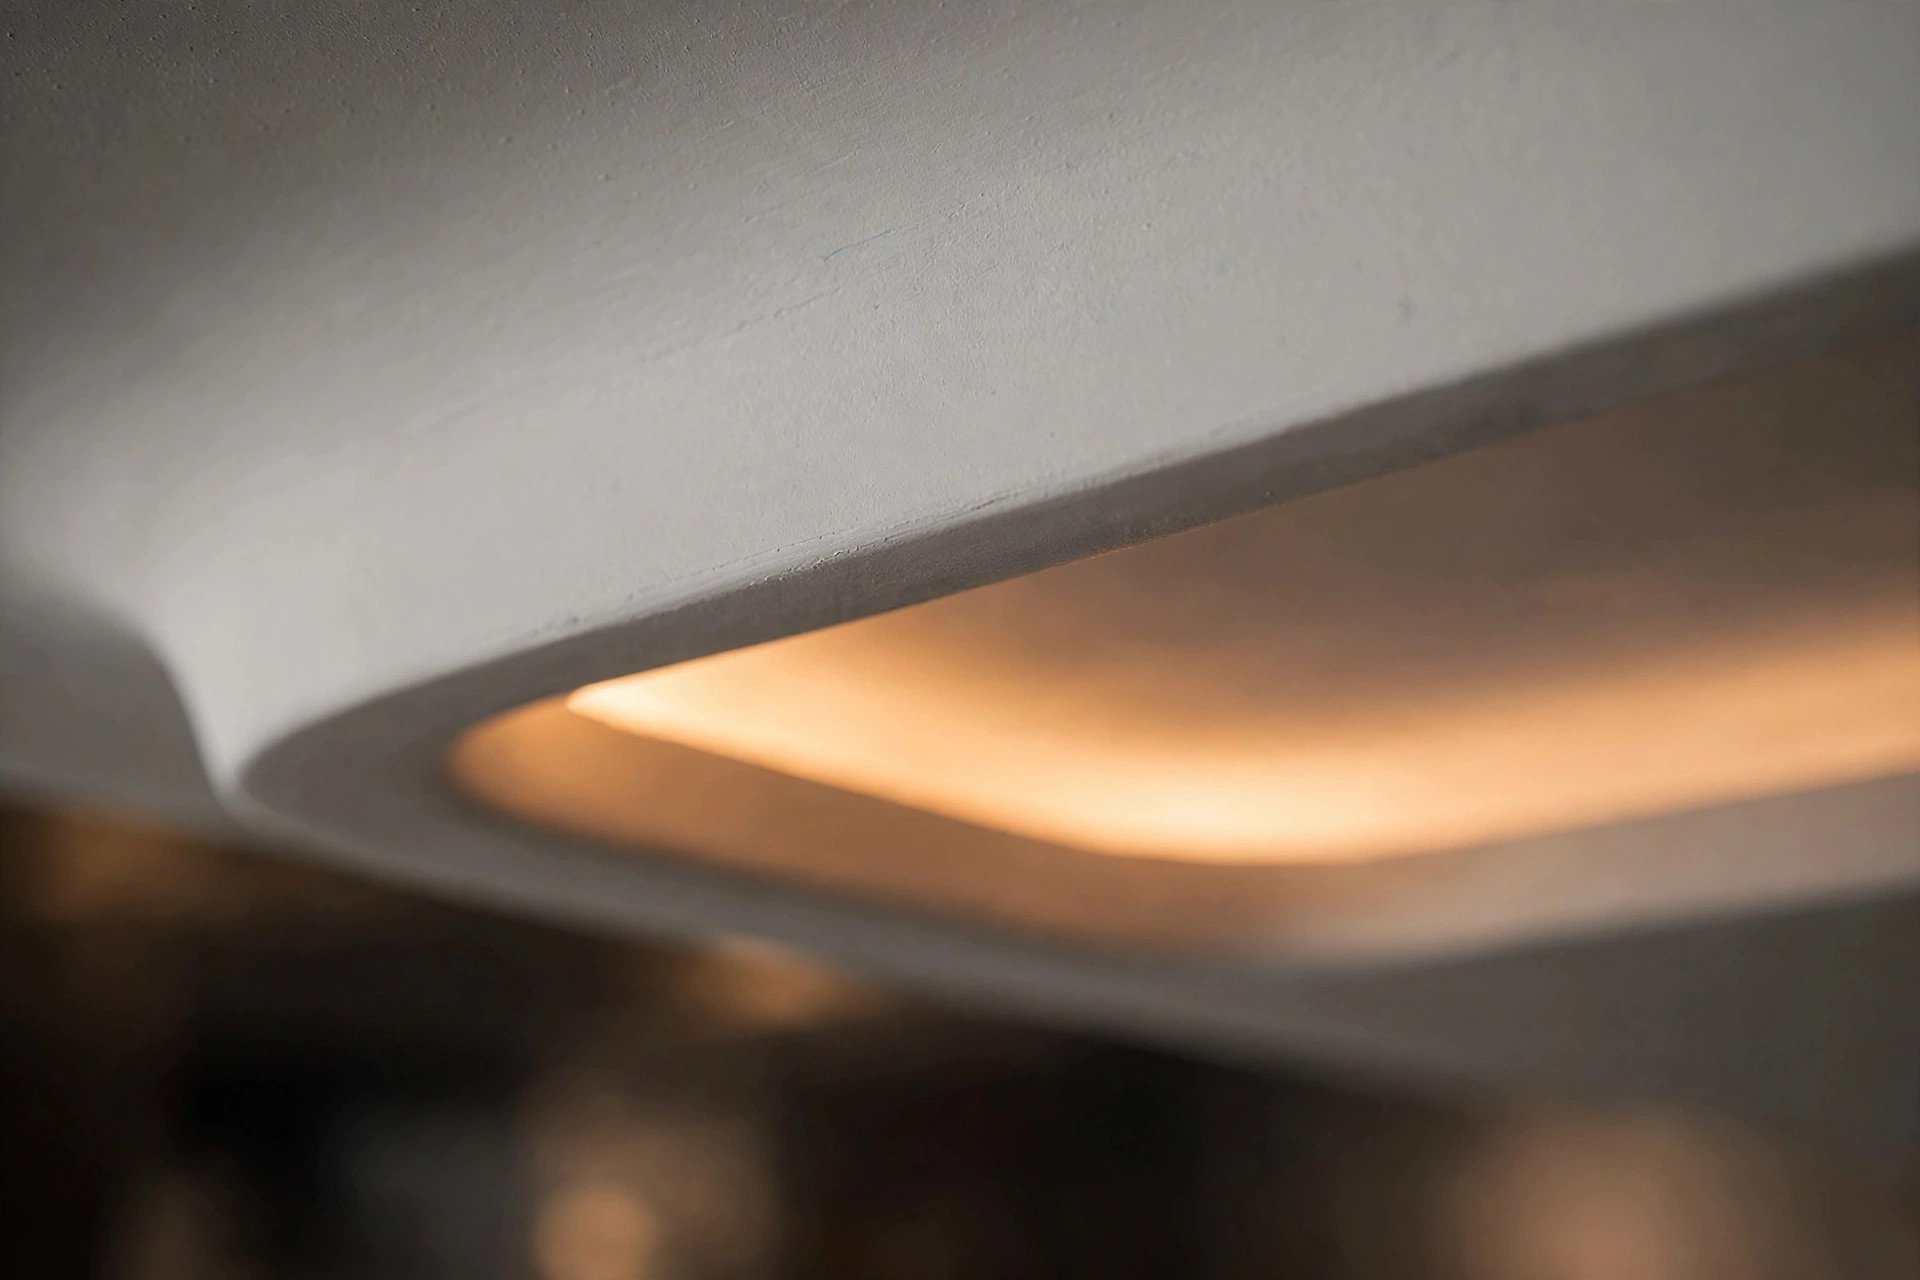
Gypsum boards are factory-made panels — gypsum sandwiched between paper liners — fixed to a galvanised steel grid. Installation is fast (a bedroom typically takes 2–4 days), clean, and dry, with no messy on-site mixing. The finish is consistently smooth, joints are clean, and concealed lighting coves sit naturally in it. It is also naturally fire-resistant and insulates sound well, which is why it suits bedrooms and home theatres.
The honest downsides: standard boards hate standing moisture — a roof leak above turns them saggy and stained. Repairs mean cutting out and patching panels, with visible seams. And the intricate custom moulding that POP does is not possible with boards. For a deeper look at what gypsum does well and where it stops, see our gypsum ceiling guide.
POP: the craftsman’s material
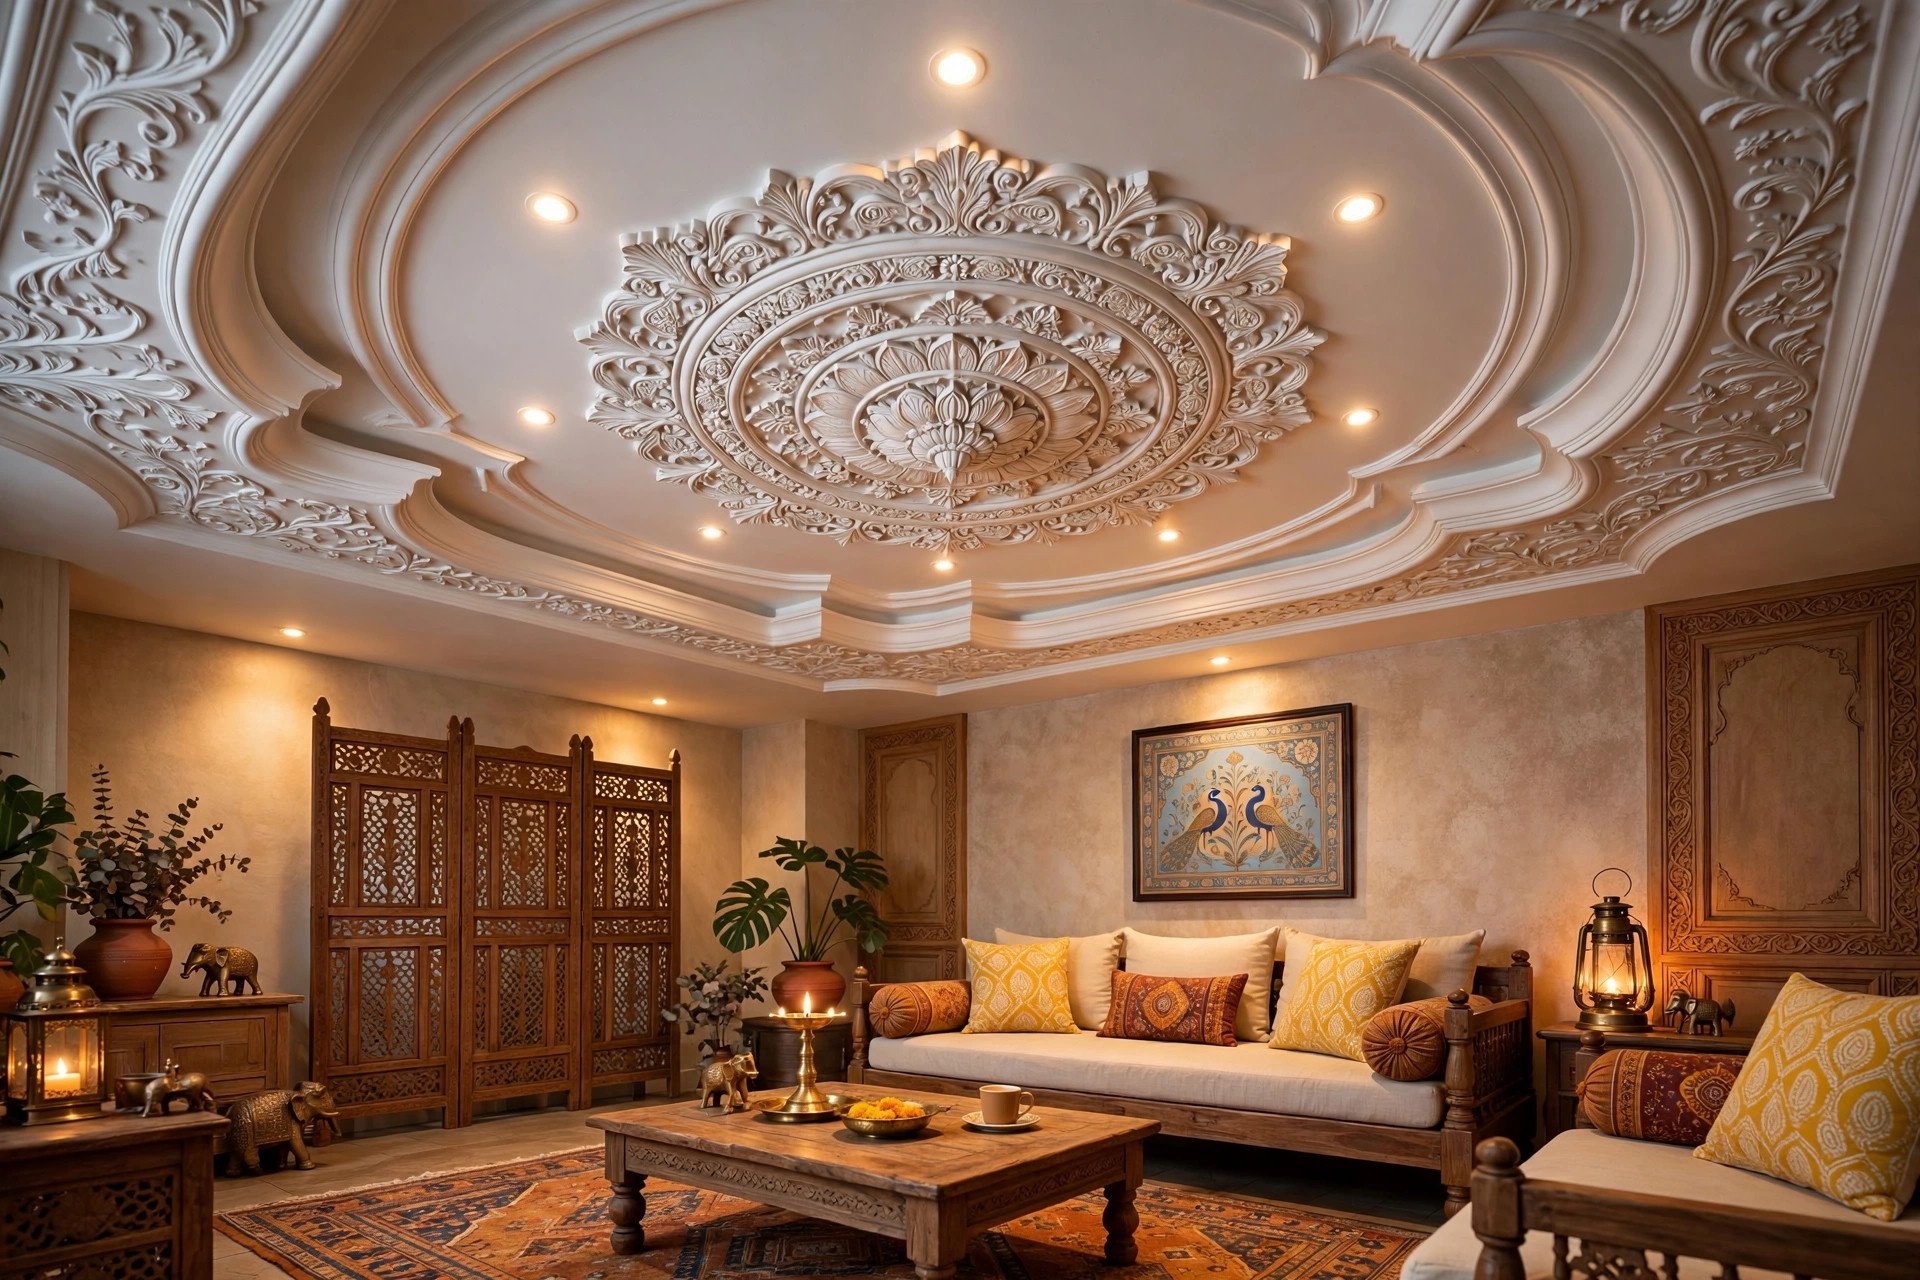
Plaster of Paris is mixed on site and worked over a mesh framework — wet, messy, and entirely dependent on the skill of the person applying it. That dependence is both its glory and its risk: in skilled hands it produces curves, domes, cornices, and medallions no board can match, and patch repairs blend invisibly. In unskilled hands it produces cracks and uneven levels. It is generally cheaper than gypsum for plain work, but intricate designs add labour cost fast, and it takes 5–7 days with drying time between layers.
POP suits traditional and heritage-style homes, pooja rooms, and anyone whose design genuinely needs curves. It does not suit humid coastal cities, wet rooms, or tight timelines. More on its ornamental range in our POP ceiling guide.
PVC: the practical workhorse
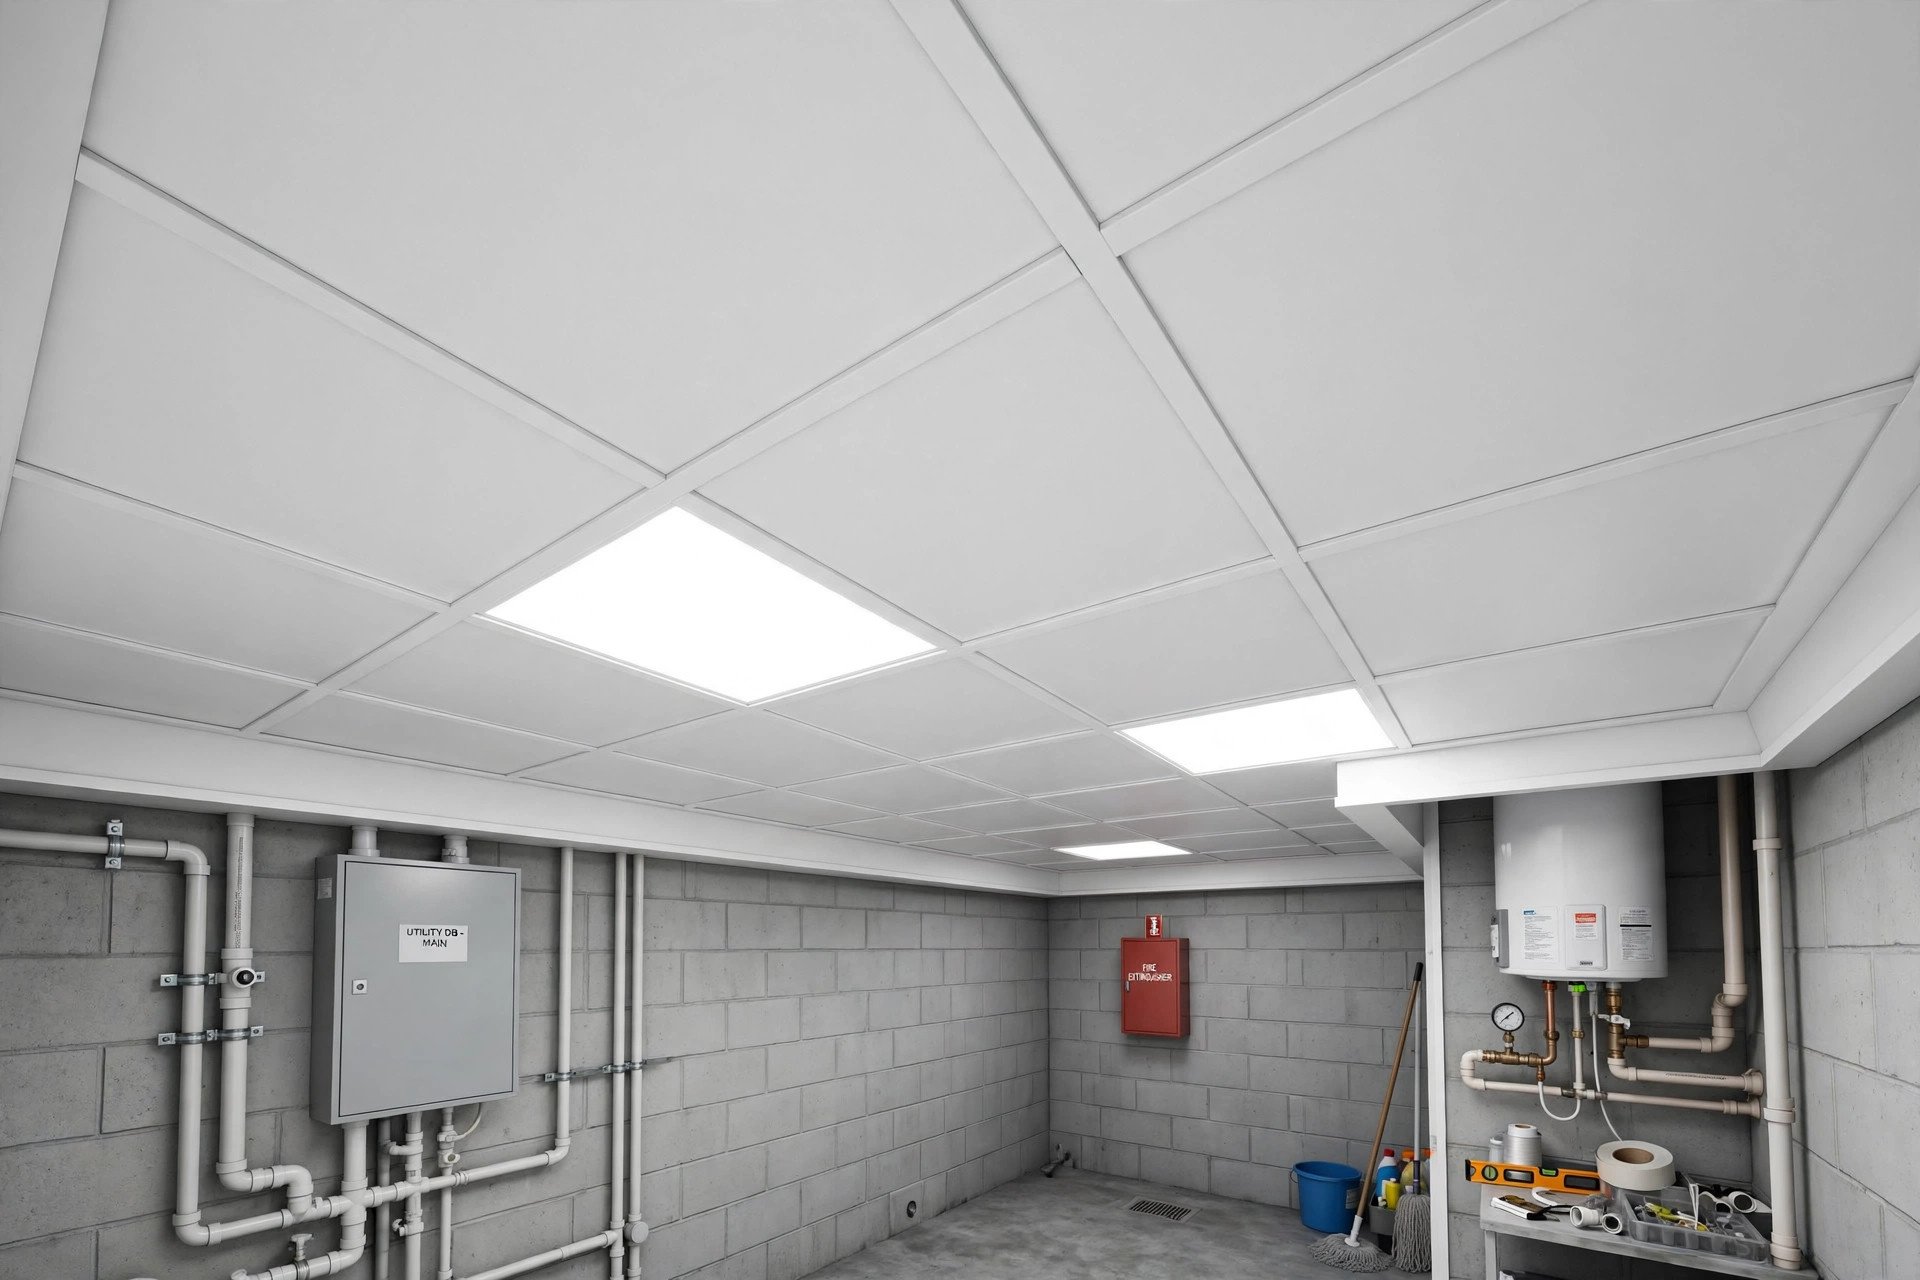
PVC panels are factory-made plastic panels — light, quick to install (1–2 days), termite-proof, and genuinely waterproof. Maintenance is a damp cloth. Individual panels can be removed and refitted, which makes access to wiring or plumbing above far easier than with a sealed gypsum ceiling. It is also the most affordable of the common materials.
The trade-offs are real: it looks like what it is, so it will not carry a premium living room; standard PVC is heat-sensitive and can warp near hot zones without ventilation; and its lifespan is shorter than gypsum’s.
Wood: warmth at a price
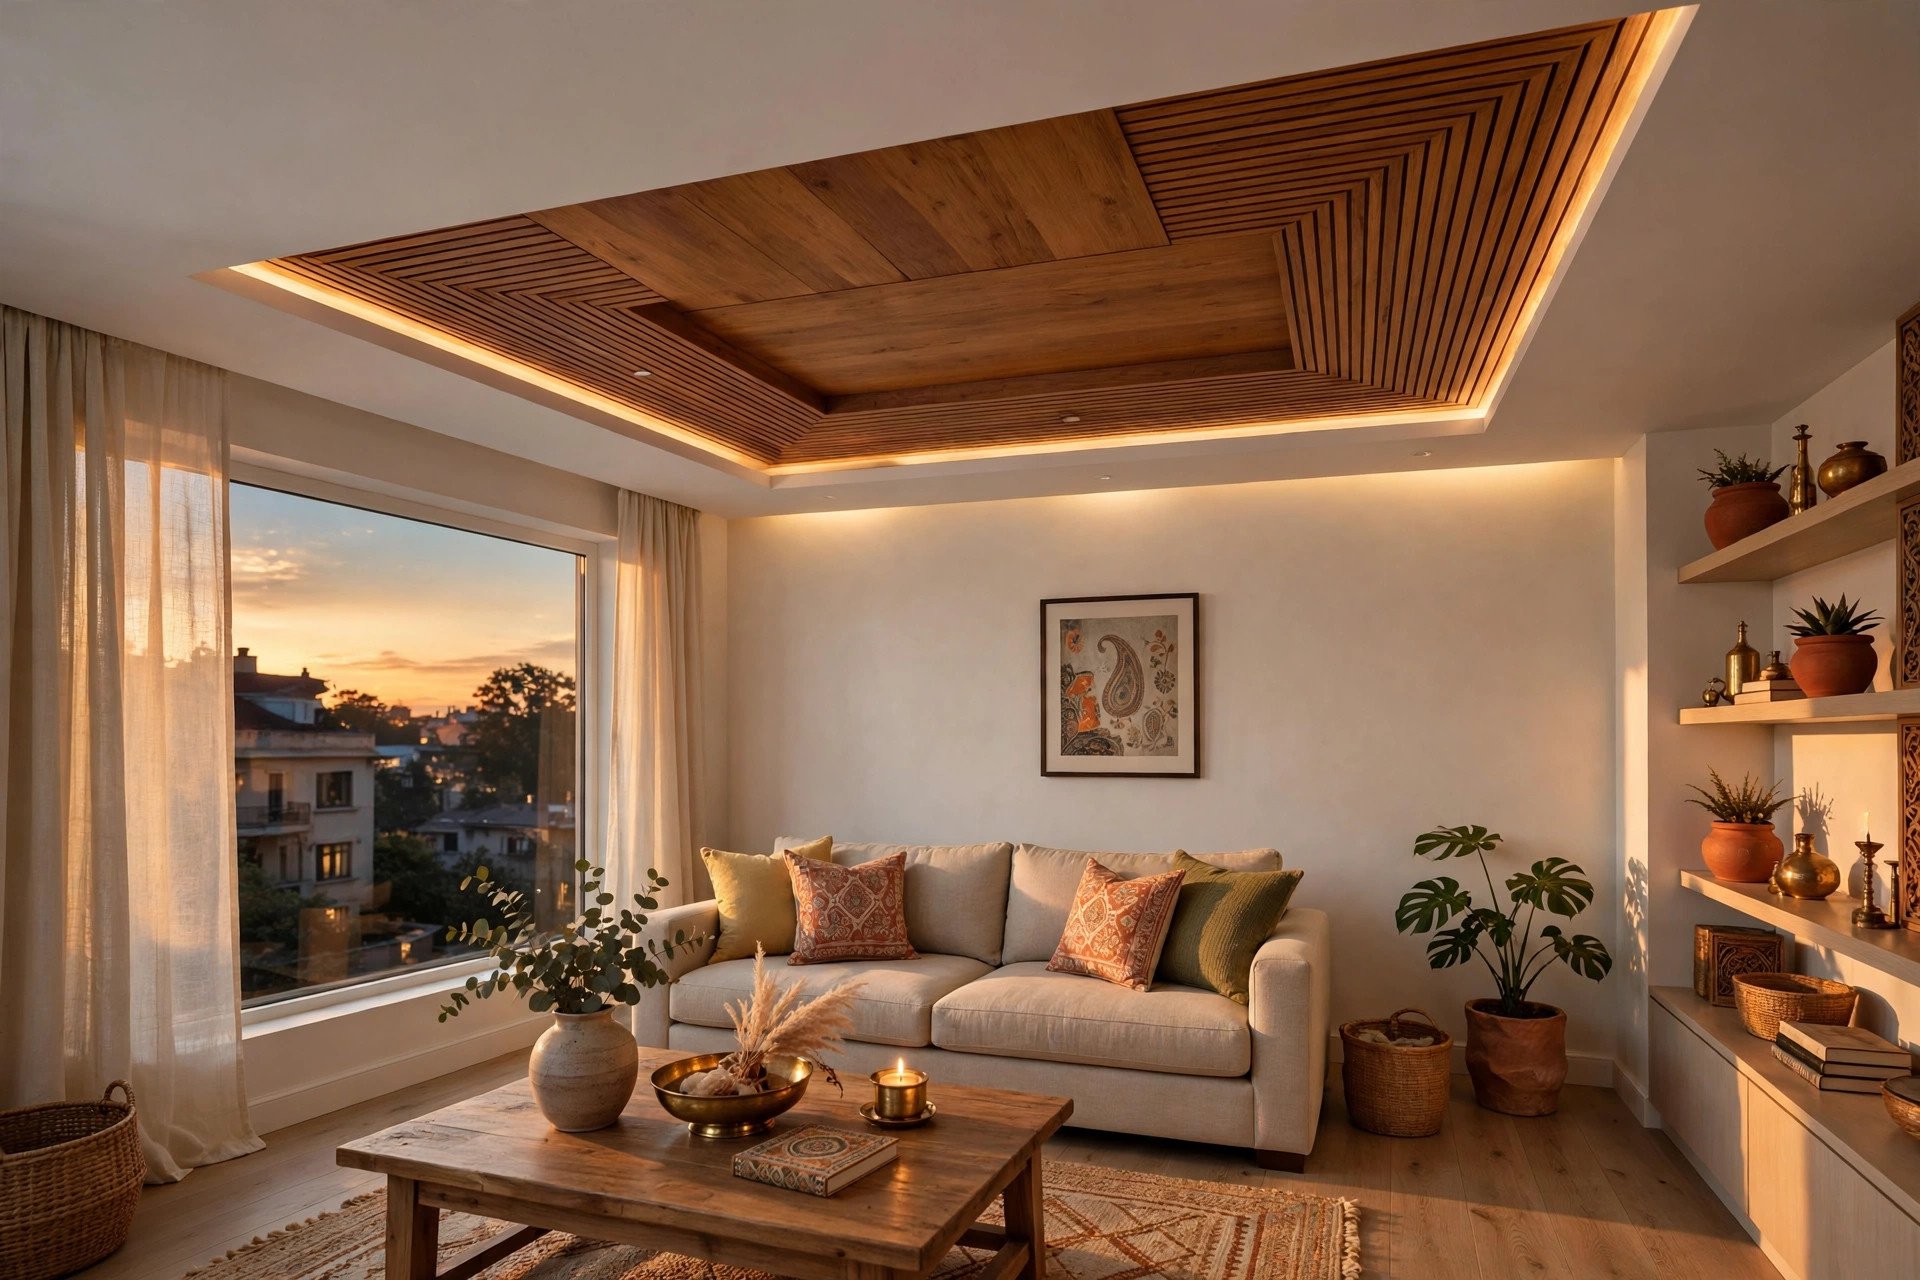
Nothing else looks like wood on a ceiling. Used as an accent — a band, a panel section, a pooja-room ceiling — it adds warmth no board can fake. Used everywhere, it is expensive, heavy, and demanding: it needs proper moisture protection, regular termite inspection, and refinishing every several years. Treat it as jewellery for the ceiling, not the ceiling itself.
Metal: the quiet specialist
Metal ceilings — aluminium grids and panels — are a commercial staple that works in homes where durability beats decoration: kitchens, bathrooms, shopfront-style spaces, and industrial-look interiors. Corrosion-resistant, fire-safe options, long-lived, and easy to clean. The look is crisp rather than warm, which is why it rarely leads in living rooms but quietly wins in wet areas.

The room-by-room quick decision table
If you want the short version after all that:
| Room | First choice | Also works | Avoid |
|---|---|---|---|
| Living room / hall | Gypsum | POP (if ornate), wood accent | PVC as the main ceiling |
| Bedroom | Gypsum | POP, wood accent | Metal |
| Kitchen | Moisture-resistant gypsum or PVC | Metal | Standard gypsum, POP |
| Bathroom | PVC | Metal | Standard gypsum, POP |
| Pooja room | POP | Wood accent, gypsum | PVC |
| Balcony / utility | PVC | Metal | Gypsum, POP |
| Home office | Gypsum | Mineral-fibre (acoustics) | PVC as the main ceiling |
Step 3 — Lock the design details before work starts
Material chosen, the ceiling is still not designed. This is the step where most expensive mistakes happen — not because the choices are hard, but because they are made in the wrong order or skipped entirely.
Decide the lighting before anything is cut
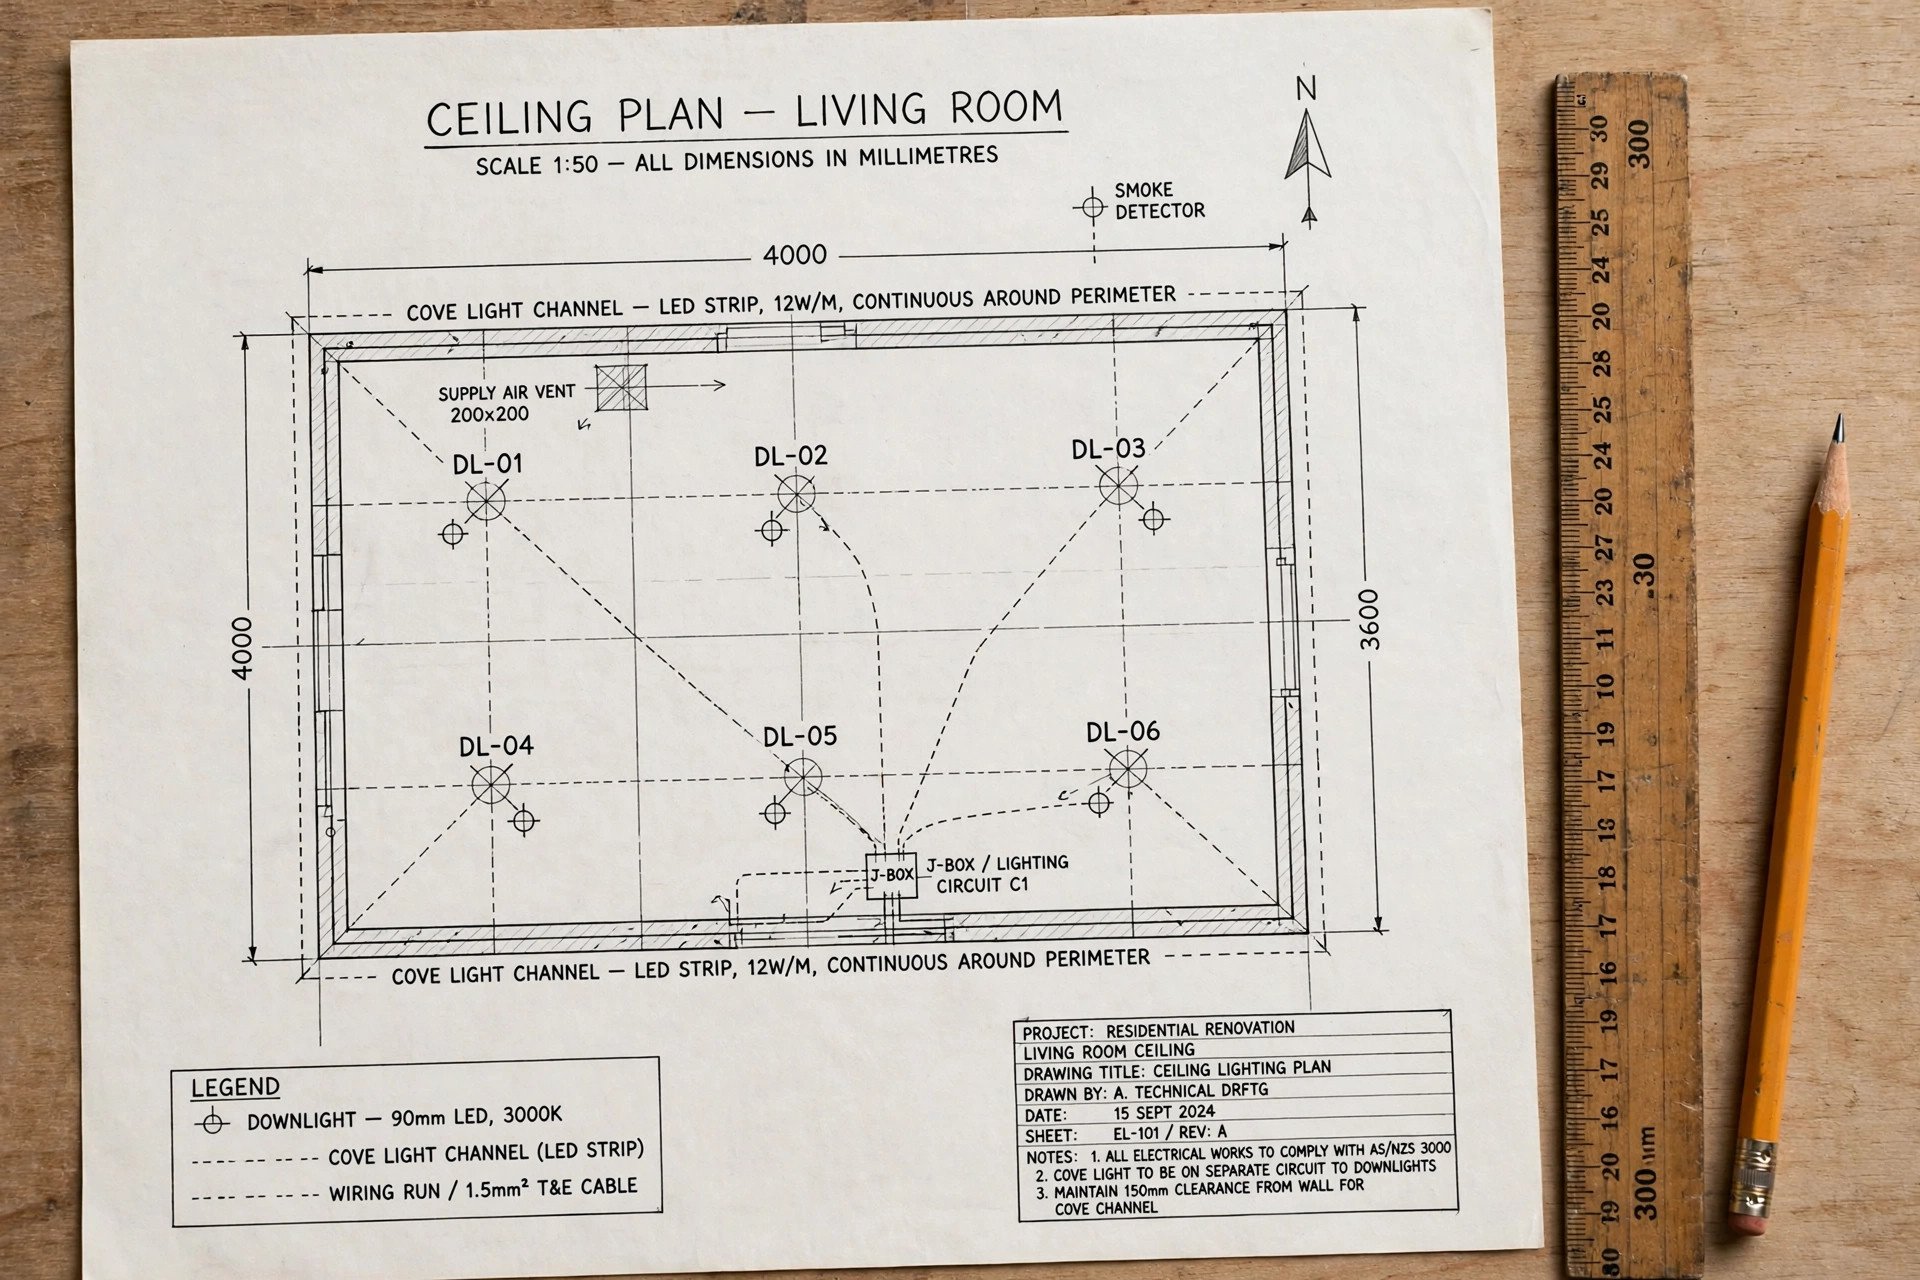
A false ceiling without planned lighting loses most of its impact, and lighting decided after the framework is up becomes complicated and expensive to change. The design sequence is: decide where every light goes, then let the ceiling design follow. Cove channels, recessed downlight positions, pendant drops, and the electrician’s wiring runs all need marking before panels are cut — cutting a panel before the electrician marks the LED runs is one of the classic avoidable errors.
Plan in layers: recessed downlights for general light, cove or strip lighting for ambient glow (warm white, roughly 2700–3000K, suits most Indian homes), and one statement piece — a pendant or chandelier — only where the room and the height earn it. And keep the LED channels a couple of inches behind any cutwork or diffuser so you get a smooth glow instead of visible dots.
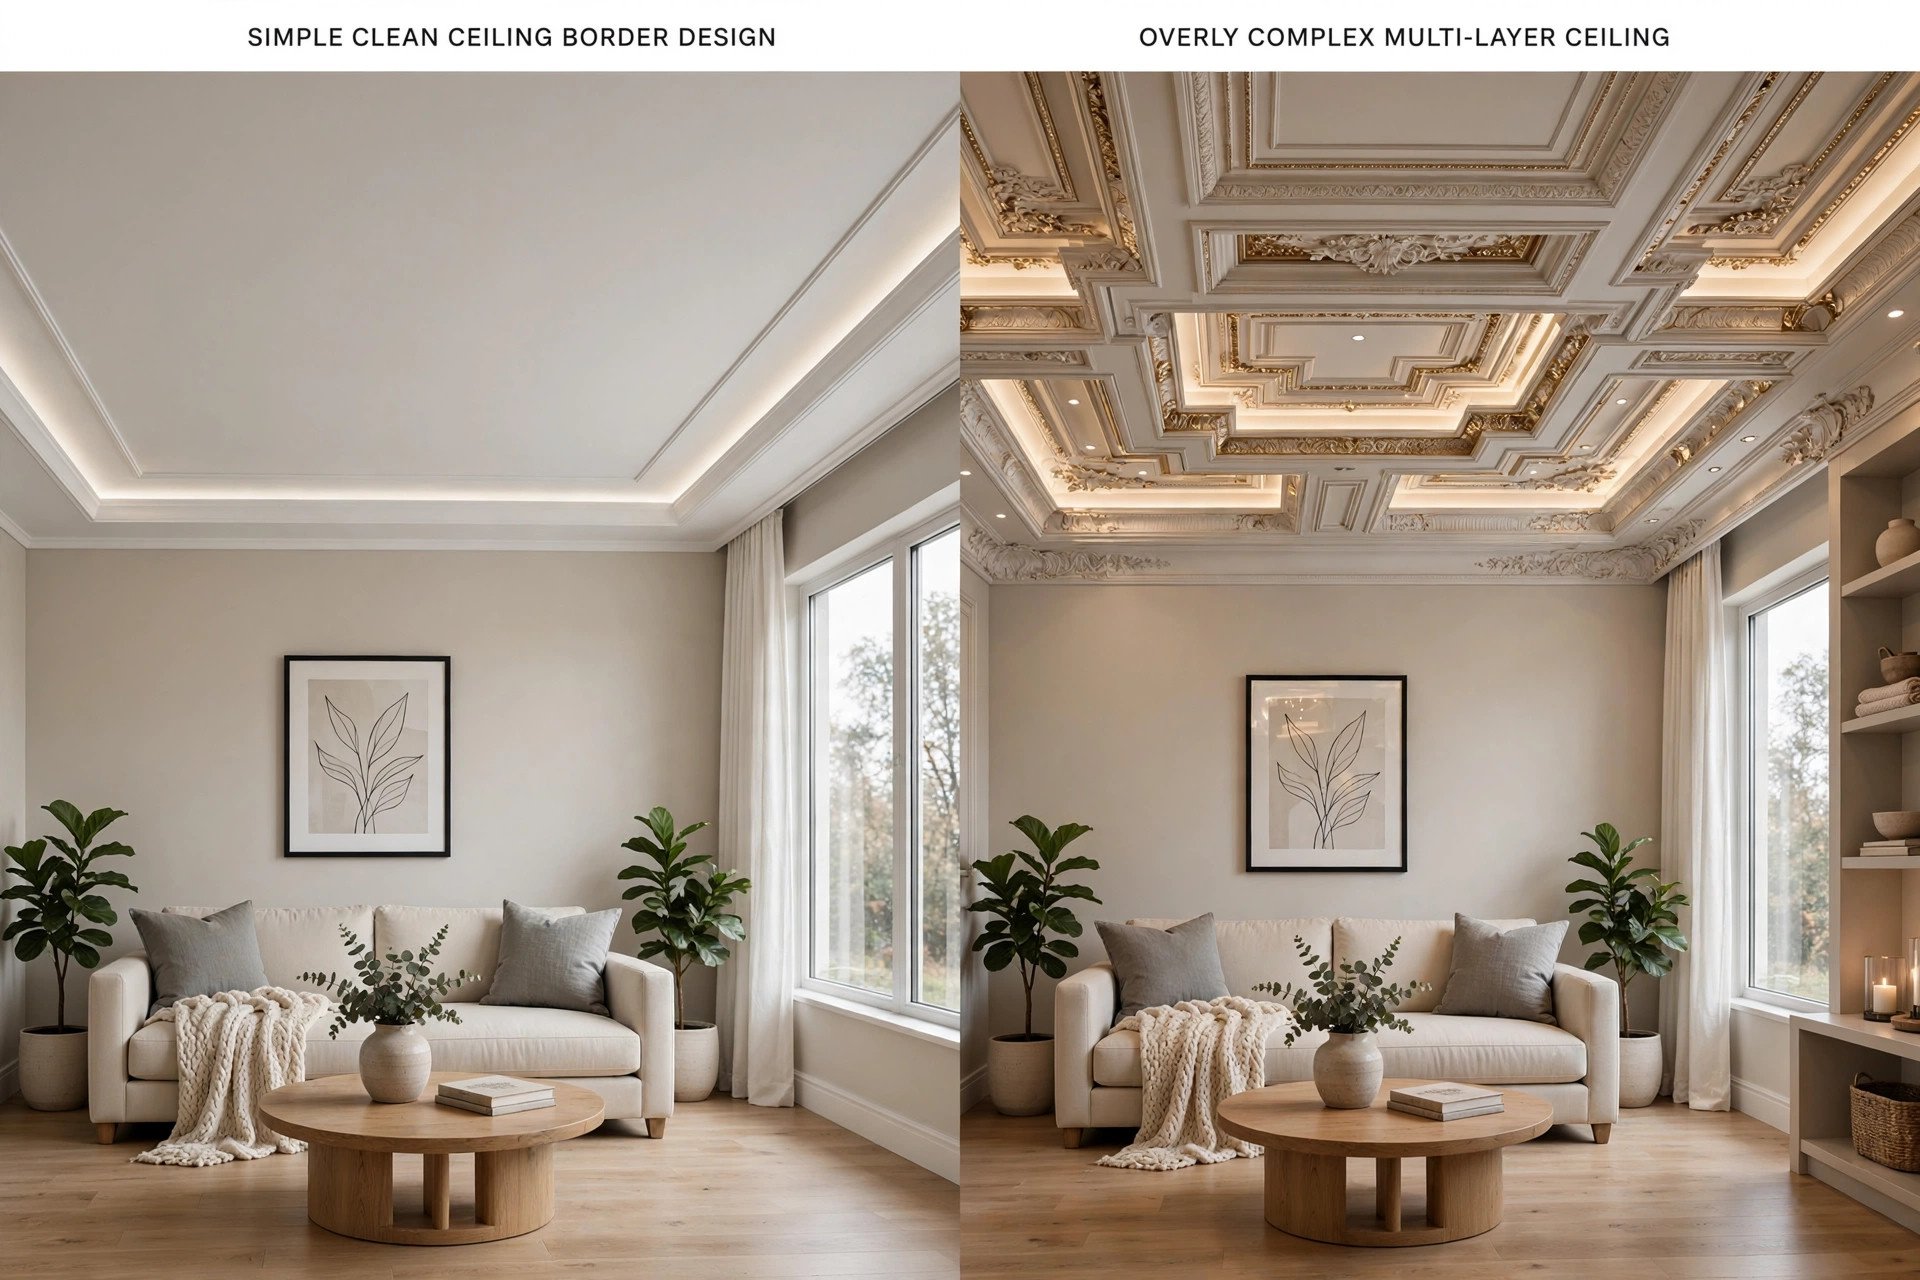
Keep it simpler than your mood board
Dramatic ceiling trends — zigzag LED patterns, RGB strips, dense cutwork — photograph well and age badly, often feeling dated within a few years. In small rooms the penalty is immediate: bulky layers and busy patterns make a compact space feel crowded.
The design that survives longest is usually the simplest one that does the job: a clean perimeter or border, one level change at most, and matte finishes — glossy ceilings reflect too much light and date quickly.
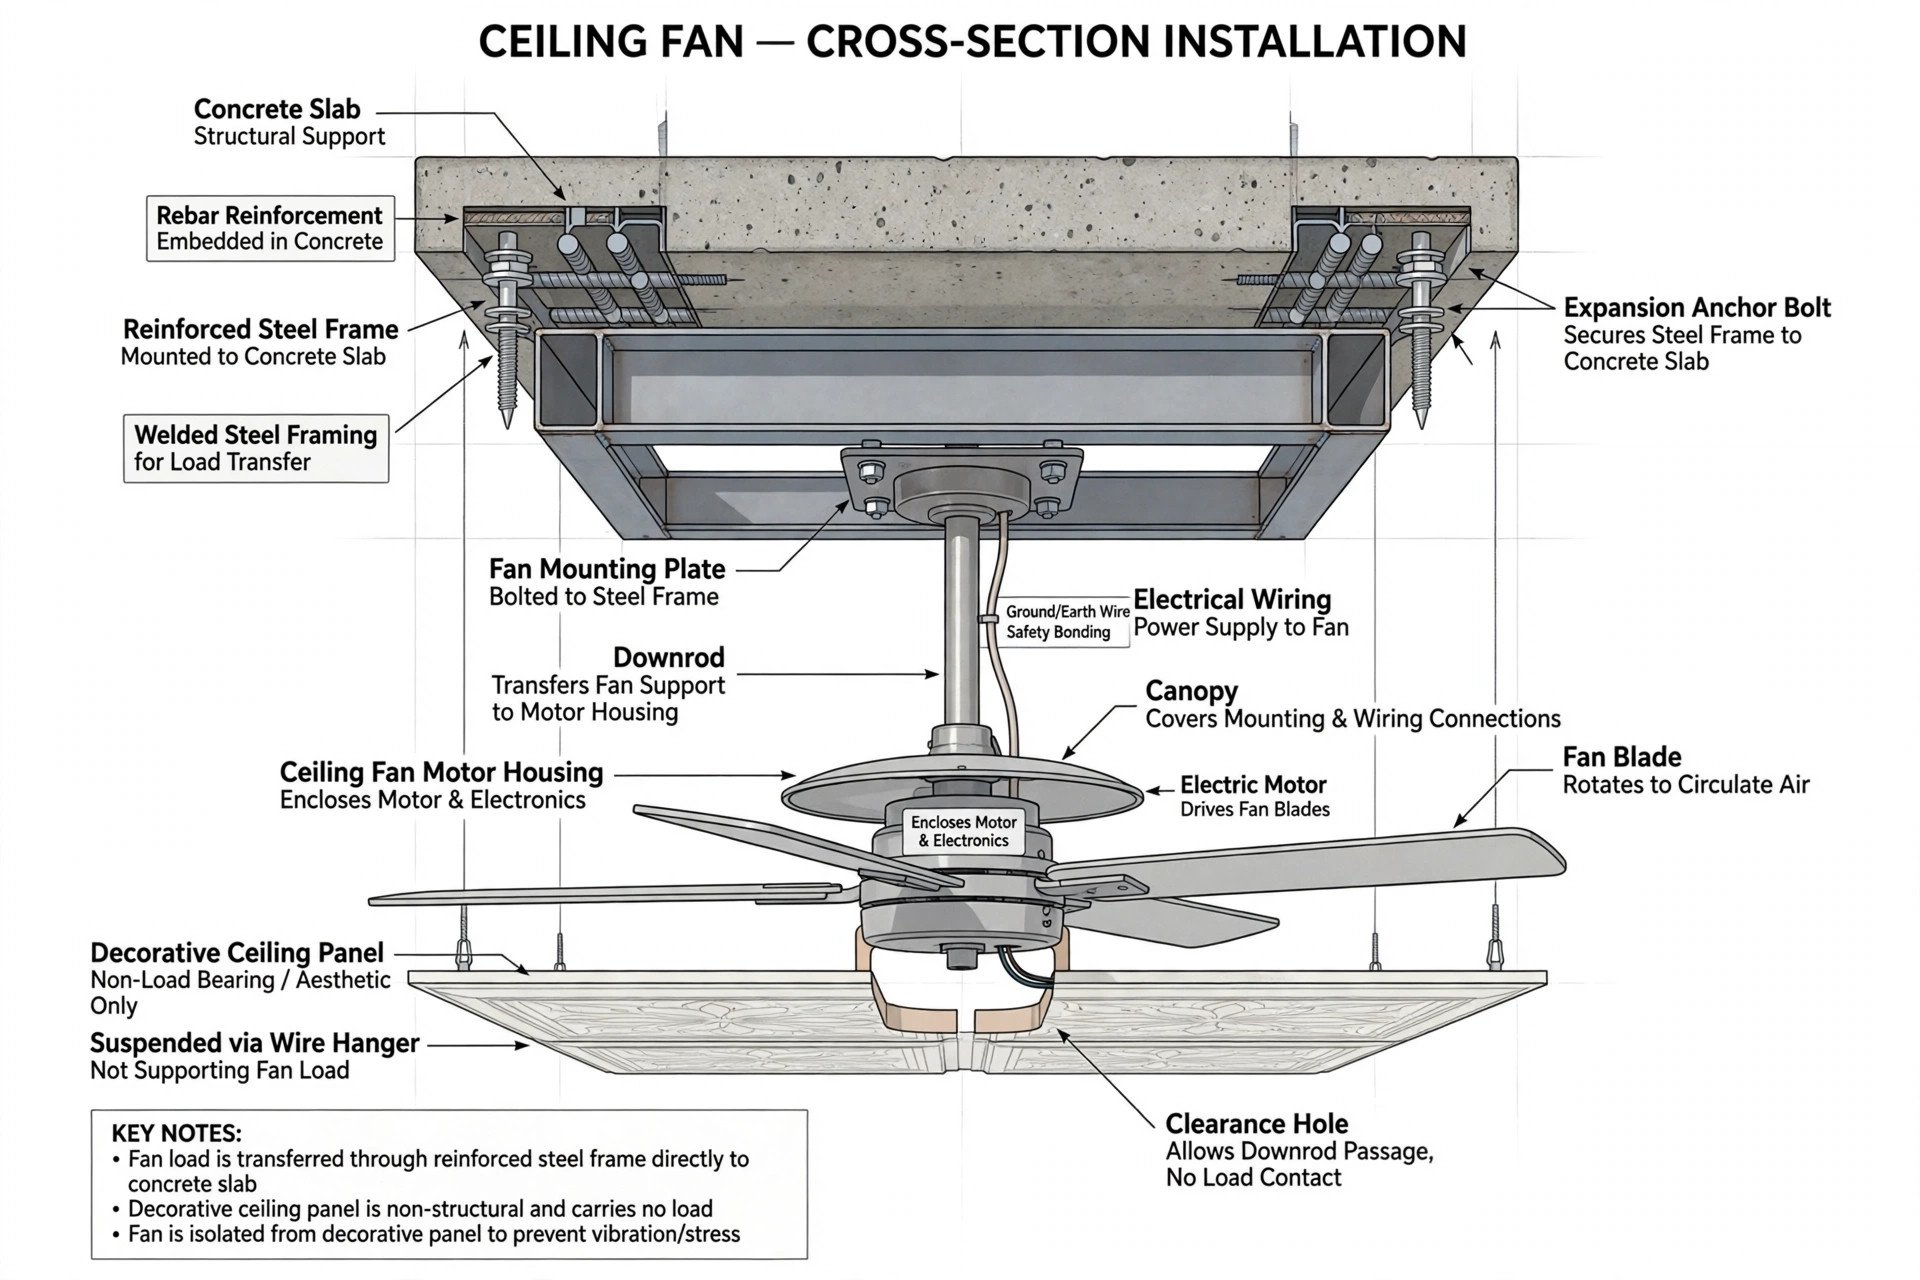
Plan the fan like structure, not decoration
A ceiling fan is a heavy, vibrating machine. It must anchor to the slab or a properly reinforced frame — never to a lightweight decorative panel. If your design includes a patterned or cutwork section, the fan goes through a reinforced point, not through the pattern. For halls with two fans, keep the placement symmetrical with the design for balanced airflow and looks, and leave clear spacing between fan mounts and light fixtures so blades never strike a pendant and downlights never sit in the fan’s shadow.
Leave a way back in
A sealed ceiling is a sealed problem. Wiring, plumbing, and AC ducts live above the false ceiling, and someday someone will need to reach them. Insist on discreet inspection or access panels in the plan — positioned over junctions, valves, and duct joints. PVC panel ceilings have a natural advantage here since individual panels lift out, but a gypsum or POP ceiling without planned access turns every future repair into a demolition.

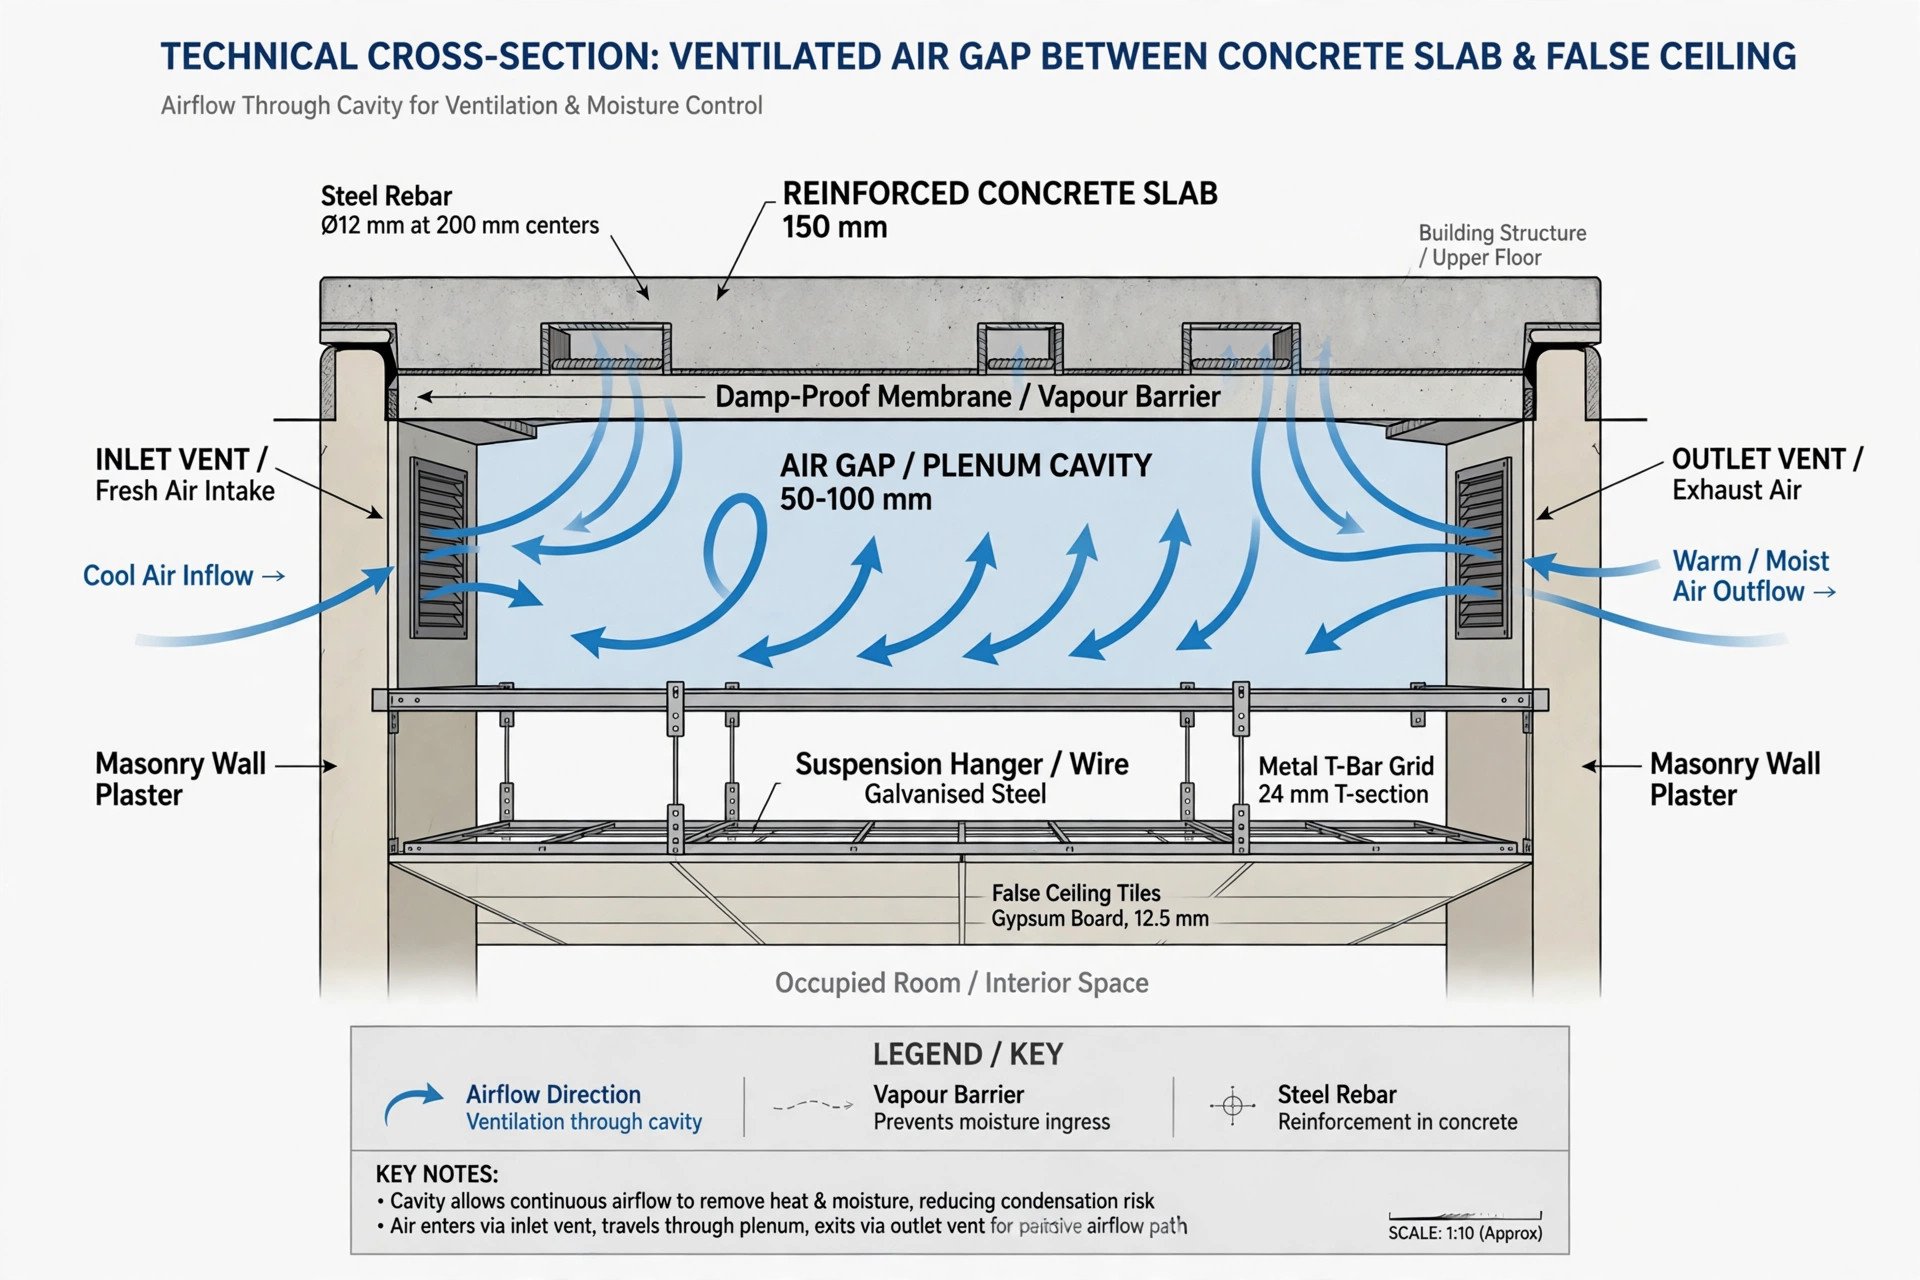
Ventilate the gap
The space between the slab and the false ceiling is a hidden room, and hidden rooms collect moisture. Without ventilation that trapped humidity feeds mould, stains, and material breakdown — especially for POP and gypsum. The plan should allow air movement in that cavity, and the slab above should be waterproofed before the ceiling goes up, not after a stain appears.
The 10 mistakes that ruin false ceilings
Each of these maps to a step above — which is exactly why the sequence matters. Read them as a pre-flight check:
- Choosing from a photo instead of the room. The material was picked for how it looked online, not for the room’s humidity, height, and use. Choose for climate and function first; the look follows.
- Ignoring ceiling height. A multi-level design in a sub-9-foot room makes the space feel boxed in. Measure first; design to the height you have.
- Overcomplicating small rooms. Bulky layers and dense patterns overwhelm compact spaces. Flat layouts, pale colours, and integrated lighting do more with less.
- Planning lighting after the framework. Once the frame is up, moving a light is expensive. Every fixture position and wire run gets decided and marked before cutting begins.
- Hanging the fan from the decoration. Fans anchor to the slab or reinforced framing. A fan wobbling against cutwork or pulling on a thin panel is a safety problem, not a design quirk.
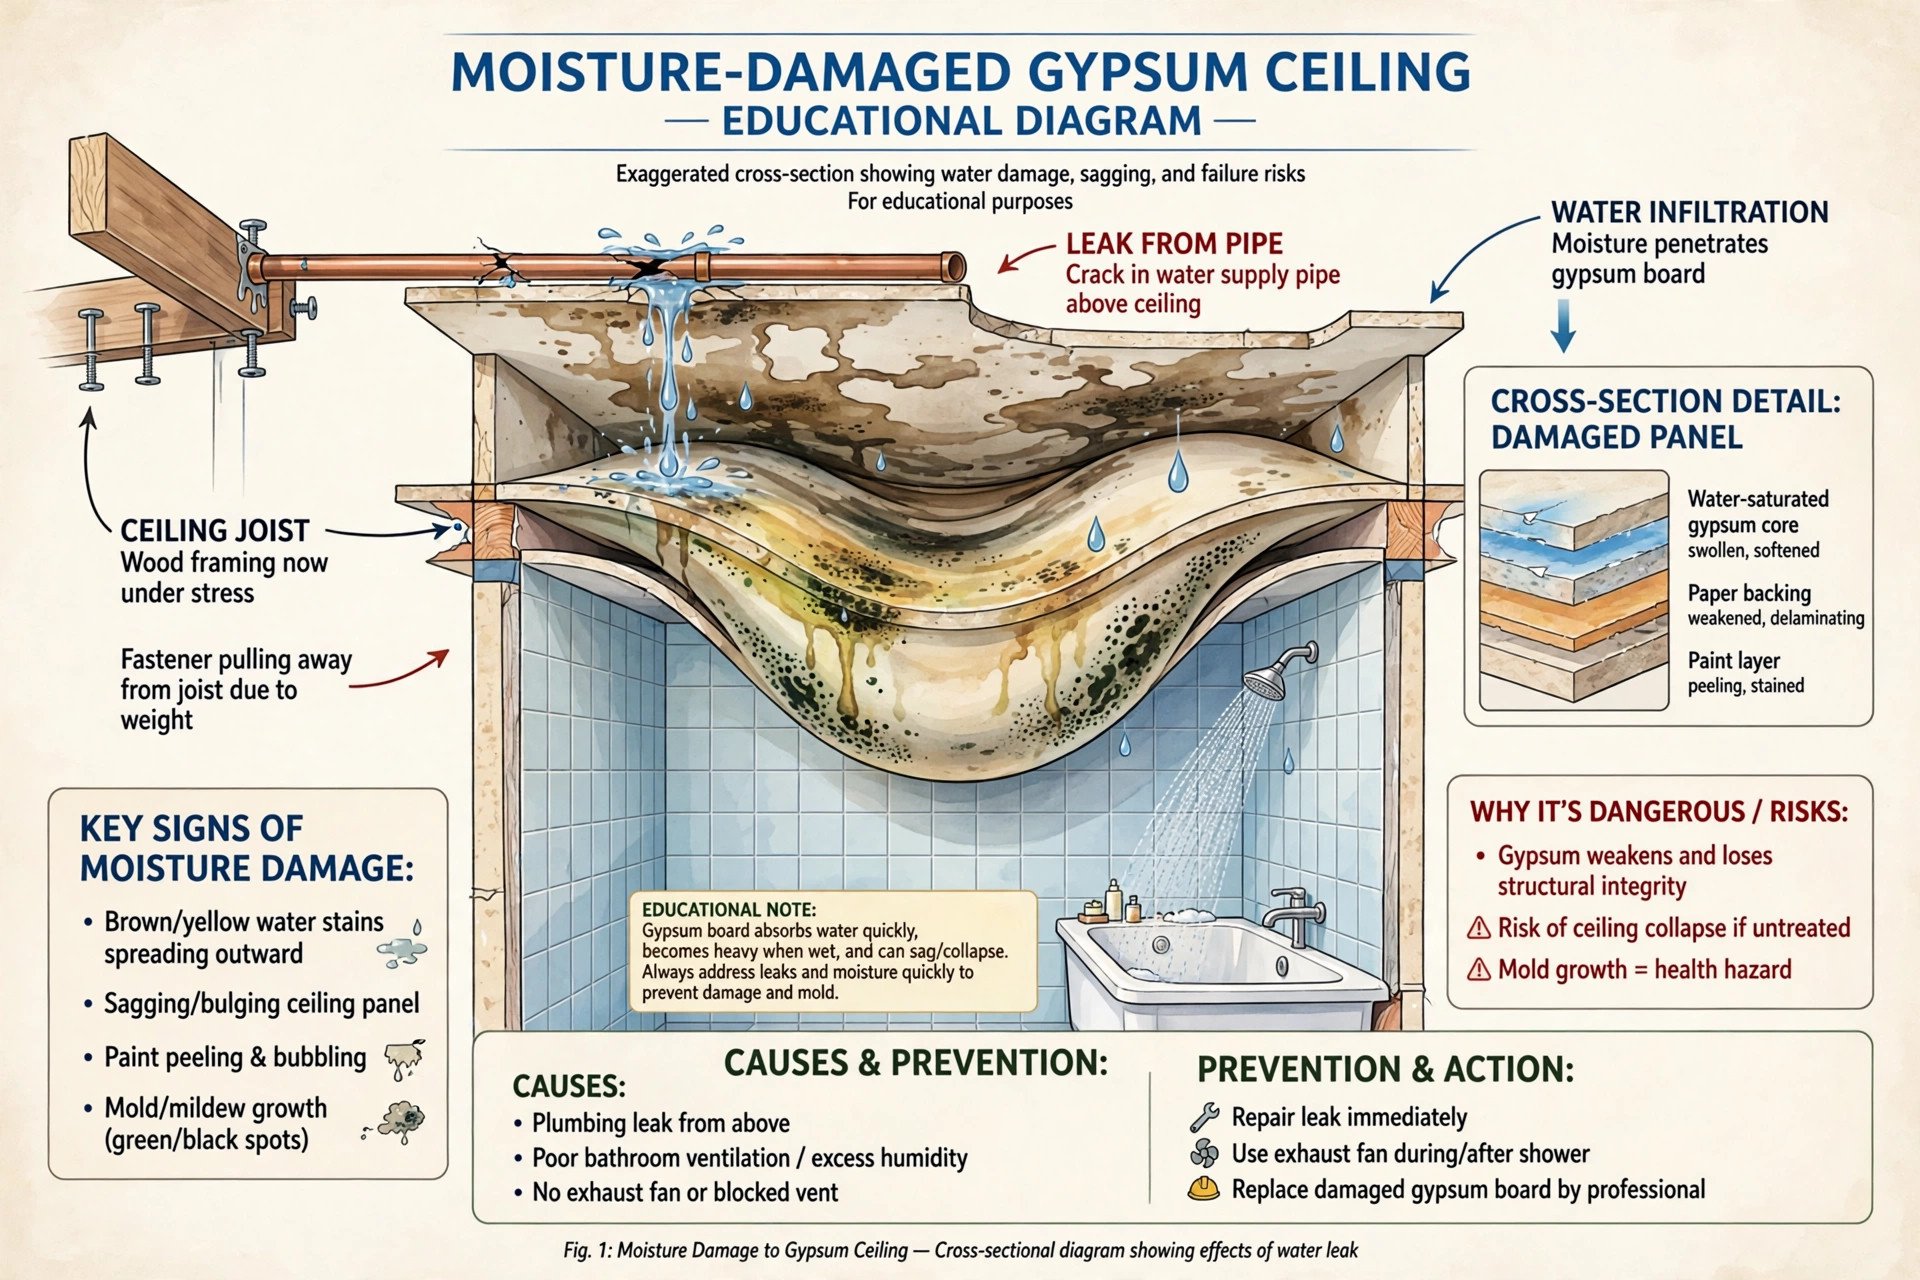
- Moisture-sensitive material in a wet room. Standard gypsum or POP in a bathroom or a humid coastal home is a slow failure. Match the material to the moisture it will actually face.
- Skipping slab waterproofing. No ceiling survives a leak from above. Waterproof the roof or terrace first — it is the cheapest insurance in the whole project.
- Accepting a weak hidden structure. Thin local boards instead of proper 12.5mm boards, flimsy non-galvanised framing, channels spaced too wide (which causes vibration and sagging), and joint treatment done with direct POP instead of fibre tape. The surface looks identical on day one; the difference shows up in year two.
- Choosing on price alone. The cheapest quote usually saves on exactly the things you cannot see — frame quality, board thickness, joint work. Compare total cost of ownership, not just the per-square-foot number.
- No written specification. A verbal quote for “false ceiling work” means nothing. The materials, brands, thicknesses, scope, and finishing must be written into the agreement — or they are negotiable later, against you.
How to hire the right installer: the questions that actually matter
A false ceiling is only as good as its installation. POP in particular lives or dies on the applicator’s skill, but every material suffers from rushed framing and sloppy finishing. Most homeowners interview contractors on price and personality. Interview them on specifics instead.
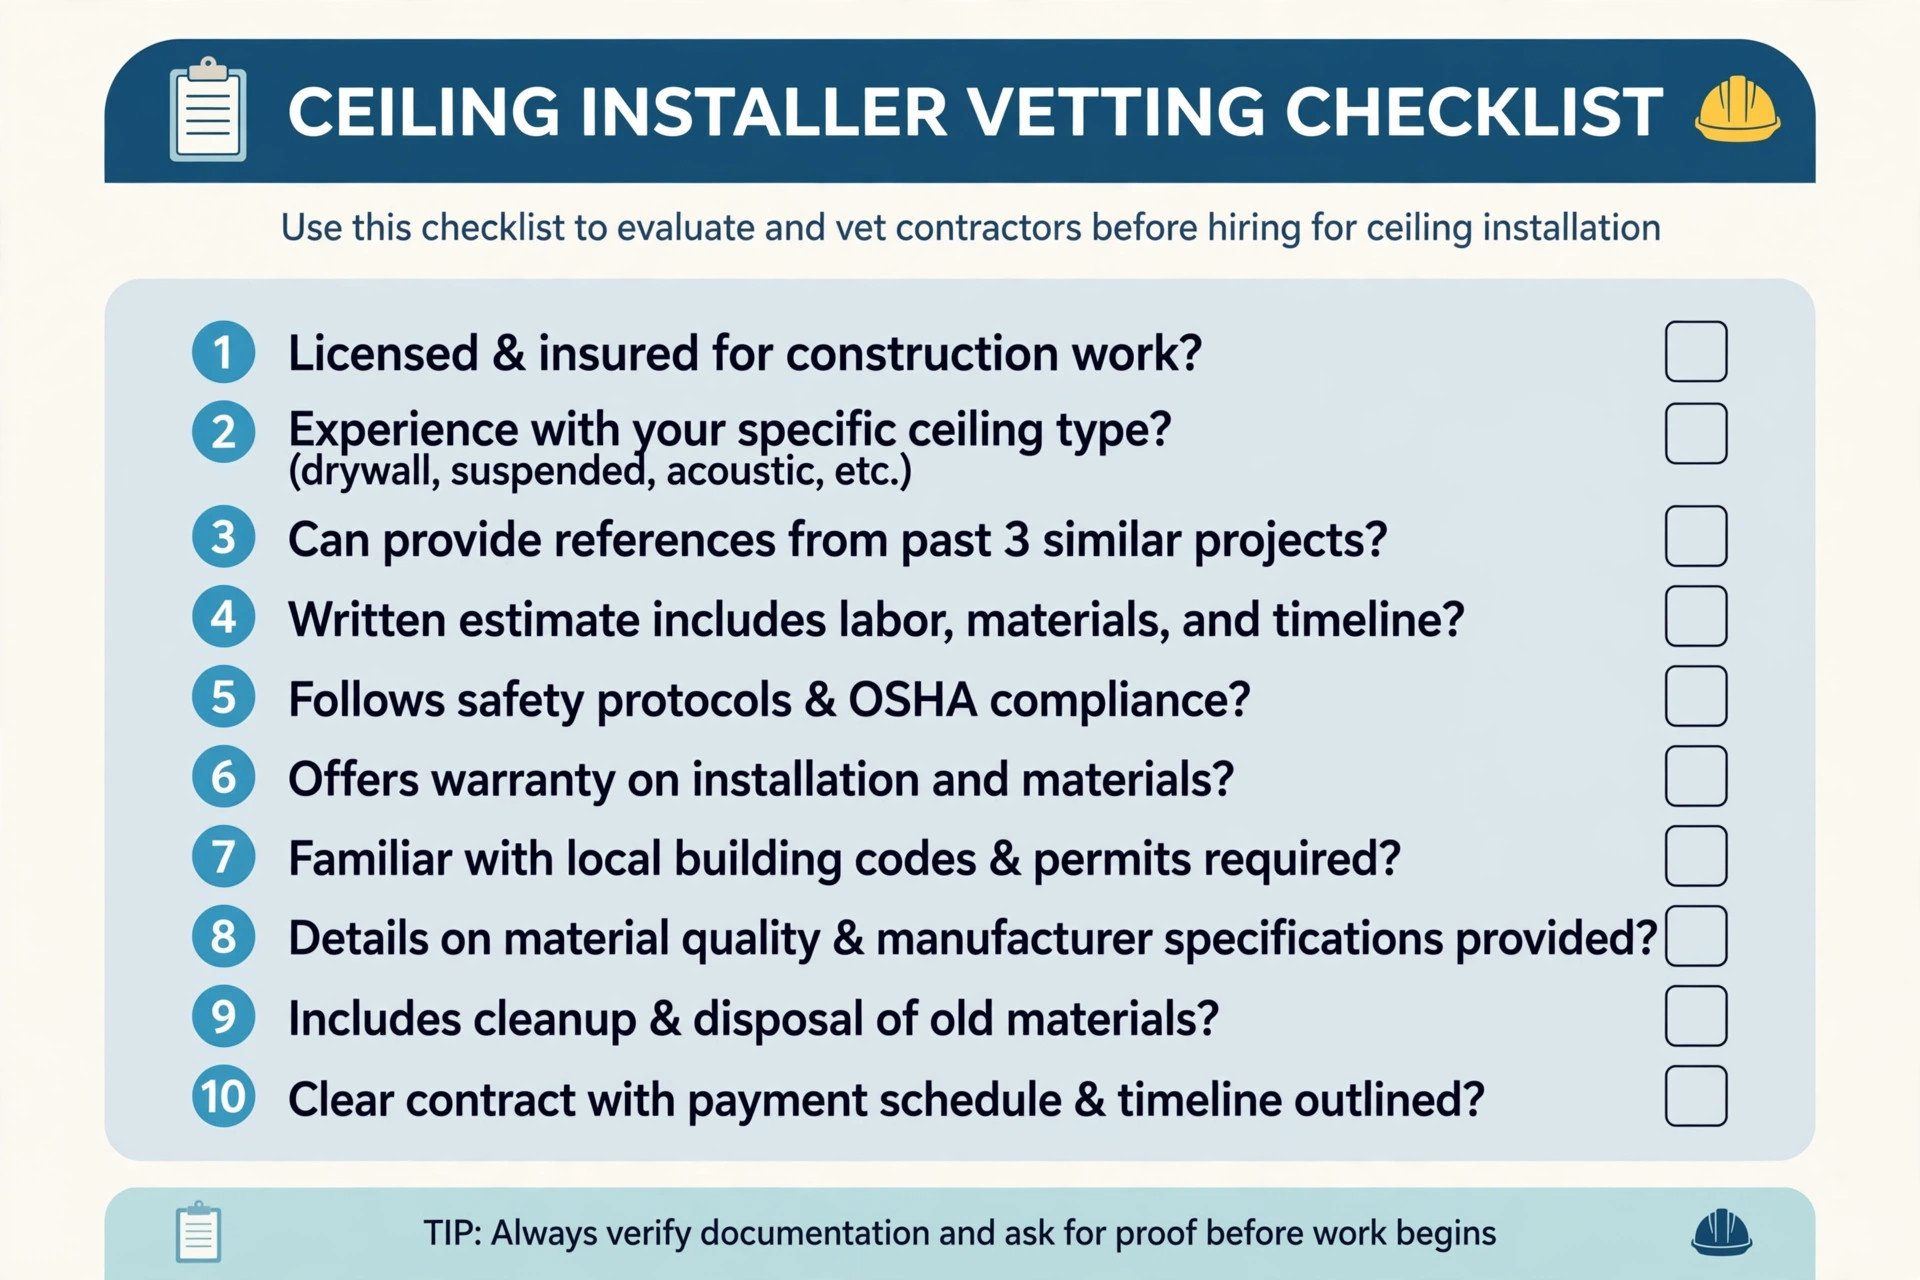
The 10 questions to ask before you hire
- How long have you been doing false ceilings, and can I see recent work? Experience first, then proof — visit a finished site if possible, not just photos.
- Can I speak to two past clients? References reveal punctuality, cleanliness, and how problems were handled — things a portfolio never shows.
- What exact materials will you use — brand, board type, and thickness? You want names and numbers in writing: e.g. branded 12.5mm boards, not “good quality board”.
- What is the frame specification? Galvanised channels or local material? What is the centre-to-centre channel spacing? Wide spacing causes vibration and sagging — this single question separates careful installers from careless ones.
- What is your joint treatment process? Fibre tape with proper compound, or direct POP over joints? Skipped or rushed joint treatment shows up as visible cracks within months.
- Give me an itemised quote. Material, labour, and finishing as separate lines — plus what is excluded (painting? lighting fixtures? debris removal?). Compare at least three quotes on identical scope.
- Who does the actual work — your team or subcontractors? If subcontracted, who supervises, and to what standard?
- What is the timeline, and what happens if you overrun? A bedroom typically takes 2–4 days in gypsum and 5–7 in POP; a quote promising one day for intricate POP work is a quote planning to rush.
- What warranty or guarantee do you offer — on materials and on workmanship? Get the duration and the coverage in writing, including what voids it.
- What about after the installation? Post-installation support, maintenance guidance, and who cleans up and removes debris.
The 4 technical things most homeowners never ask
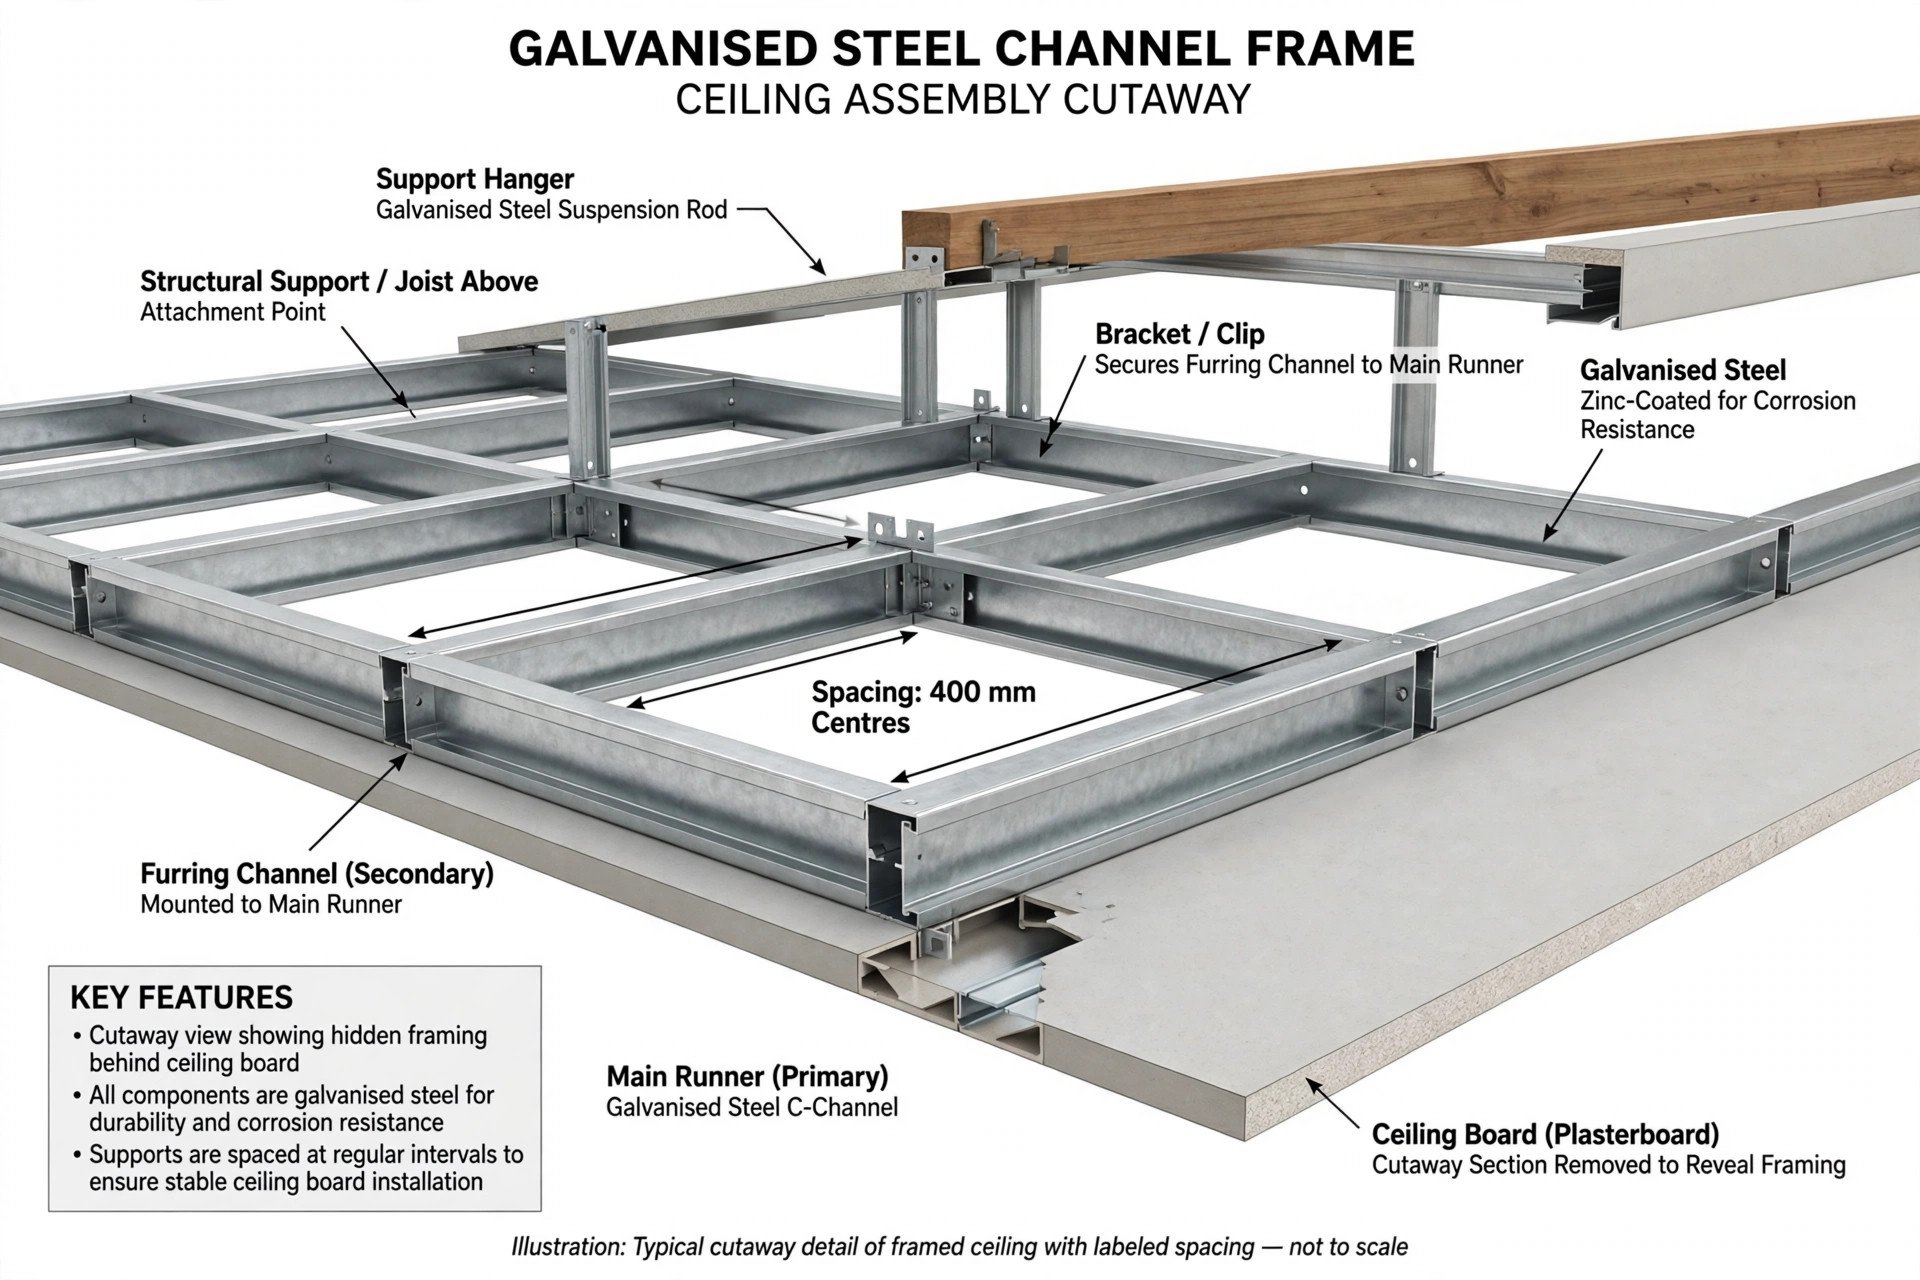
These four decide the ceiling’s hidden quality — the part you cannot see on handover day:
- Frame material: galvanised steel channels, or light local sections? A weak frame bends and cracks the ceiling above it.
- Board brand and thickness: branded 12.5mm boards, or thin unbranded sheets? Thin boards damage faster in moisture and sag sooner.
- Channel spacing: what is the centre-to-centre gap? Too wide, and the ceiling vibrates and sags between supports.
- Joint treatment: fibre tape plus compound, properly dried — or a quick POP skim? This is where most early cracks are born.
An installer who answers these four precisely, without defensiveness, is usually an installer who does them properly. One who waves them away is telling you something too.
Red flags: when to walk away
| What you hear or see | Why it is a problem |
|---|---|
| Quote is dramatically cheaper than the other three | The saving comes from thinner boards, weaker framing, or skipped joint work — the invisible parts |
| Won’t put material brands and thicknesses in writing | Leaves room to substitute cheaper materials after you have paid the advance |
| “Waterproofing is not needed” | Either inexperience or a plan to blame future damage on you |
| No finished sites to visit, only phone photos | You cannot verify quality, ageing, or that the work is theirs |
| Cash only, no receipt, no written agreement | No warranty is enforceable without a paper trail |
| Promises intricate POP work in a day or two | POP needs layering and drying time; rushing it guarantees cracks |
| Dismisses the technical questions above | Signals the hidden work will be done to the cheapest standard |

Your planning checklist: before, during, and after
Before you call anyone
- ☐ Measure clear ceiling height in every room (after flooring).
- ☐ Note each room’s job: moisture level, fan positions, AC duct routes.
- ☐ Decide the lighting plan per room: downlight positions, cove runs, statement fixtures.
- ☐ Shortlist the material per room using the room-by-room table above.
- ☐ Fix your design direction: simple border vs single level vs layered — matched to height.
- ☐ Read the cost guide so you recognise a realistic quote.
While collecting quotes
- ☐ Get at least three itemised quotes on identical scope.
- ☐ Confirm every quote names brands, board thickness, frame spec, and finishing scope.
- ☐ Ask the 10 interview questions; ask the 4 technical questions.
- ☐ Visit at least one finished site per shortlisted installer.
- ☐ Check references — specifically about delays, mess, and post-install problems.
Before work starts
- ☐ Waterproof the slab/roof above where needed.
- ☐ Get the lighting positions and wire runs marked and agreed with the electrician.
- ☐ Agree fan anchor points and reinforcement with the installer.
- ☐ Mark access panel positions over junctions, valves, and duct joints.
- ☐ Sign a written agreement: scope, materials, timeline, payment stages, warranty.
During installation
- ☐ Check the frame before boards go up: galvanised channels, correct spacing, level.
- ☐ Verify board brand and thickness as delivered.
- ☐ Watch the joint treatment — fibre tape and compound, allowed to dry.
- ☐ Confirm light cutouts match the marked lighting plan before finishing.
At handover
- ☐ Inspect in daylight and with all lights on: level, joints, finish, paint.
- ☐ Test every light, fan, and switch.
- ☐ Collect the warranty in writing and the installer’s maintenance guidance.
- ☐ Keep a spare offcut of any patterned panel and the paint shade details for future repairs.

FAQs
Should I choose the material or the design first?
The room first, then the material, then the design. Material sets what is physically possible and durable; design works within that. Picking a design first and then hunting for a material that can execute it is how bathrooms end up with ornamental POP.
Gypsum or POP — which is better?
Neither is universally better. Gypsum is factory-made, faster, and cleaner to install, with a modern finish; POP offers far more customisation for curves and ornament but depends entirely on the applicator’s skill and takes longer. Choose on the room, the design, and whether you have access to a genuinely skilled POP applicator.
Can I put a false ceiling in a room with low height?
Yes, with restraint. Keep the finished height above roughly 9 feet, use shallow borders or partial ceilings, and let lighting do the visual work instead of depth. Below that, the ceiling will press down on the room no matter how pretty the design.
Is it okay to hire the cheapest contractor if the design is simple?
A simple design still hides a frame, boards, spacing, and joints — the cheap quote saves money on exactly those invisible parts. Compare itemised quotes on identical scope and weigh the technical answers, not just the total.
When should the electrician get involved?
Before the ceiling work starts, not after. Lighting positions, wire runs, fan points, and switch locations are marked and agreed first; the ceiling is then built around that plan. Bringing the electrician in after the framework is up is one of the most common and most expensive sequencing mistakes.
A note on the images in this guide: every visual here is an original concept render or illustration created for this article — including the diagrams, charts, and checklists. They are design visualisations to help you plan, not photographs of completed projects.
Choosing a false ceiling well is unglamorous work: measuring, asking dull technical questions, and resisting the prettiest photo in favour of the right material for the room. But it is a decision you live under every day for fifteen years. Spend the planning time now; it is the cheapest part of the project. For the full picture, our complete false ceiling guide covers designs room by room, and the cost guide puts numbers to the budget once your decisions are made.