
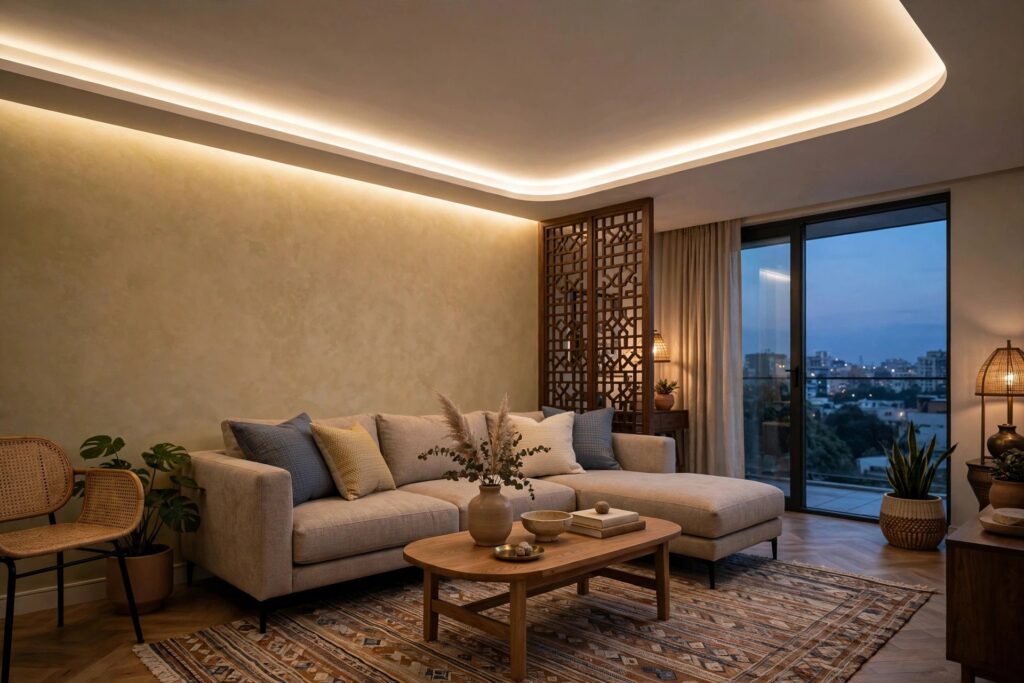

A false ceiling is really a lighting plan with a ceiling attached to it. Most Indian homeowners spend weeks choosing the ceiling pattern and five minutes on the lights — then wonder why the room still feels flat. This guide fixes that. It covers the full fixture menu that works with Indian false ceilings: false ceiling cove design in all its forms, recessed downlights, pendant lights, chandeliers, and the room-wise combinations that tie them together, with honest cost pointers and a planning checklist so nothing expensive goes wrong.
Everything here assumes a standard Indian home — 9 to 10 ft ceilings, gypsum or POP false ceiling — and every design shown is an original concept illustration created for this guide.
The three jobs of ceiling lighting
Good ceiling lighting does three different jobs, and no single fixture does all three well:
- Ambient light — the soft overall glow that lets you move around comfortably. Cove lighting is the classic ambient layer.
- Task light — brighter, focused light where you actually do things: over the kitchen counter, the study desk, the wardrobe.
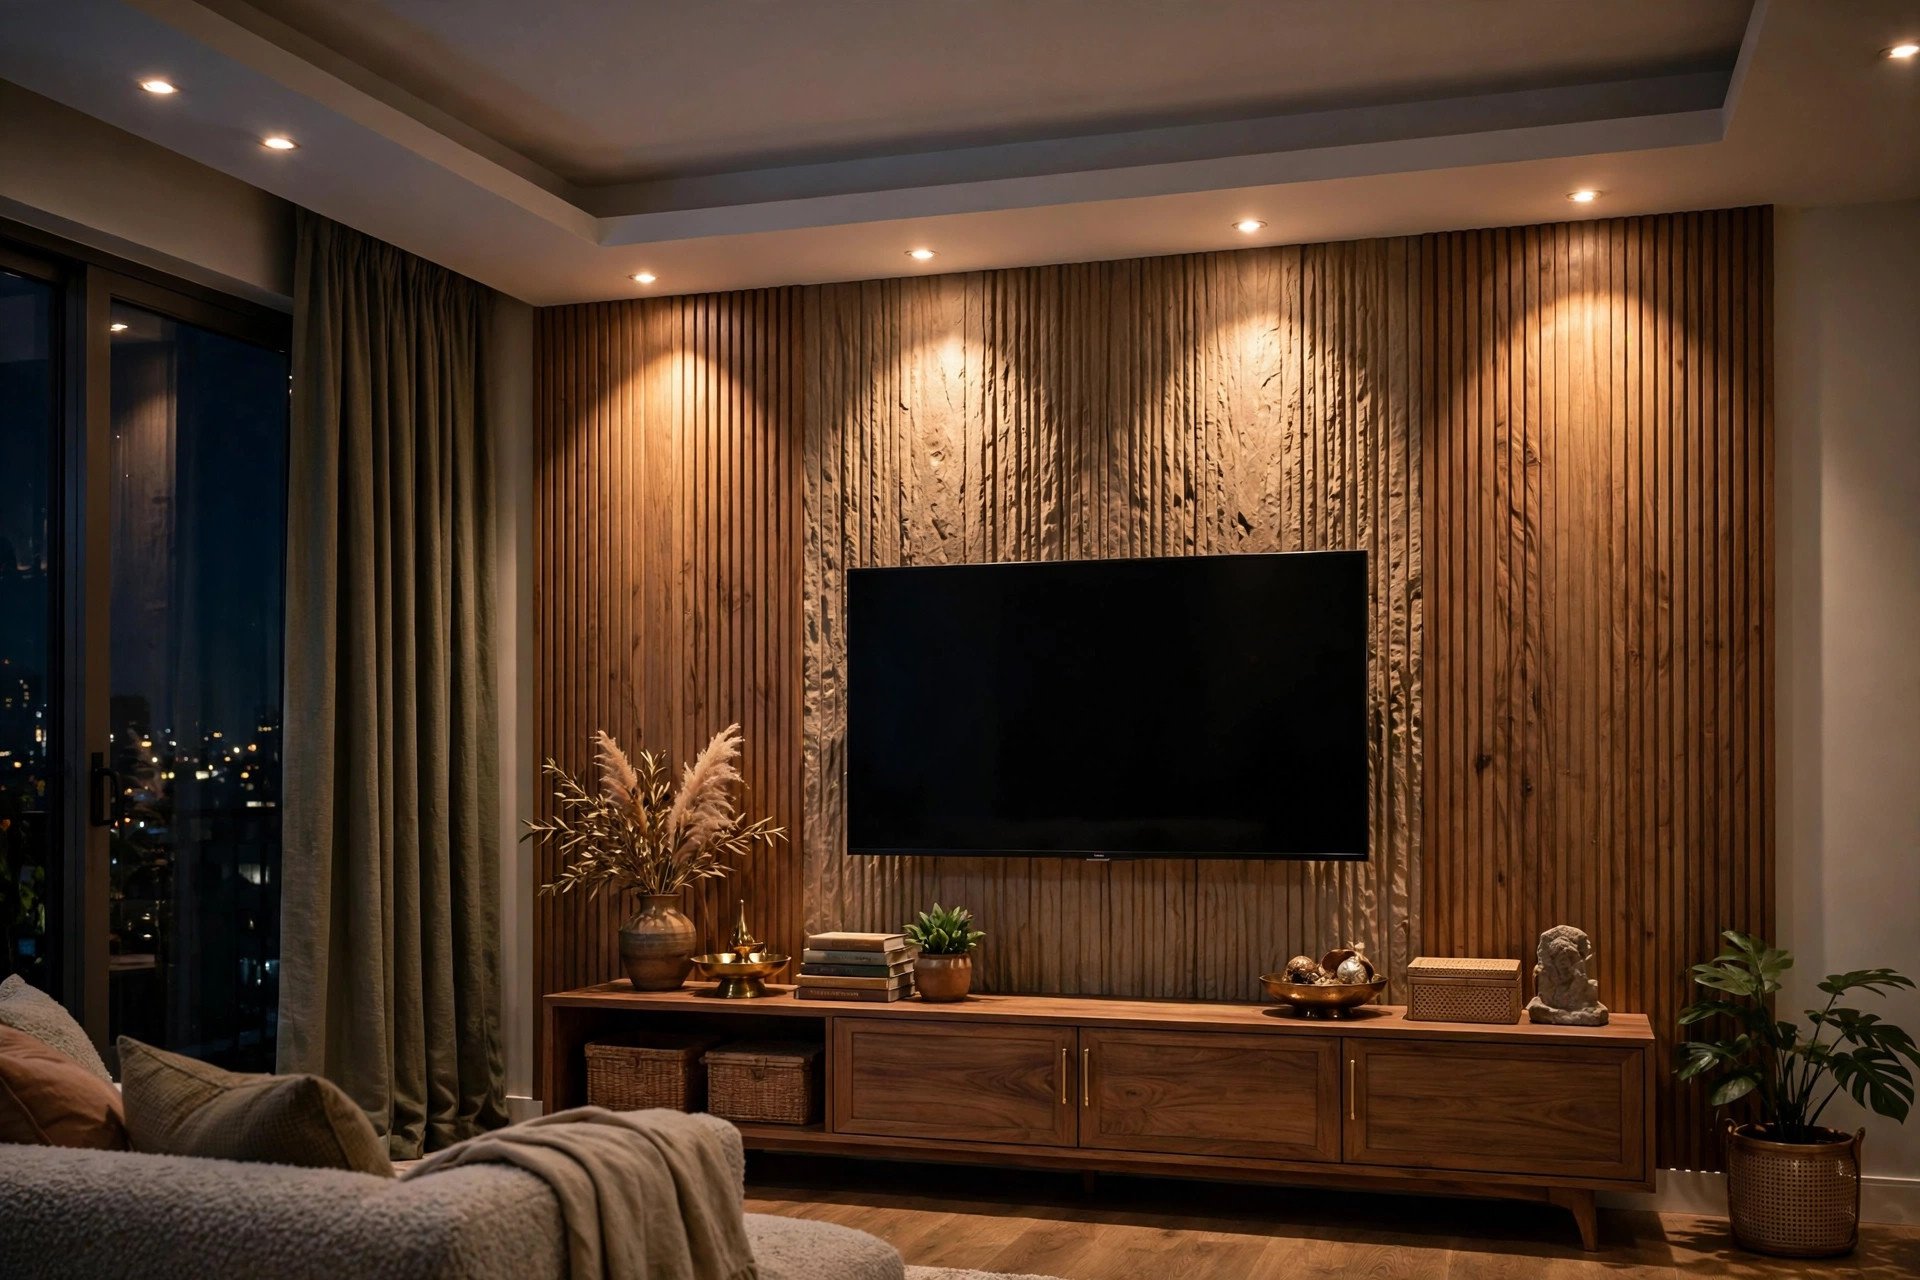
- Accent light — light used like decoration: washing a TV wall, highlighting artwork, a line of light that traces the ceiling’s shape.
The single most common mistake in Indian homes is relying on one central fixture — usually a chandelier or a fan with a light — and expecting it to do all three jobs. Layered combinations (cove + downlights + one accent) consistently look better and are more comfortable to live with. If you take one idea from this guide, make it this: plan layers, not fixtures.
False ceiling cove design: what it is and how it’s built
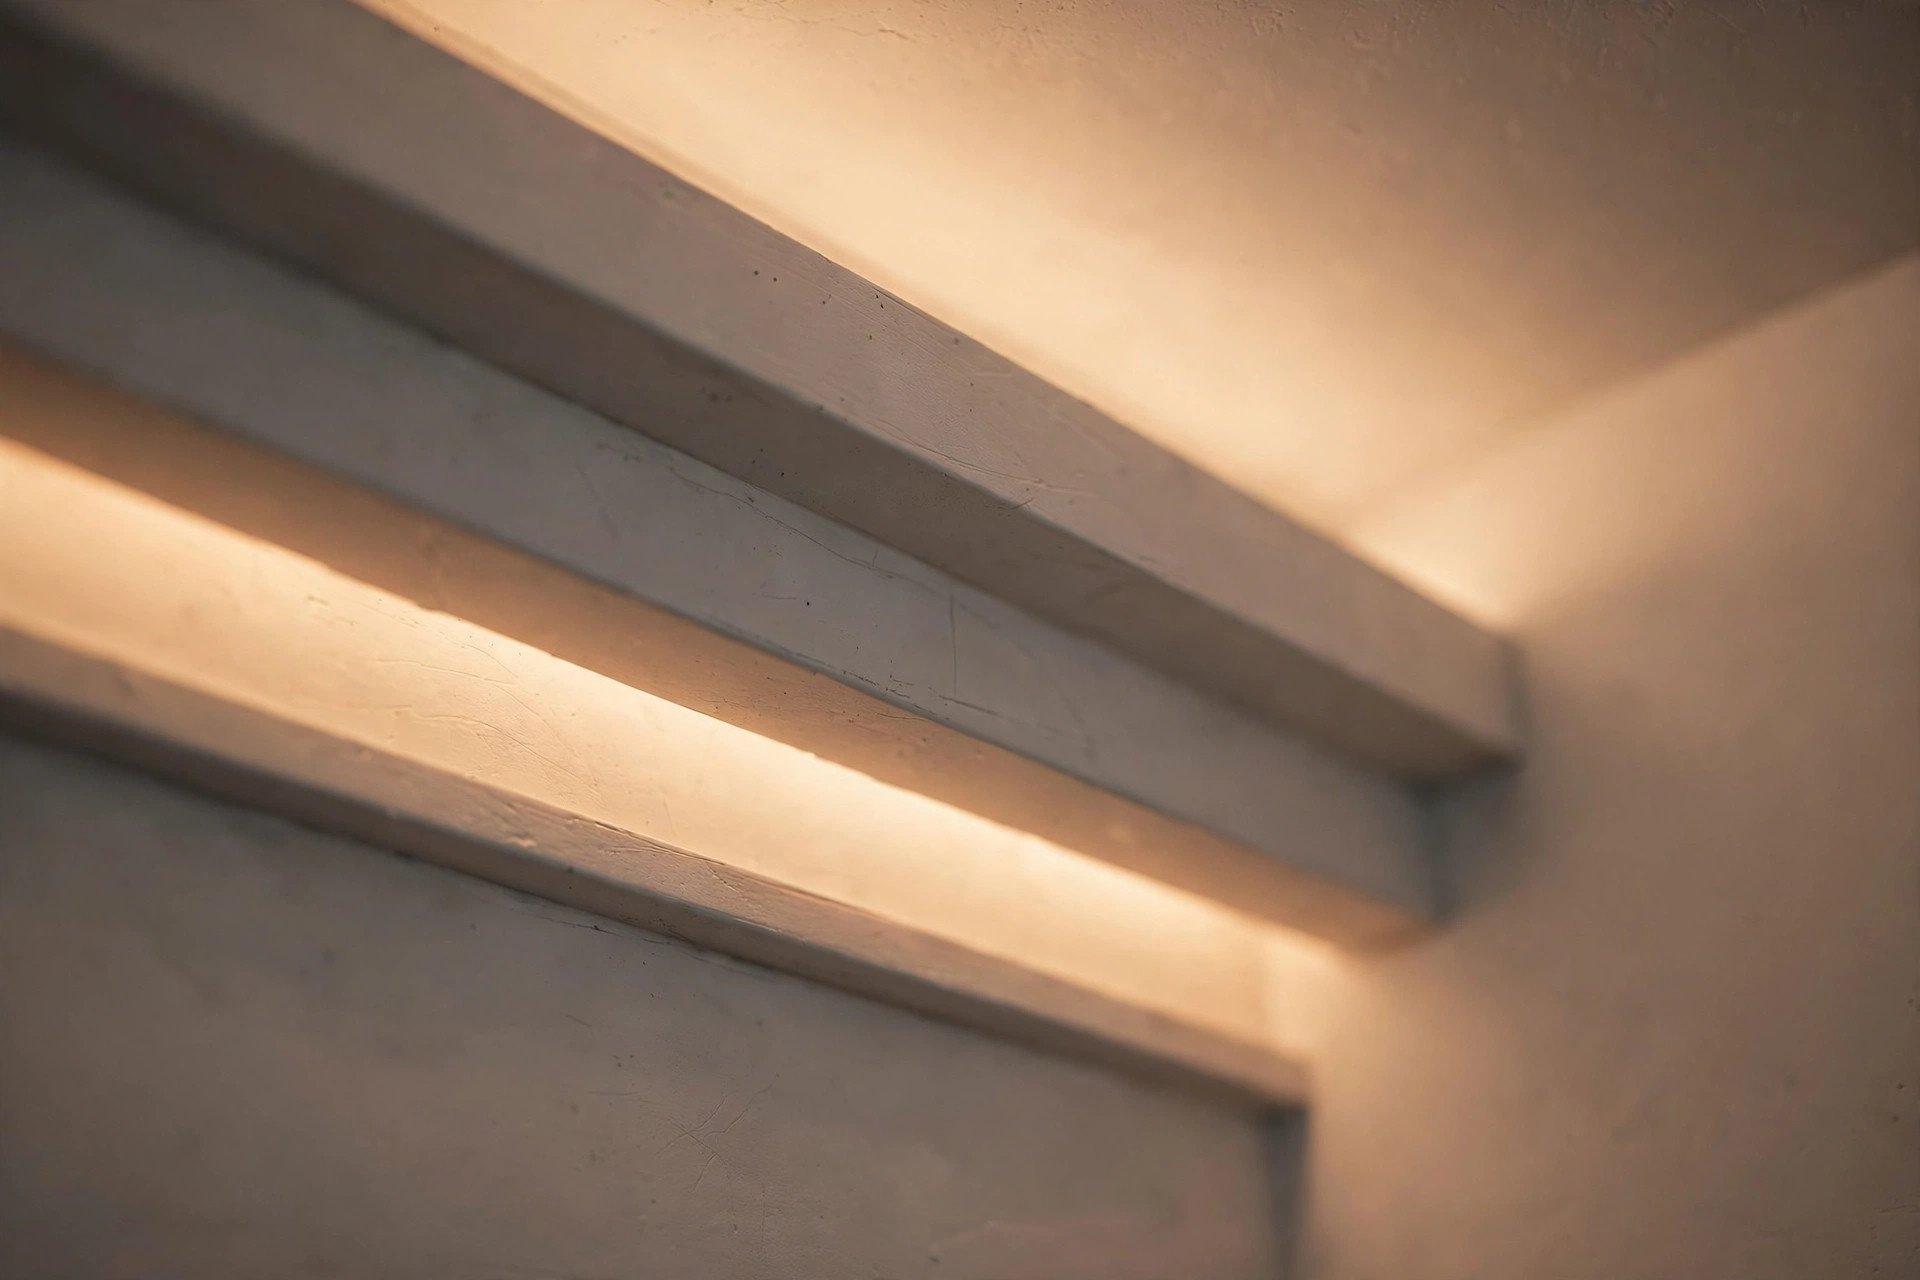
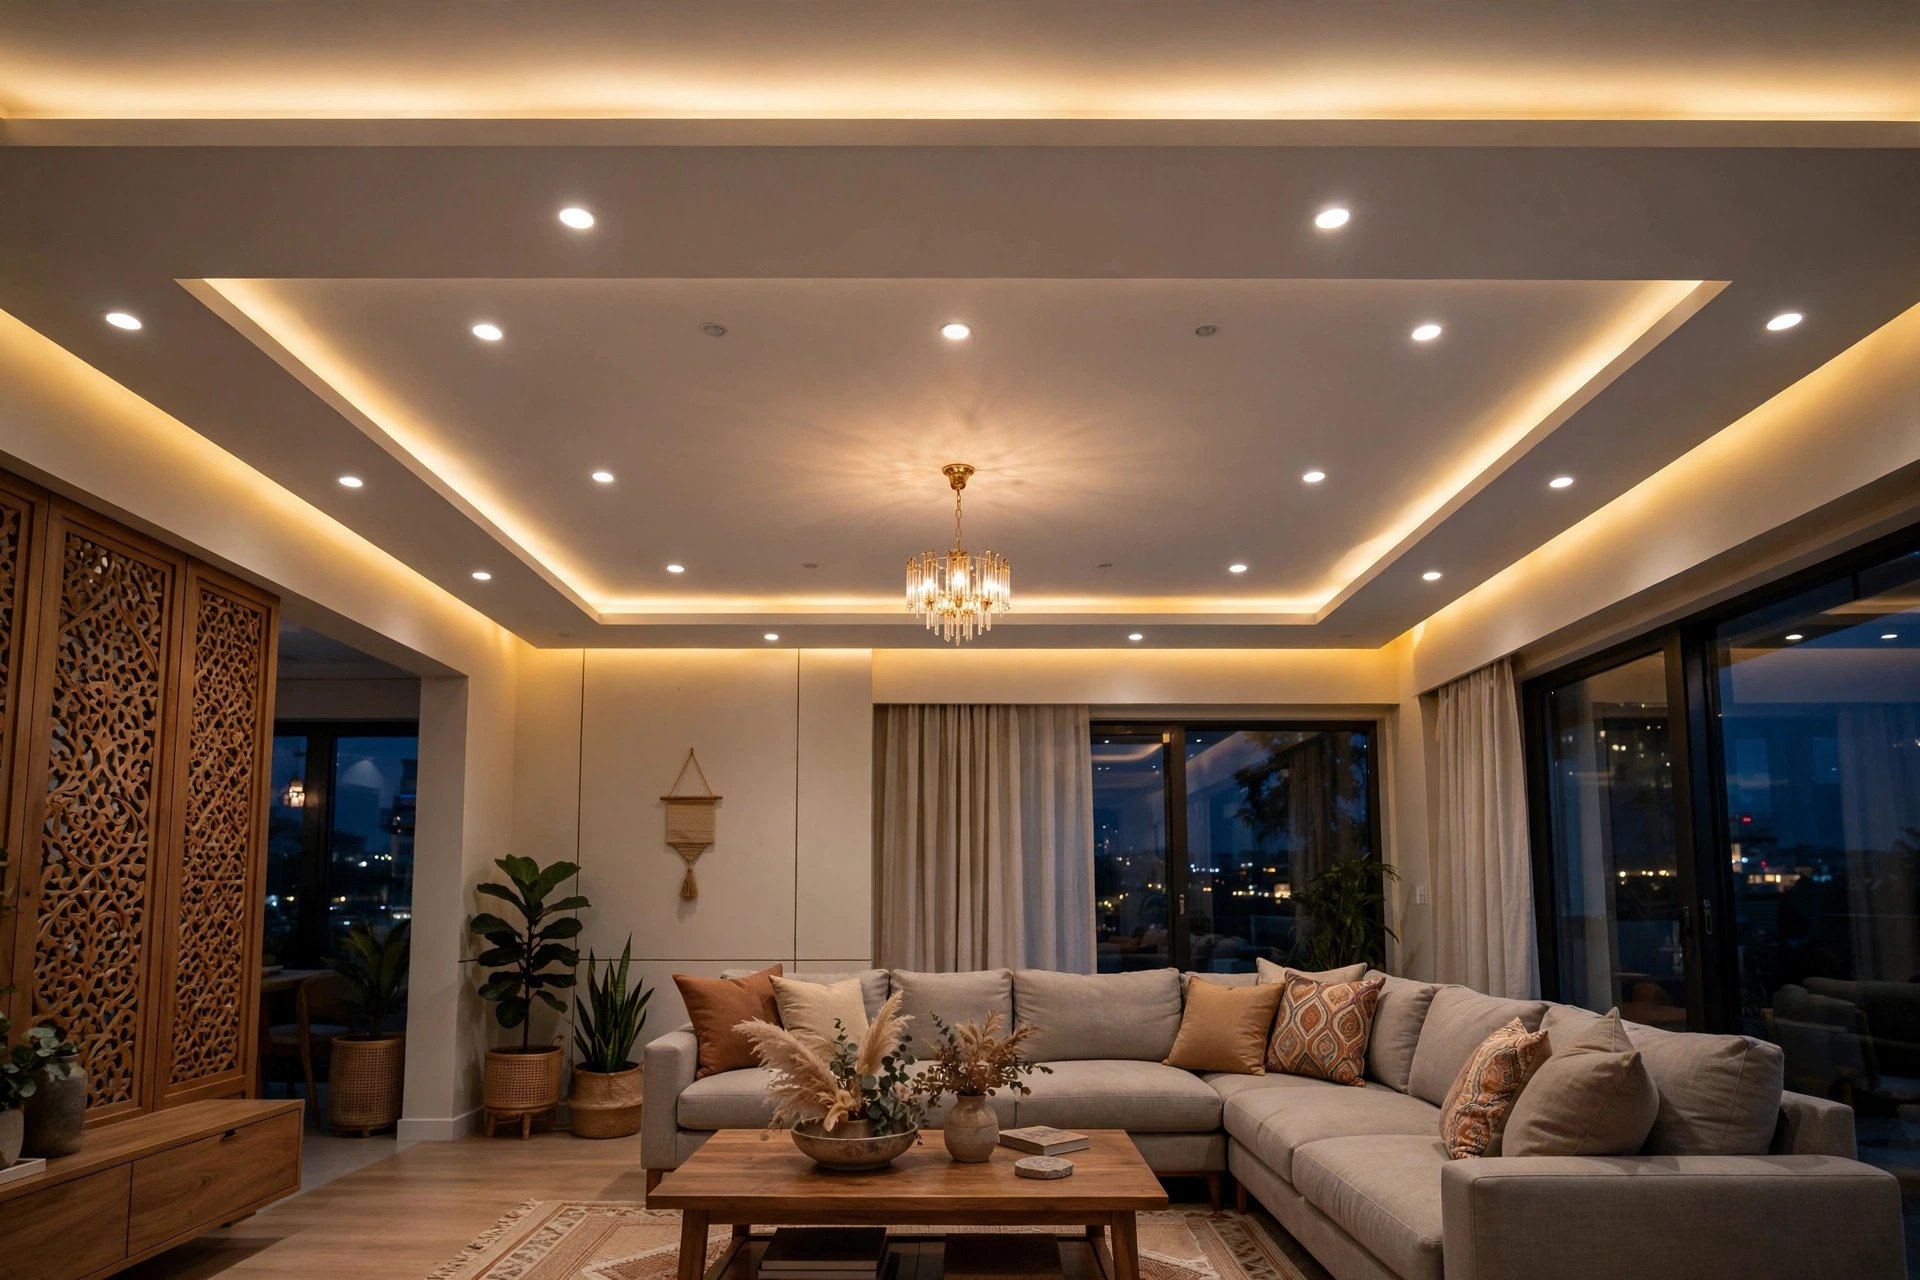
A cove light is simply an LED strip hidden inside a small ledge built into the false ceiling. You see the glow; the bulb stays invisible. The strip shines upward or sideways, the light bounces off the ceiling surface, and comes back down as a soft, shadow-free wash. Because the source is hidden, there is no glare — which is why cove-lit rooms feel calm and, somehow, bigger than they are.
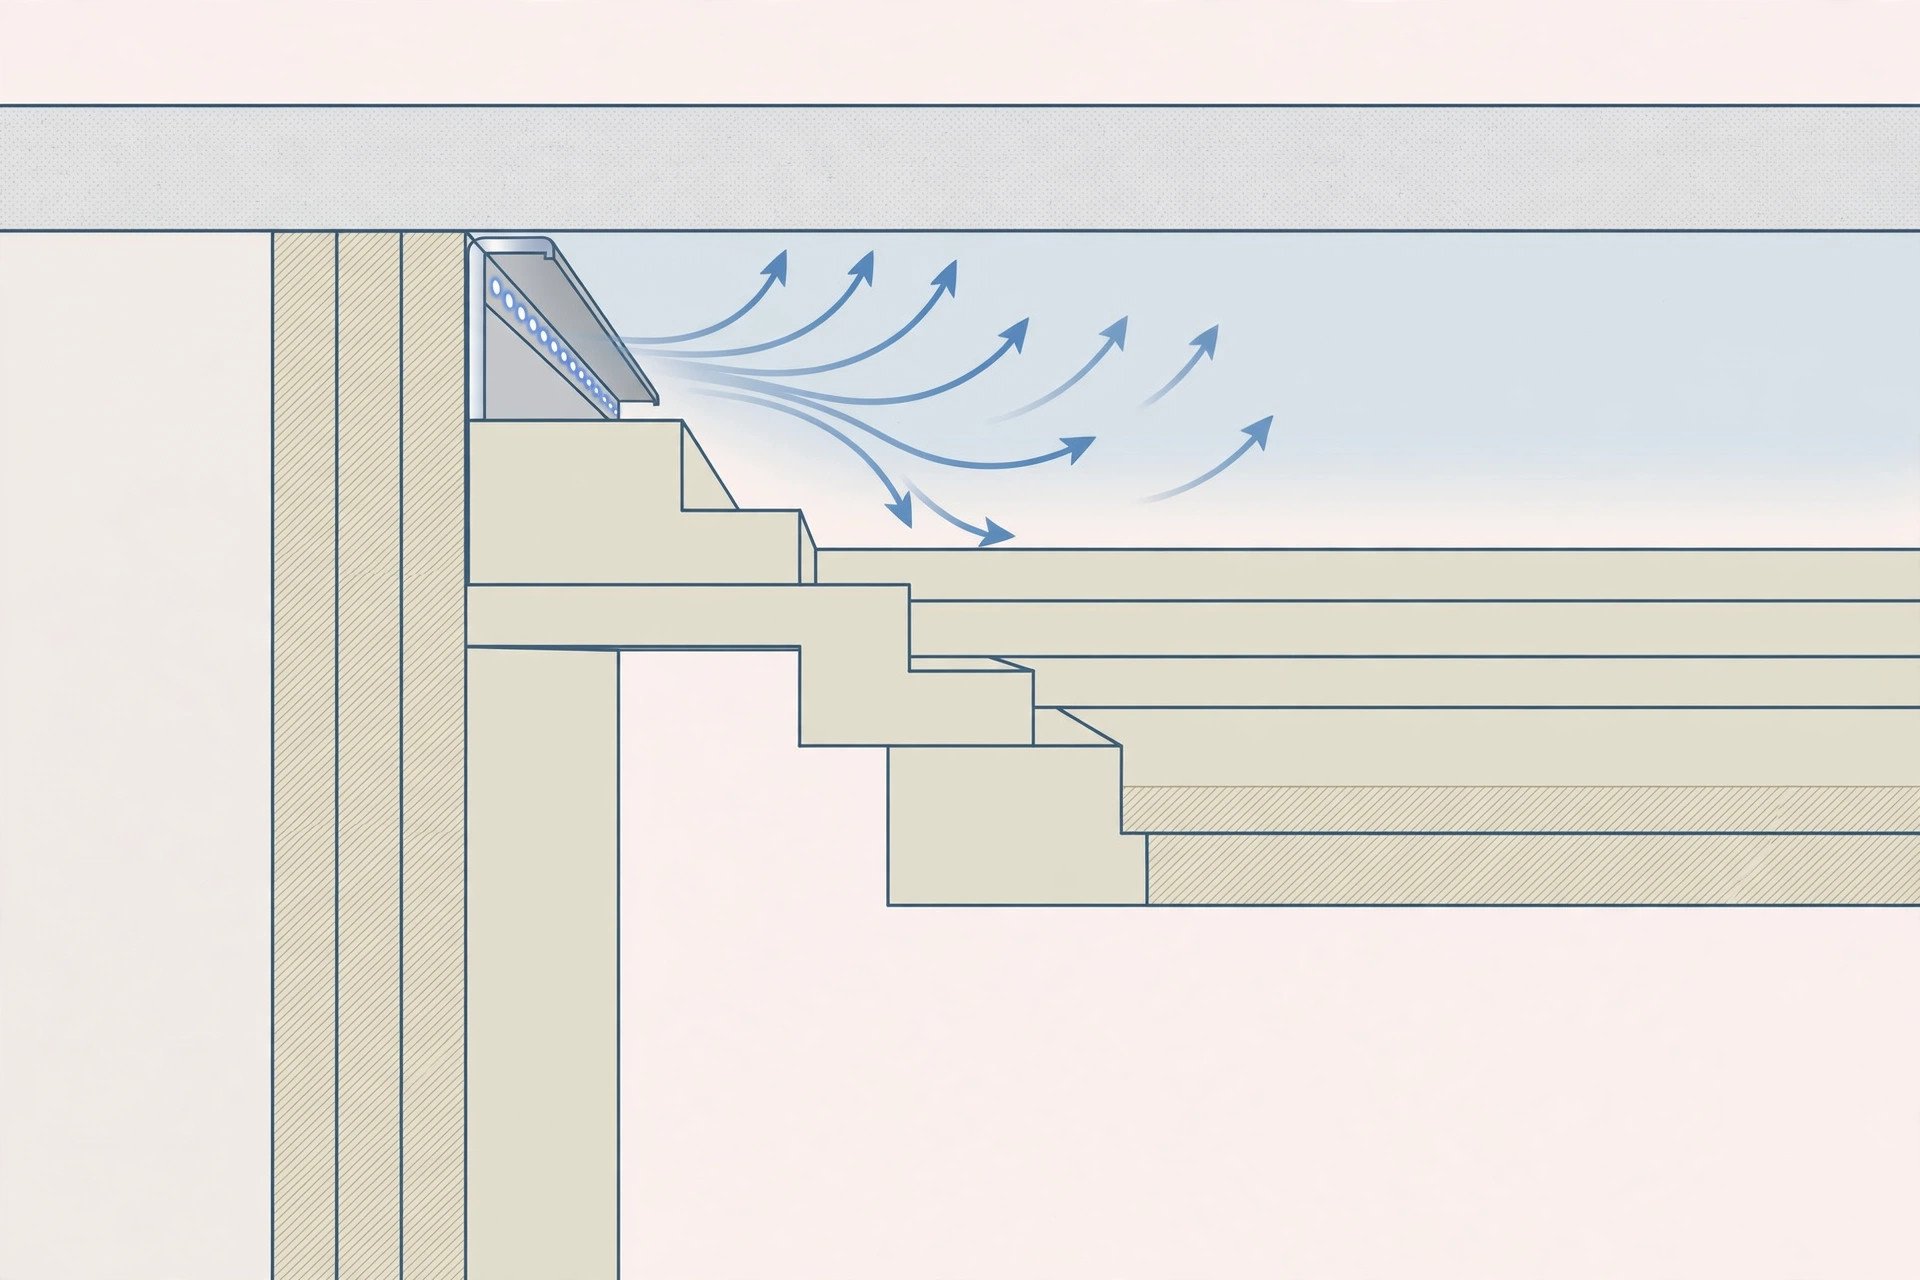
Building it is carpentry plus electricals: a step or groove (at least 3.5 inches deep and 4 inches tall, so the strip stays properly hidden) is shaped into the gypsum or POP ceiling, an LED strip is laid inside — ideally in an aluminium channel with a frosted diffuser — and wired to a driver and dimmer. The ceiling is finished in matte white paint, because glossy paint shows every uneven joint under cove light.
Cove light designs that work in Indian homes
1. The perimeter cove — start here
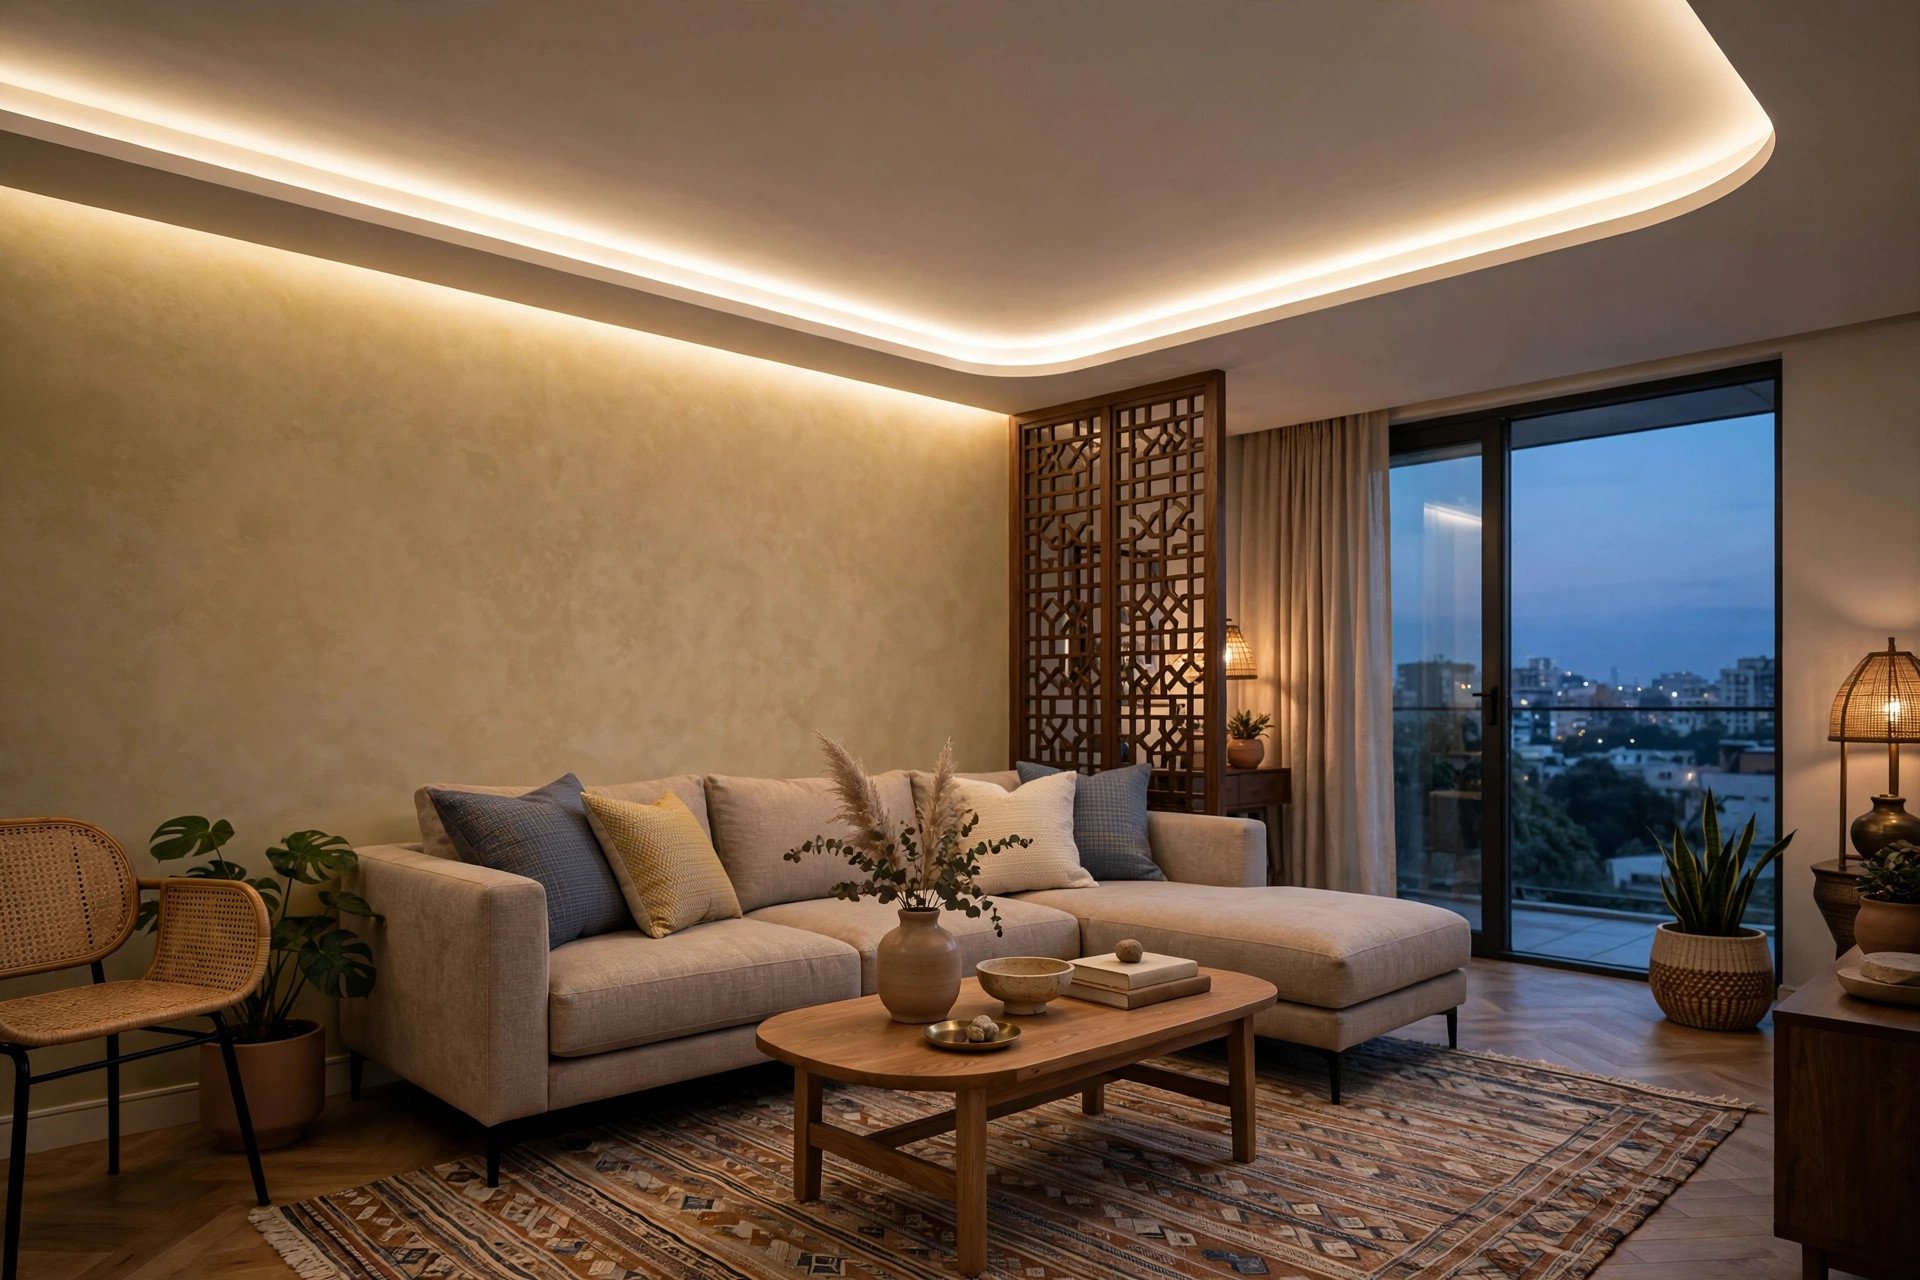
One slim step running around all four walls of the room, with a warm-white strip inside and a dimmer on the wall. That’s the whole design. It drops the ceiling by only about 4 inches, suits 2BHK living rooms and bedrooms, and is the safest first false ceiling choice — boring, but boring done well.
2. Two-layer cove for changing moods
Two strips in the same ledge: one warm (3000K) for evenings, one cooler (4000K) for daytime work. Two switches, two rooms in one. It costs a few thousand rupees more than a single strip and is worth it for home offices or living rooms that double as workspaces.
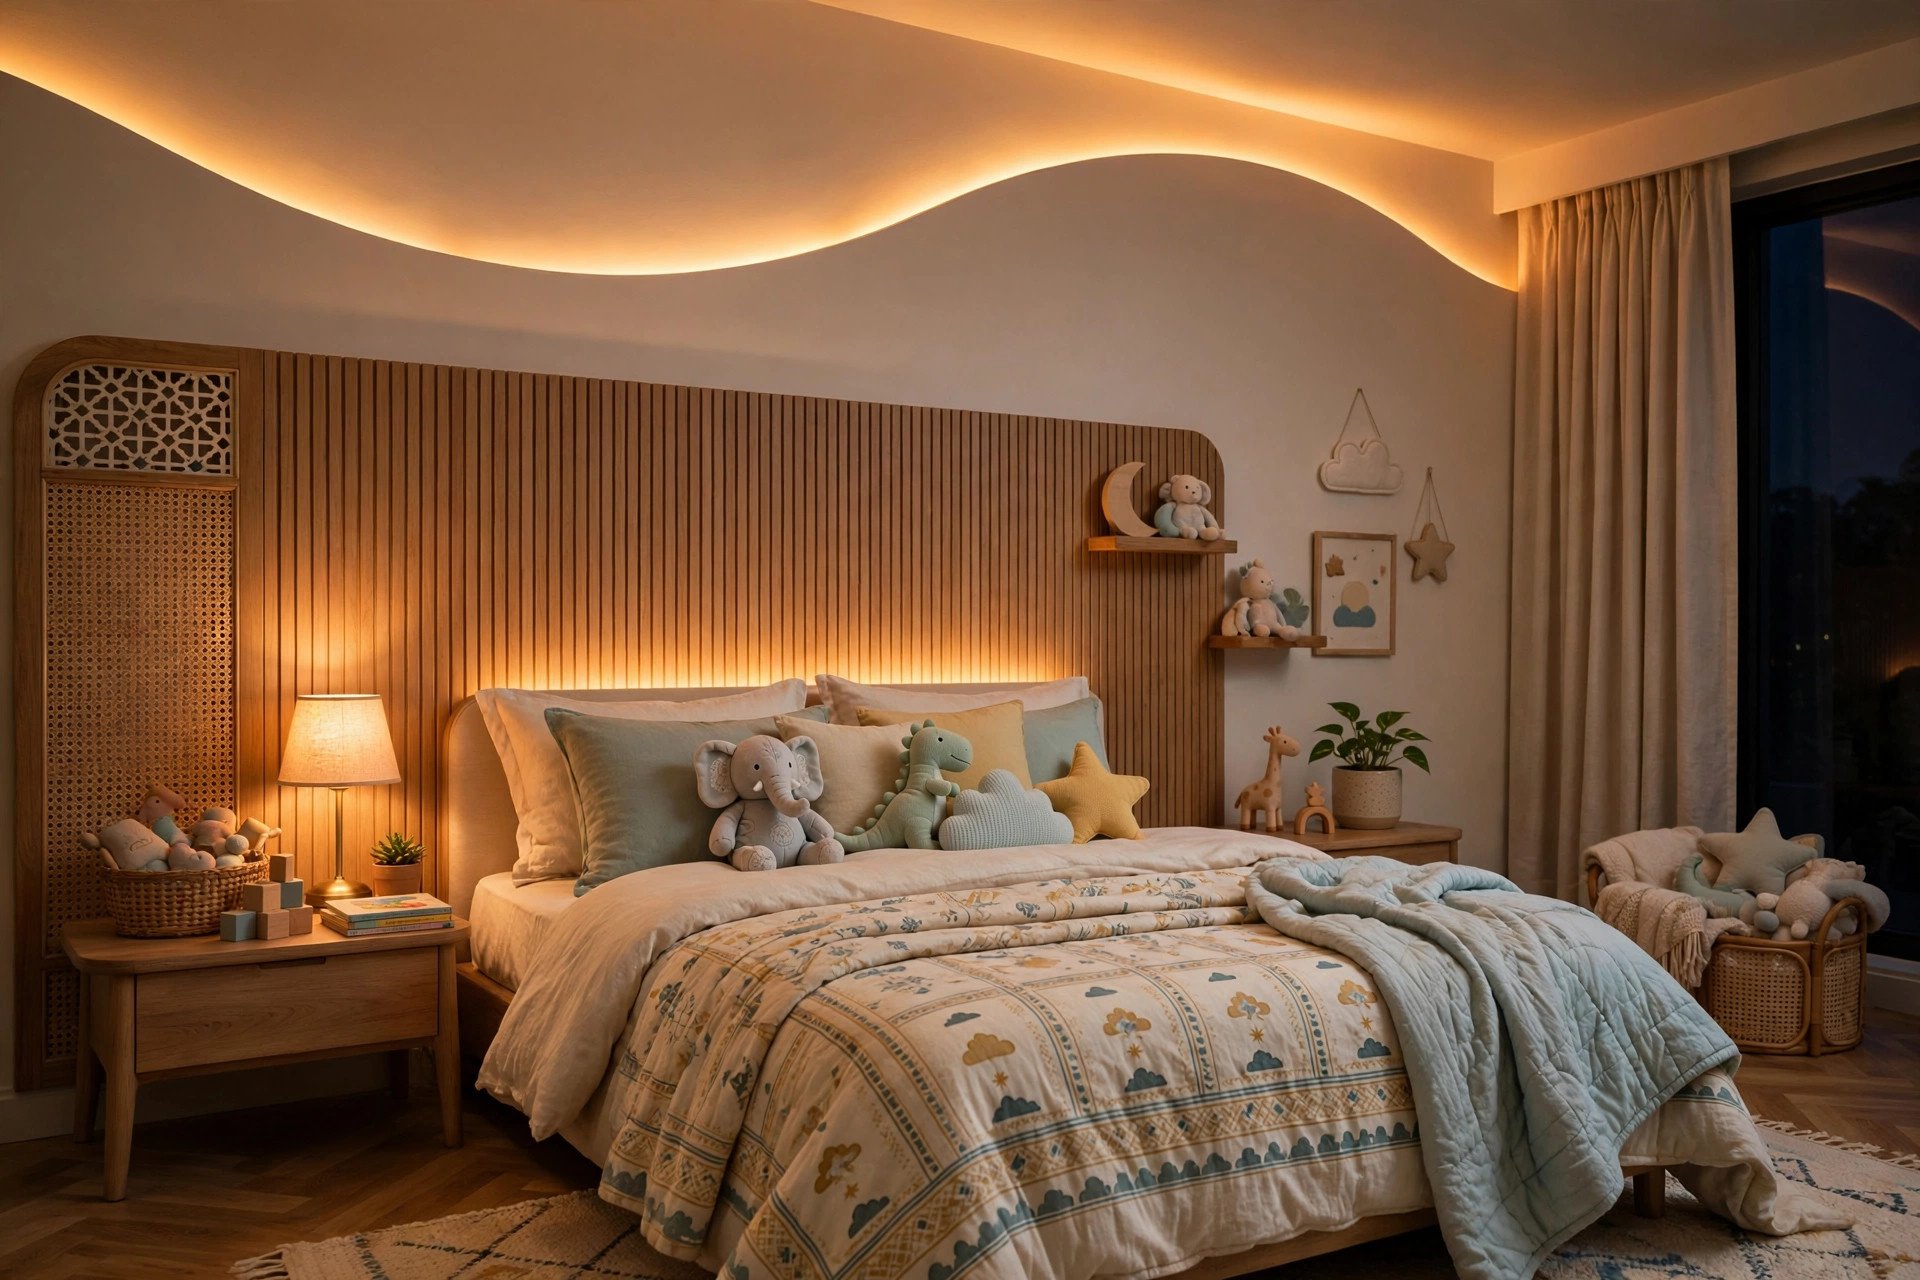
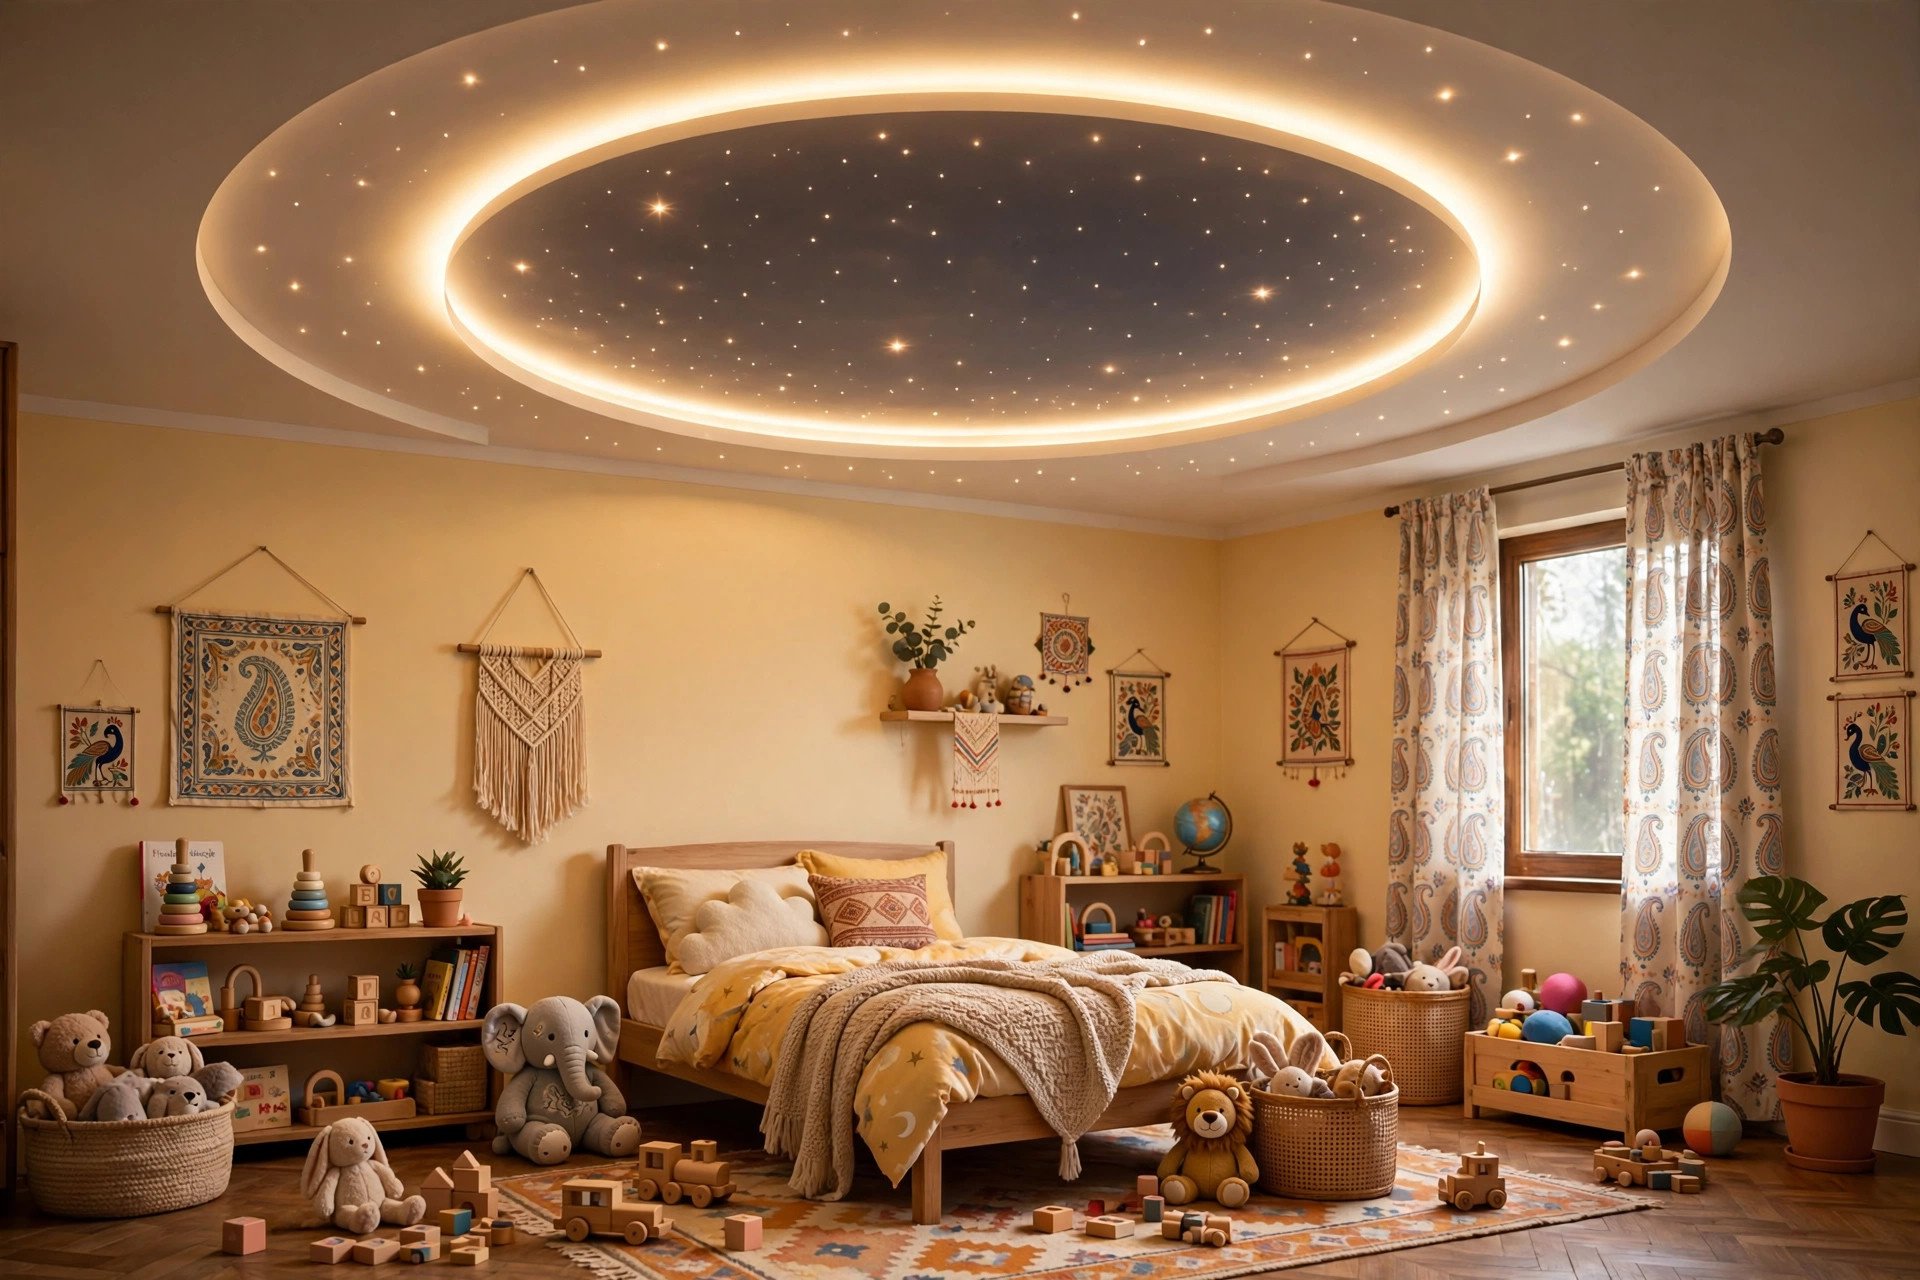
3. Curved coves, especially for kids’ rooms
Straight lines are the default, but a curved or wave-shaped cove above a child’s bed turns the ceiling into something they remember. Curves cost roughly 15–20% more than straight runs because shaping the gypsum and using flexible strips takes more labour.
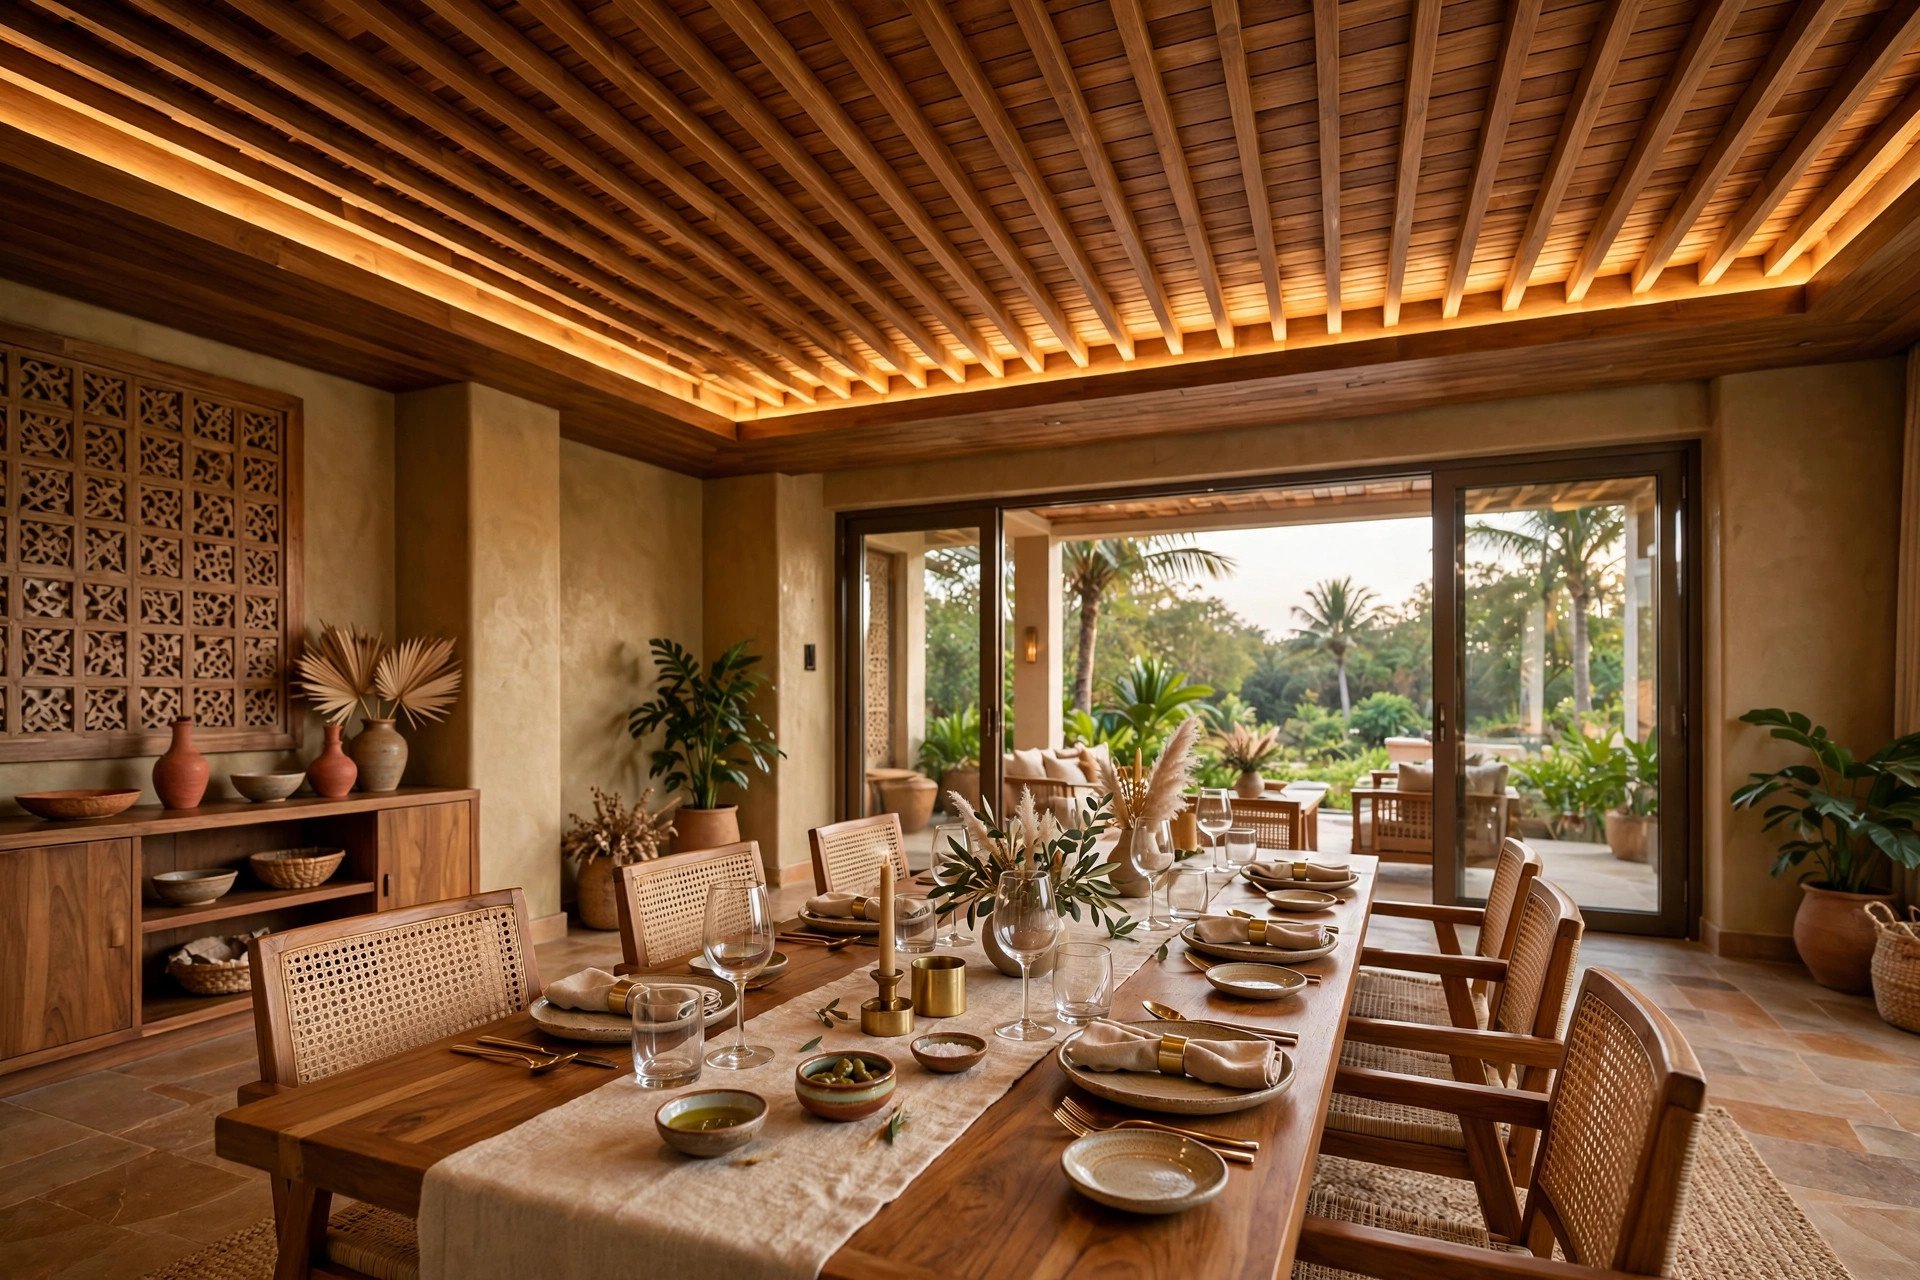
4. Wood + hidden cove
Teak or veneer planks running across the ceiling with a warm strip washing behind them gives a resort-like feel, especially in dining rooms. One caution: wood absorbs light, so this design needs a brighter strip than usual — otherwise the ceiling looks dim and the whole effort is wasted.
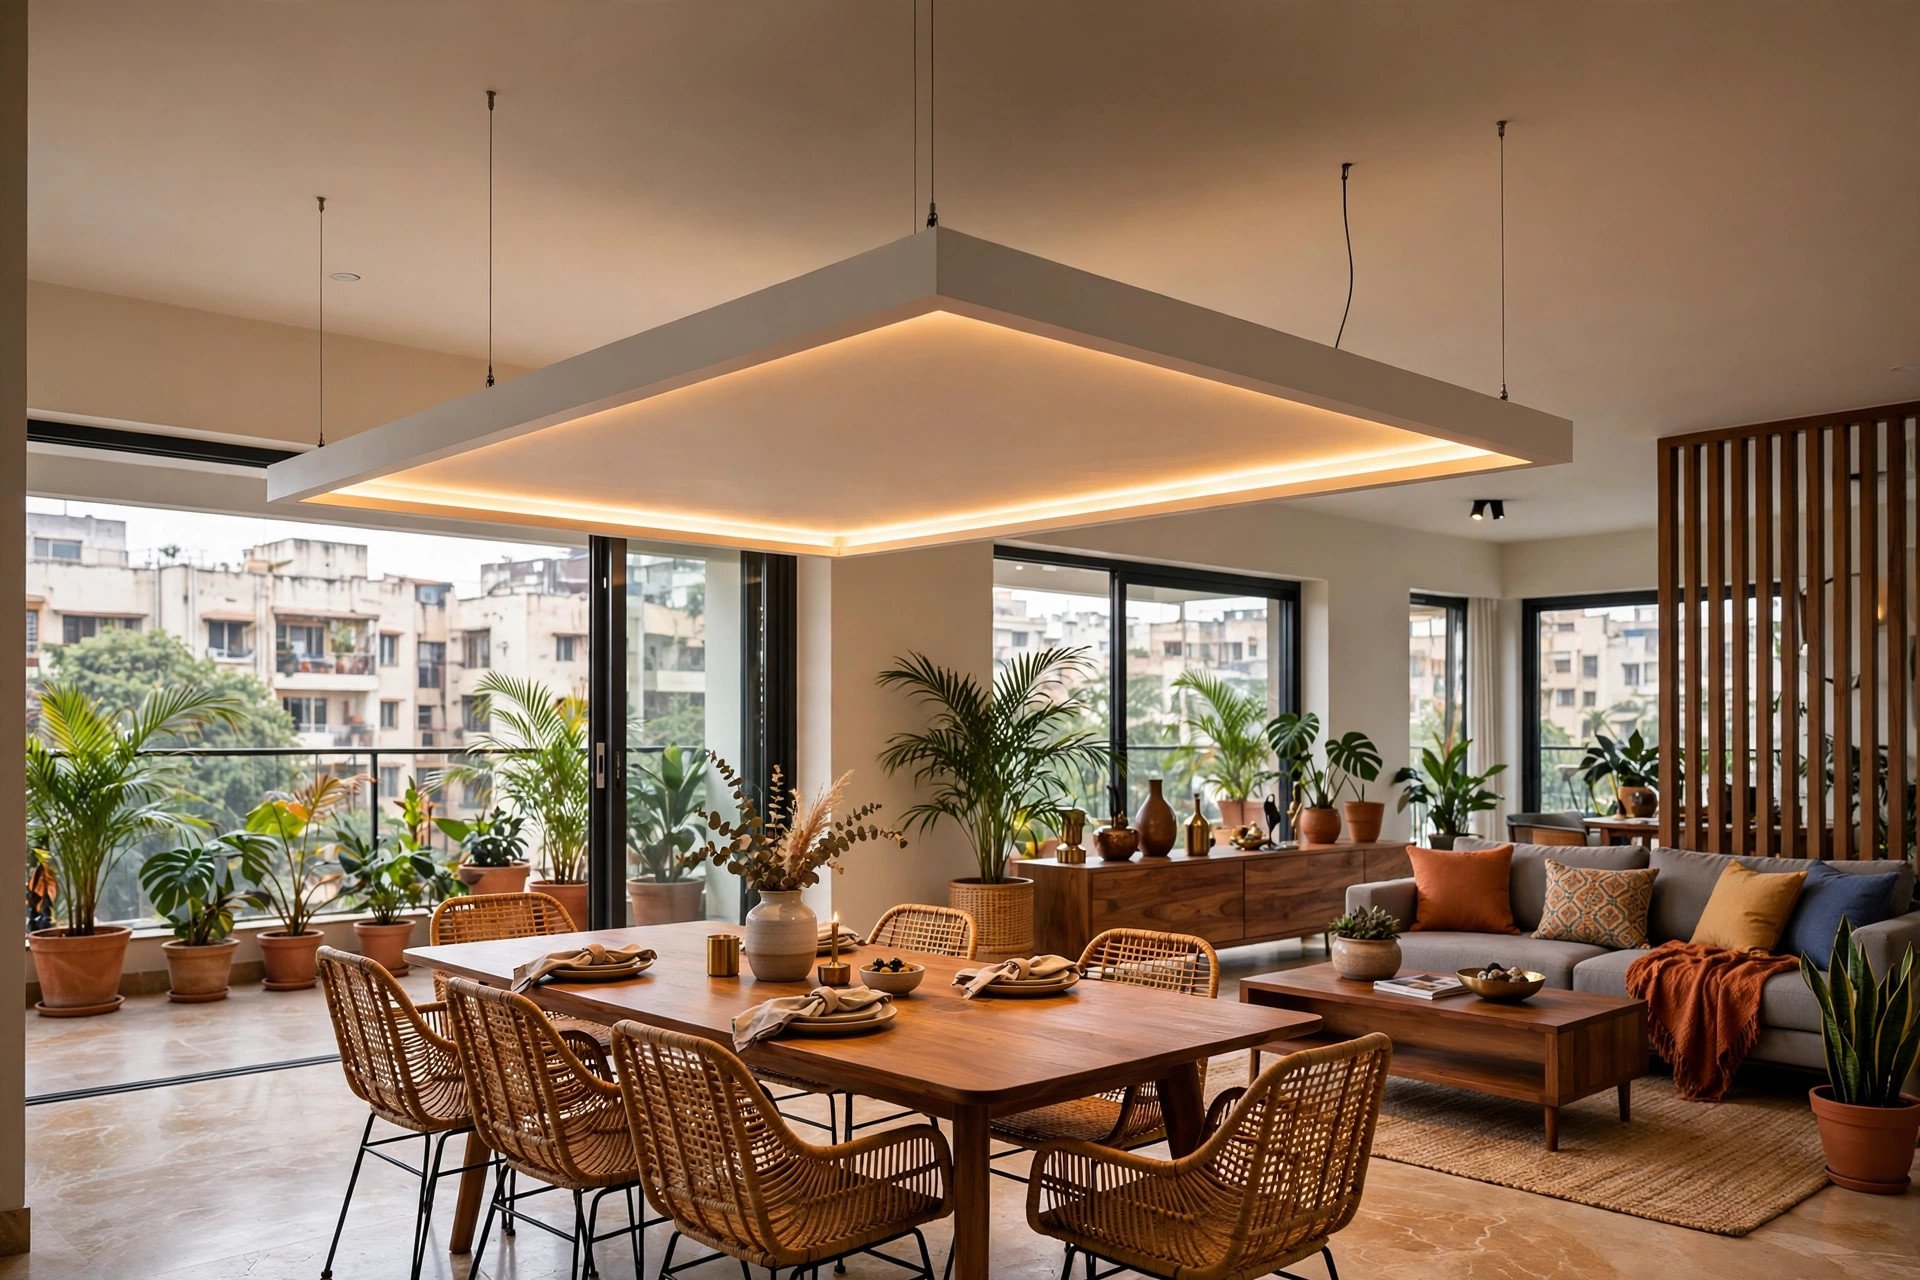
5. The floating island
A smaller rectangle of false ceiling that doesn’t touch any wall, floating in the middle of the room with cove light glowing from its underside. In open-plan flats where the living and dining share one big hall, a floating island visually separates the two zones — no partition needed, just light.
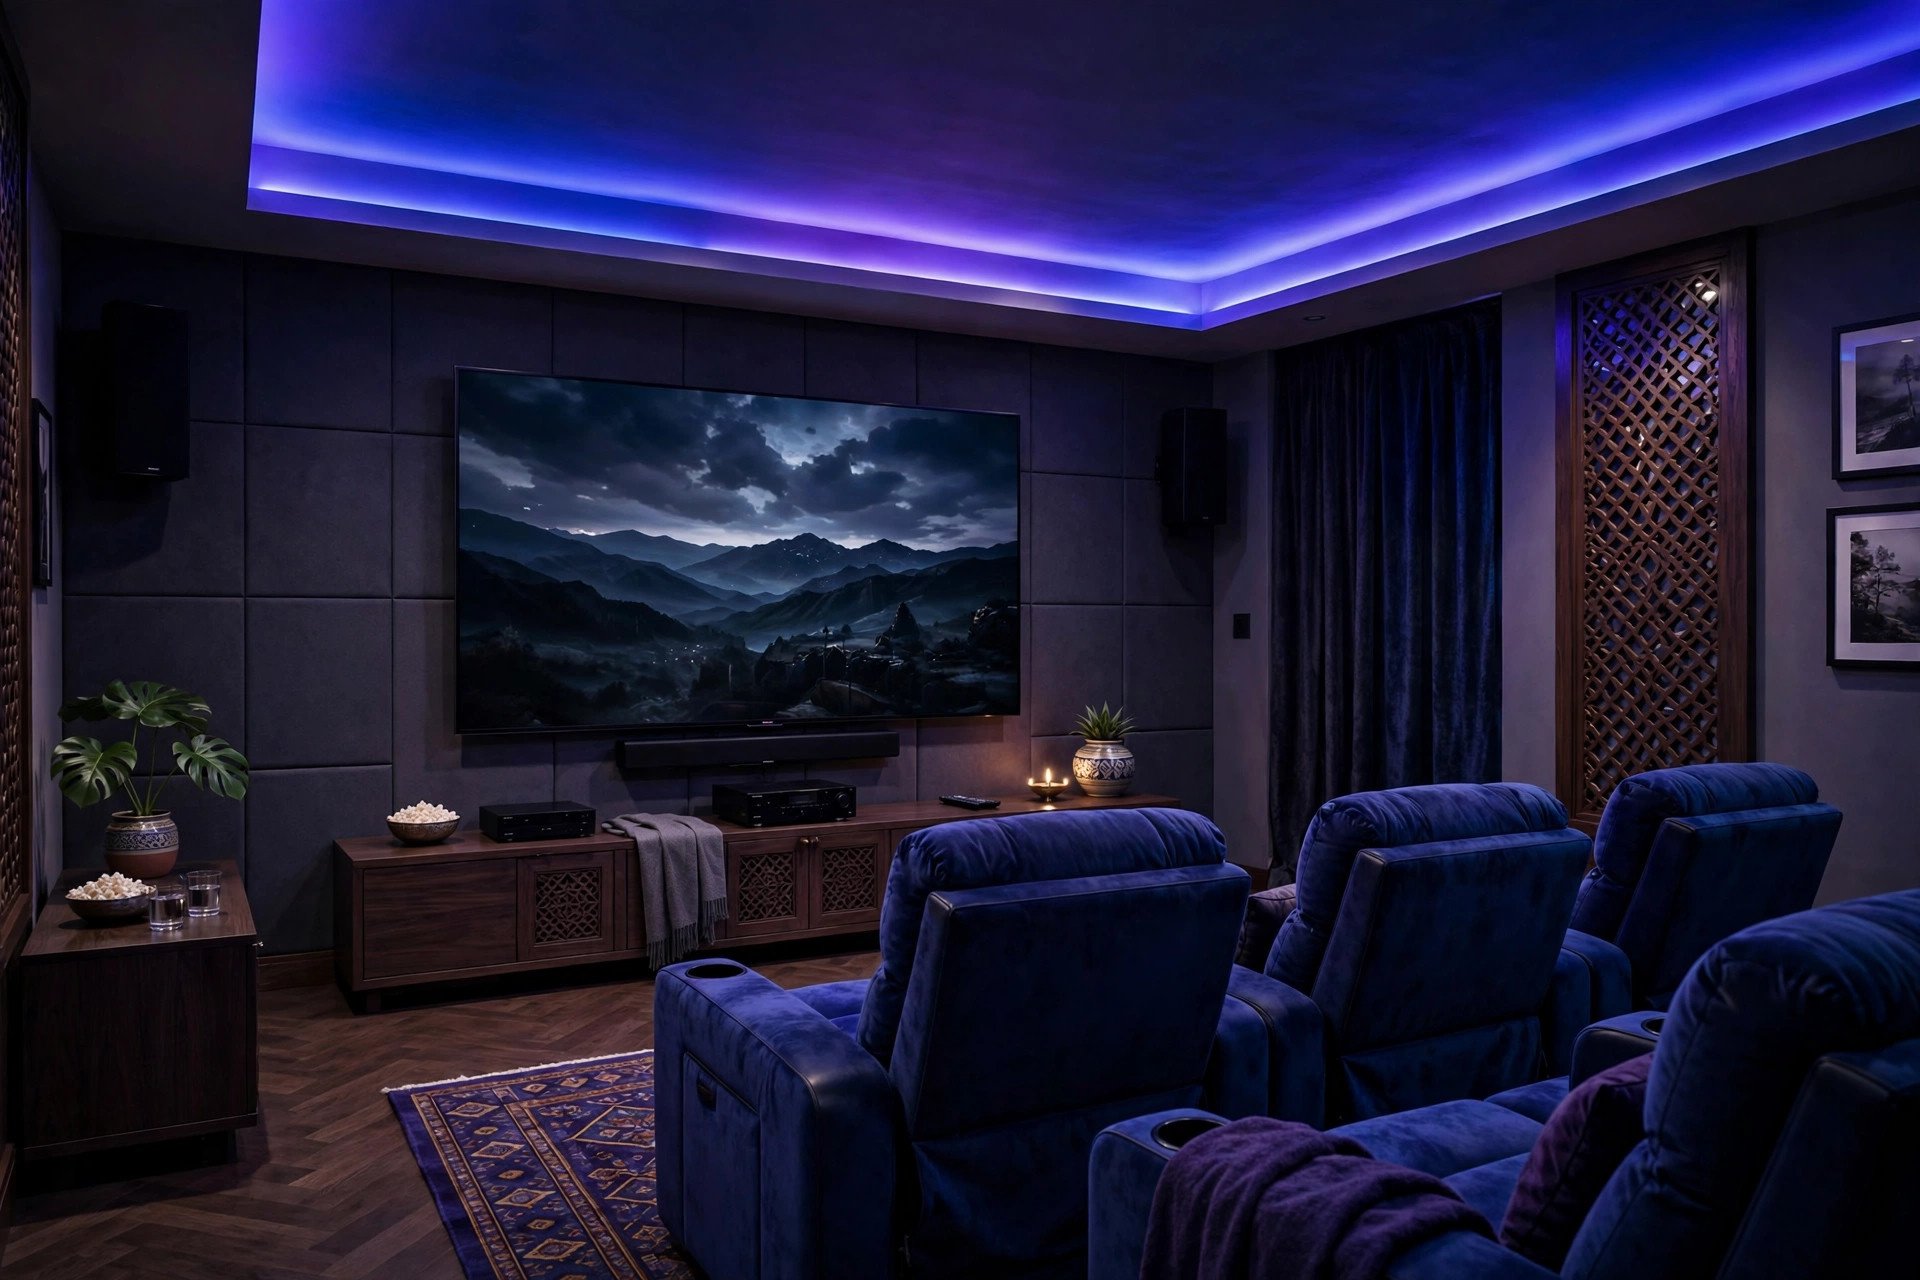
6. RGBW for movie nights and festivals
Colour-changing strips are fun for Diwali, birthdays, and movie nights — but buy RGBW, not plain RGB. The extra “W” is a proper warm-white channel; without it, your everyday white light looks faintly greenish. Use warm white 90% of the time and bring out the colours for occasions.
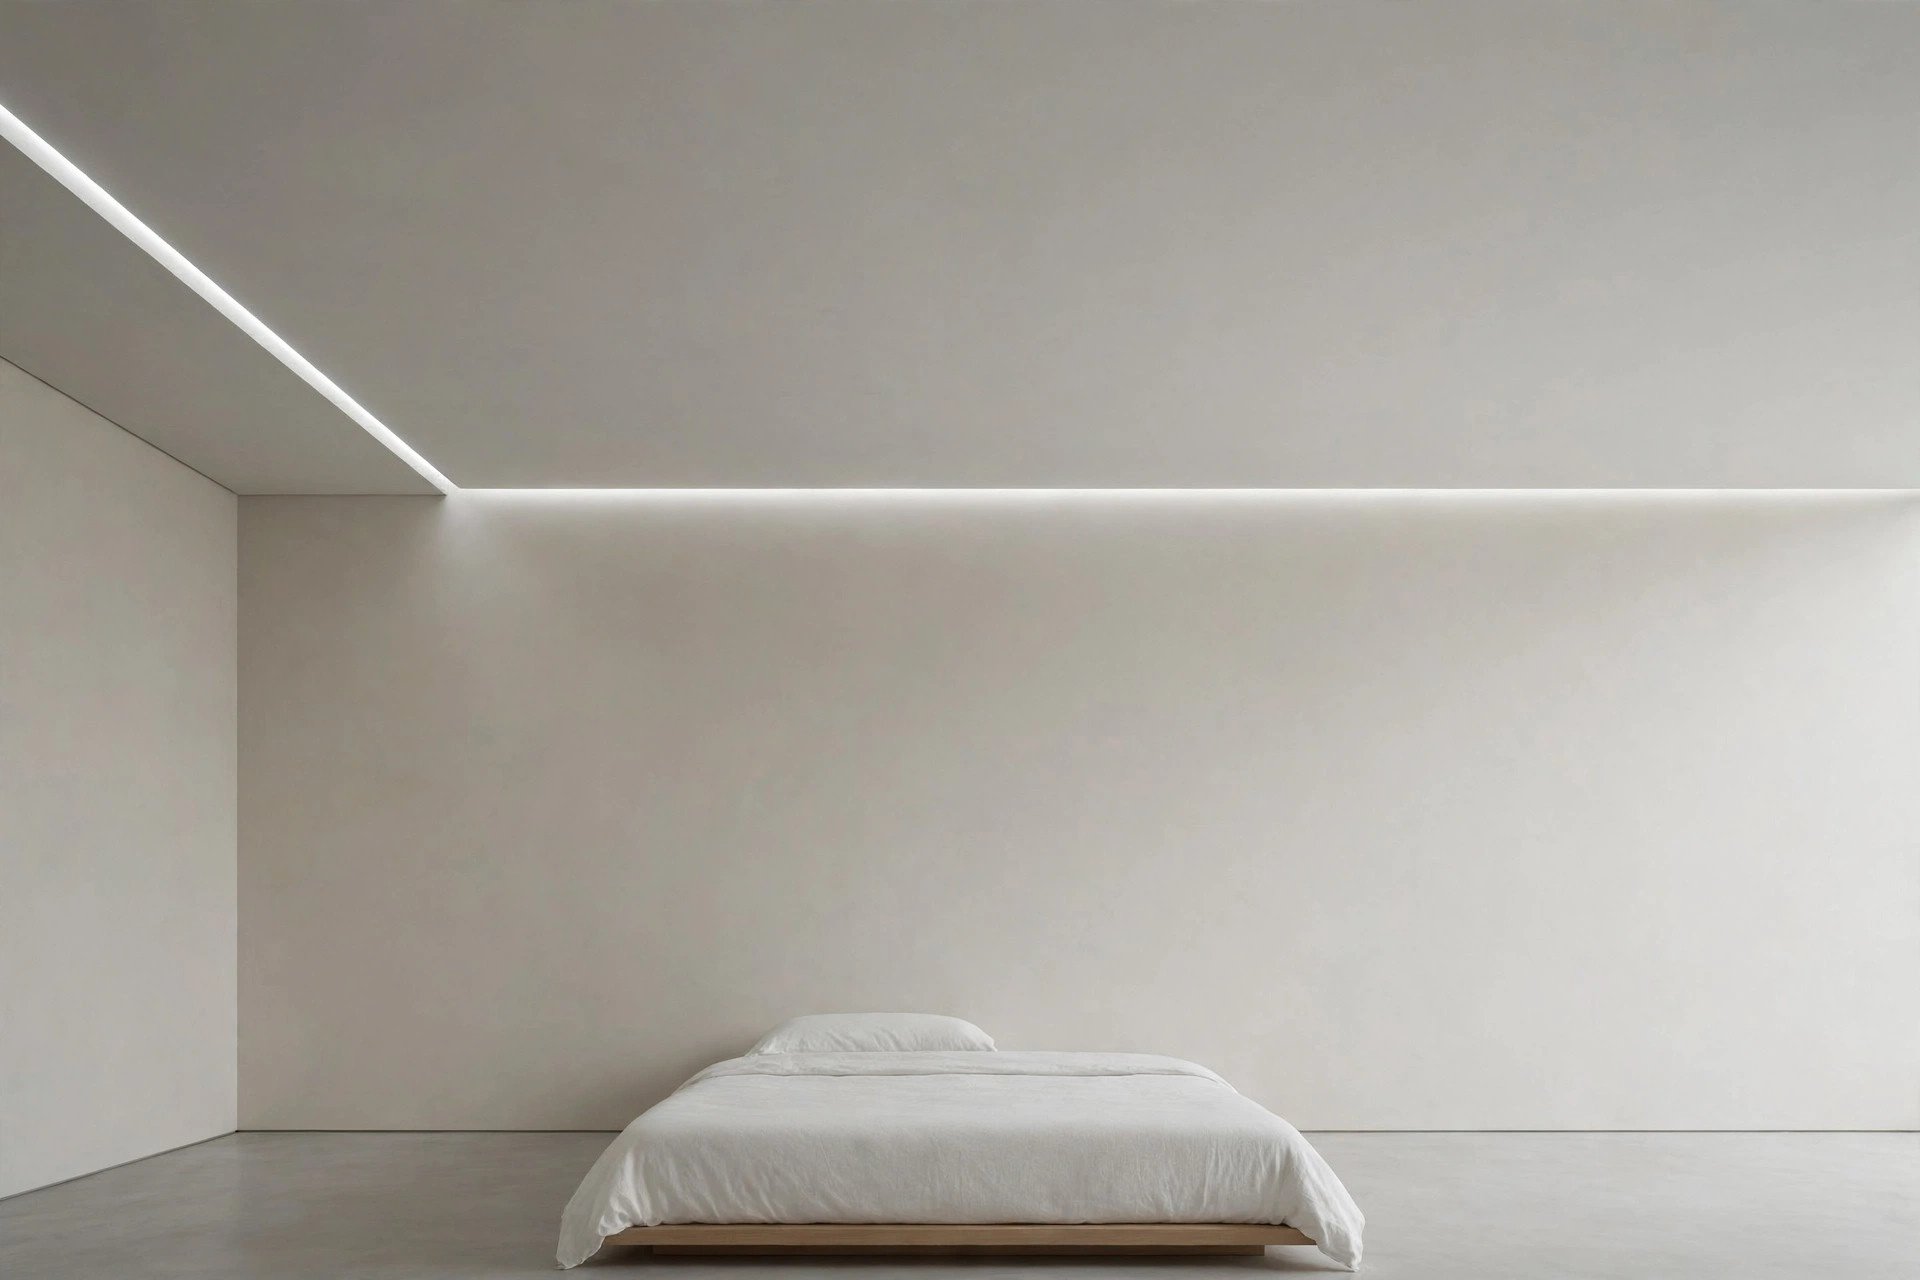
7. One straight line, nothing else
For minimalists: a single 3-inch shadow gap running along one wall or the length of the bedroom, one strip, no other fixture. When the proportions are right, minimal doesn’t look cheap — it looks deliberate.
For the broader picture of ceiling patterns these lights sit in, see our main false ceiling design guide.
Recessed downlights and panels: the workhorses
Recessed downlights sit flush inside the false ceiling, so you see light, not fixtures. They’re the functional backbone of most rooms — the cove sets the mood, downlights do the actual illuminating.
A few placement rules that Indian lighting designers follow:
- Spacing: keep roughly 1.5× the ceiling height between downlights — for a 9-ft ceiling, about 4.5 ft apart. For a 200 sq ft living room, 4–6 well-placed downlights are plenty. More than that and the ceiling starts looking like a pegboard.
- No grids: place downlights to serve zones (seating, TV wall, walkway), not in a mathematical grid across the ceiling.
- Bedroom rule: never put a downlight directly above the bed. Lying down under one is the worst possible glare position. Put them at the foot of the bed or over the wardrobe instead — this is one rule worth following strictly, and our bedroom ceiling design guide plans around it.
- Kitchen: use neutral 4000K downlights for overall brightness, and add under-cabinet LED strips for the countertop — ceiling lights alone always cast the cook’s shadow on the work surface.
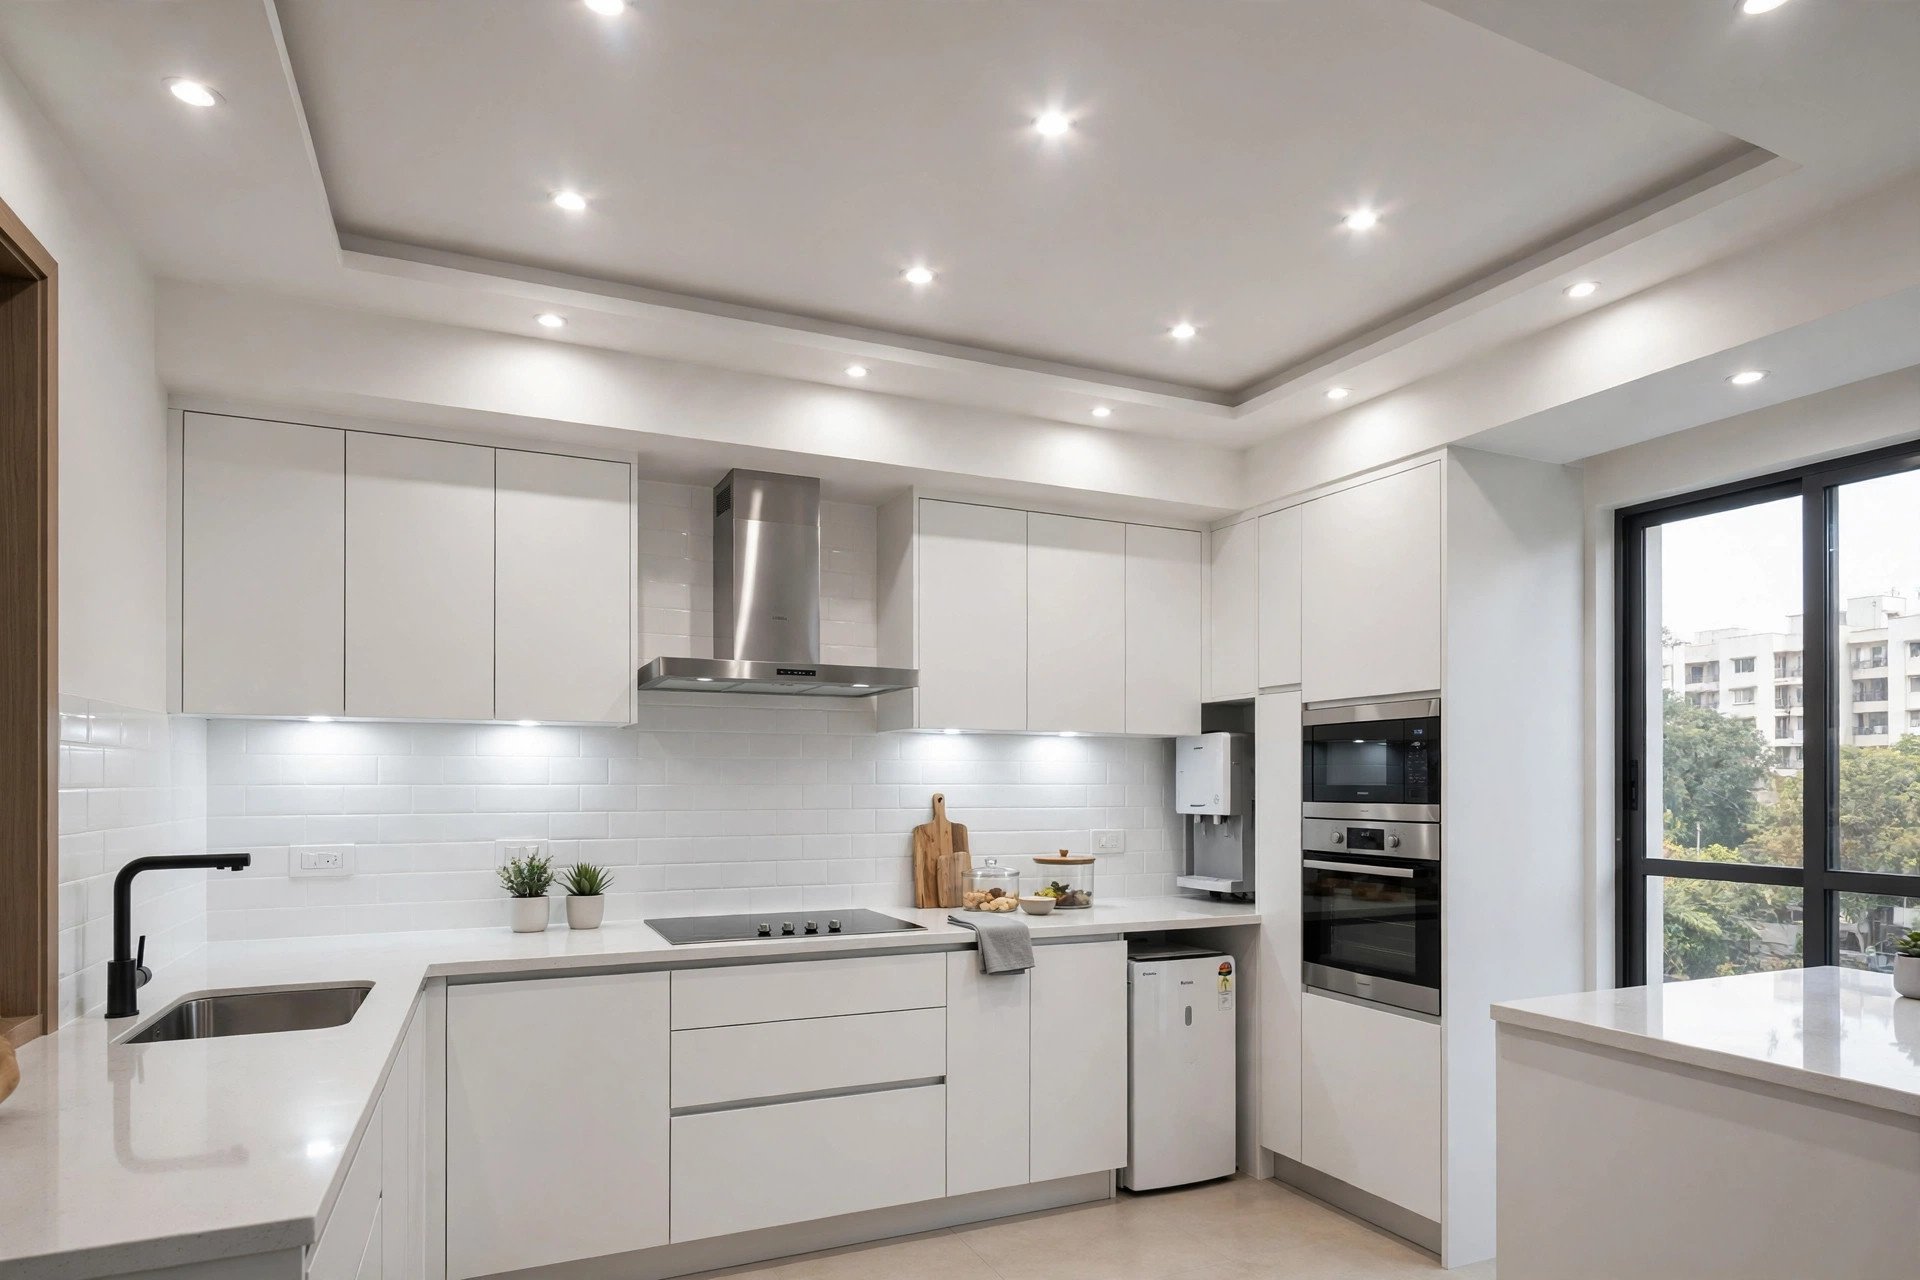
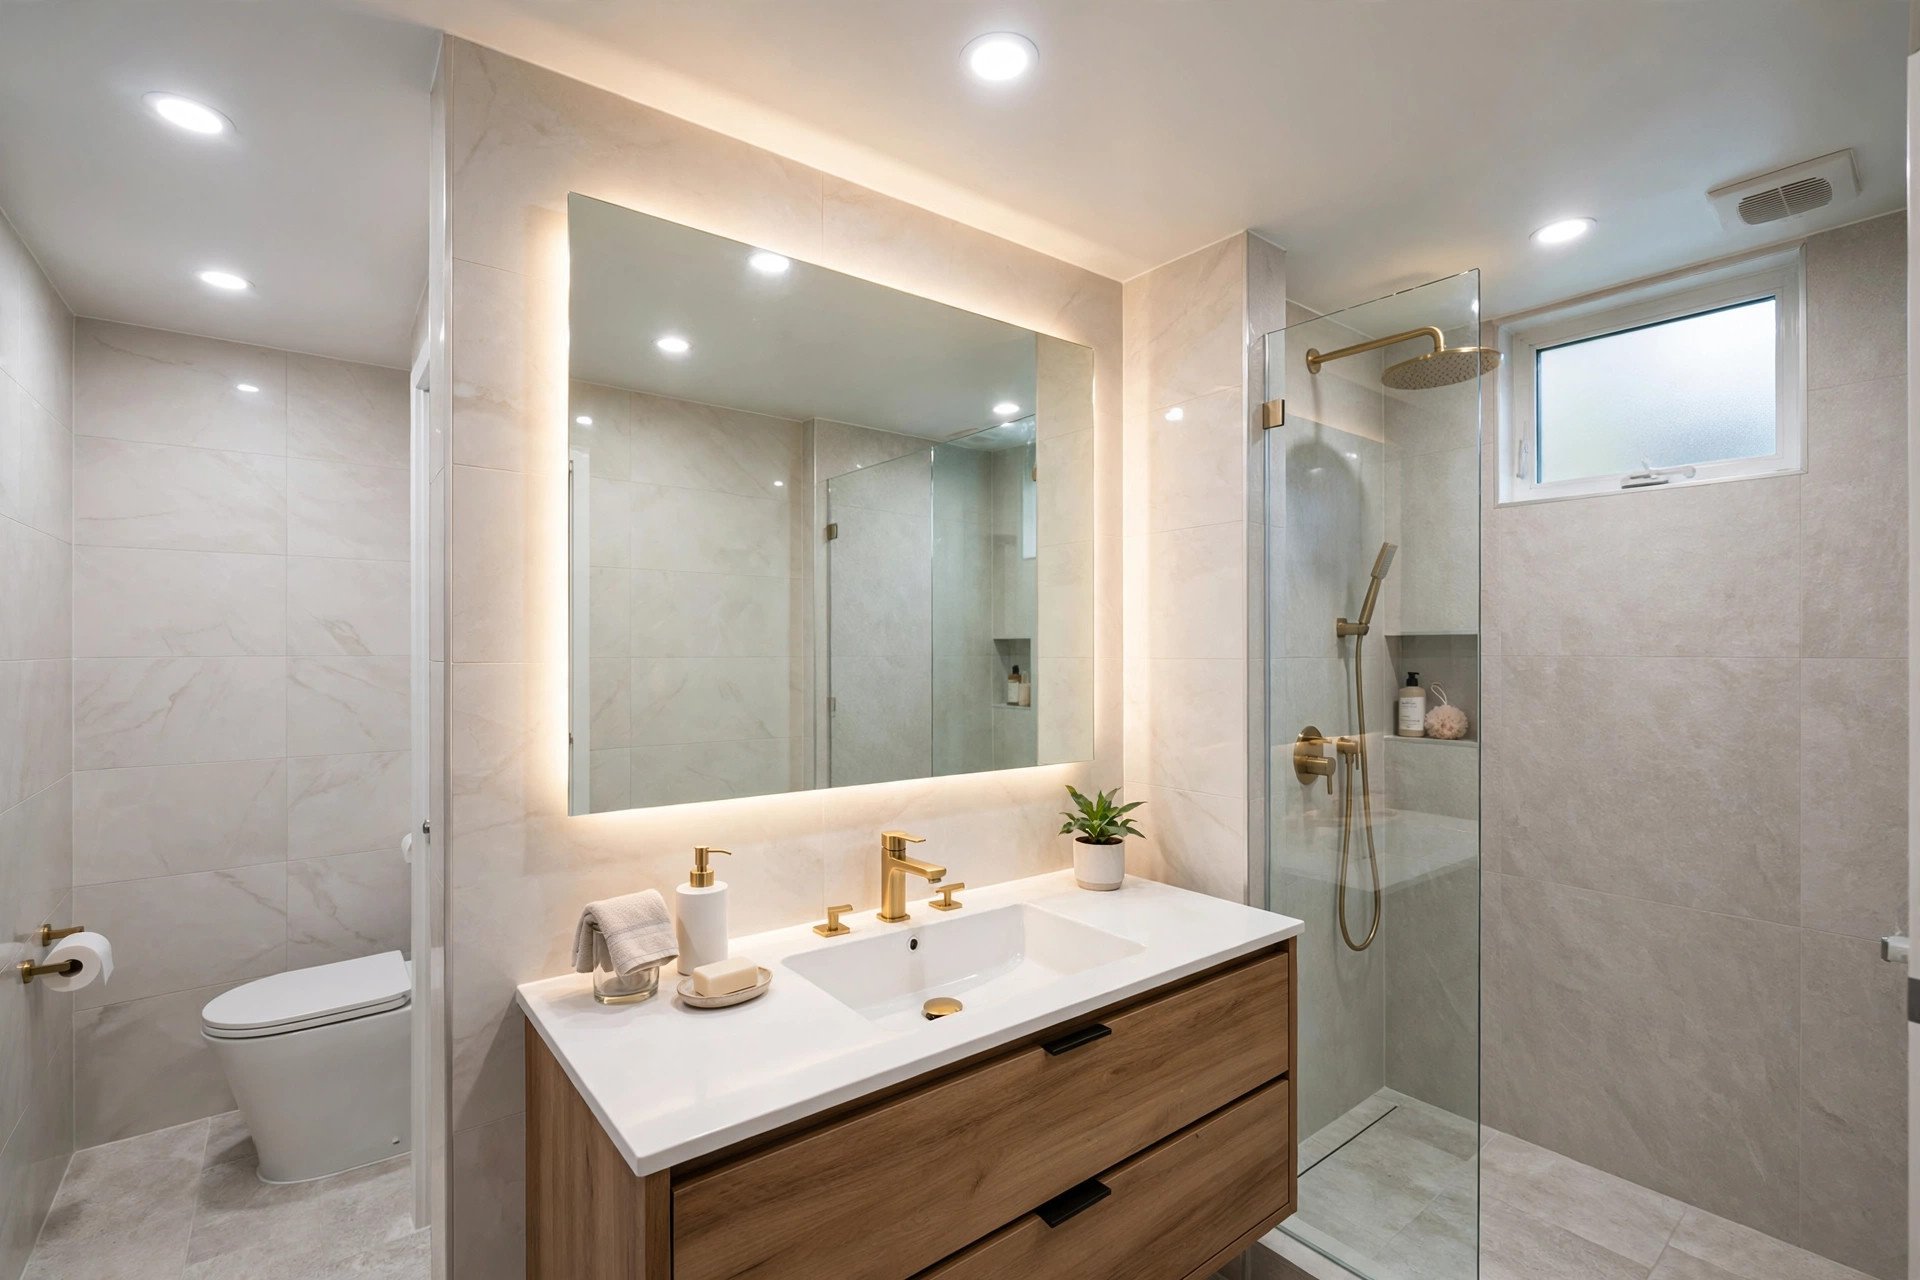
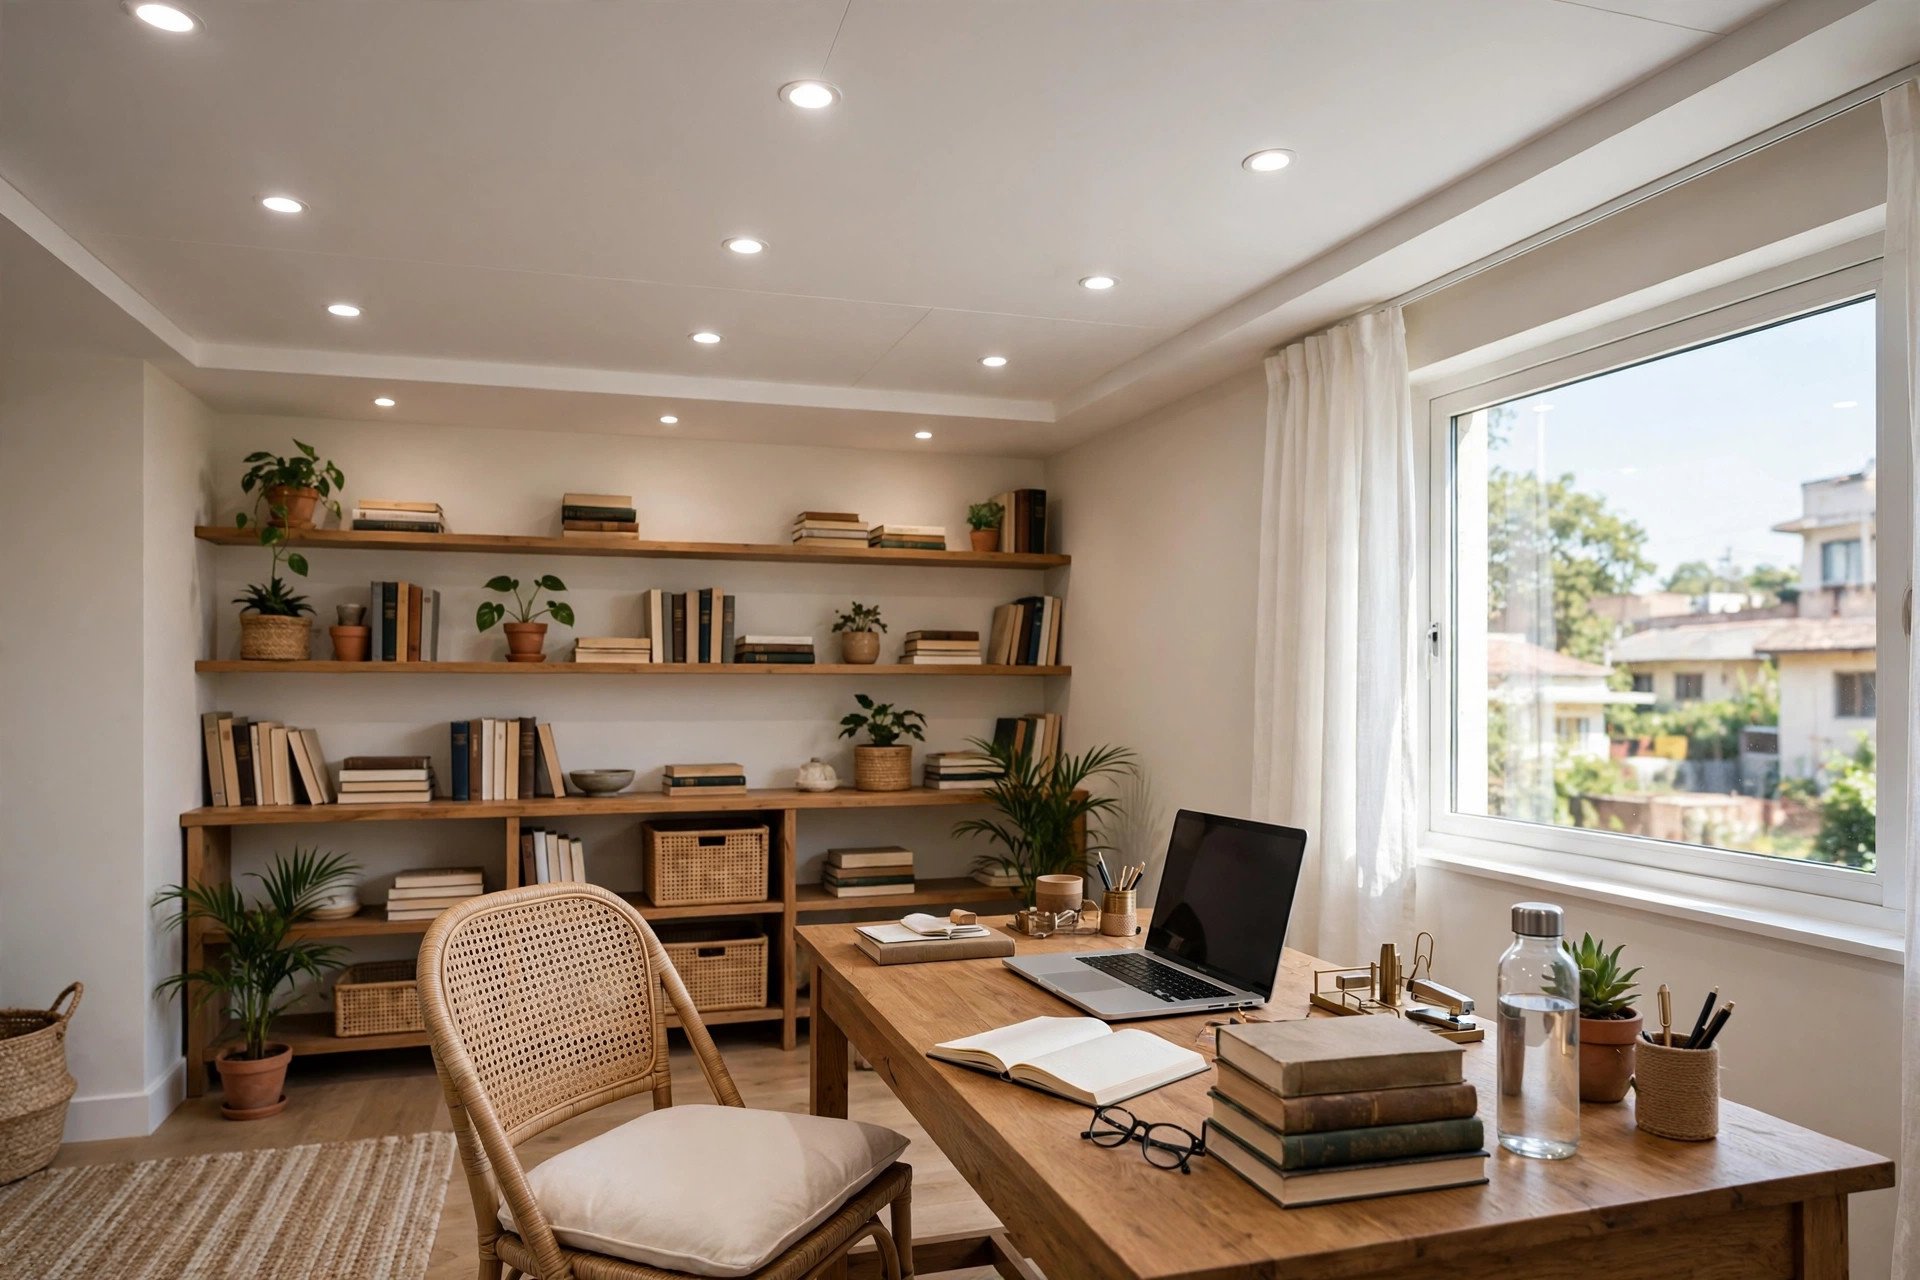
For bathrooms, always use fittings rated for moisture — ask the shop for the right rating for a wet area rather than guessing. And for study corners and home offices, the same 4000K recessed light that suits kitchens keeps a desk evenly lit without shadows.
Pendant lights: zones without walls
Pendants hang down on cables or rods, bringing the light closer to where people actually are. In Indian homes — where dining areas and reading corners usually sit inside larger open rooms — pendants define zones without building walls.
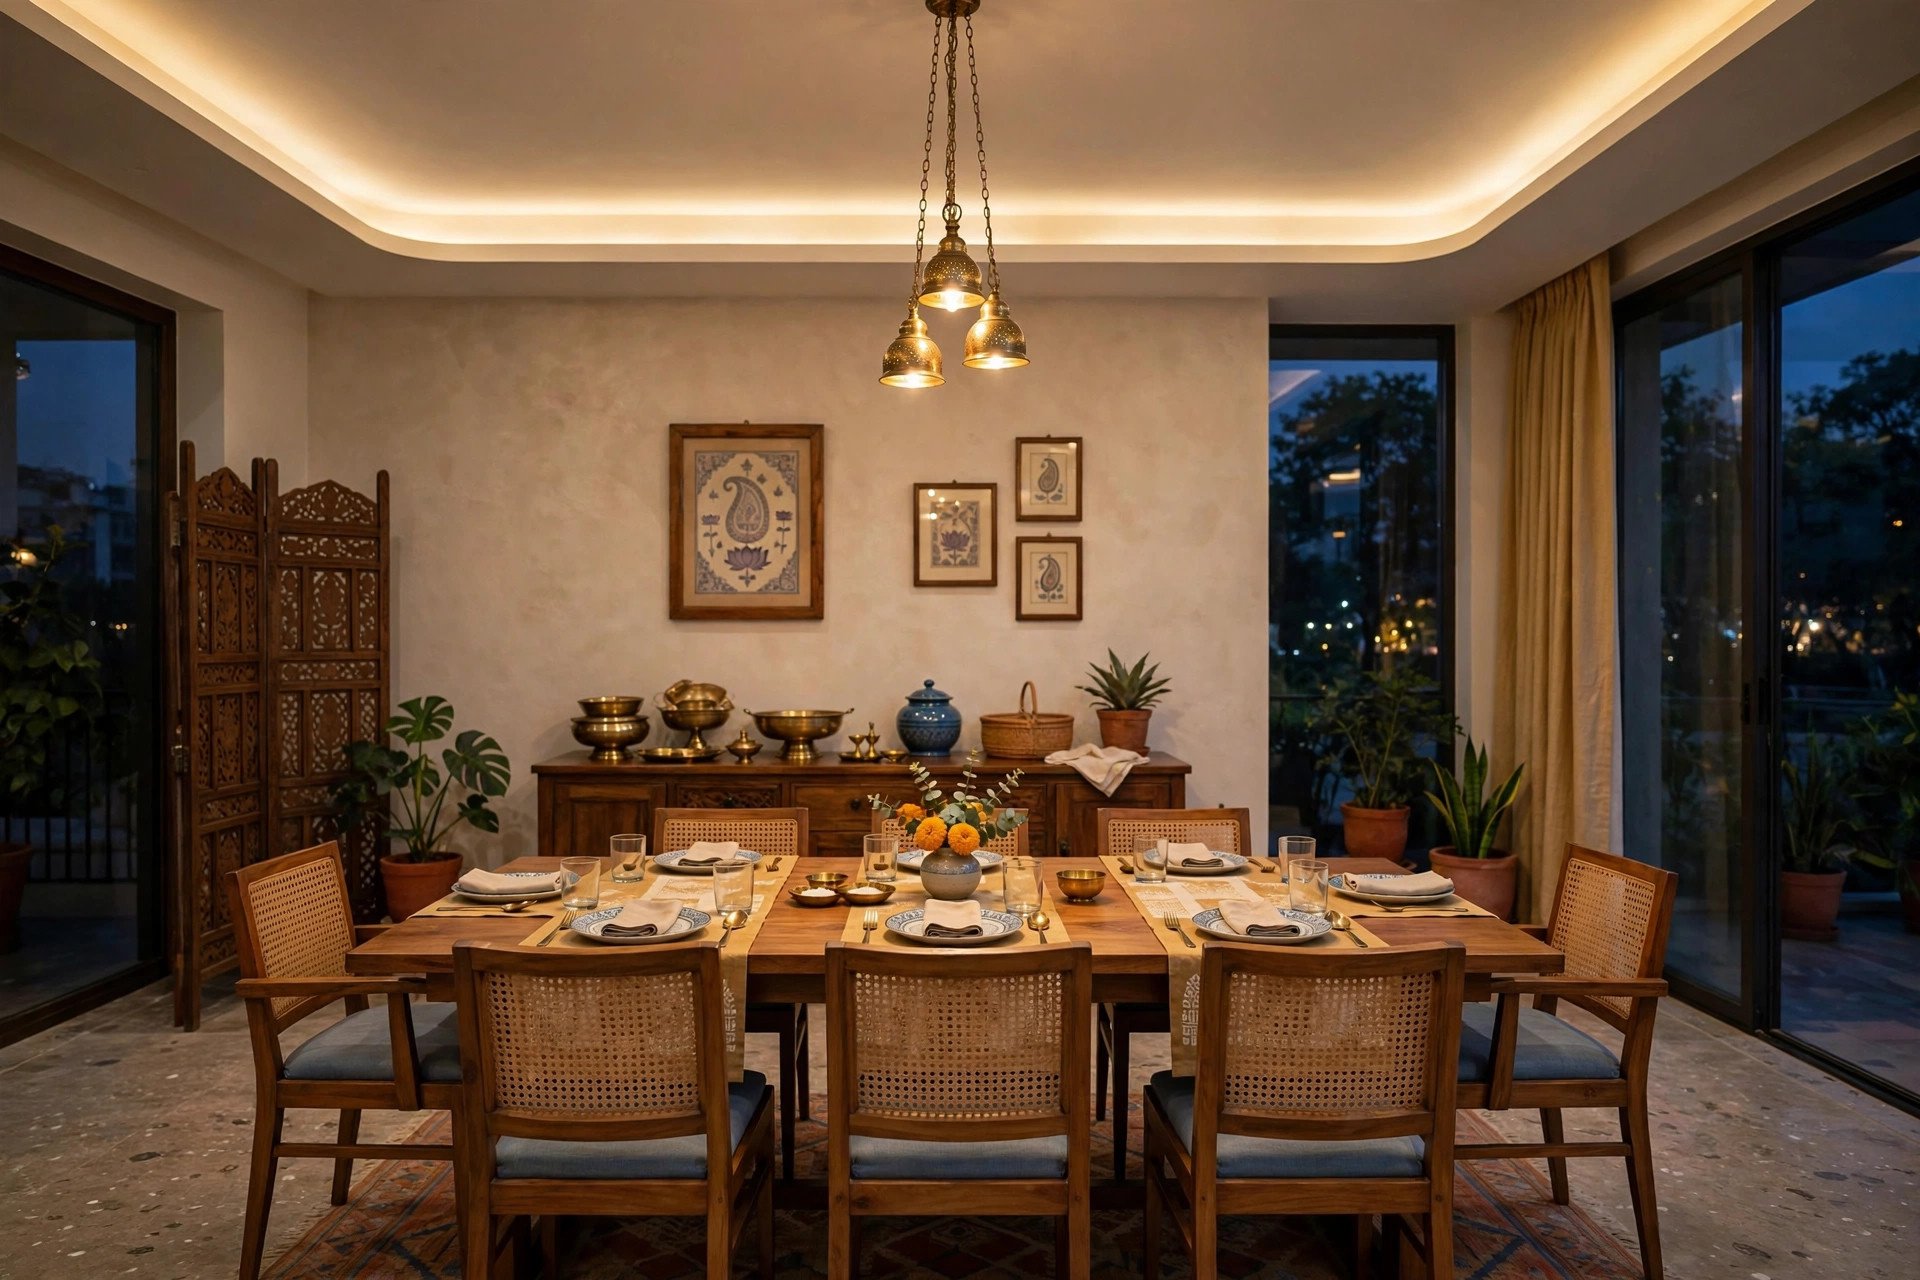
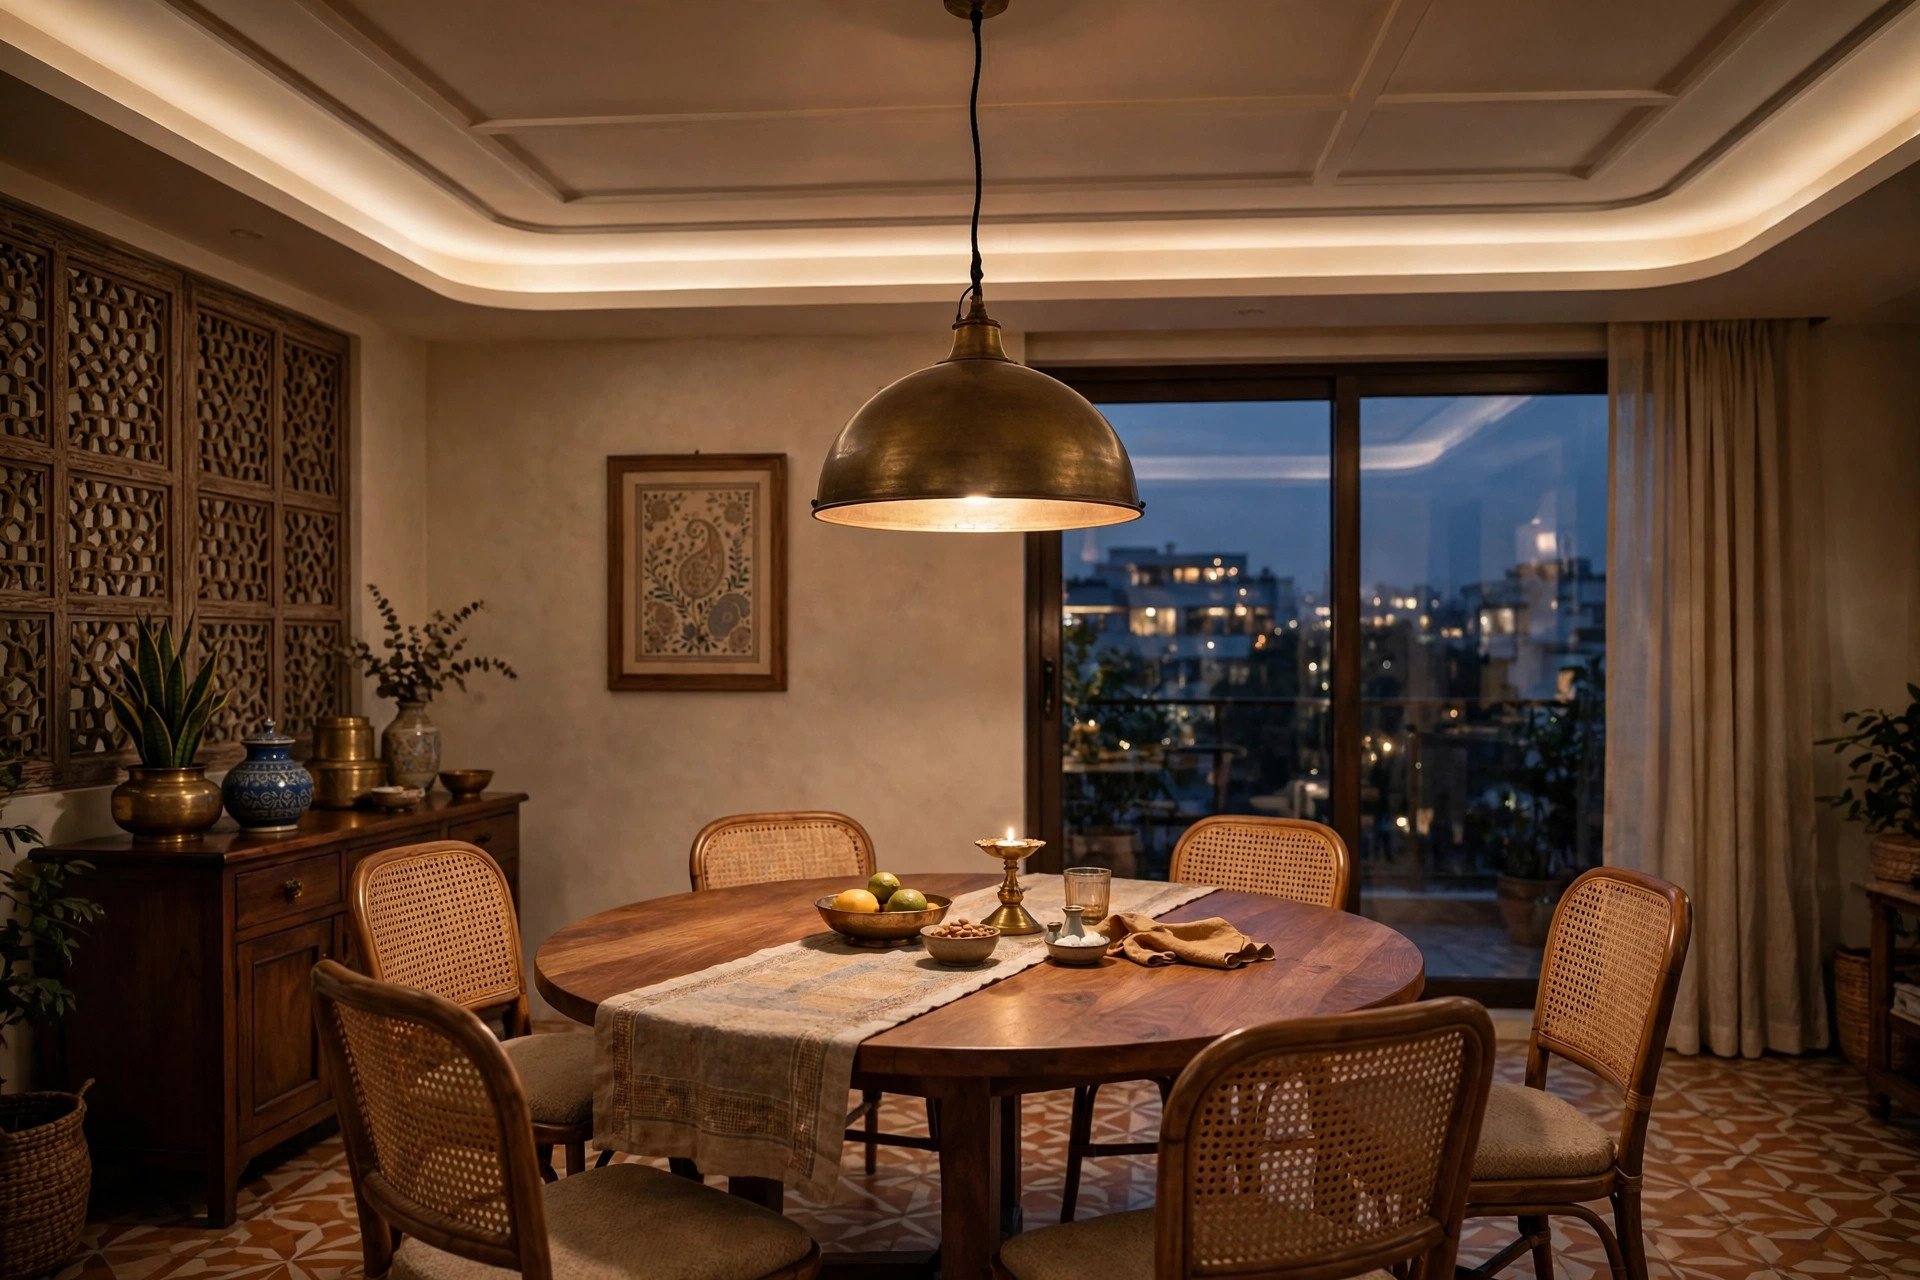
- Over the dining table: one large pendant or a cluster of three small ones, hung 70–80 cm above the table surface, in warm 3000K. The table becomes its own intimate zone inside an open living-dining hall. Our dining room ceiling designs show ceiling patterns that pair well with this.
- Over a kitchen counter or island: linear pendants give focused task light exactly where chopping and serving happen.
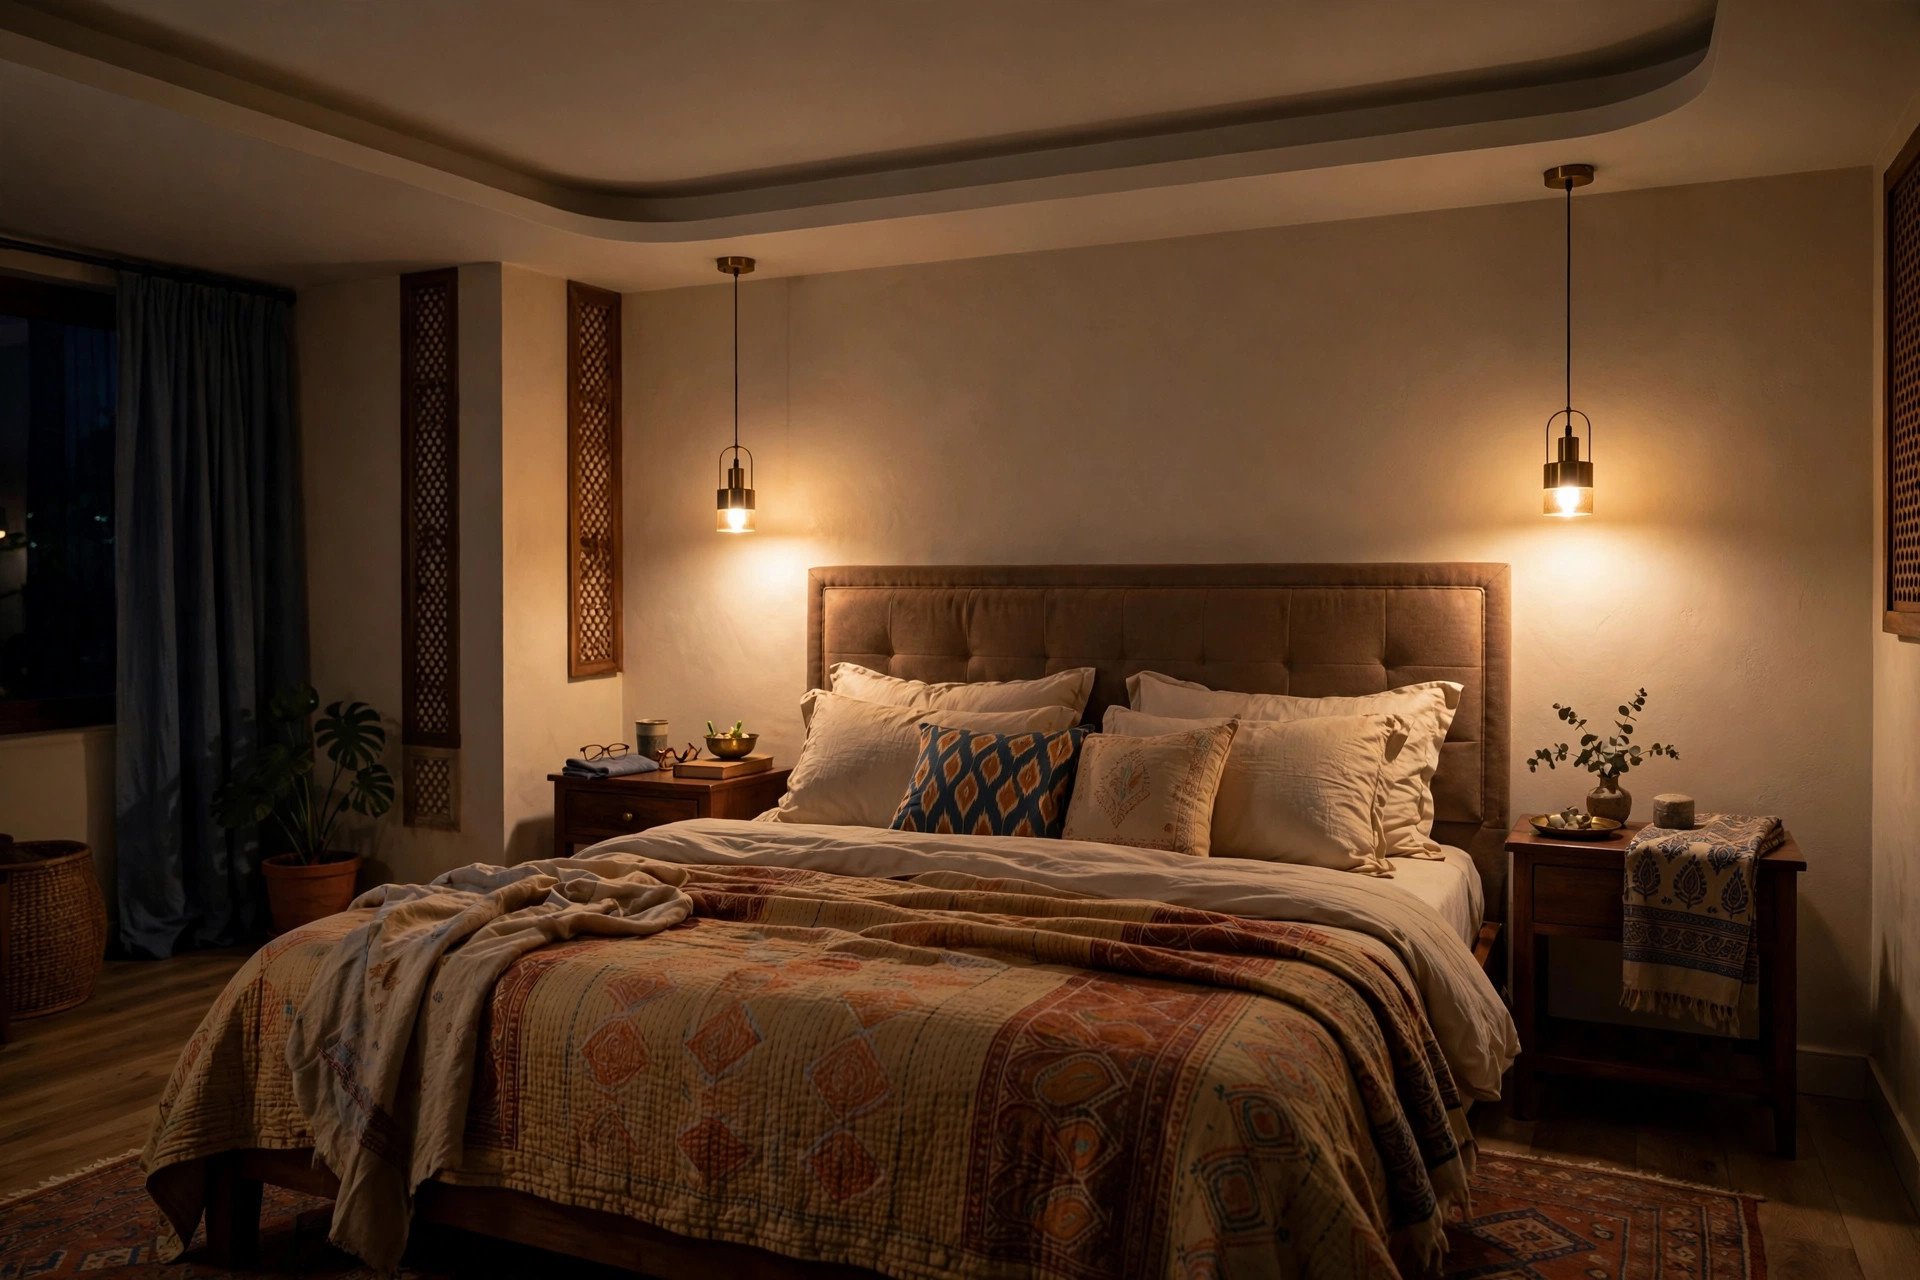
- Bedside reading: two small pendants hanging on either side of the headboard replace table lamps, free up the bedside tables, and give directional reading light that doesn’t disturb the person sleeping next to you.
Chandeliers on a false ceiling: design plus safety
A chandelier is the jewellery of ceiling lighting — the one fixture guests actually notice. On a false ceiling it works best as a deliberate focal point: centred over a dining table, in a double-height foyer, or inside a cove-lit ceiling medallion in the living room.
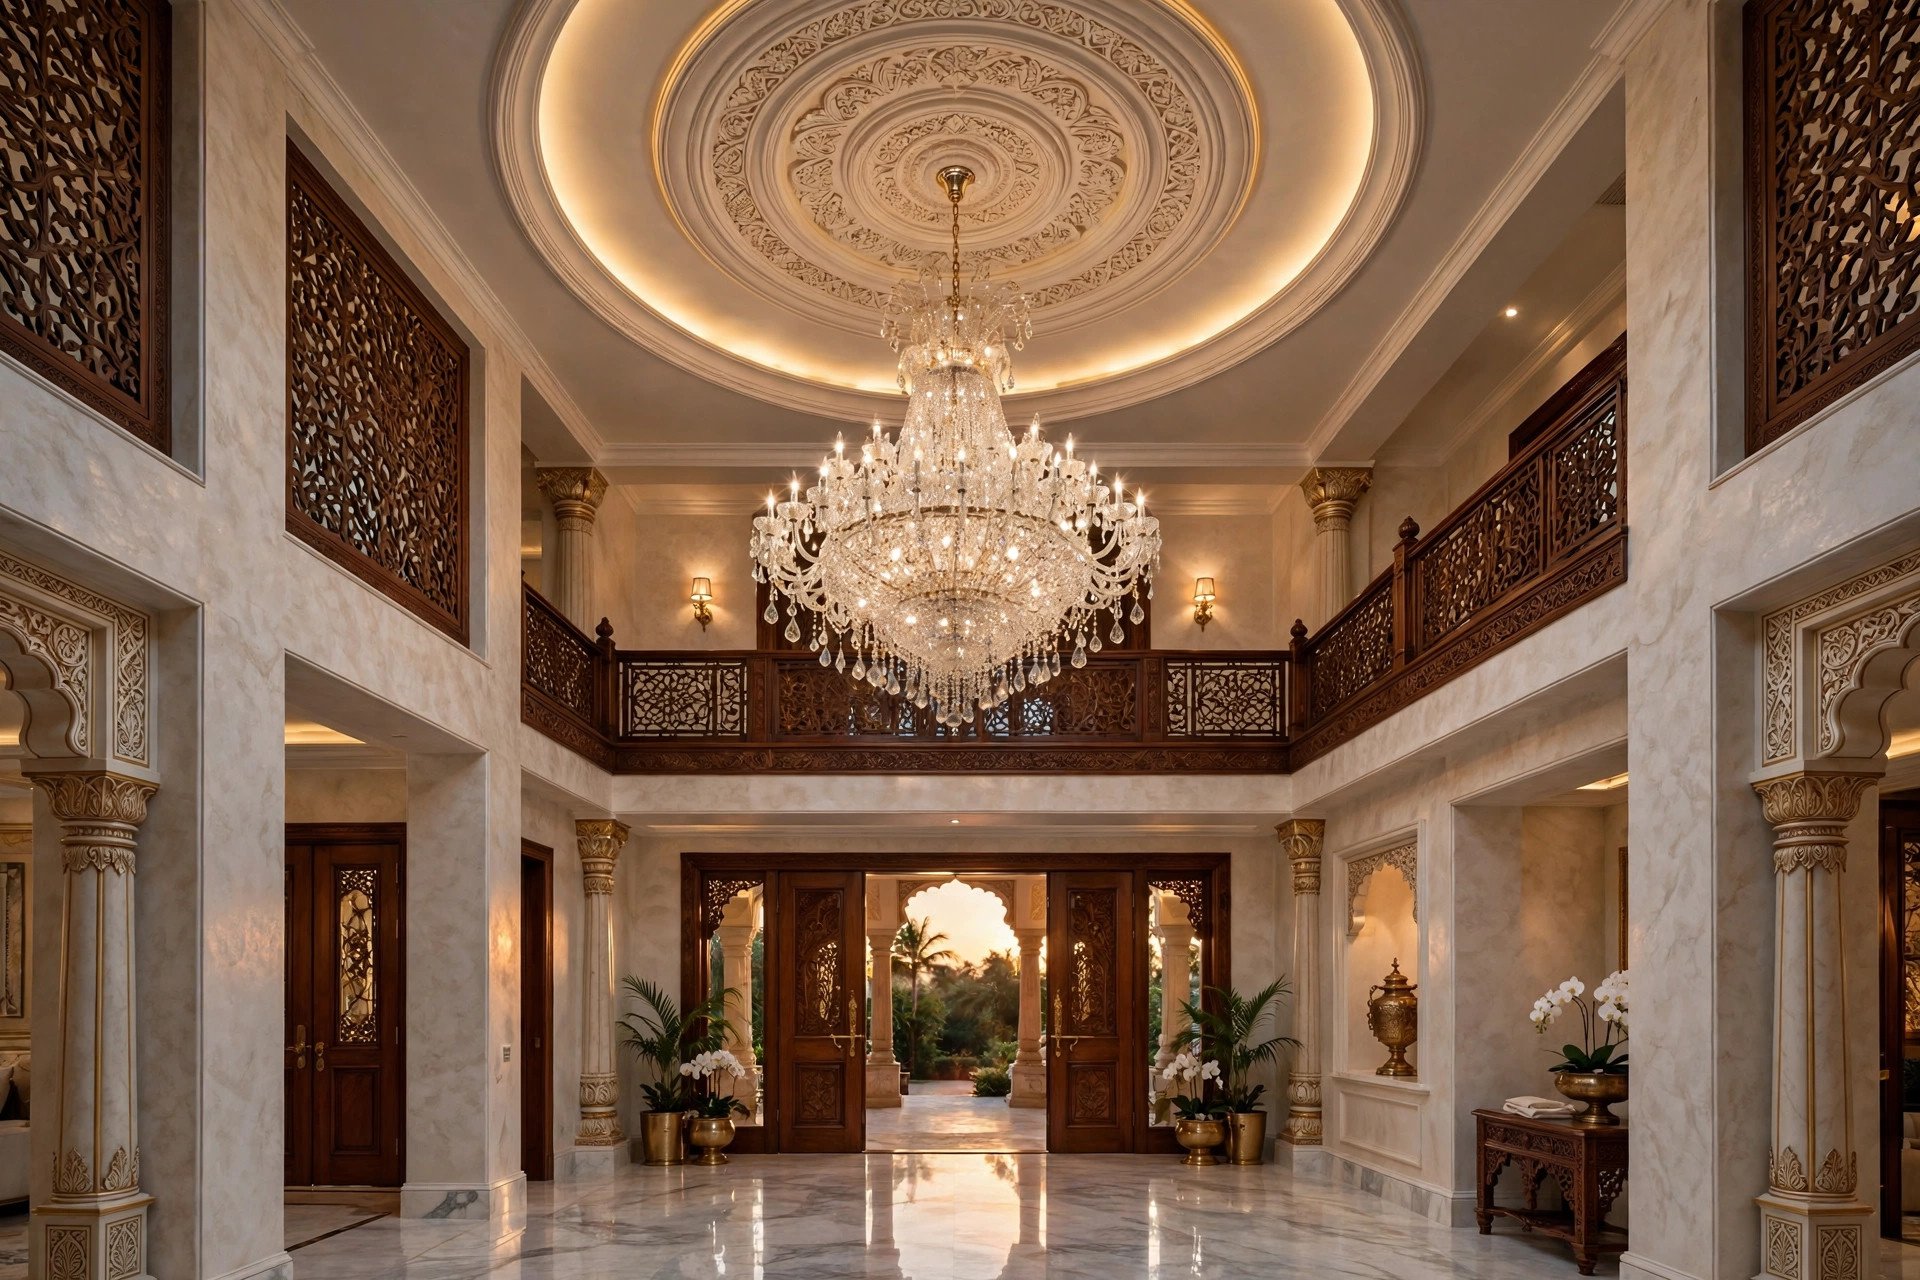
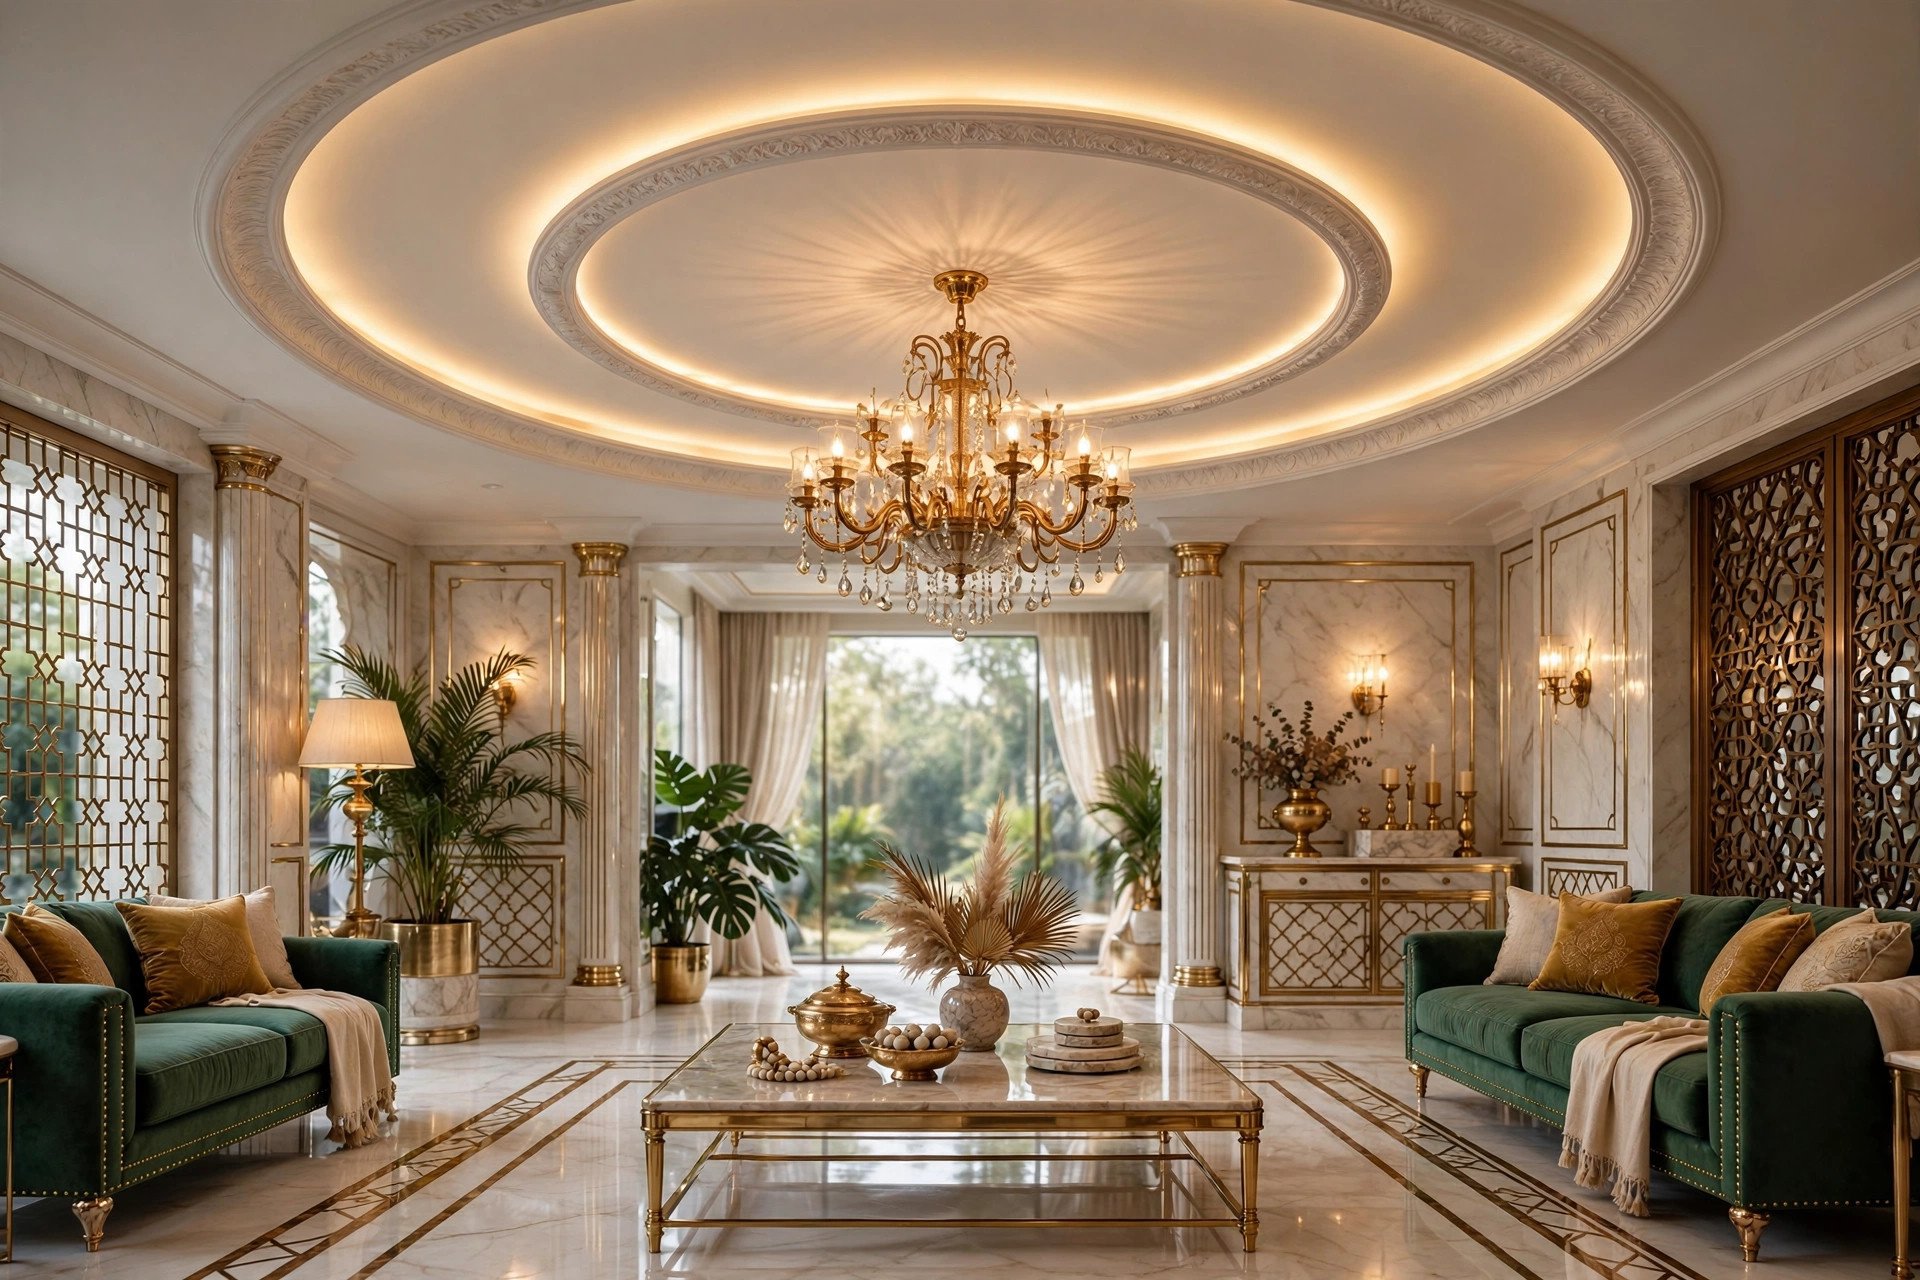
The safety part matters more than the design part. A false ceiling board — gypsum or POP — is not a structural surface, and a chandelier (especially a crystal one) is heavy. The rules:
- Never hang a heavy fixture from the gypsum or POP board alone. It must be independently anchored to the structural concrete slab above — typically with a steel rod or bracket fixed with expansion anchors into the slab, passing through a cutout in the false ceiling.
- Plan this before the ceiling is finished. The anchor point, the extra-strong wiring, and the cutout all need to be in the ceiling plan from day one; retrofitting through a finished ceiling is messy and weaker.
- Have the anchoring designed and installed by a qualified professional — your interior contractor or a licensed electrician — and ask them to confirm the fixture’s weight is properly supported. Don’t accept “the board will hold it.”
- Room sense still applies: a big chandelier needs ceiling height (10 ft+) and room size to match. In a standard 9-ft 2BHK living room, a modest pendant or small chandelier over the dining table usually looks better than a grand one fighting for space.
Room-by-room lighting plans
Putting the layers together, here are combinations that work in typical Indian homes:
- Living room: perimeter cove at 2700–3000K for ambience, 4–6 recessed downlights for general light, 2–3 adjustable spots for the TV wall or artwork, and one decorative pendant or small chandelier as the focal point — all on dimmers.
- Bedroom: a slim cove as the main ambient source (no downlight above the bed), two downlights over the wardrobe, and bedside pendants or reading lights. A dimmer on the cove gives you a low-glow option for winding down at night.
- Kitchen: 4000K downlights for overall brightness plus under-cabinet strips for the countertop. Skip the cove here — kitchens need clarity, not mood.
- Bathroom: bright recessed downlights with moisture-suitable fittings, plus a soft light at the mirror.
- Dining: pendant(s) at 70–80 cm above the table in warm 3000K, with a dim cove around the room for the rest of the evening.
- Home office / study: uniform 4000K downlights or a panel, plus a desk task lamp. Keep warm cove light out of the work zone — it makes daytime focus harder.
What does false ceiling lighting cost in India?
Rates vary a lot by city, material, and design complexity, so treat everything below as 2026 ballpark bands from published sources — and always get an itemised written quote for your own rooms.
- Gypsum ceiling with cove ledge: about ₹85–130 per sq ft; POP with cove ledge about ₹75–110 per sq ft (Bangalore contractor rates published 2026).
- LED strip: good-quality warm-white 24V strip roughly ₹150–250 per running foot; RGBW or tunable strips roughly ₹280–400 per running foot.
- Driver, dimmer and wiring per lighting zone: roughly ₹2,500–6,000.
- Full living-dining cove package, 2BHK: roughly ₹35,000–75,000 (Bangalore, 2026); a full 3BHK package roughly ₹90,000–1.8 lakh.
- Lighting fixtures alone (excluding the ceiling work): published 2026 room budgets put a 200 sq ft living room at roughly ₹25,000–50,000 for a basic setup, ₹50,000–1.5 lakh mid-range, and ₹1.5–4 lakh premium.
Nationwide design-firm pricing published in October 2026 puts a complete false ceiling at roughly ₹120–250 per sq ft depending on design, materials and lighting. Two warnings from contractors themselves: strips under ₹100 per running foot tend to flicker and shift colour within a year, and a quote that gives one flat “per room” figure is usually hiding something — ask for the itemised breakup.
False ceiling designs without cove lights
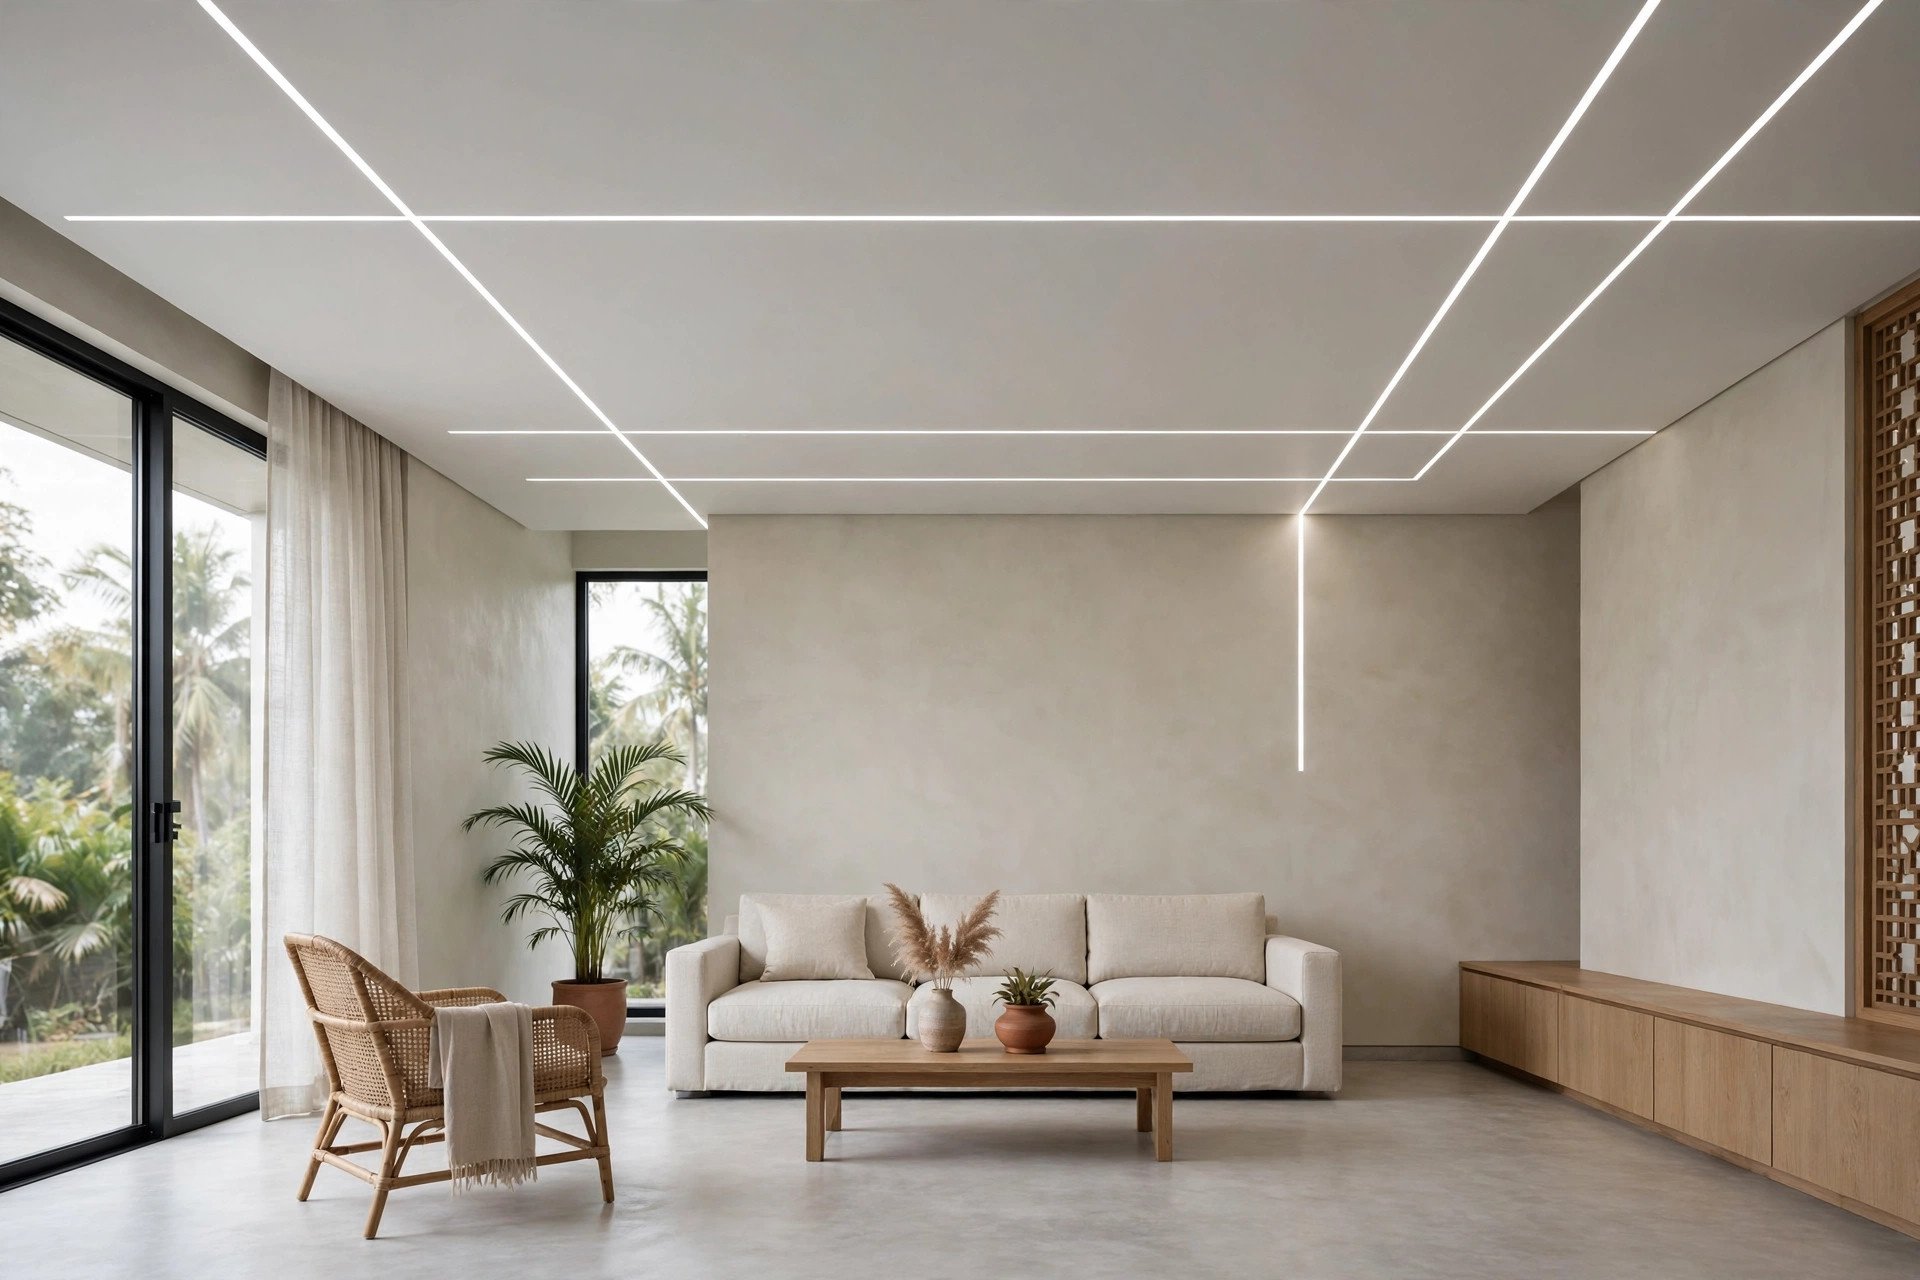
Not every ceiling needs to glow. If you want the false ceiling look without any cove lighting, these approaches work well:
- Geometric spot grid: a clearly defined geometric pattern in POP or gypsum, with one recessed spotlight inside each cell. The design lives or dies by precise spot placement — one off-centre spot breaks the geometry.
- Linear LED profiles: slim aluminium profiles recessed into the ceiling, each housing an LED strip behind a frosted diffuser. You get clean lines of light that become part of the ceiling’s geometry — modern, and no cove ledge needed.
- Backlit panels and onyx-look inserts: a translucent panel set into the ceiling with light behind it — dramatic over dining tables and foyers.
- Simple flat ceiling with statement pendants: keep the ceiling plain and spend the lighting budget on two or three beautiful pendants. Honest, and often the best choice for low 8–9 ft ceilings.
Planning checklist: before any work starts
- Plan lighting and ceiling together. Deciding fixtures after the ceiling is built permanently limits where they can go. The wiring, cutouts, cove ledges and chandelier anchors all go into the ceiling plan first.
- Check your ceiling height. Roughly 9.5 ft finished height is the safe minimum for a proper cove; below that, keep the ceiling mostly flat with a slim peripheral detail. At 8 ft, stick to flush fixtures and pendants.
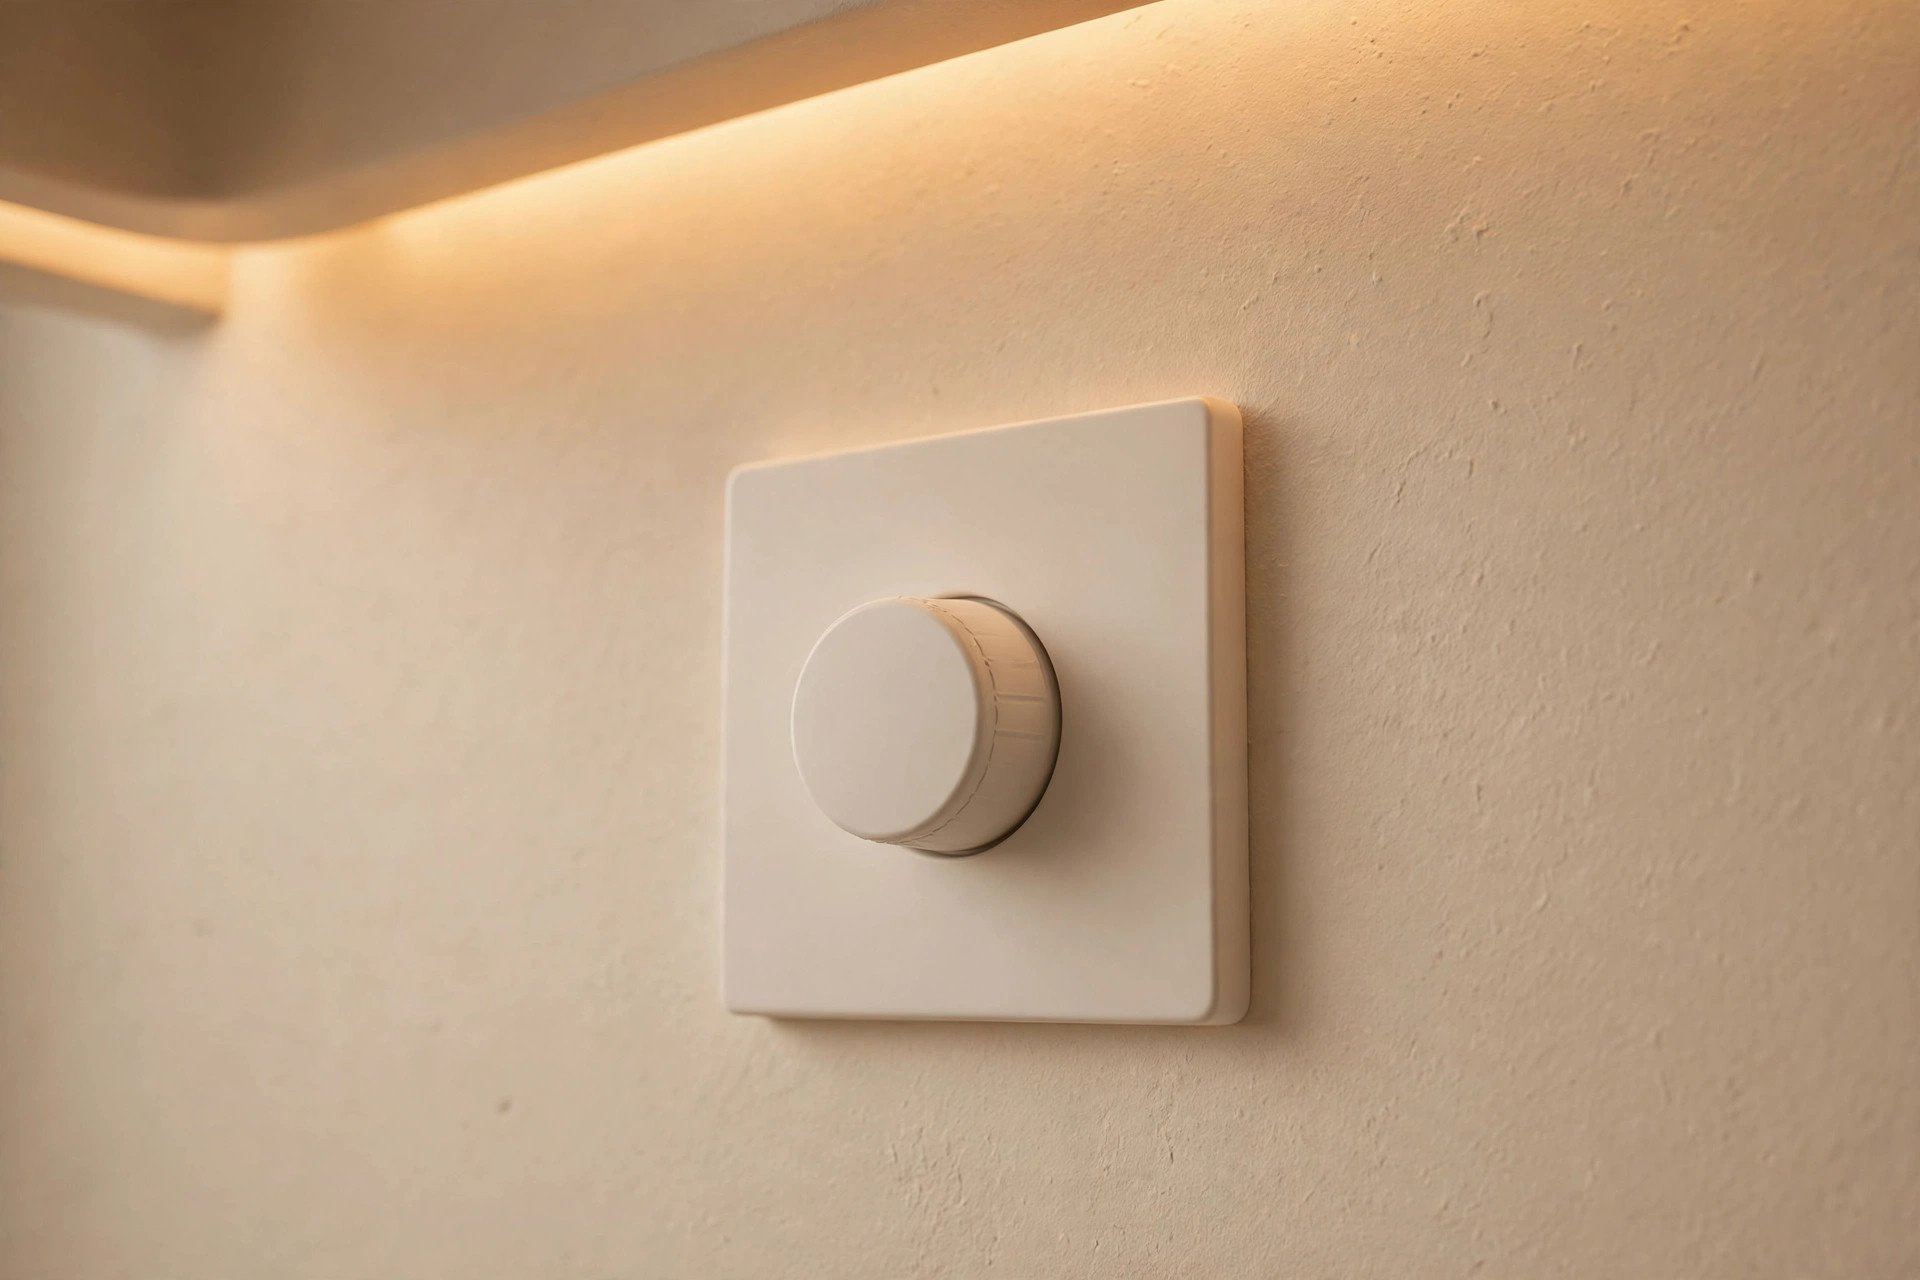
- Separate the circuits. Keep LED cove wiring on its own circuit, with its own driver and dimmer. Buy the dimmer matched to your strip and driver — ask your electrician, don’t guess.
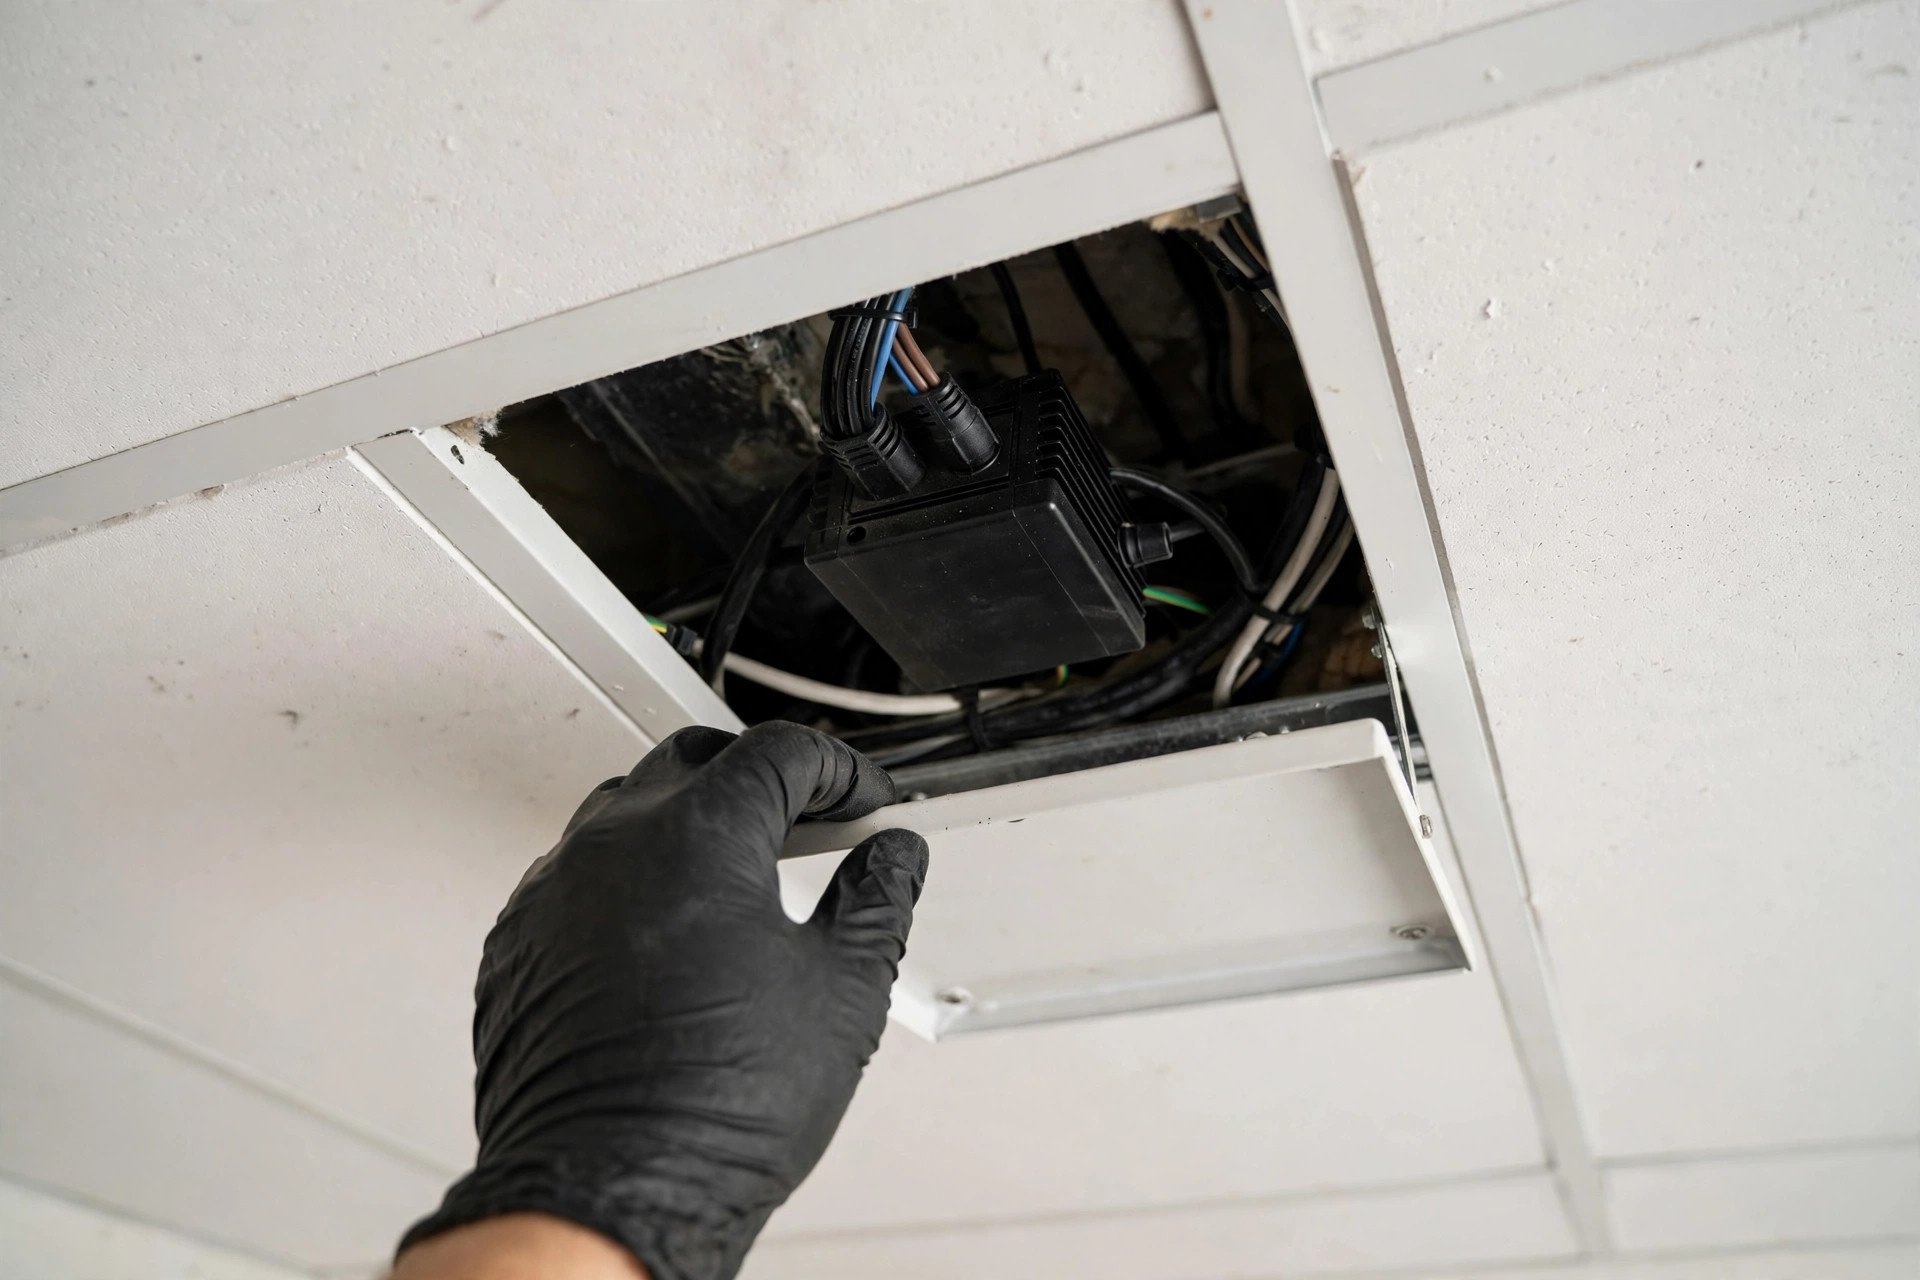
- Make the driver reachable. LED drivers fail eventually. They must sit behind an access panel or in a reachable cavity — never sealed inside the ceiling where you’ll have to break gypsum to replace them.
- Specify the strip properly. COB strips in aluminium channels with frosted diffusers (no visible dots); 24V rather than 12V for long runs; 2700–3000K for living/bedroom/dining, 4000K for kitchen/study.
- Leave fan clearance. If a ceiling fan shares the room with a cove, design the cove around the fan mount with 12–15 inches of clearance so the blades never hit anything.
- Don’t light every room. Pick the two or three rooms that deserve cove lighting and leave the rest simple — when everything glows, nothing stands out.
- Hire a licensed electrician for all wiring. This is not DIY territory — concealed wiring, drivers and dimmers all need proper, safe installation.
Maintenance and running costs
Cove lighting is low-maintenance but not no-maintenance. Dust the ledges with a microfiber cloth every few months — dust on the strip and diffuser dulls the glow. Have the concealed wiring and fixtures inspected once a year by an electrician. LED strips draw very little power (around 4.8–9.6 watts per running foot), so a typical living-room cove costs little to run; one Bangalore contractor’s 2026 estimate puts 4–5 hours of daily use at roughly ₹80–150 a month at local rates — your city’s tariff will differ. The strips themselves last years, but when one section eventually dims or shifts colour, a reachable driver and accessible ledge make replacement a small job instead of a ceiling-breaking one.
Frequently asked questions
Can I have cove lights if I have a ceiling fan?
Yes. Design a circular or square cove around the fan mount, leaving 12–15 inches of clearance so the blades can’t hit anything. Done well, the fan becomes the centre of the design instead of an obstacle.
Can cove lights be the only light in a room?
No. A cove is ambient mood light, not functional light. You still need task lighting to read, cook, or work, and accent light for walls and artwork. A cove is one layer of the plan, not the whole plan.
What colour temperature should I choose?
2700–3000K warm white for living rooms, bedrooms and dining; 4000K neutral white for kitchens, studies and home offices. Avoid cool 6500K white in living and sleeping areas — it looks clinical and makes skin tones look grey.
How tall should my ceiling be for cove lighting?
About 9.5 ft finished height is the safe minimum for a proper cove. Below that, use a slim peripheral design rather than dropping the whole ceiling — otherwise the room starts feeling boxy.
Can a chandelier hang from a false ceiling?
Yes, but not from the ceiling board itself. Heavy fixtures must be independently anchored to the structural slab above, and this has to be planned before the ceiling is finished. Have a qualified professional design the anchoring.
Do I really need a dimmer?
Yes — a cove without a dimmer is the most regretted saving in ceiling lighting. A dimmer costs a fraction of the installation and is what turns the same cove from “bright evening” to “movie night” to “night-light”. Get one on every cove zone.
Is there a good false ceiling design without any cove light?
Absolutely. A geometric ceiling with precisely placed spotlights, slim linear LED profiles, backlit panels, or a plain ceiling with statement pendants all look intentional without a single cove. Cove lighting is popular, not compulsory.
All visuals in this guide are original concept renders and illustrations created for falseceiling.in — they show design ideas, not photographs of completed projects.


Pingback: False Ceiling Designs with Fans: Layouts & Safety