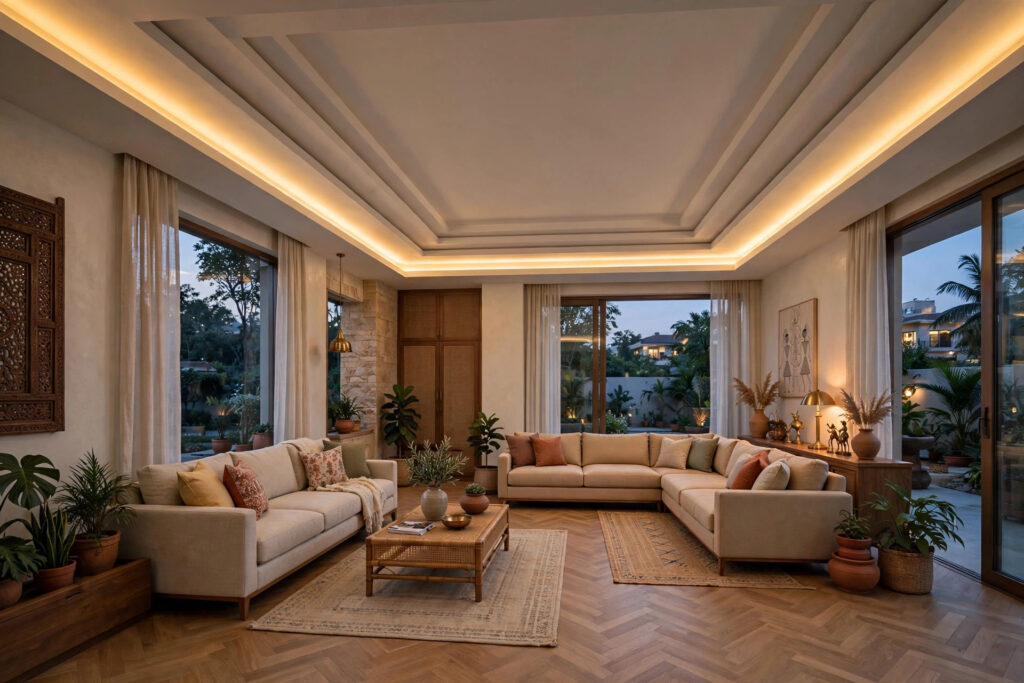

An L-shaped hall gives you two rooms in one: a long arm and a short arm meeting at a bend. Most ceilings are designed as if the room were a plain rectangle, which is exactly why so many L-shaped halls end up looking odd — the lighting stops at the bend, one corner stays dark, and the two arms feel like separate, disconnected spaces.
The fix is to plan the ceiling around the shape of the room. That means giving each arm its own ceiling treatment, linking them with continuous borders or light lines, and paying special attention to the inner corner where the two arms meet. This guide covers shape-driven layouts for L-shaped and long rectangular halls: tray profiles, borders, zones and light planning. For the general hall ceiling ideas we cover elsewhere, see our hall false ceiling designs hub.
Why an L-shaped hall needs a different ceiling plan
A square or rectangular room has one centre, so the classic move — a decorative panel in the middle with lights around it — works fine. An L-shaped hall has two centres: one in each arm. Put the panel in the geometric middle of the whole outline and it usually lands over the bend, which is often a walkway or a dead corner. The result looks deliberate from the floor plan but wrong when you stand in the room.
The second problem is the inner corner. Light from windows reaches it last, and a plain flat ceiling gives it nothing back, so it reads as a dark notch in the room. A ceiling plan that ignores it tends to make the hall feel chopped in two. A plan that treats the corner as its own small zone makes the whole L read as one intentional space.
So the starting rule is simple: draw your ceiling on top of your floor plan, not on a blank page. Mark the long arm, the short arm and the bend first, then decide what each one gets.
Start by zoning: the two arms and the corner
Almost every L-shaped hall in an Indian home settles into the same pattern: the long arm holds the living or seating area, the short arm holds the dining table or a secondary seating cluster, and the bend near the entry holds the circulation. The ceiling should say the same thing the furniture says.
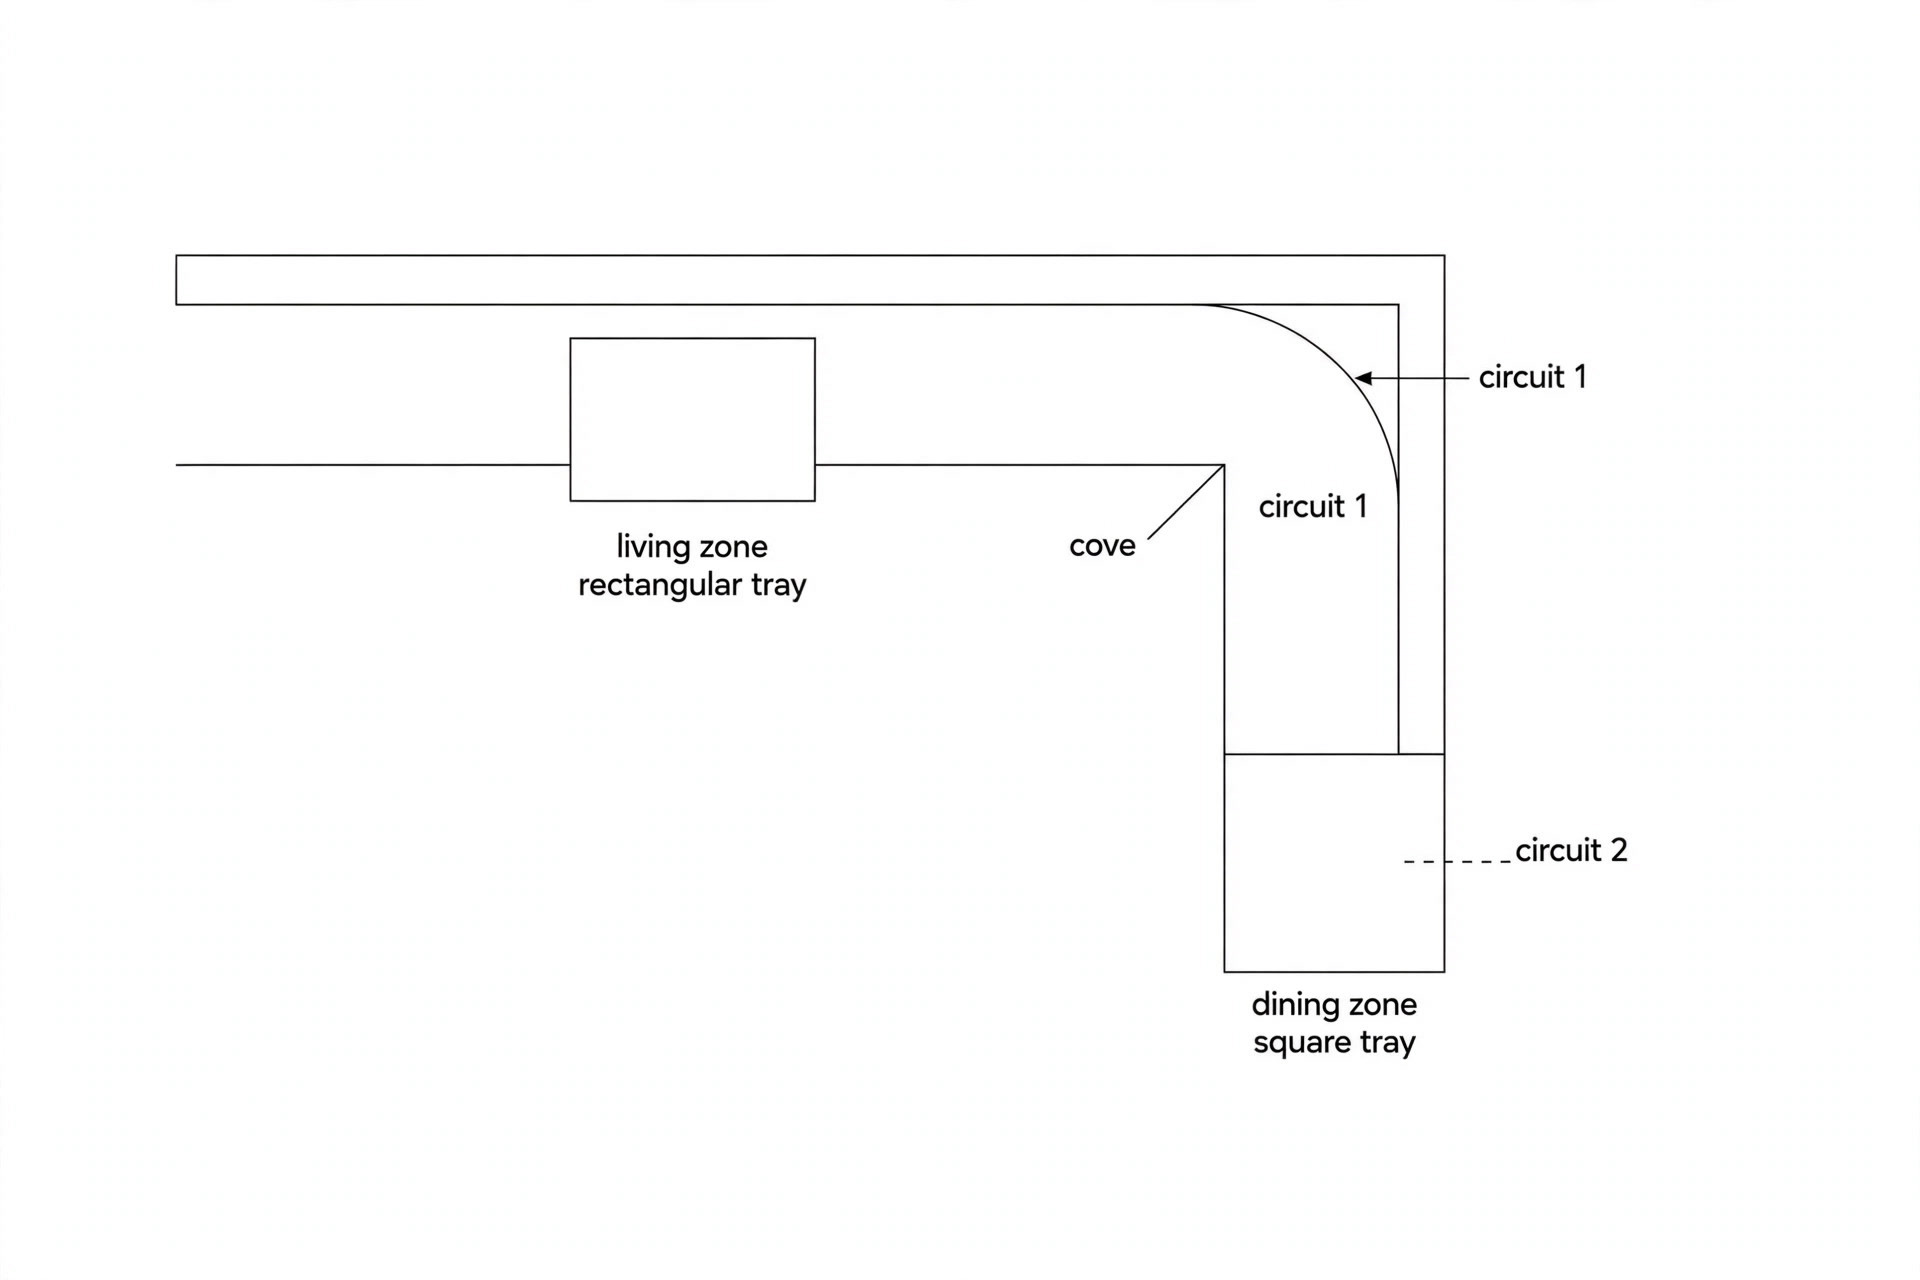
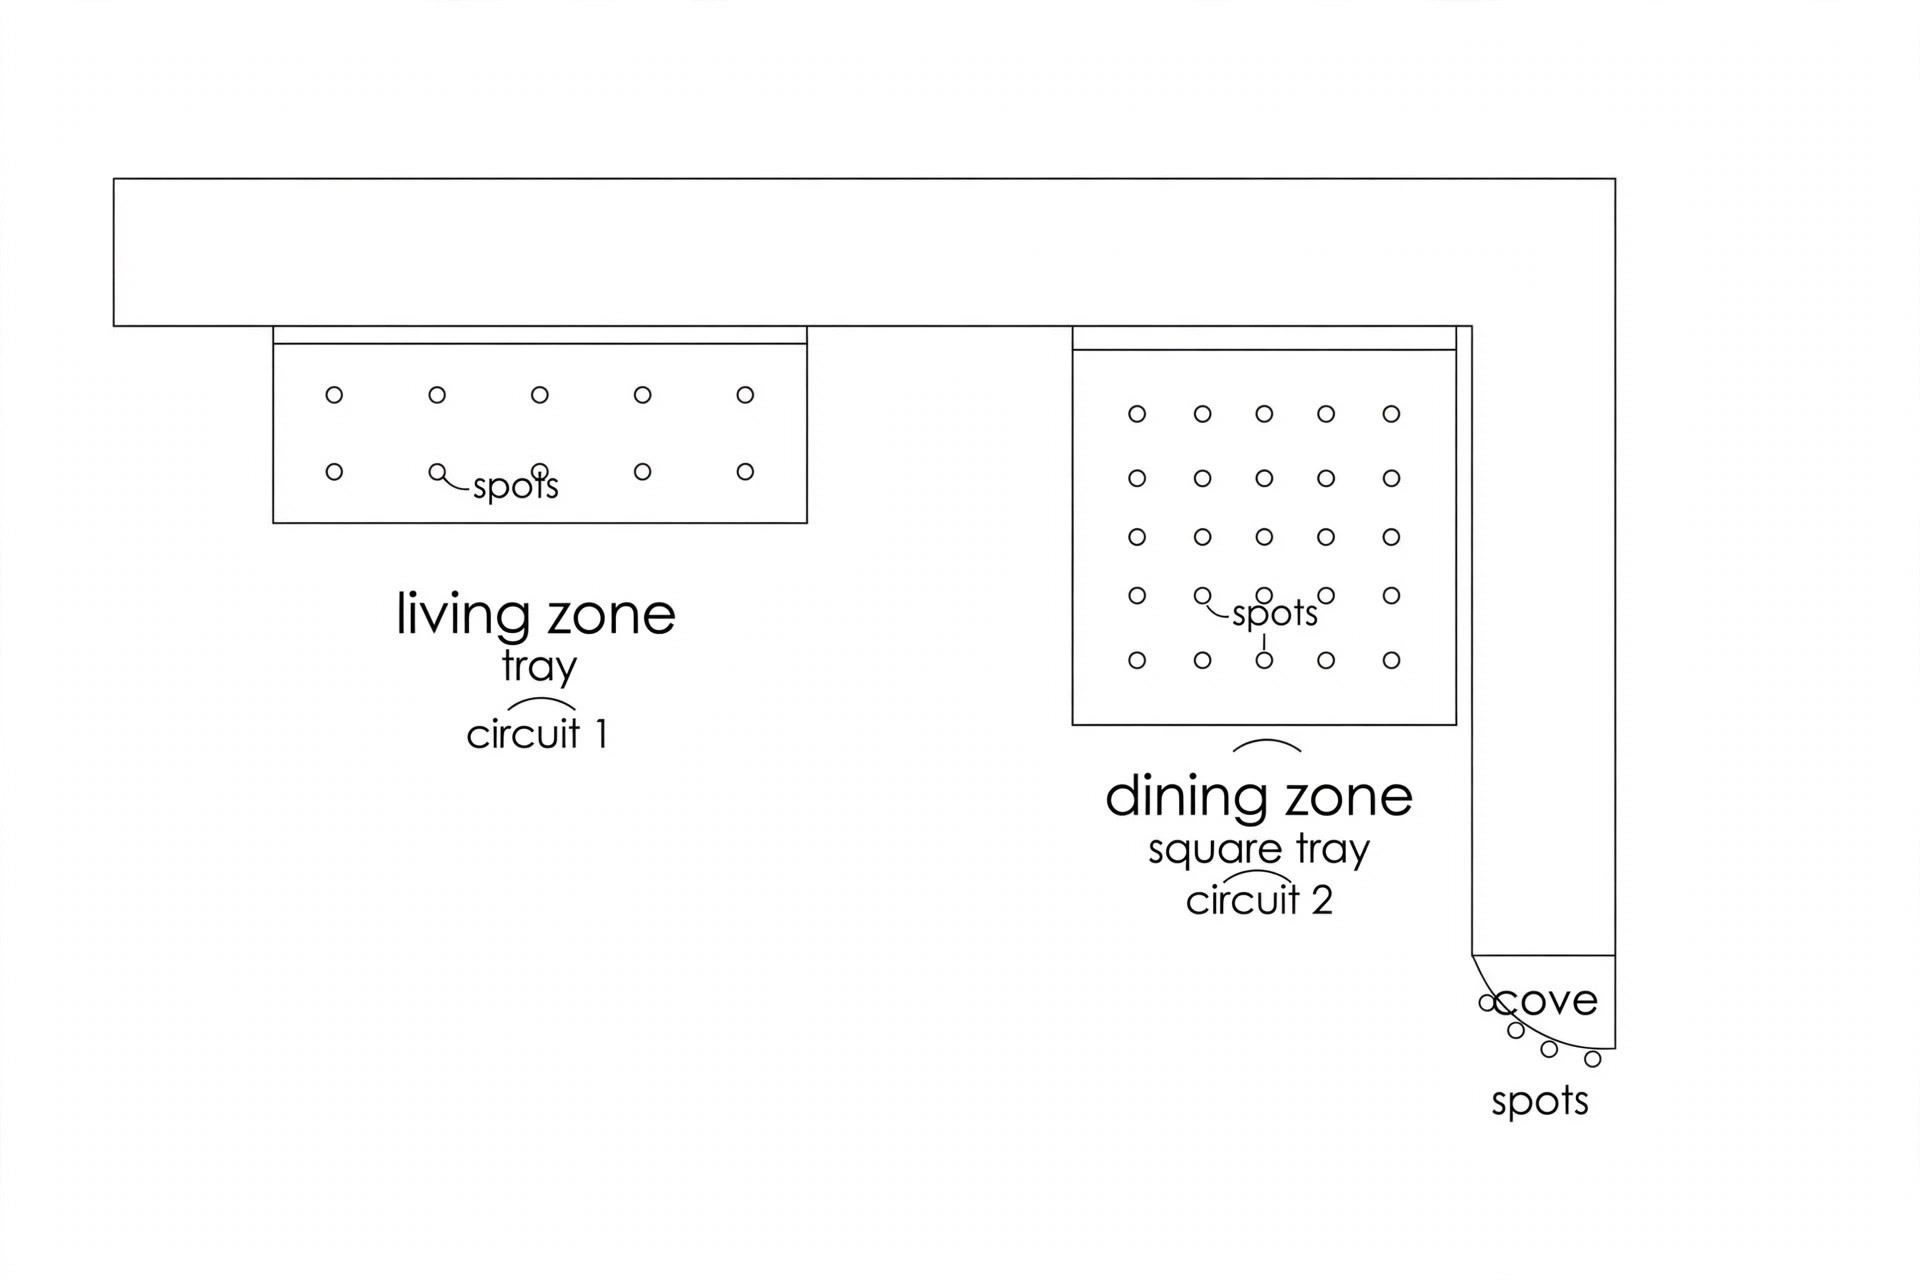
Zoning does not mean three disconnected ceilings. It means three related treatments: a rectangular tray over the living arm, a square or smaller tray over the dining arm, and a cove wash or curved treatment at the bend that visually connects them. The material and colour temperature stay consistent across all three, so the room reads as one design with three zones rather than three designs.
One practical point that saves arguments later: decide the zones with the people who live there, not just on paper. If the dining arm sometimes becomes a work-from-home desk, the lighting plan needs to know that before the boards go up. The main false ceiling guide walks through the room-by-room basics if you are planning the rest of the house at the same time.
Tray ceilings that follow the L
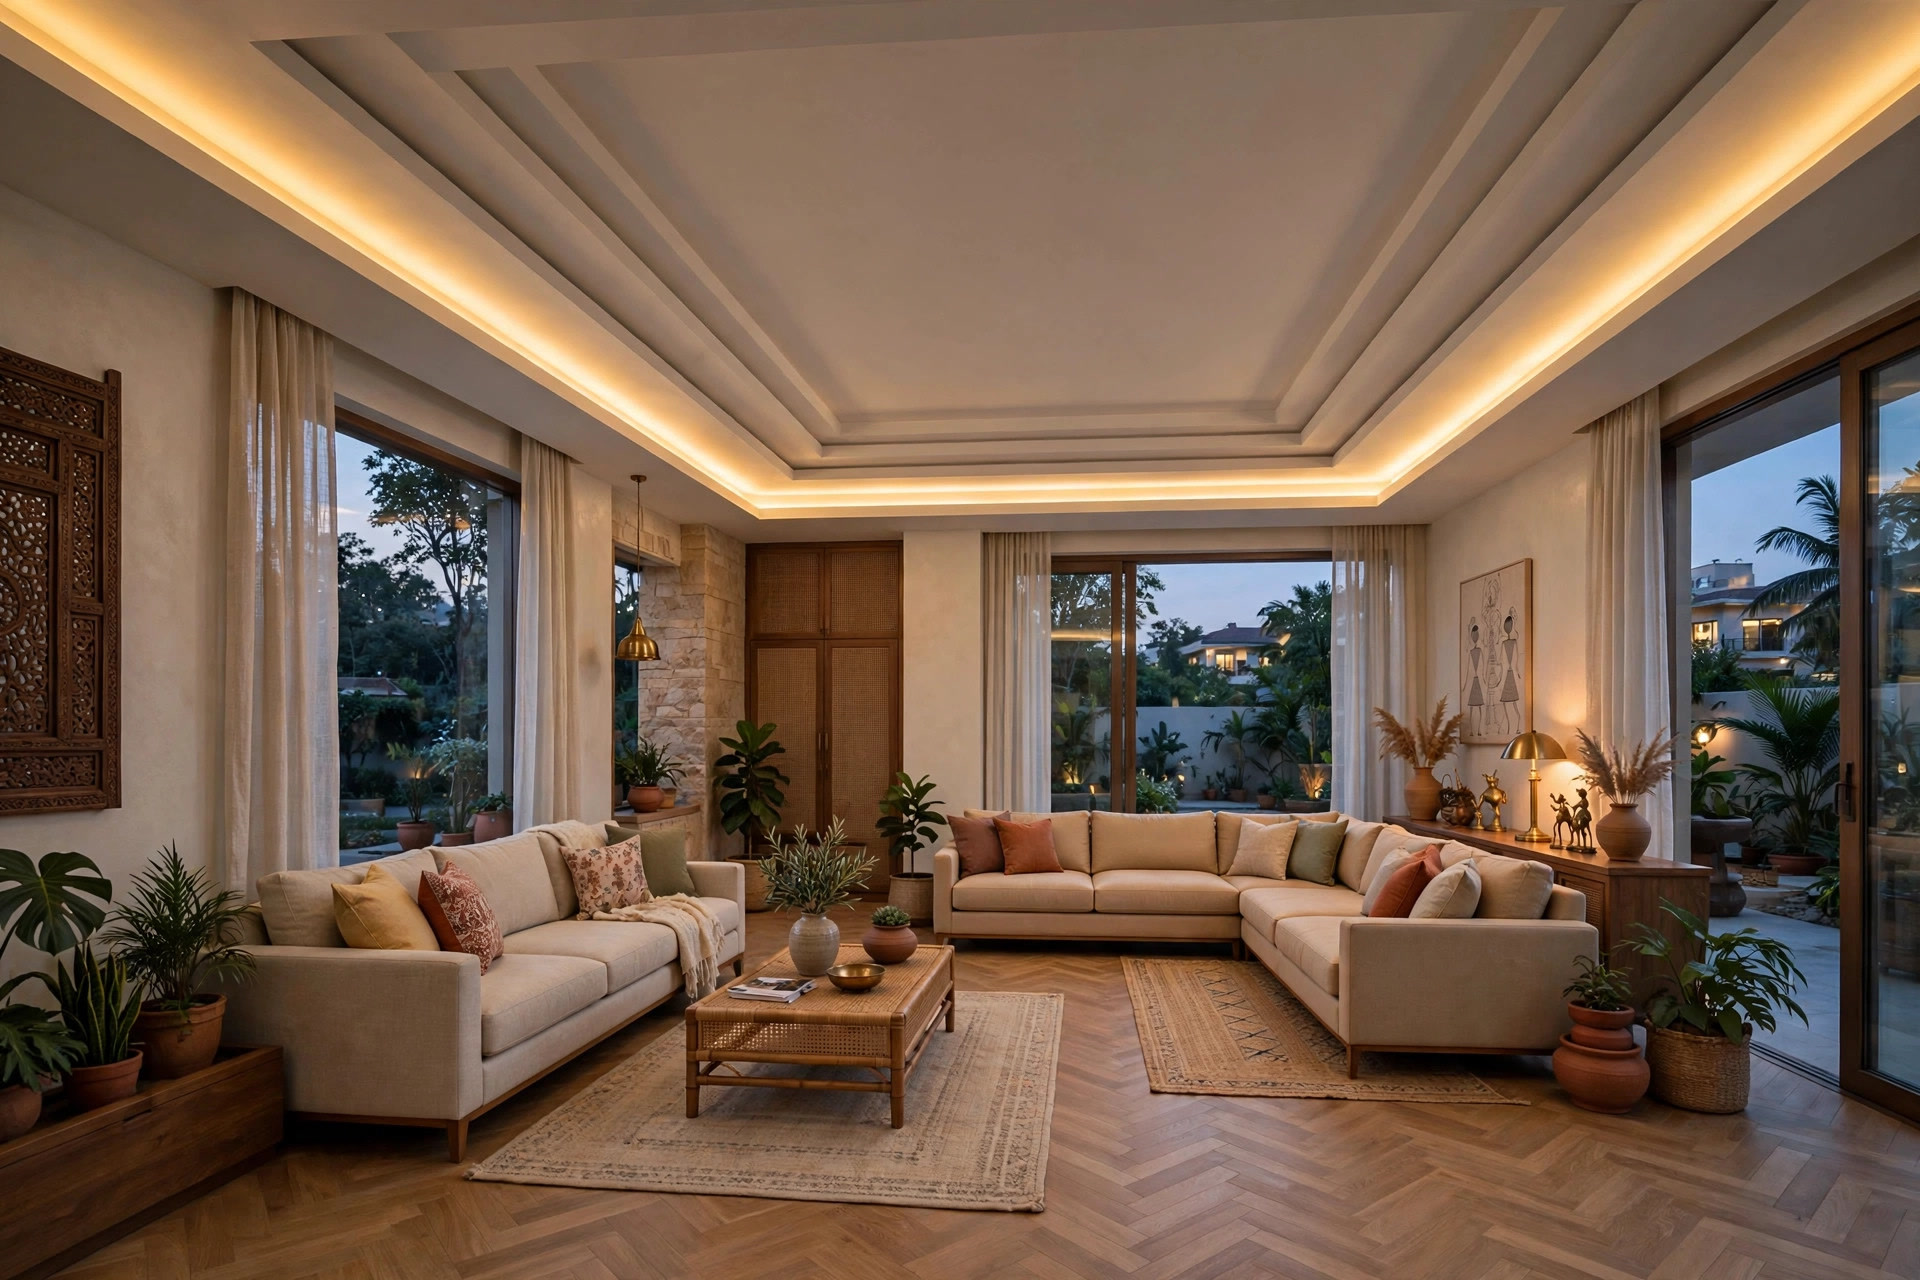
The most natural layout for an L-shaped hall is a tray ceiling that mirrors the room: a dropped border that turns the same corner the floor plan turns. Two or three stepped levels tracing the L create a frame around the whole space, and the continuous shape guides the eye around the bend instead of stopping at it.
The usual build is an outer dropped gypsum border, a recessed cove channel holding the LED strip, and a flat centre. A soft cove along the inner L edge is what makes this design work — it puts light exactly where the room naturally loses it.
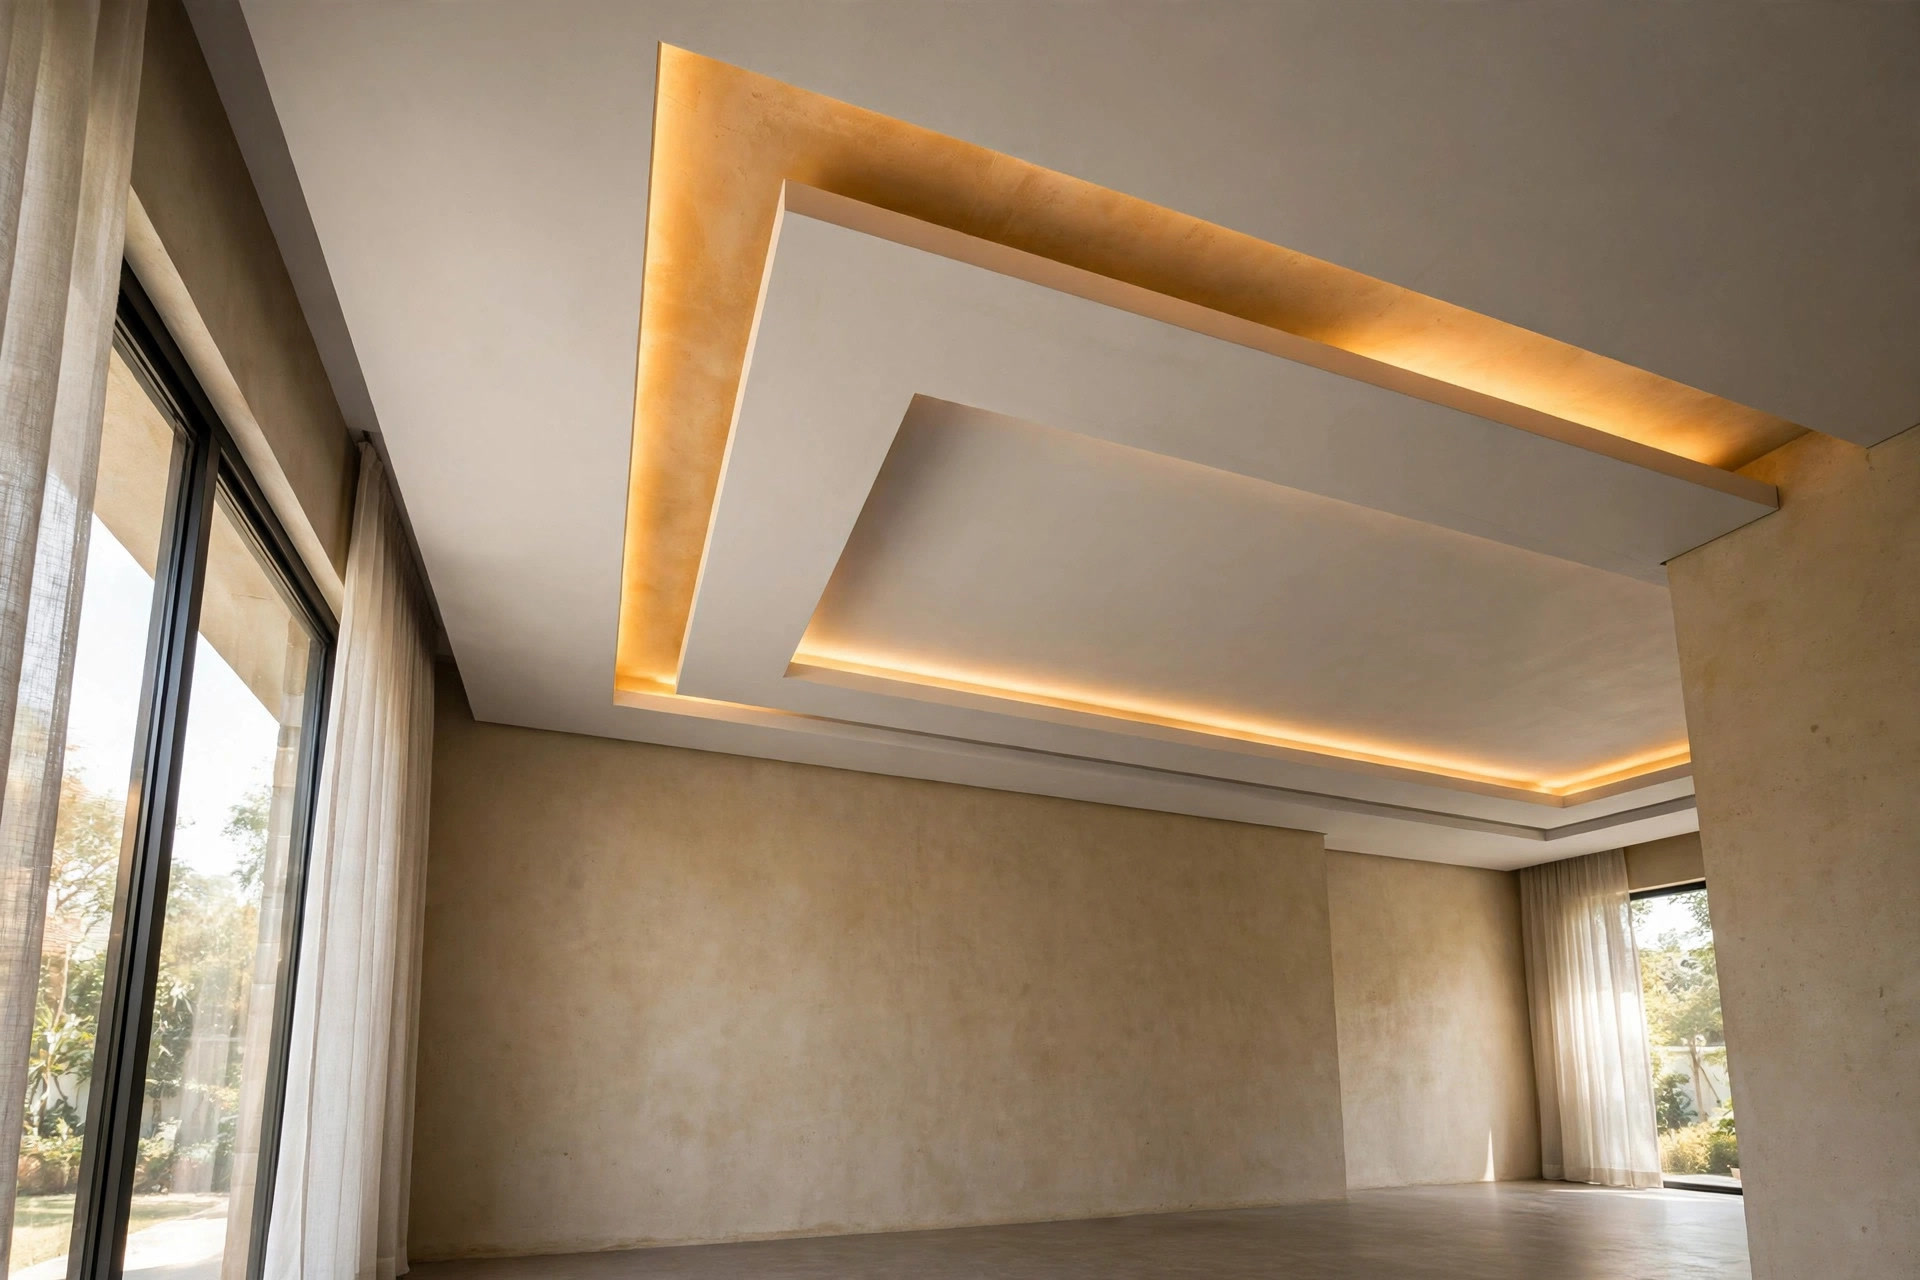
Keep the drop shallow. In apartments with 9–10 ft slabs, even a 3–4 inch drop is enough for a cove channel and wiring; anything deeper starts pressing down on the room, especially over the walkway at the bend. Coohom’s rectangular-hall guide makes the same point about shallow drops for modern apartment heights, and it holds for L layouts too.
Geometric variations of this idea work well when the straight L feels too plain. A chevron or angled tray step that echoes the corner gives the same zoning effect with more character:
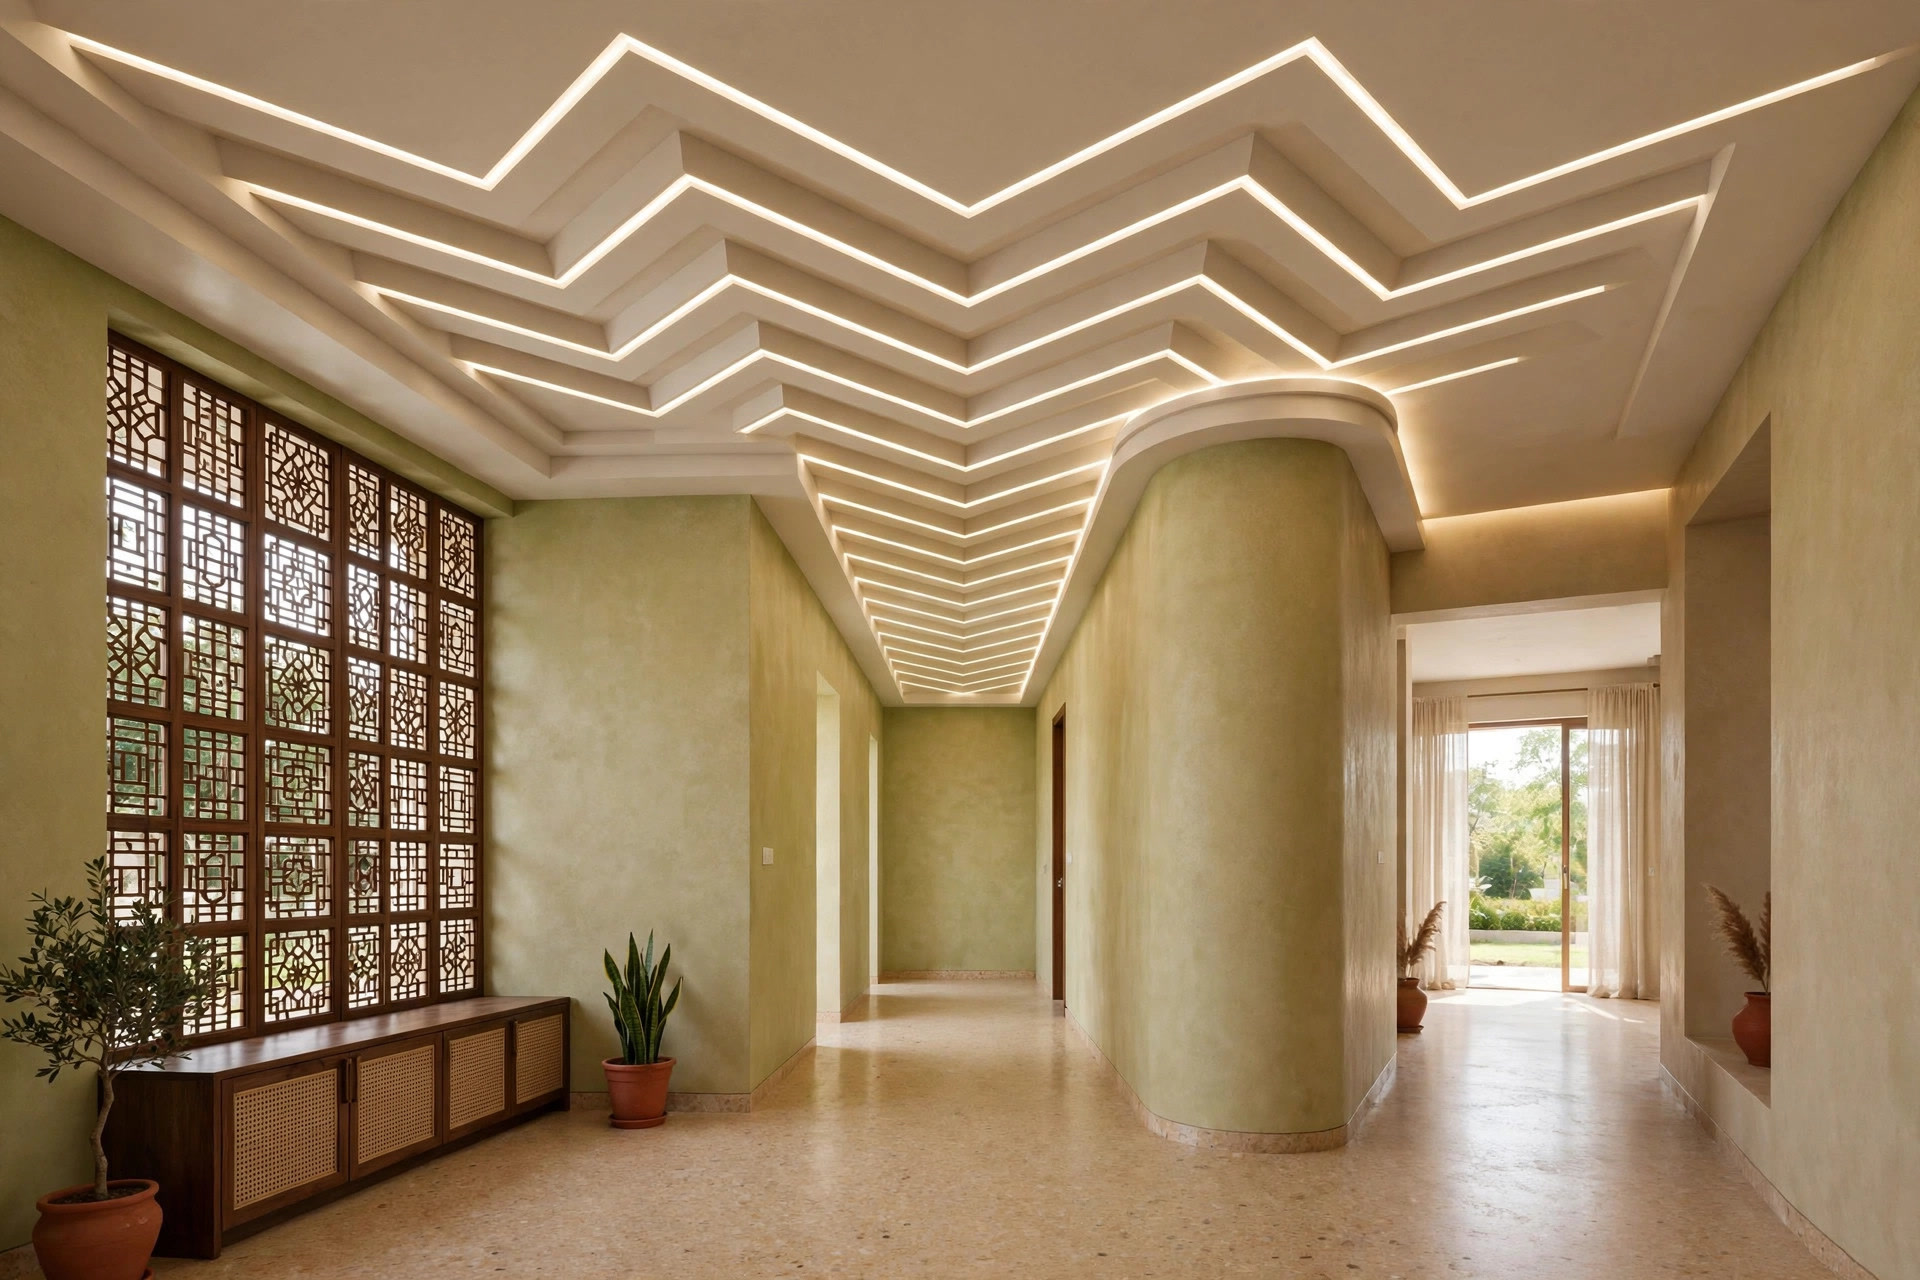
If you like patterned ceilings in general, our ceiling shapes and patterns guide covers the full range — but keep the geometry readable in an L hall. Busy patterns on top of a complex floor plan can feel restless.
One ceiling per arm: dual-zone layouts
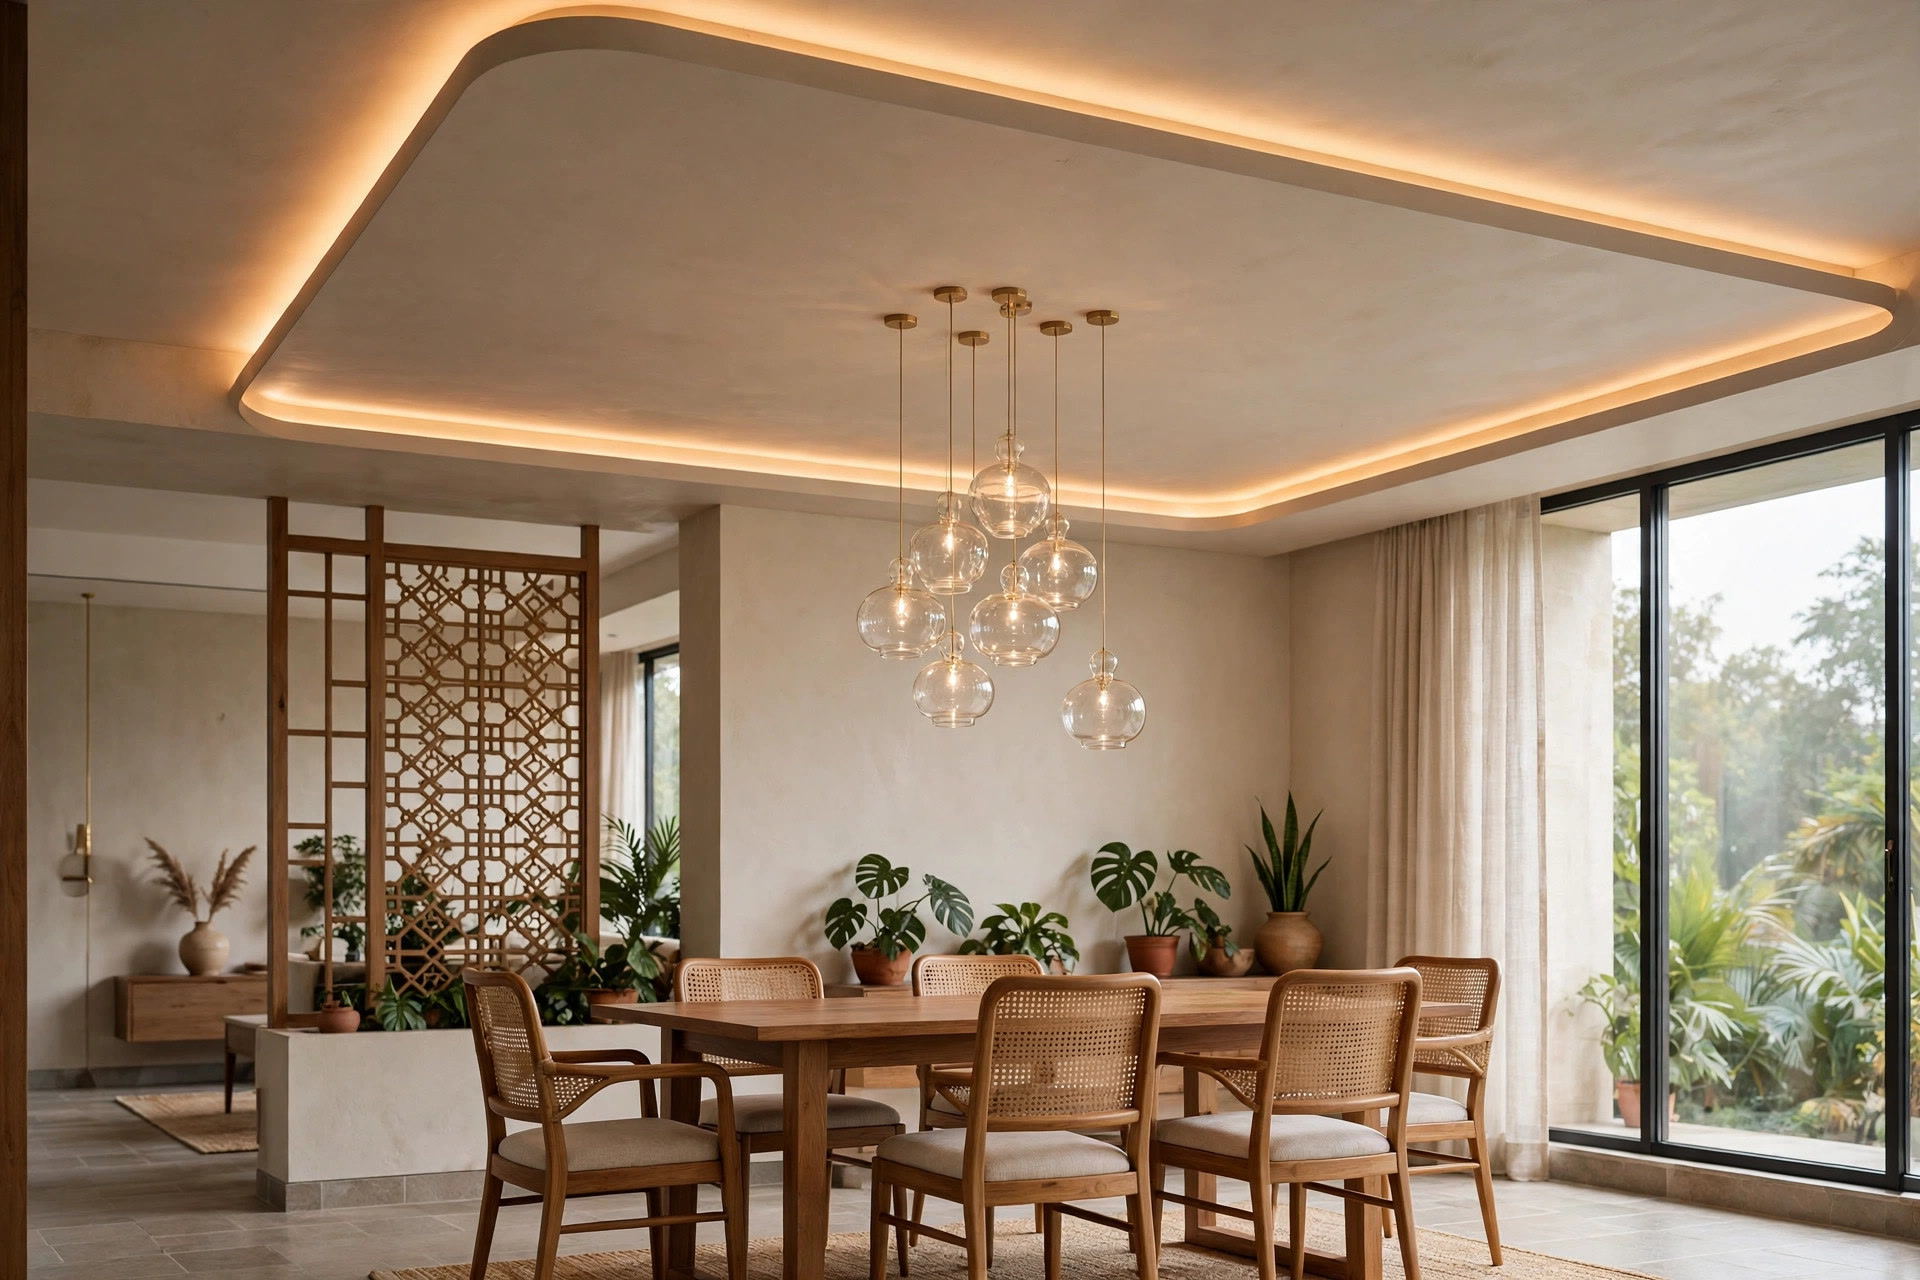
When the two arms serve clearly different purposes, the cleanest answer is to stop treating them as one ceiling. Give the long arm a rectangular tray and the short arm its own square or rectangular tray, each sized to the furniture below it. The dining tray sits over the dining table, not over the middle of the arm; the living tray sits over the seating cluster.
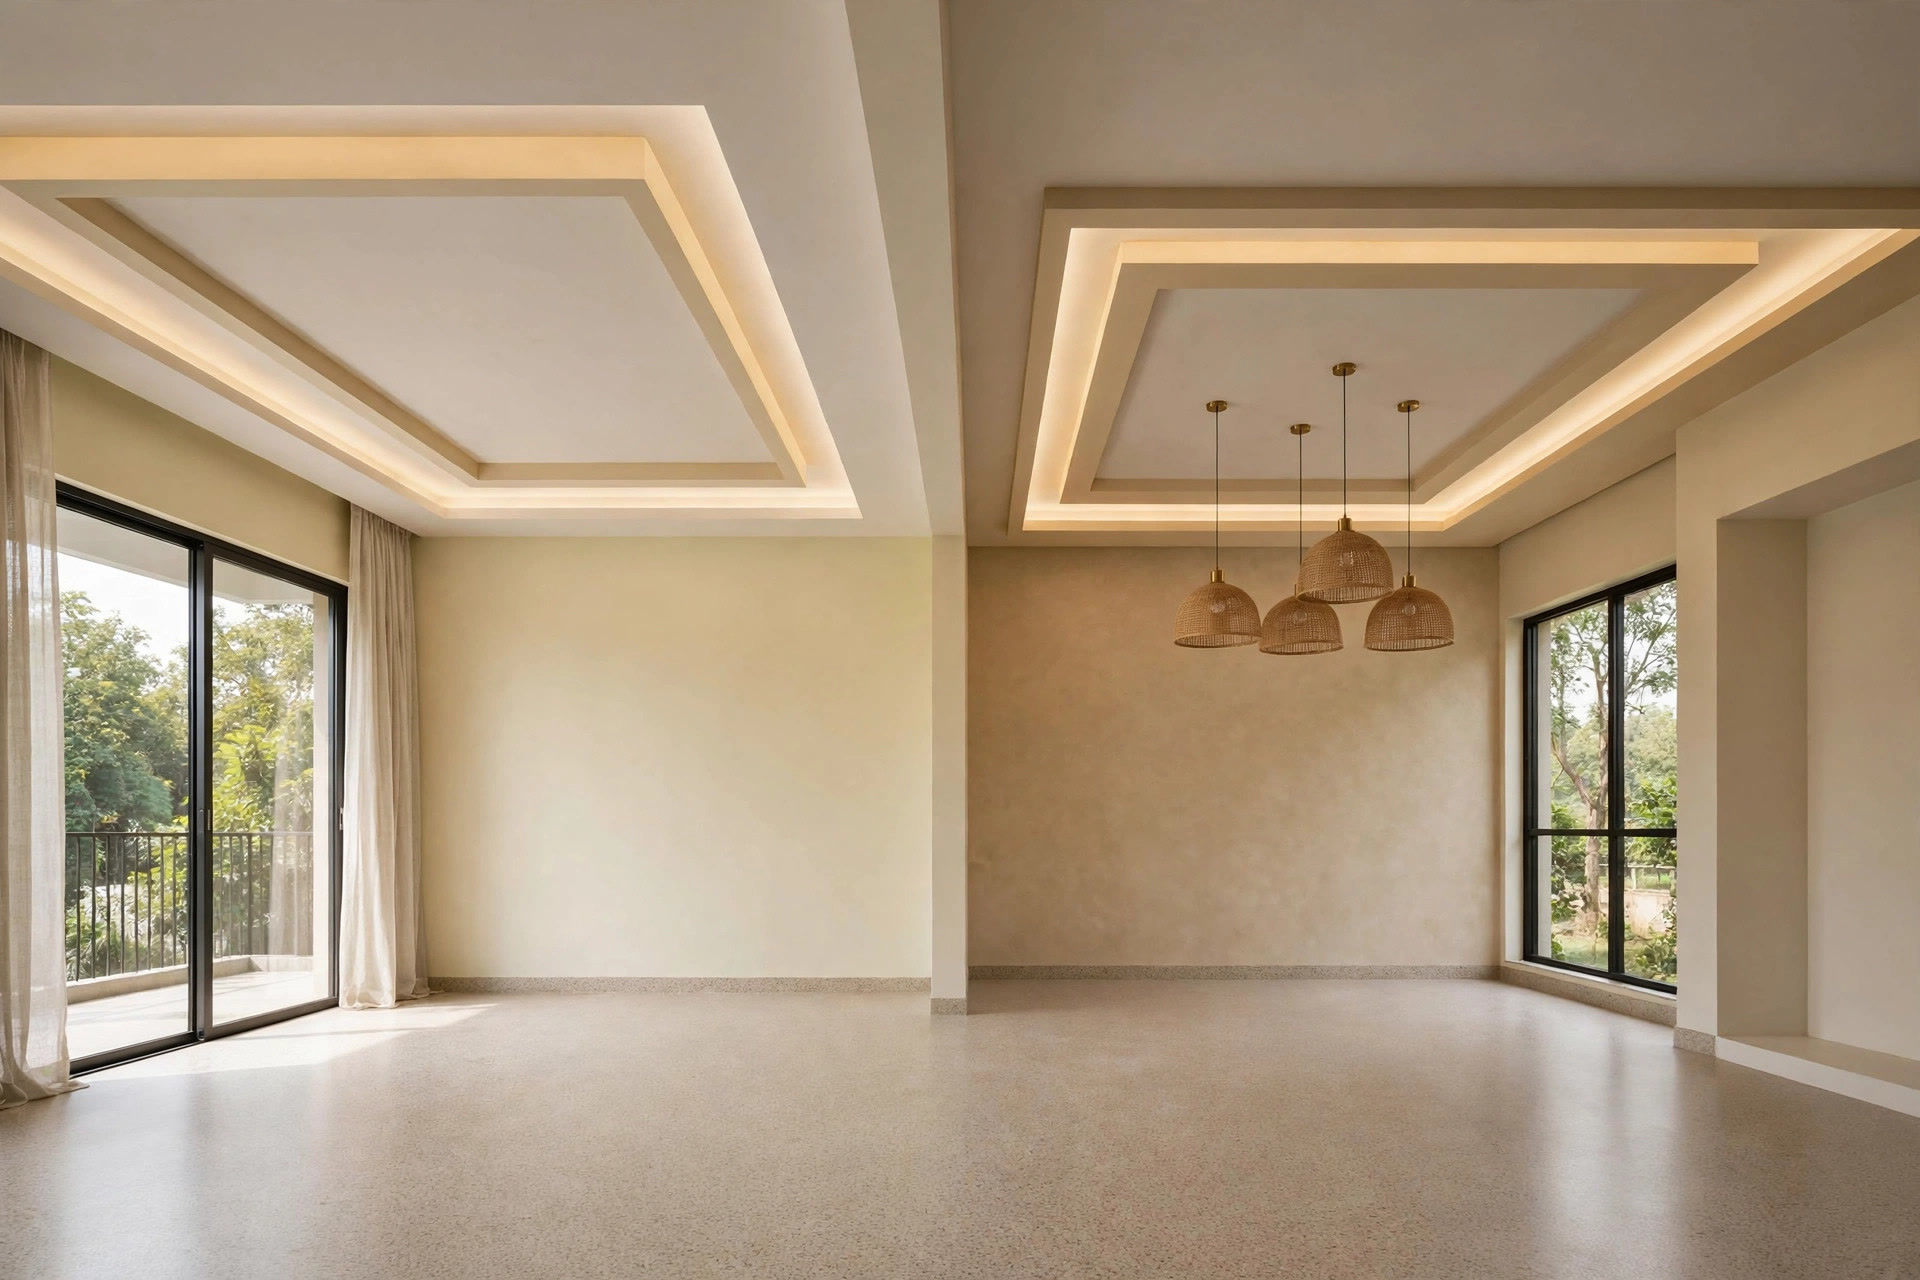
This is the layout to choose when each arm is large enough to hold its own centre of attention: a chandelier or fan over the living tray, pendant lights over the dining tray. Different light types per zone are the point — you can light the dining arm warm and low for dinner while the living arm stays brighter, which is why the two arms deserve separate switching circuits from the start.
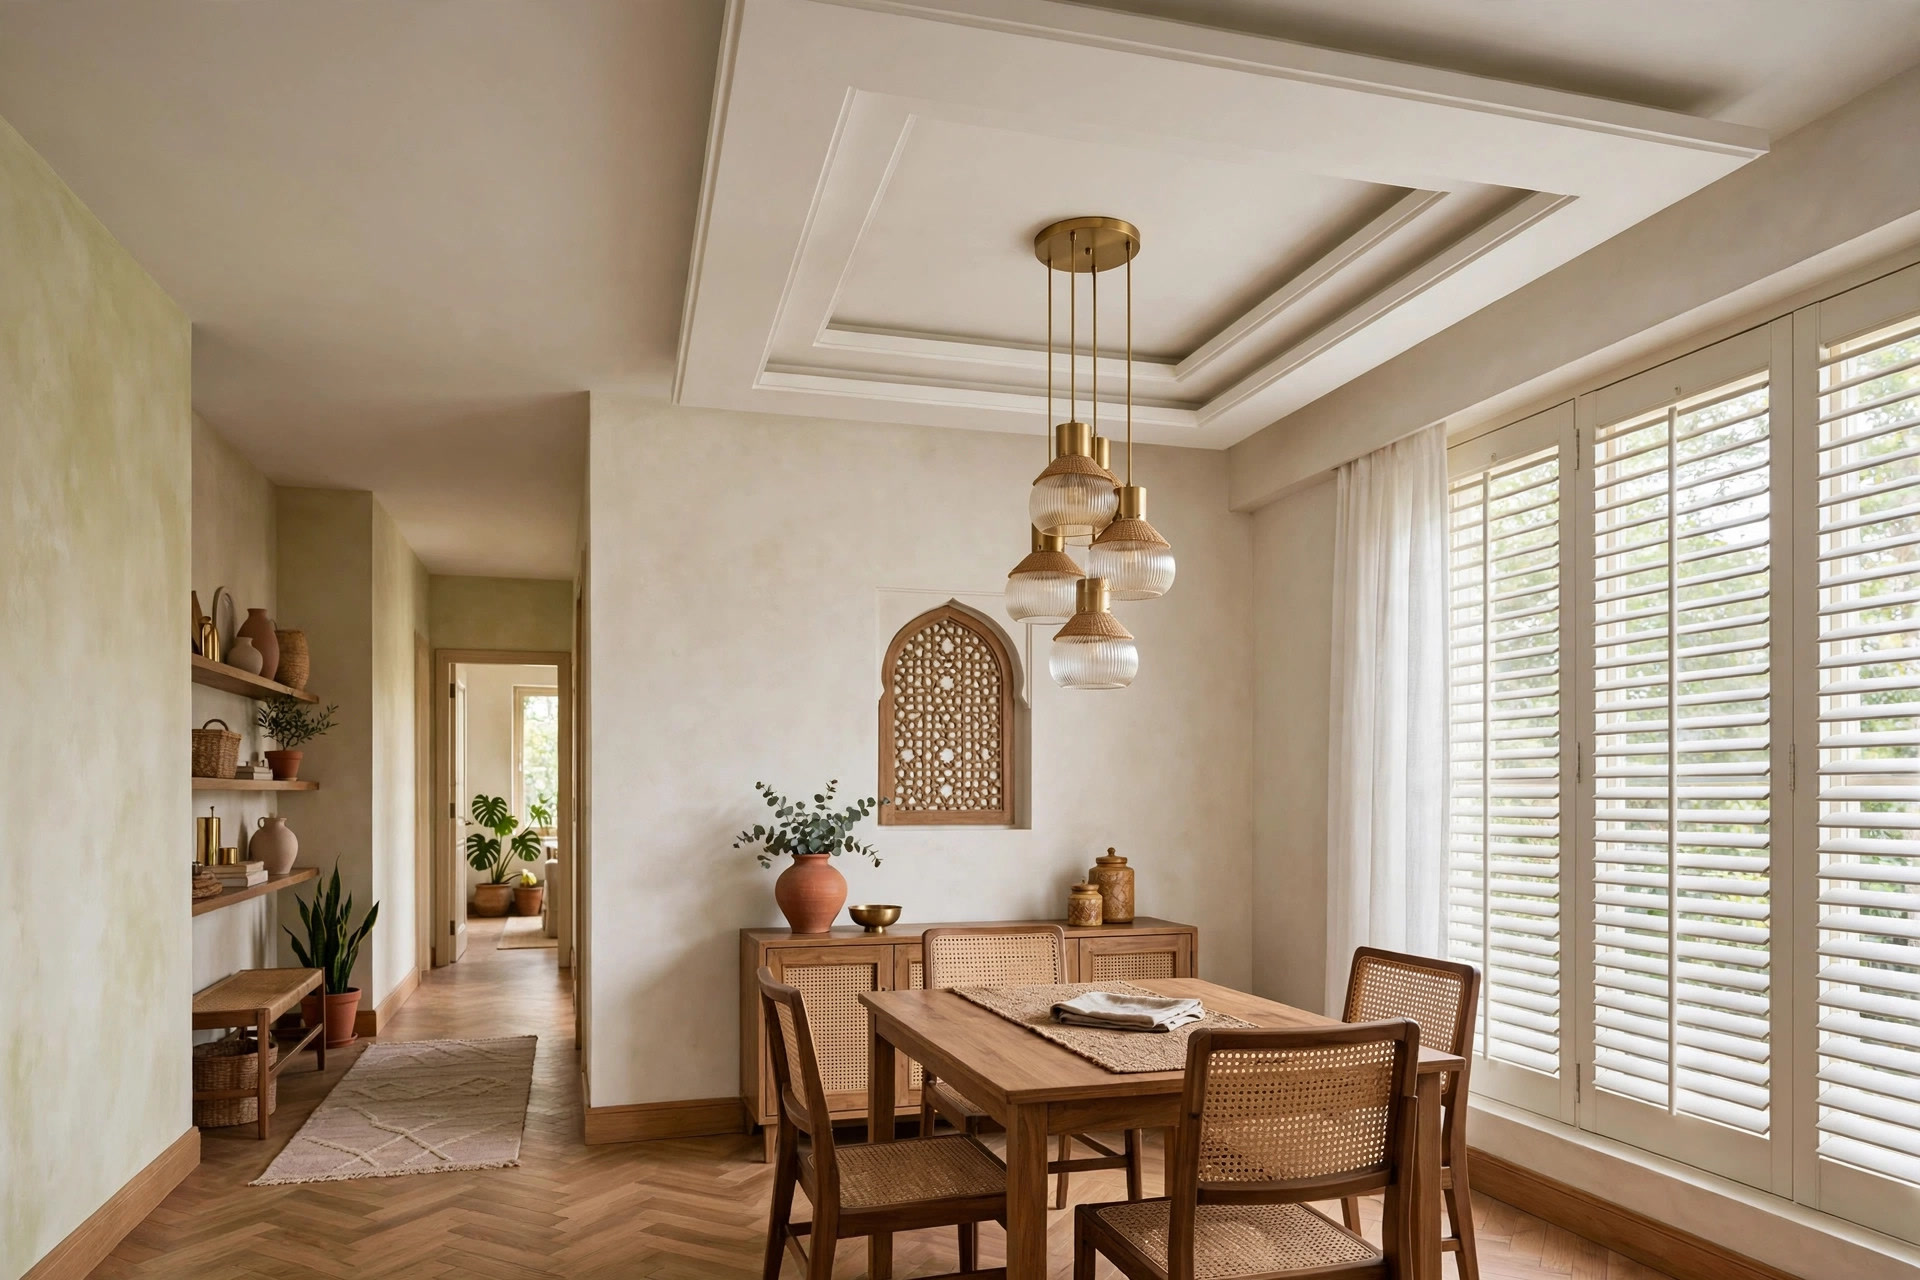
A square tray over a dining table is one of the most forgiving shapes in a false ceiling: it frames the table, gives the pendants a defined home, and never looks dated. The pendant cluster is what carries the design, so keep the tray profile simple:
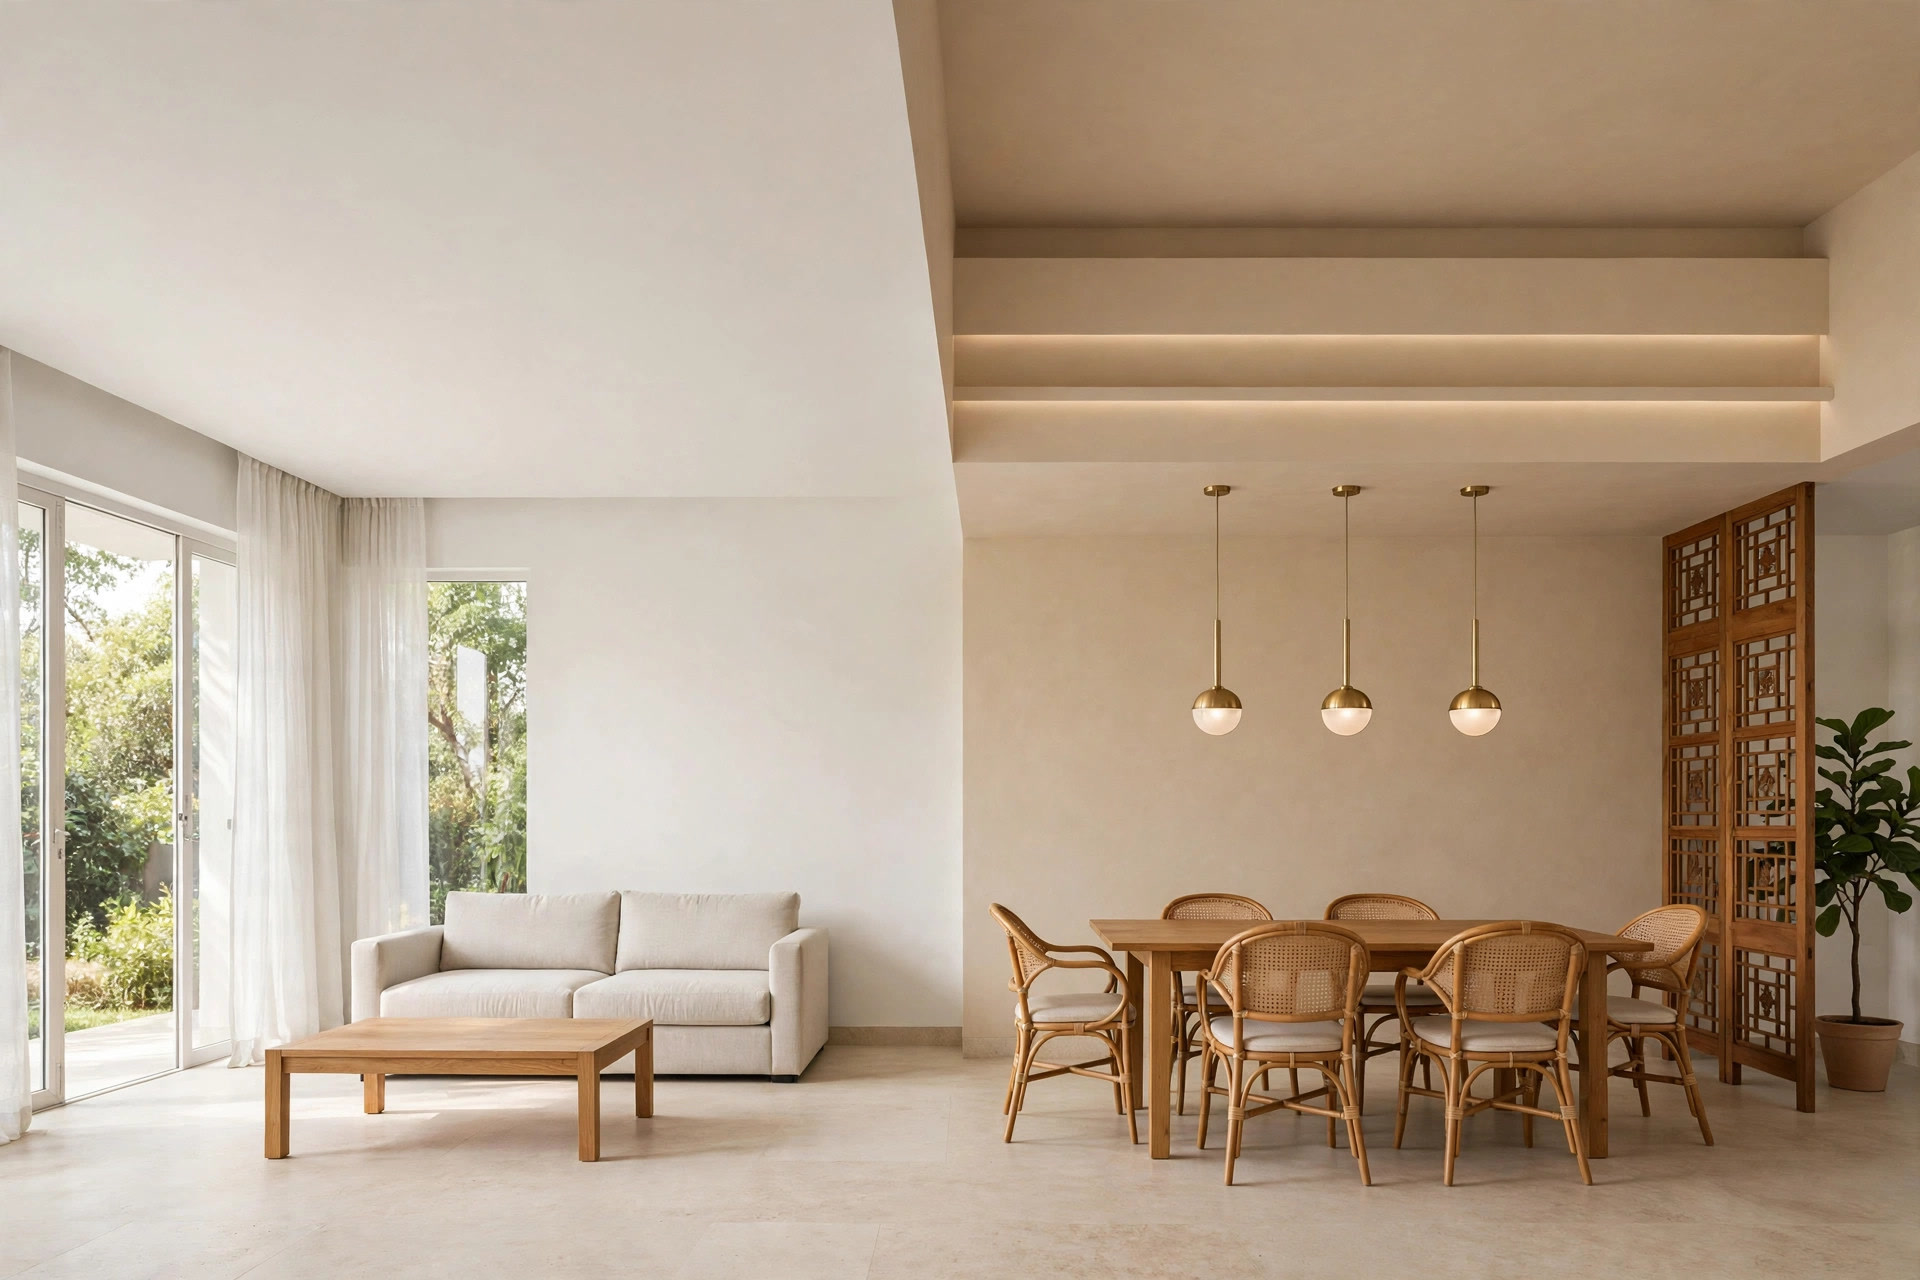
You can also differentiate the zones with paint rather than structure. One arm’s tray in a soft beige or warm grey, the other in plain white, reads as two rooms without a single extra level. It is the cheapest zoning move there is:
Rectangular halls: layouts that fix the tunnel effect
A long rectangular hall has the opposite problem of the L: one axis dominates, and a ceiling that runs the full length makes the room feel like a tunnel. The fix is to break the length visually — with panels, beams or light lines that run across the room rather than along it.
The single central tray is the safe default. A large rectangular recess in the middle of the hall, with cove lighting inside and spotlights around it, pulls attention to the centre and stops the eye from racing to the far wall. This is the layout designers reach for first in halls roughly 14 to 22 ft long, which covers most modern Indian apartments.
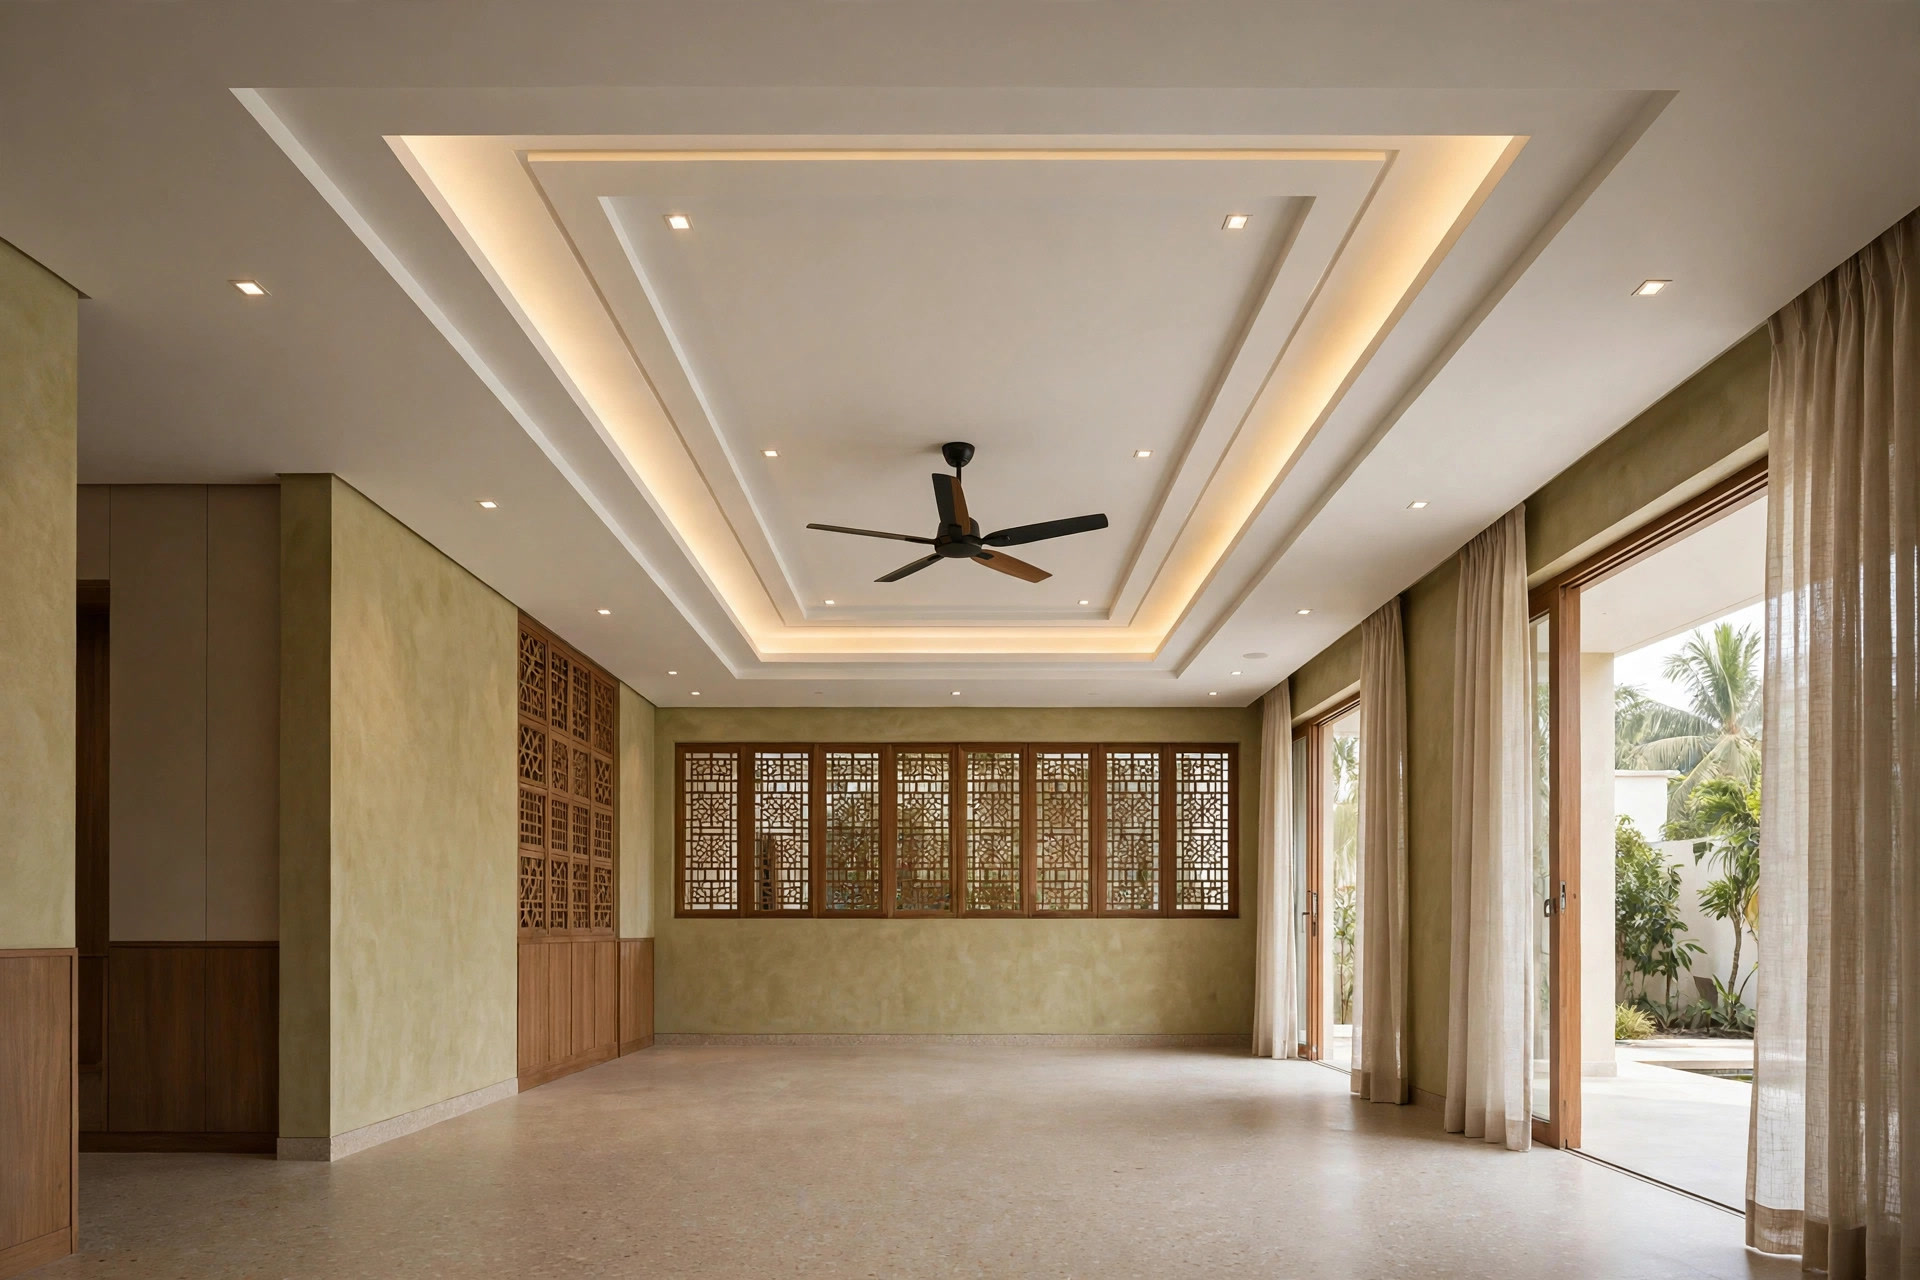
For longer halls, split the ceiling into two matching trays. Each tray becomes a zone — one for the sofa cluster, one for the media or reading corner — and the line between them breaks the tunnel. In halls that need two fans, this dual-tray layout is the practical answer: one fan centred in each tray, with lighting arranged around them.
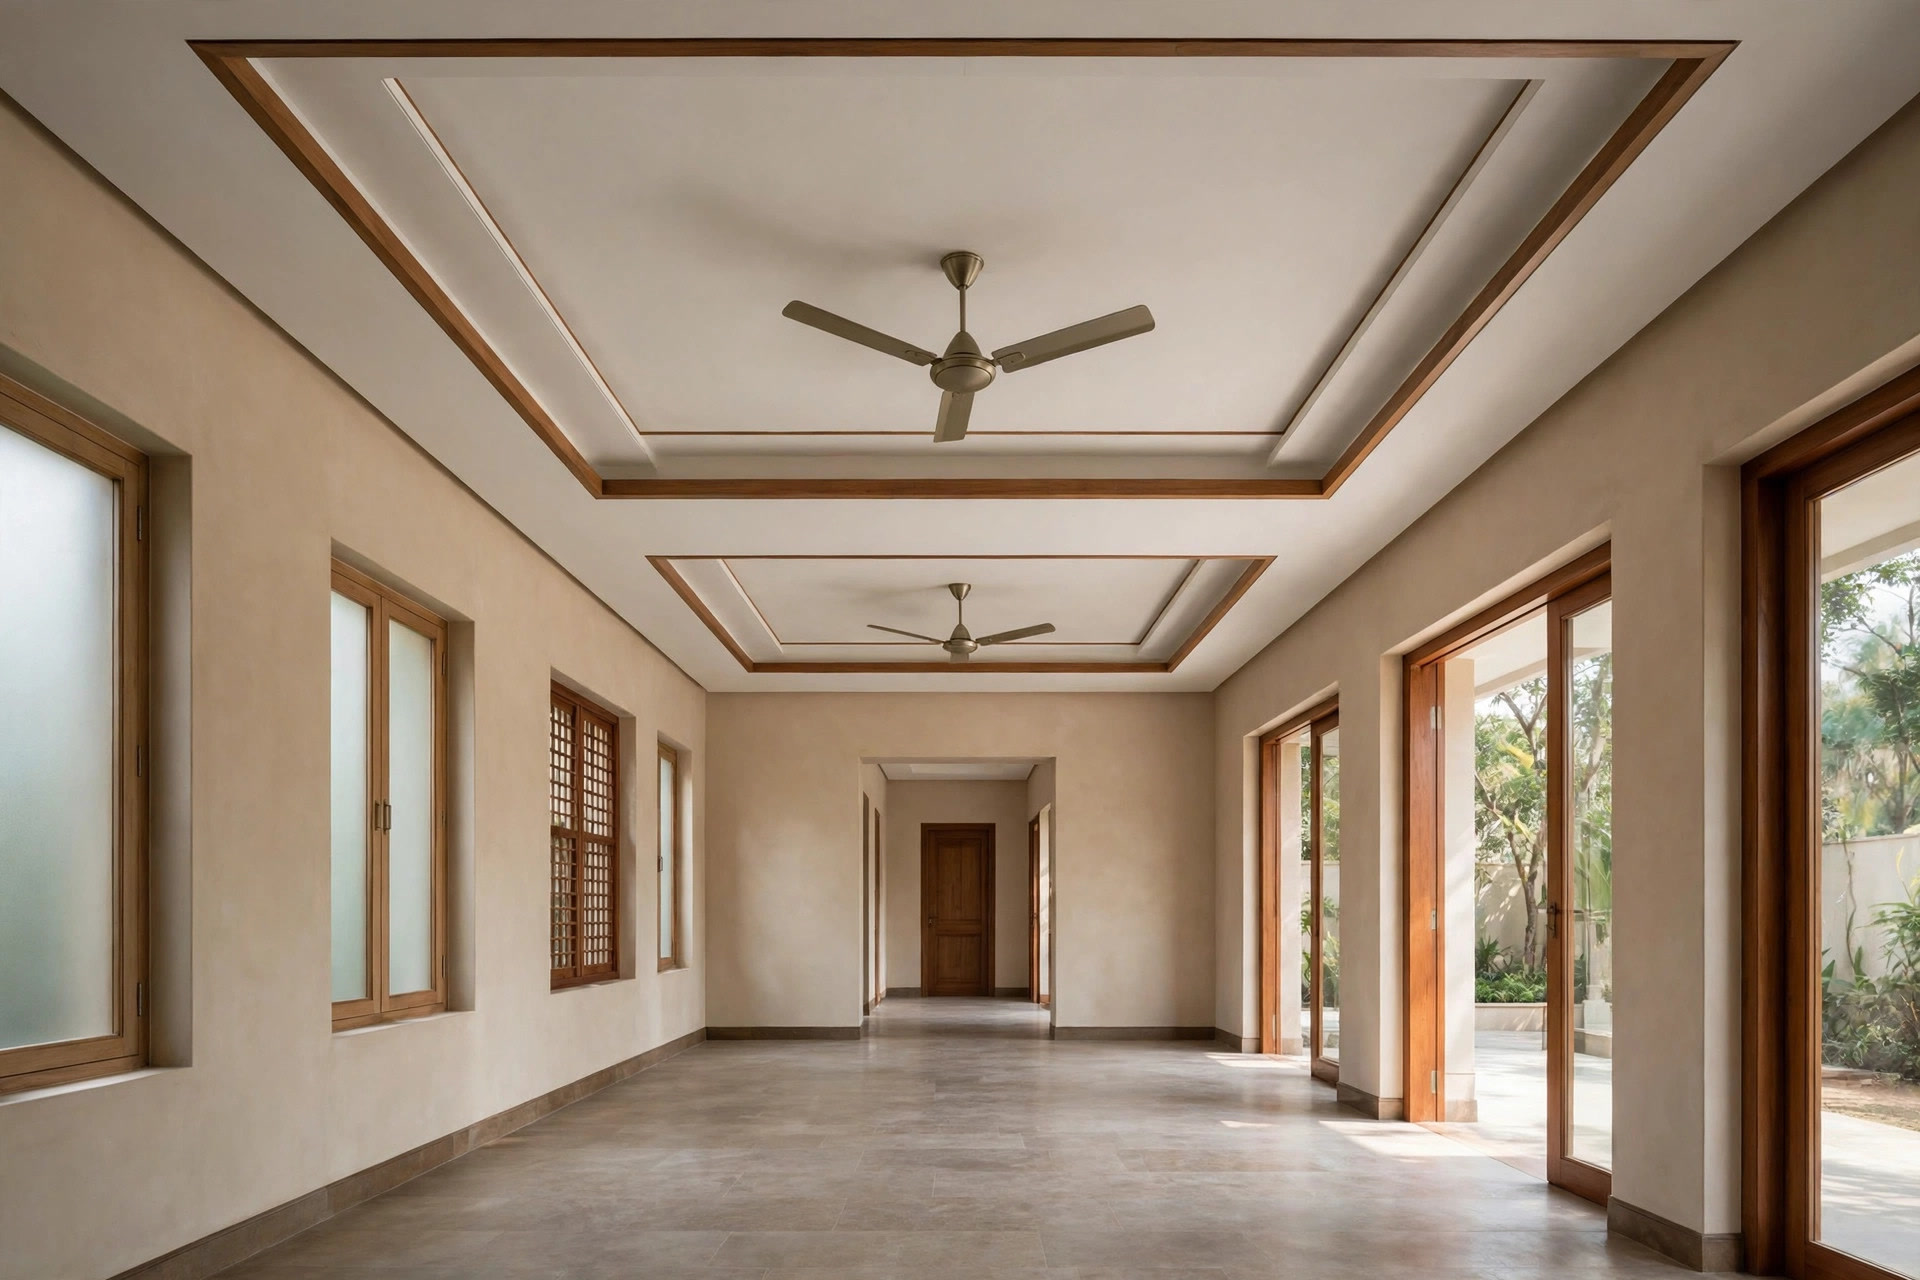
Slim false beams across the width are another way to interrupt the length. They read as structure, hide wiring or AC ducts if needed, and let you hang fans between them:
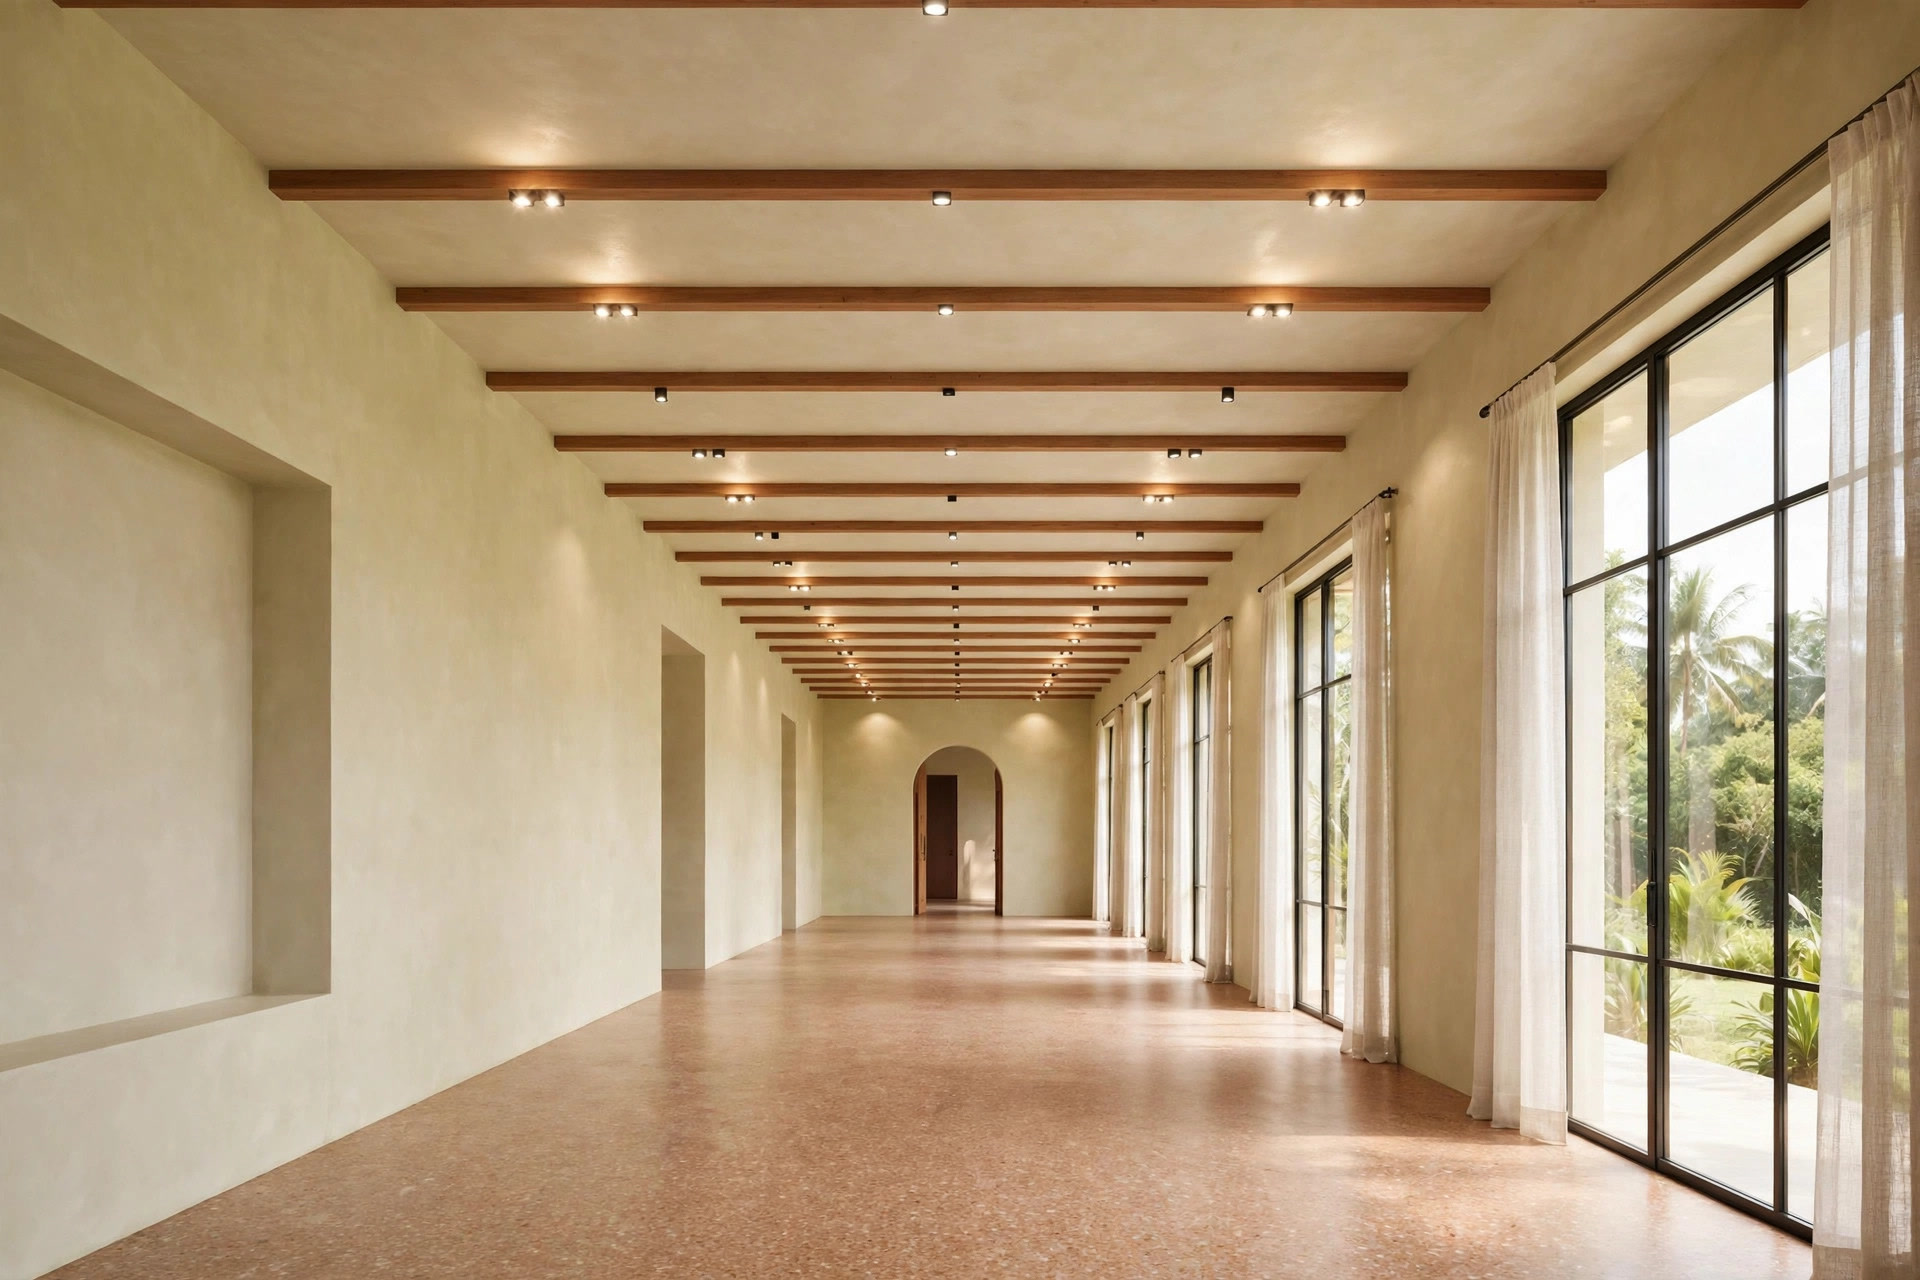
And the simplest of all: a dropped perimeter border with the centre left flat and high. It frames the room, carries cove lighting around all four walls, and costs less than any multi-level design. In a narrow rectangular hall this is often the best value layout — the border narrows the eye’s field and the lit perimeter makes the walls feel further apart.
Borders, cove lighting and light zones
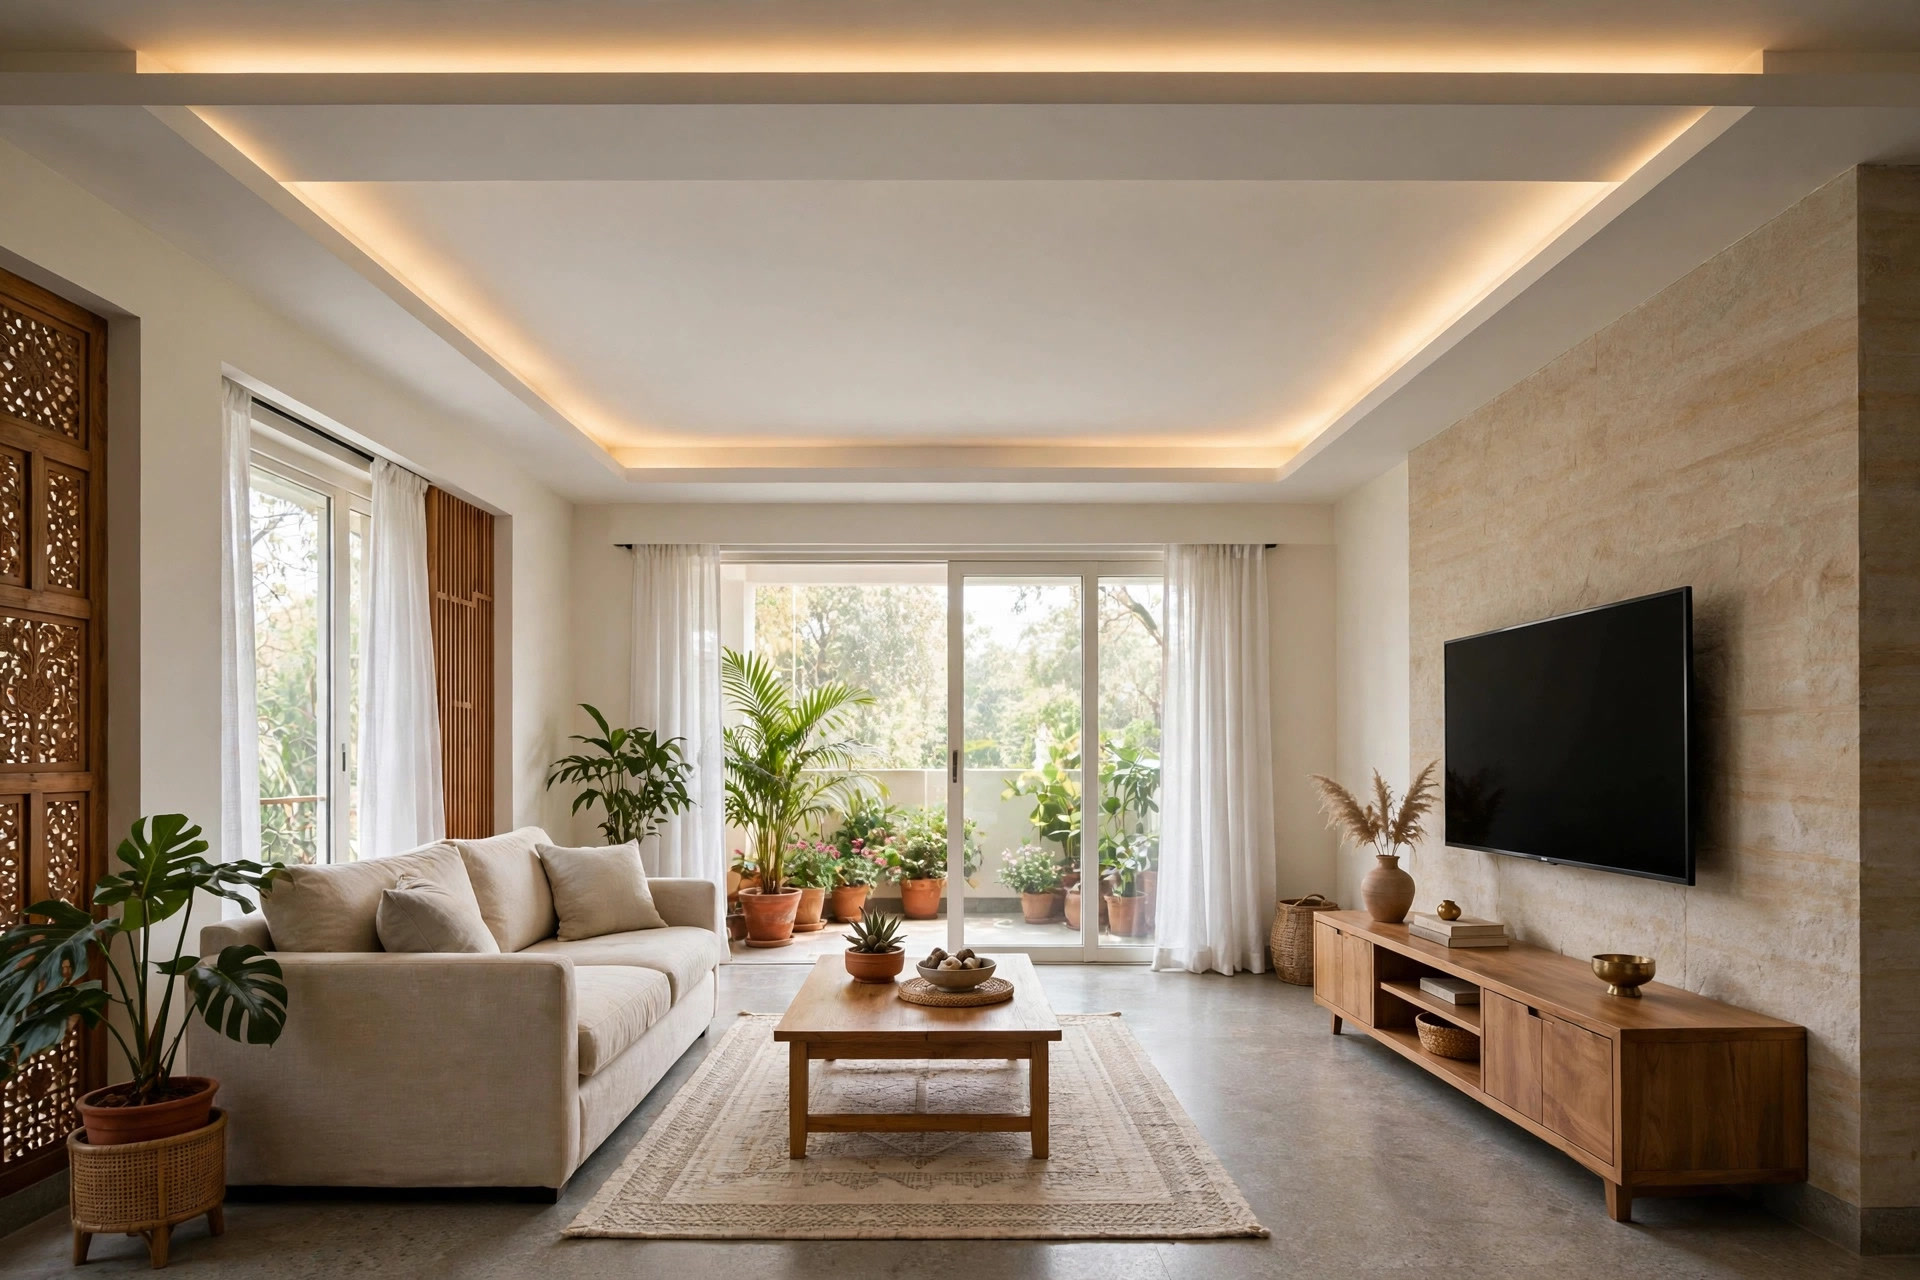
In an L-shaped hall, the border is the design. A continuous dropped border that runs around the whole L — both arms and the bend — is what makes two different zones feel like one room. Everything else can vary; the border should not.
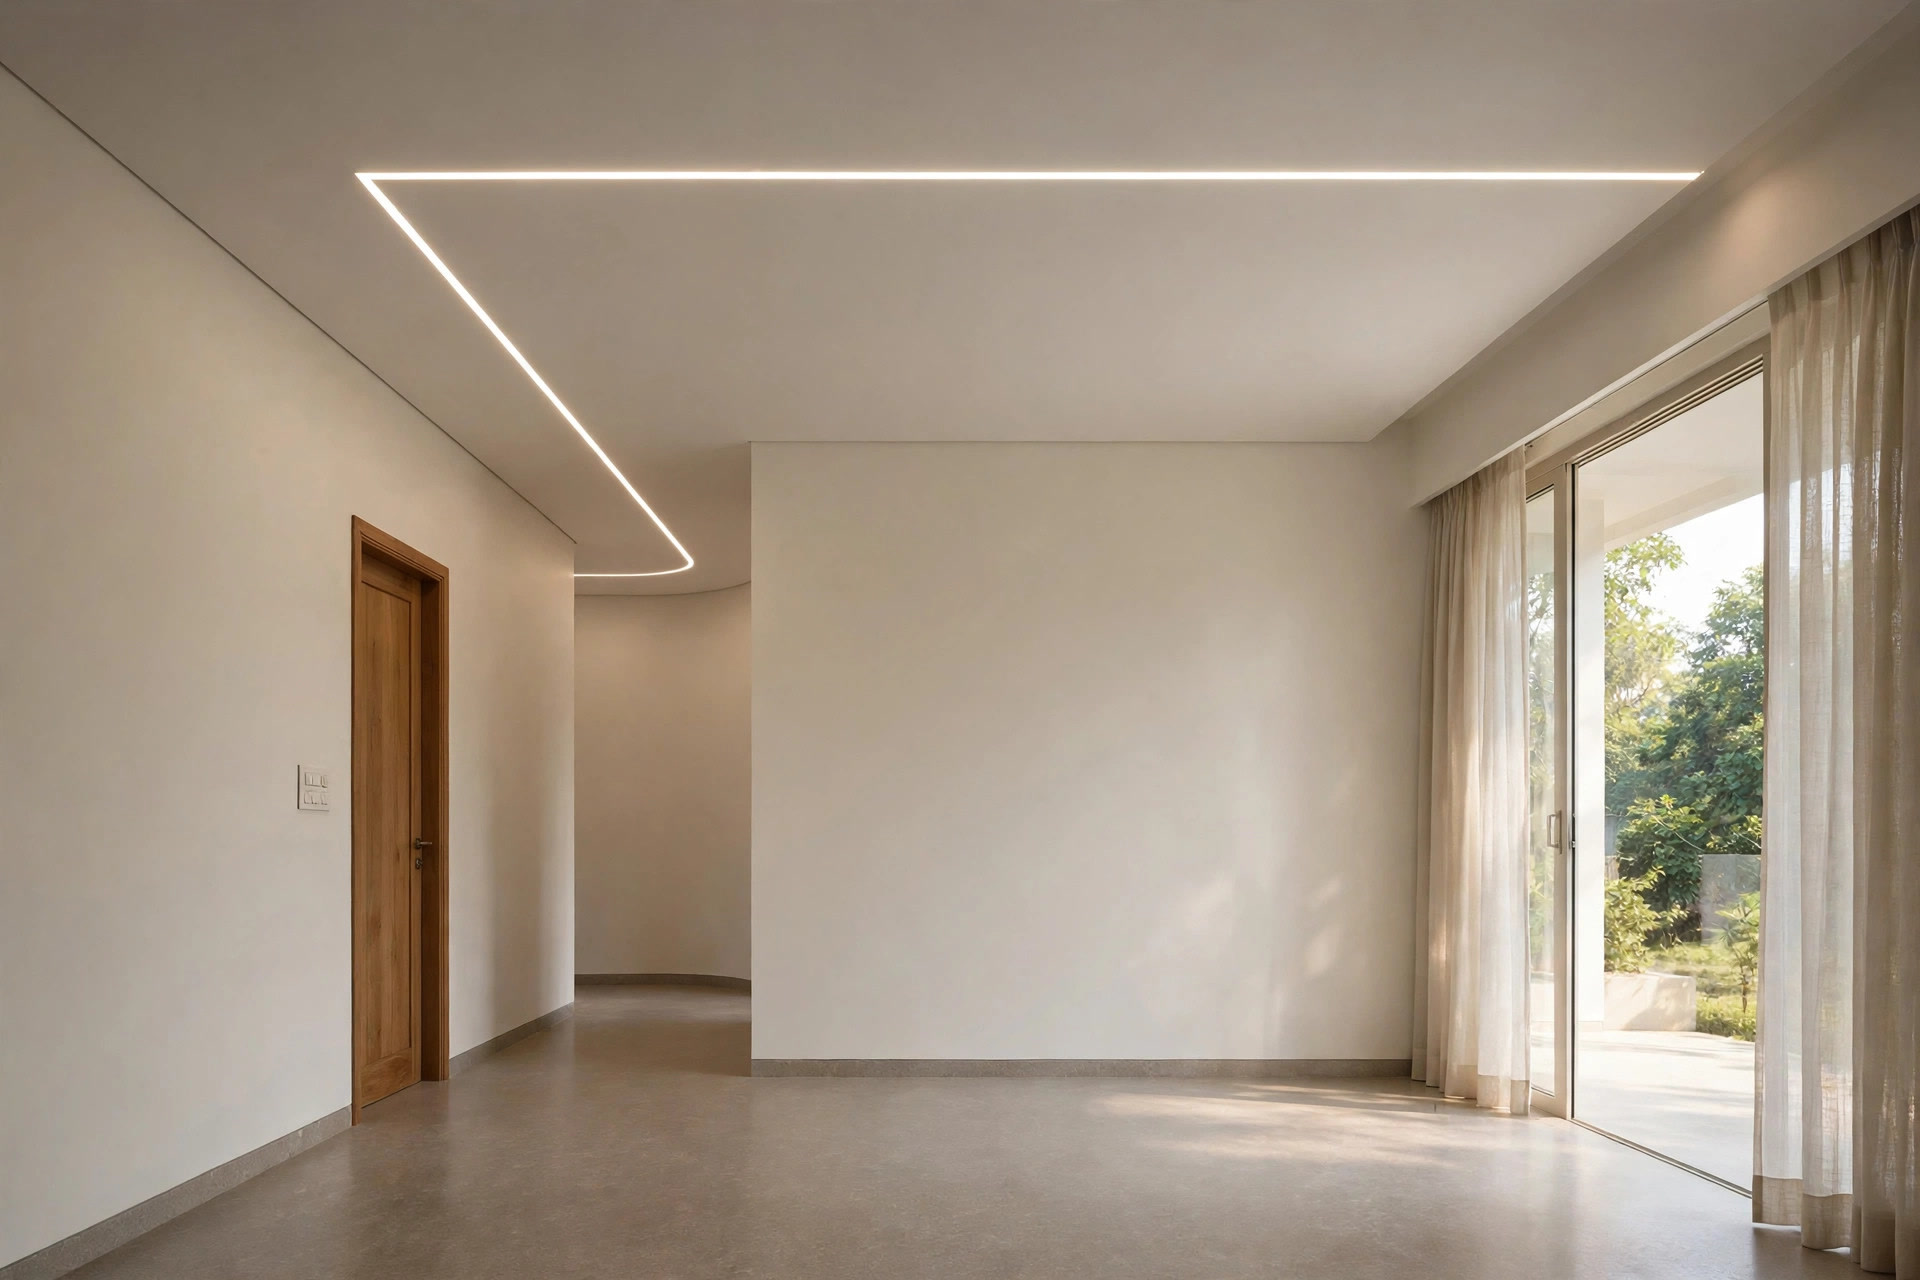
Cove lighting inside that border does two jobs. First, it washes the walls with indirect light, which is what makes a hall feel wide rather than narrow. Second, it puts ambient light at the bend without a visible fixture. The trick most good installers know: break the LED run into segments at the corners instead of one continuous strip around the entire L. A single unbroken line of light running the full perimeter of a long room re-creates the tunnel problem you were trying to solve; segmented runs, switched per zone, give you control.
Plan the lighting in layers before the boards go up:
- Ambient layer: cove LEDs in the border or tray, one circuit per arm so each zone can be lit independently.
- Task layer: recessed downlights over seating, reading and dining positions — not spread evenly like a grid, but placed where people actually sit.
- Accent layer: pendants over the dining table, a wash on the TV or feature wall, a spotlight on artwork.
Warm white (around 2700–3000K) suits halls and living spaces; it flatters wood, fabric and skin tones. Mixing warm coves with cool white downlights in the same room is a common mistake — pick one temperature family per zone and stay with it.
The dark inner corner: how to fix it
The inner corner of the L is the spot every bad ceiling plan forgets. It gets the least daylight, the least foot traffic and usually no light fixture, so it goes grey and the two arms feel disconnected. Three ceiling moves fix it:
1. Curve the cove around the bend. Instead of a sharp 90-degree border corner, use a gentle radius and let the cove light sweep around it. The curve reads as intentional design, and the light reaches both walls meeting at the corner.
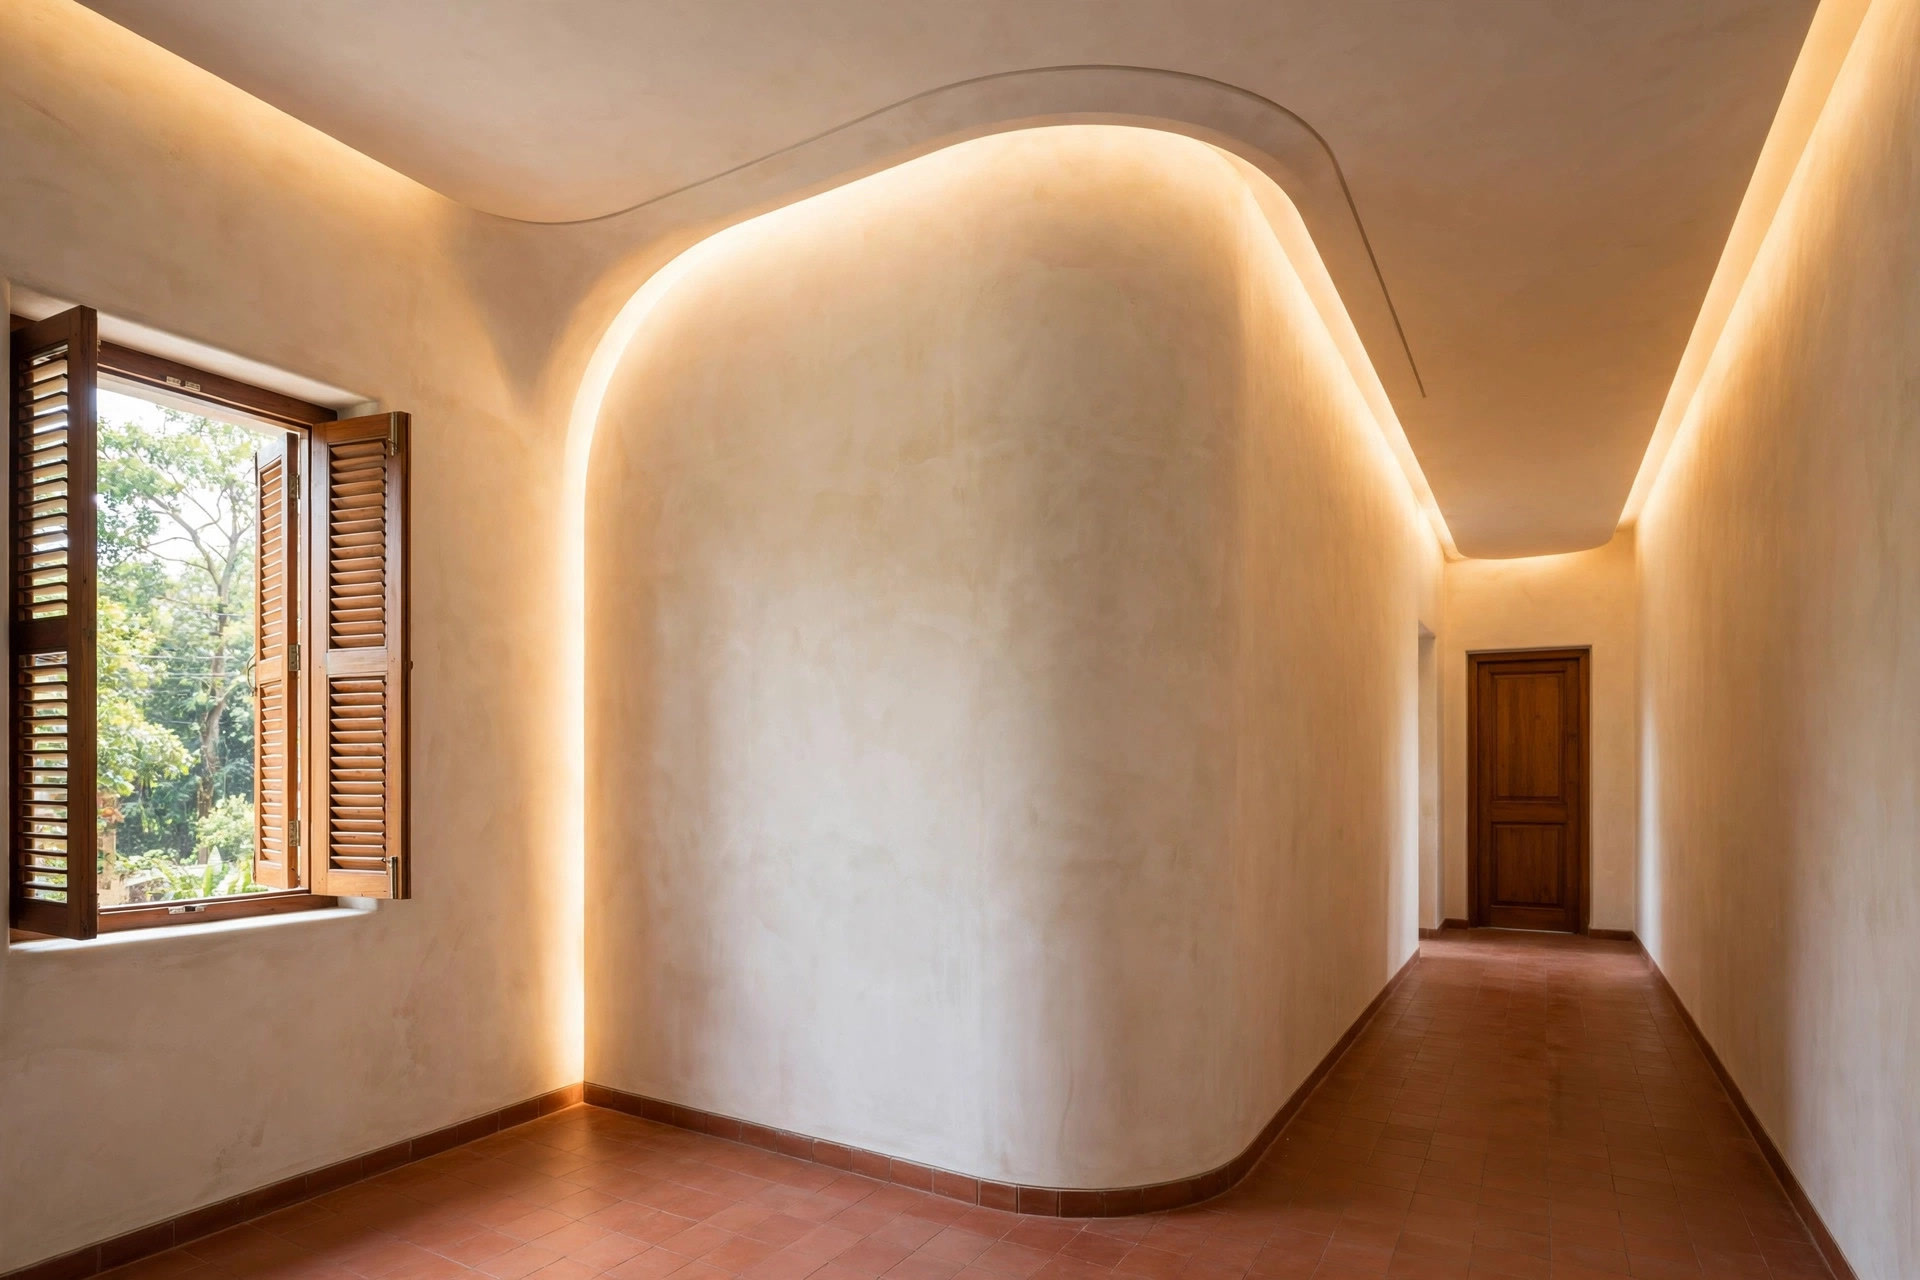
2. Wash the corner with its own cove section. Give the bend a short dedicated cove run on its own circuit. Turned up, it connects the two arms in the evening; turned down, it becomes a soft night light for the walkway.
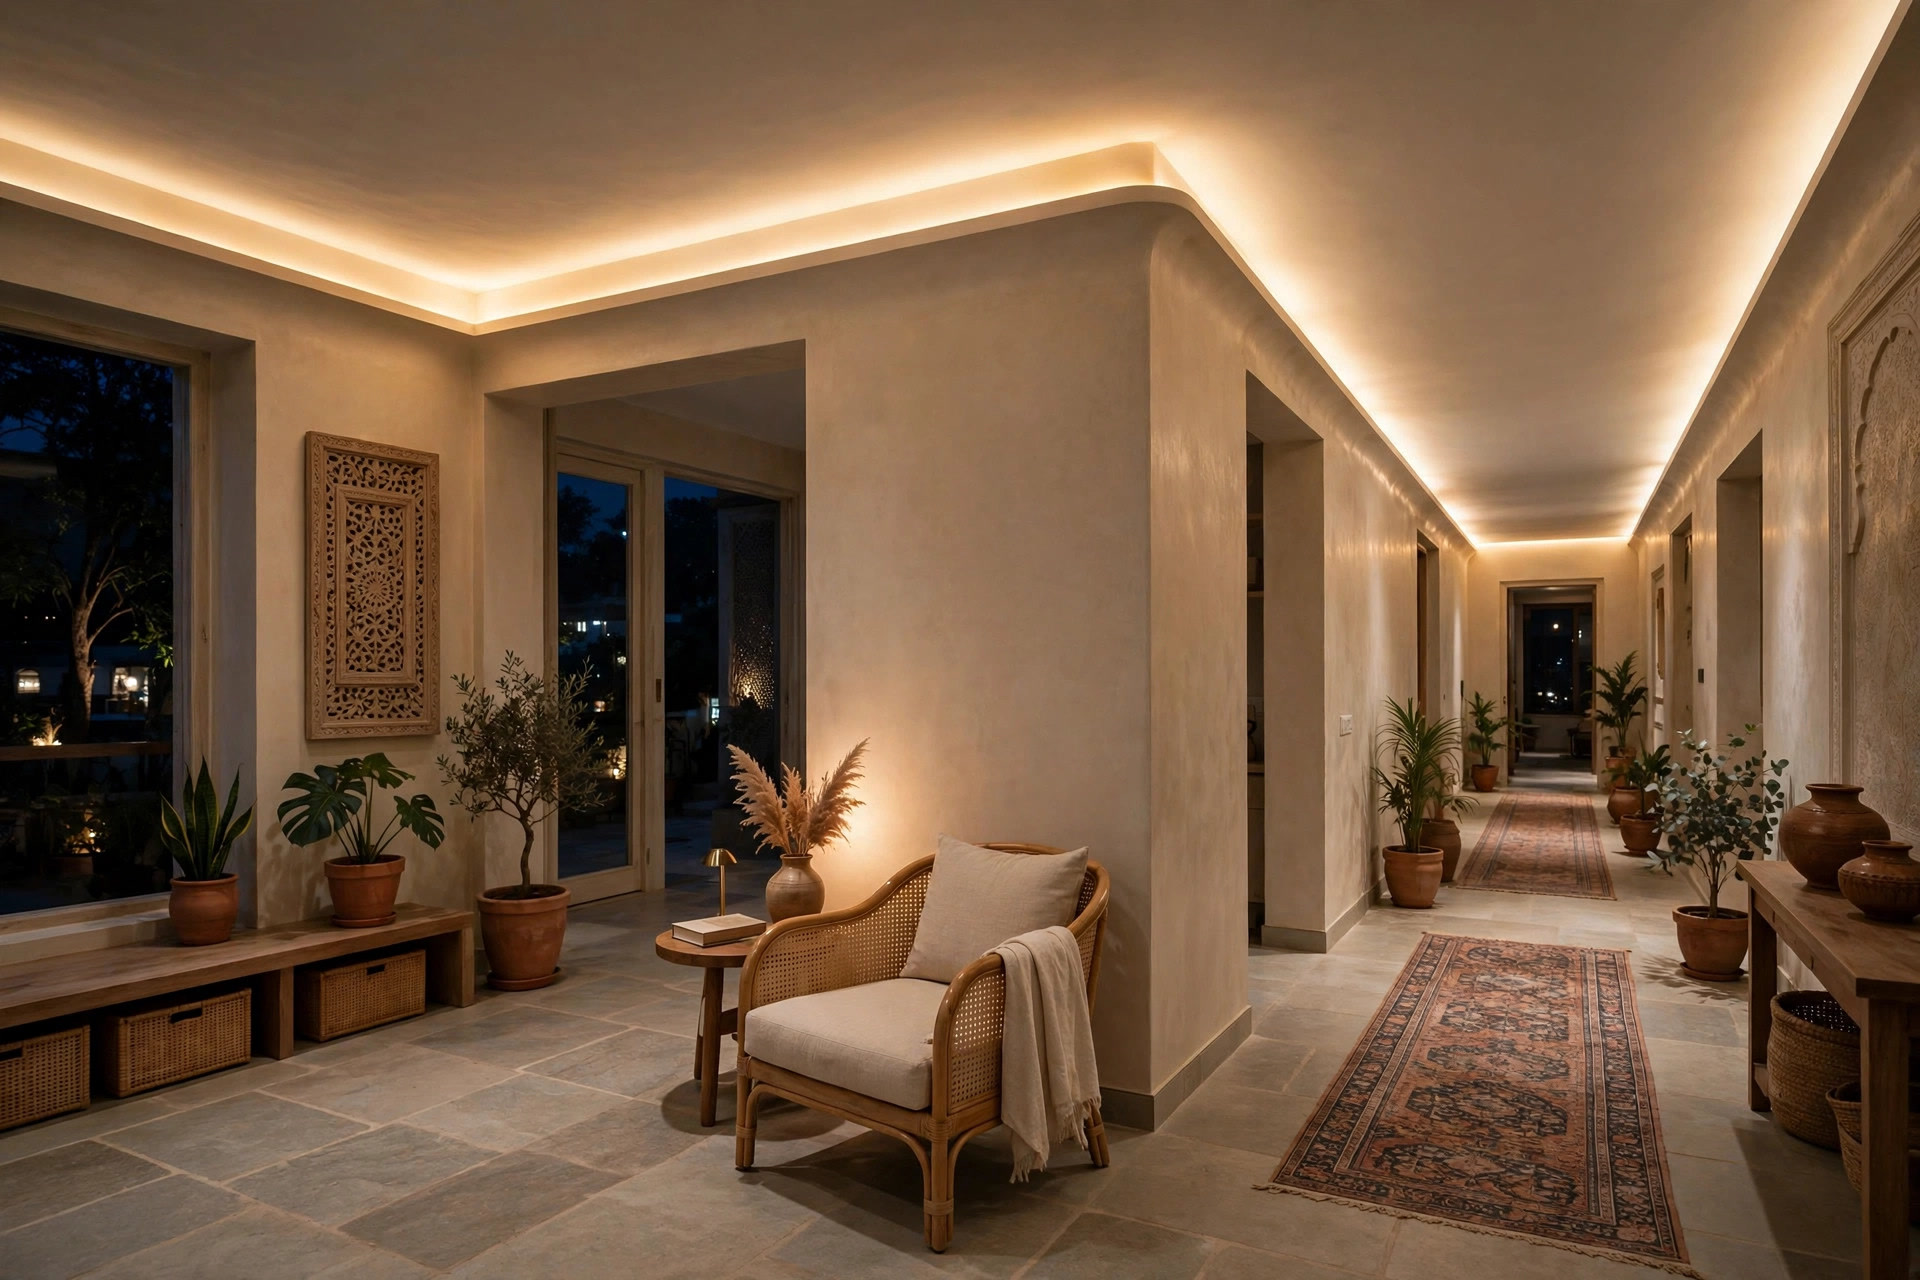
3. Put something under the light. A reading chair, a console table, a tall plant — the corner stops being a dead zone the moment the furniture plan acknowledges it. The ceiling gives the light; the furniture gives the reason.
Align the ceiling with your furniture
The single most useful planning habit: place the furniture on the floor plan first, then draw the ceiling to match. A tray centred over the sofa looks deliberate; a tray centred on the room’s geometry while the sofa sits off to one side looks like a mistake nobody noticed until the boards were up.
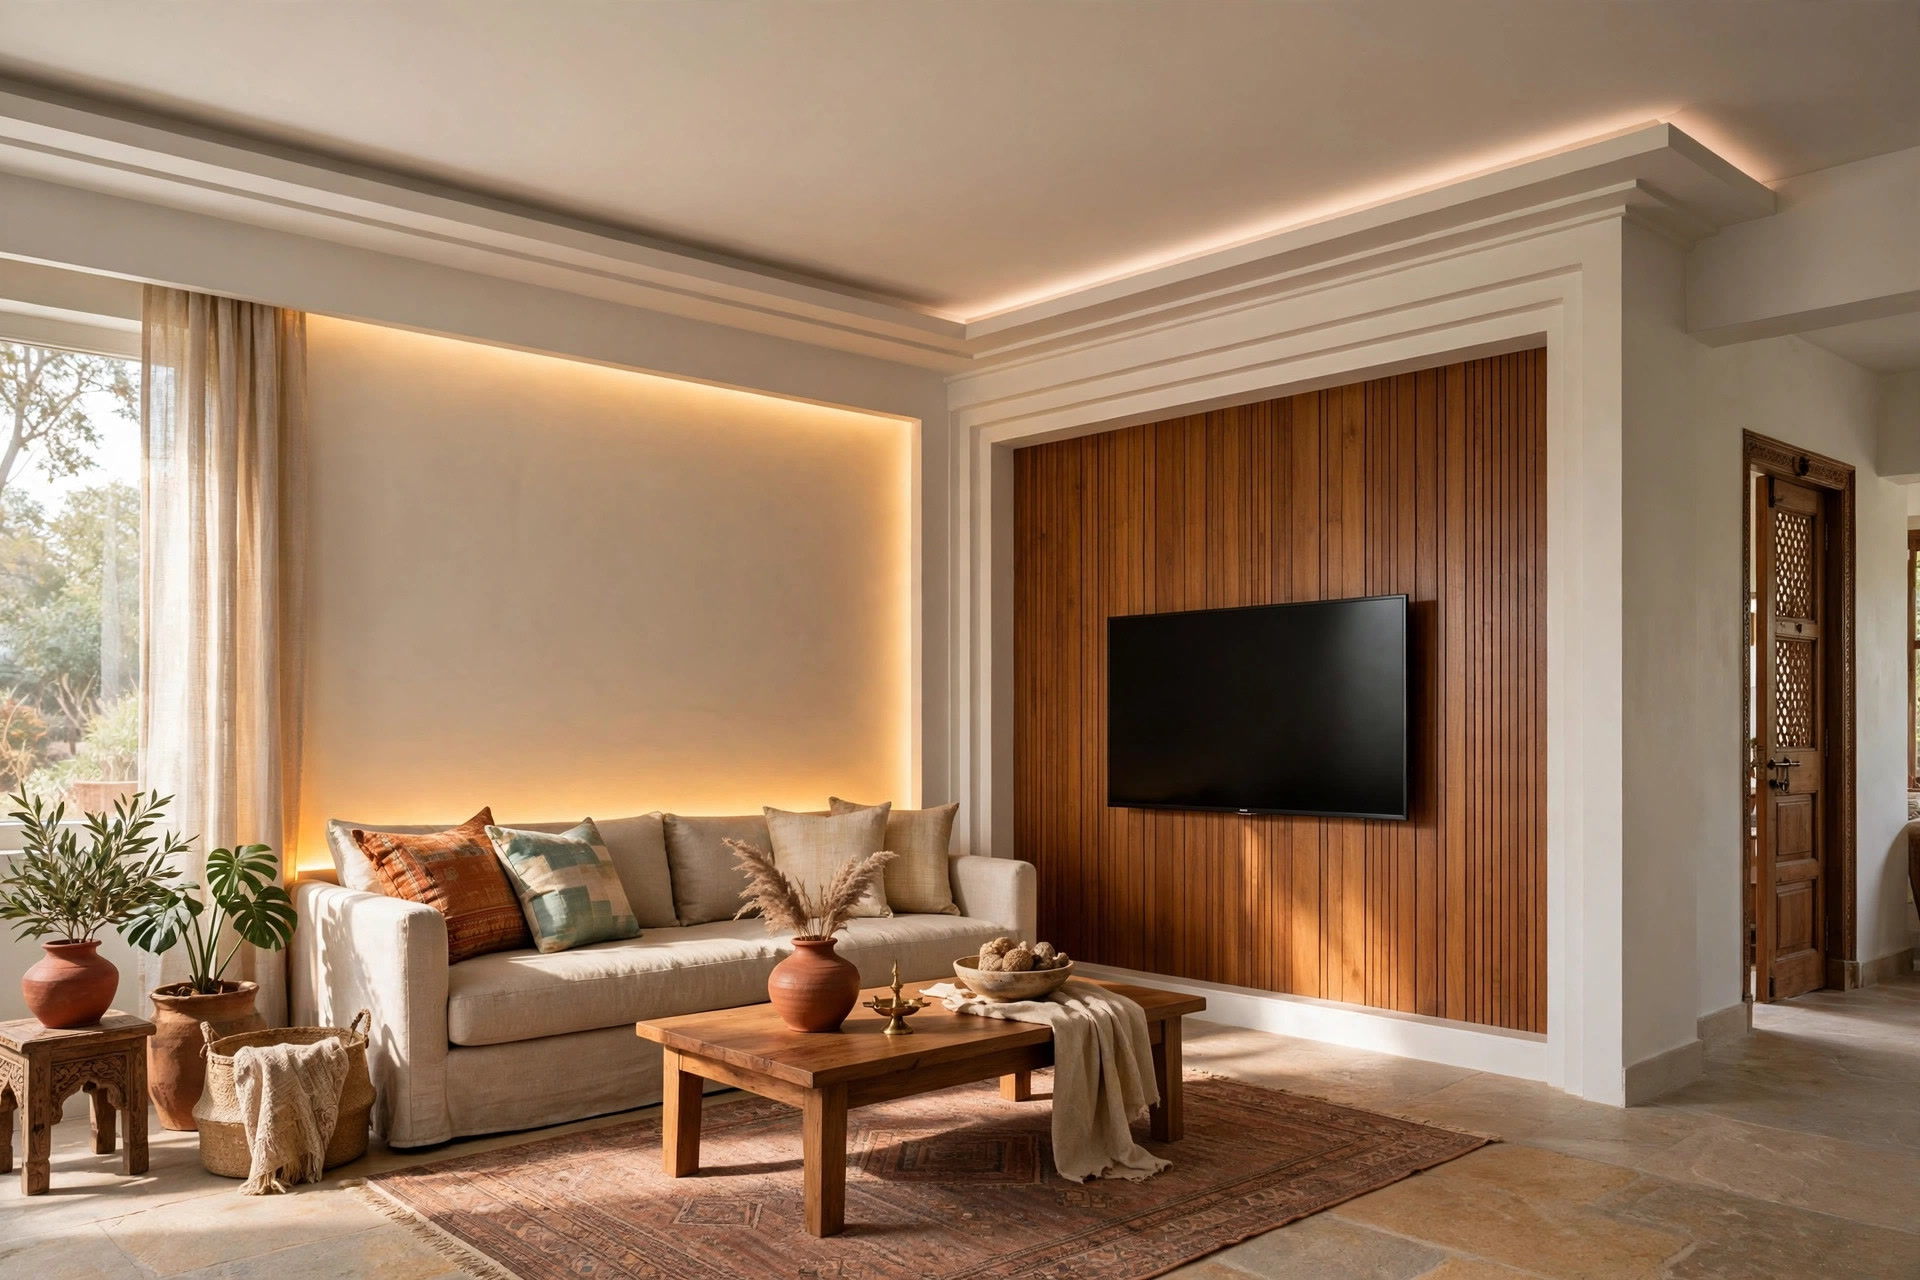
The TV wall is the usual anchor in the living arm. A border or tray that frames the area in front of the TV wall ties the ceiling to the room’s focal point, and the cove wash behind the seating position avoids glare on the screen.
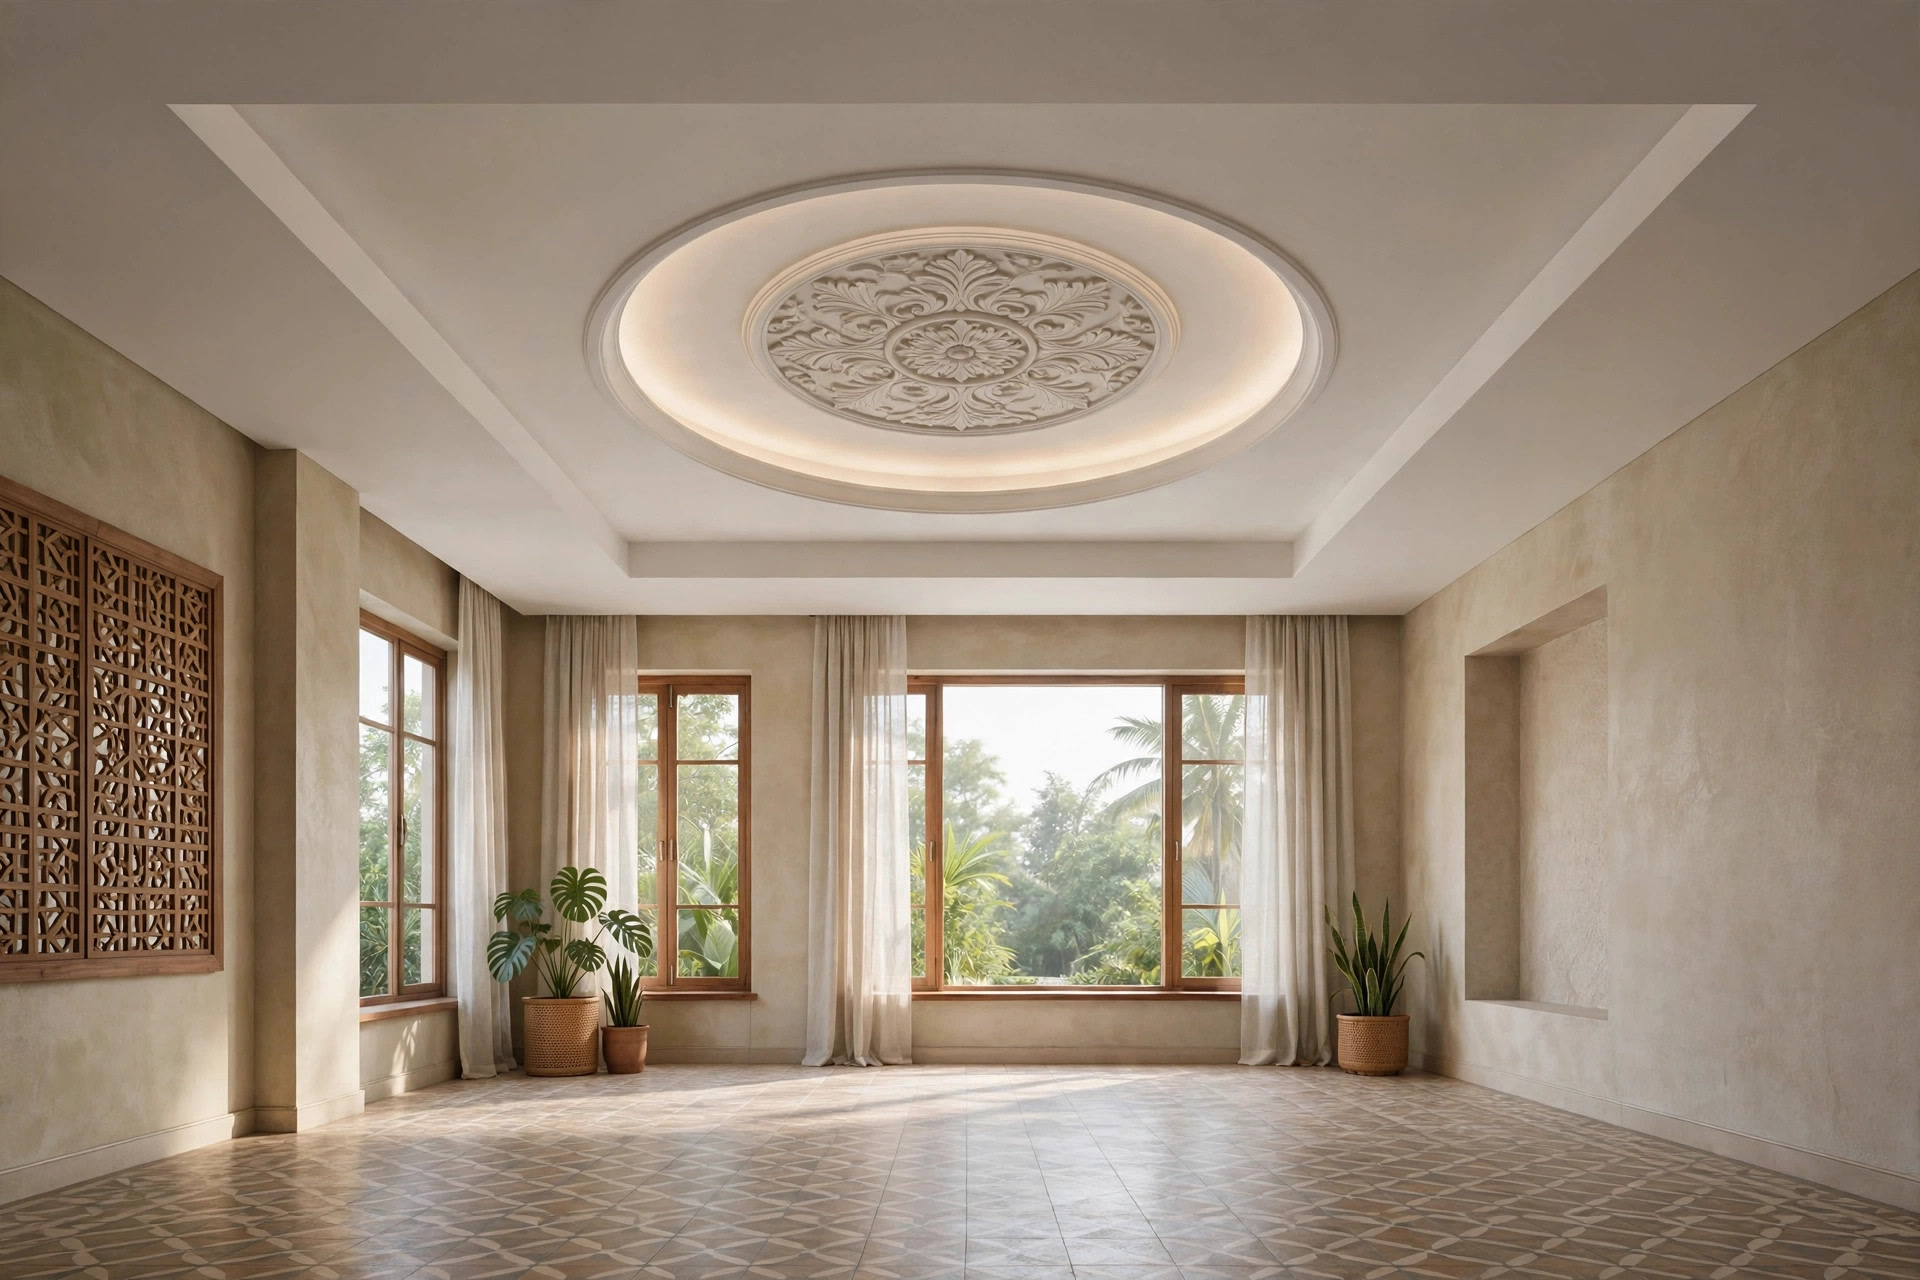
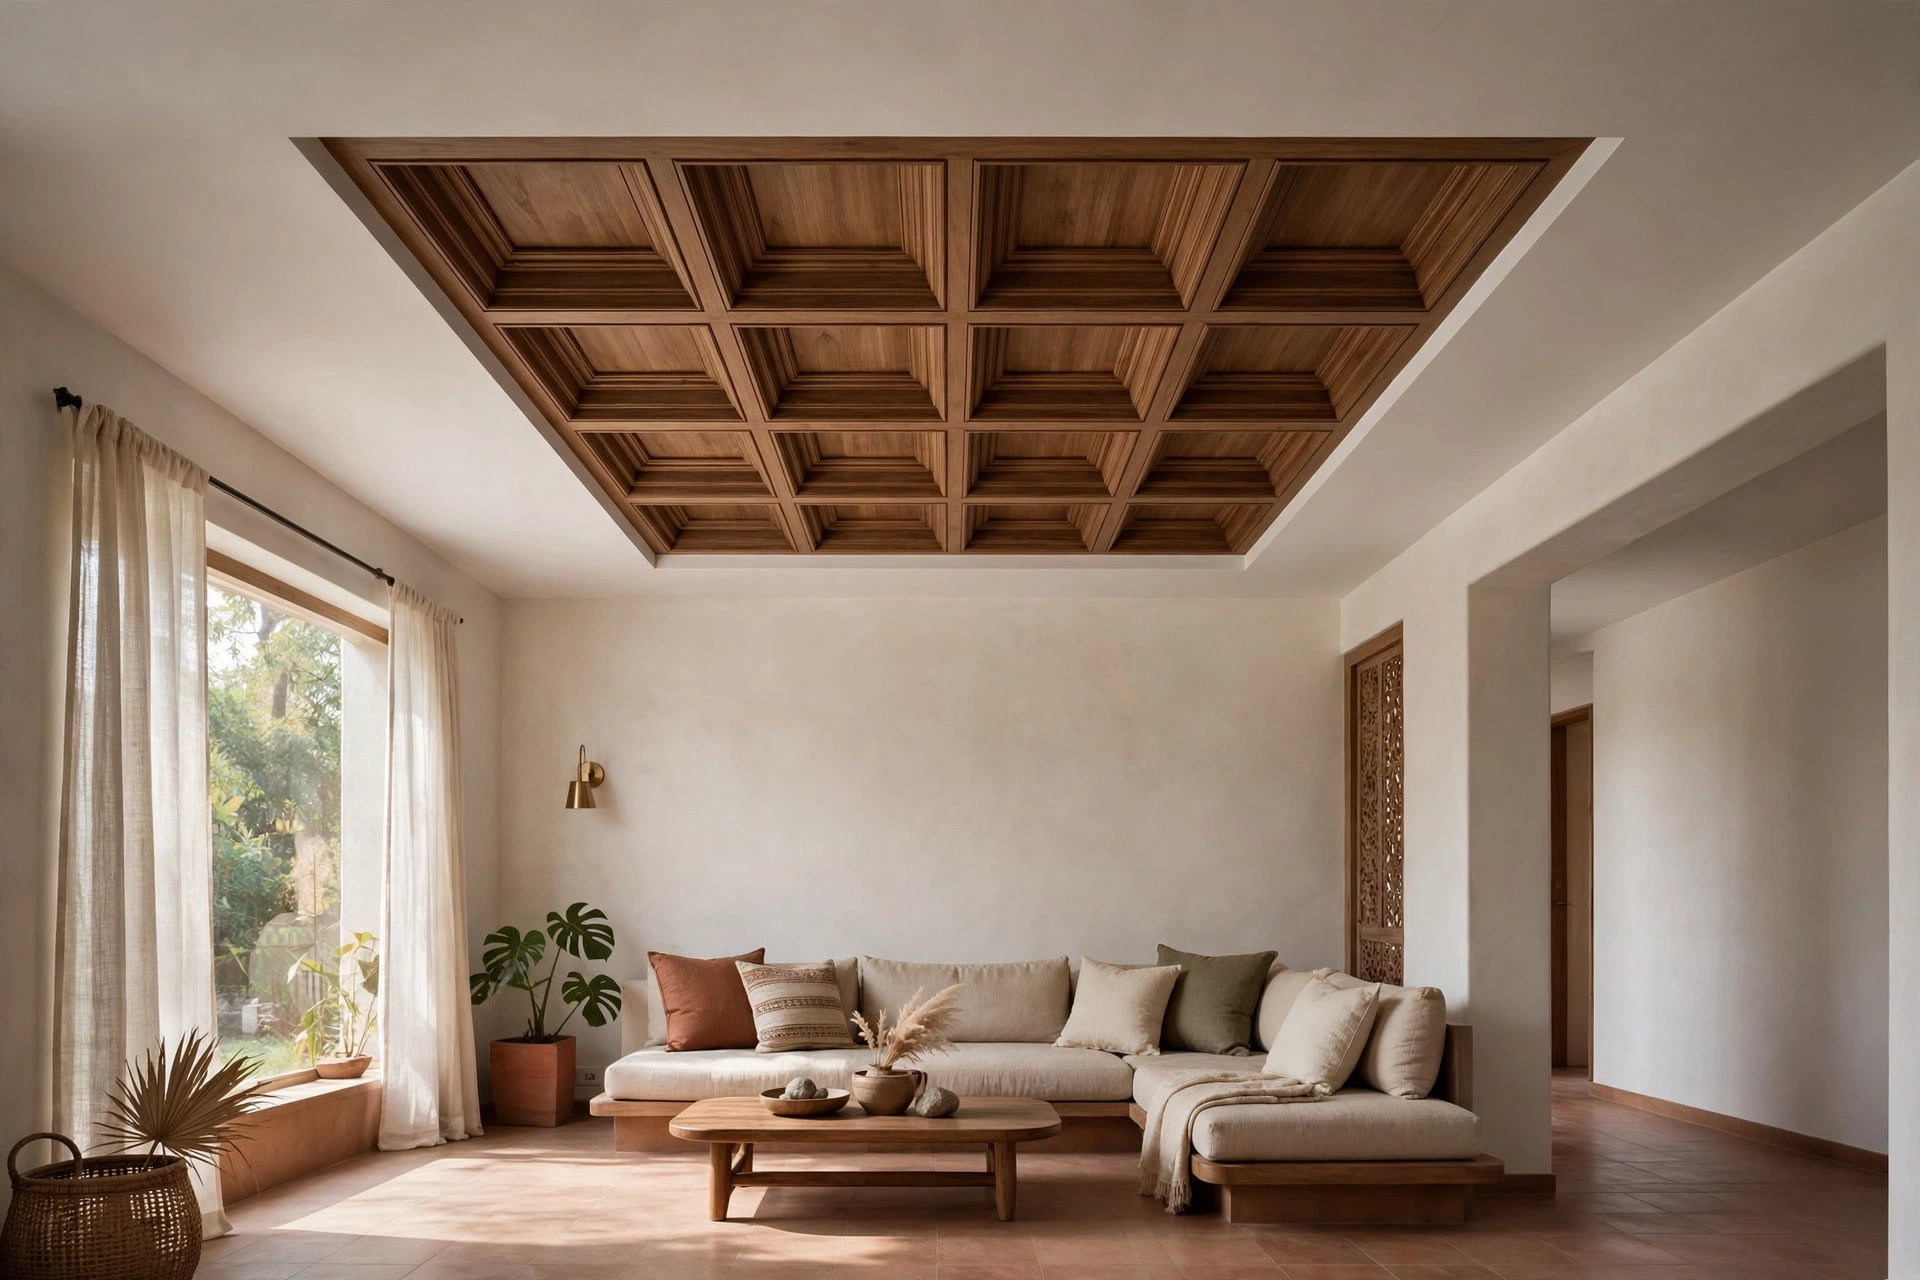
For focal interest without committing the whole ceiling, use a centre medallion inside the tray — a circular stepped detail with a ring of cove light. It gives a chandelier or fan a proper home and adds craft without more levels:
A coffered square grid over just the seating area works the same way: one zone gets the detail, the rest of the hall stays calm.
Fans in an L-shaped or rectangular hall
Long and L-shaped halls often need two fans, and the ceiling has to be planned around them — not the other way round. Mark the fan positions from the furniture layout first, then draw the ceiling geometry around those points, then add the lighting. Doing it in that order avoids the classic problem of a decorative tray landing where a fan needed to go.
The one safety point that matters: a ceiling fan must be anchored to the structural slab above the false ceiling, never to the false ceiling frame itself. The frame holds boards and lights; it is not rated to carry a spinning fan. Your installer and electrician sort this out with a proper anchor rod — it is standard work, but it has to be planned before the boards close.
For the full layouts — dual trays, dual circular drops, centred spine channels, spacing and light placement around two fans — see our dedicated false ceiling designs with fans guide, which covers fan-layout depth in detail.
Finishes that suit L-shaped ceilings
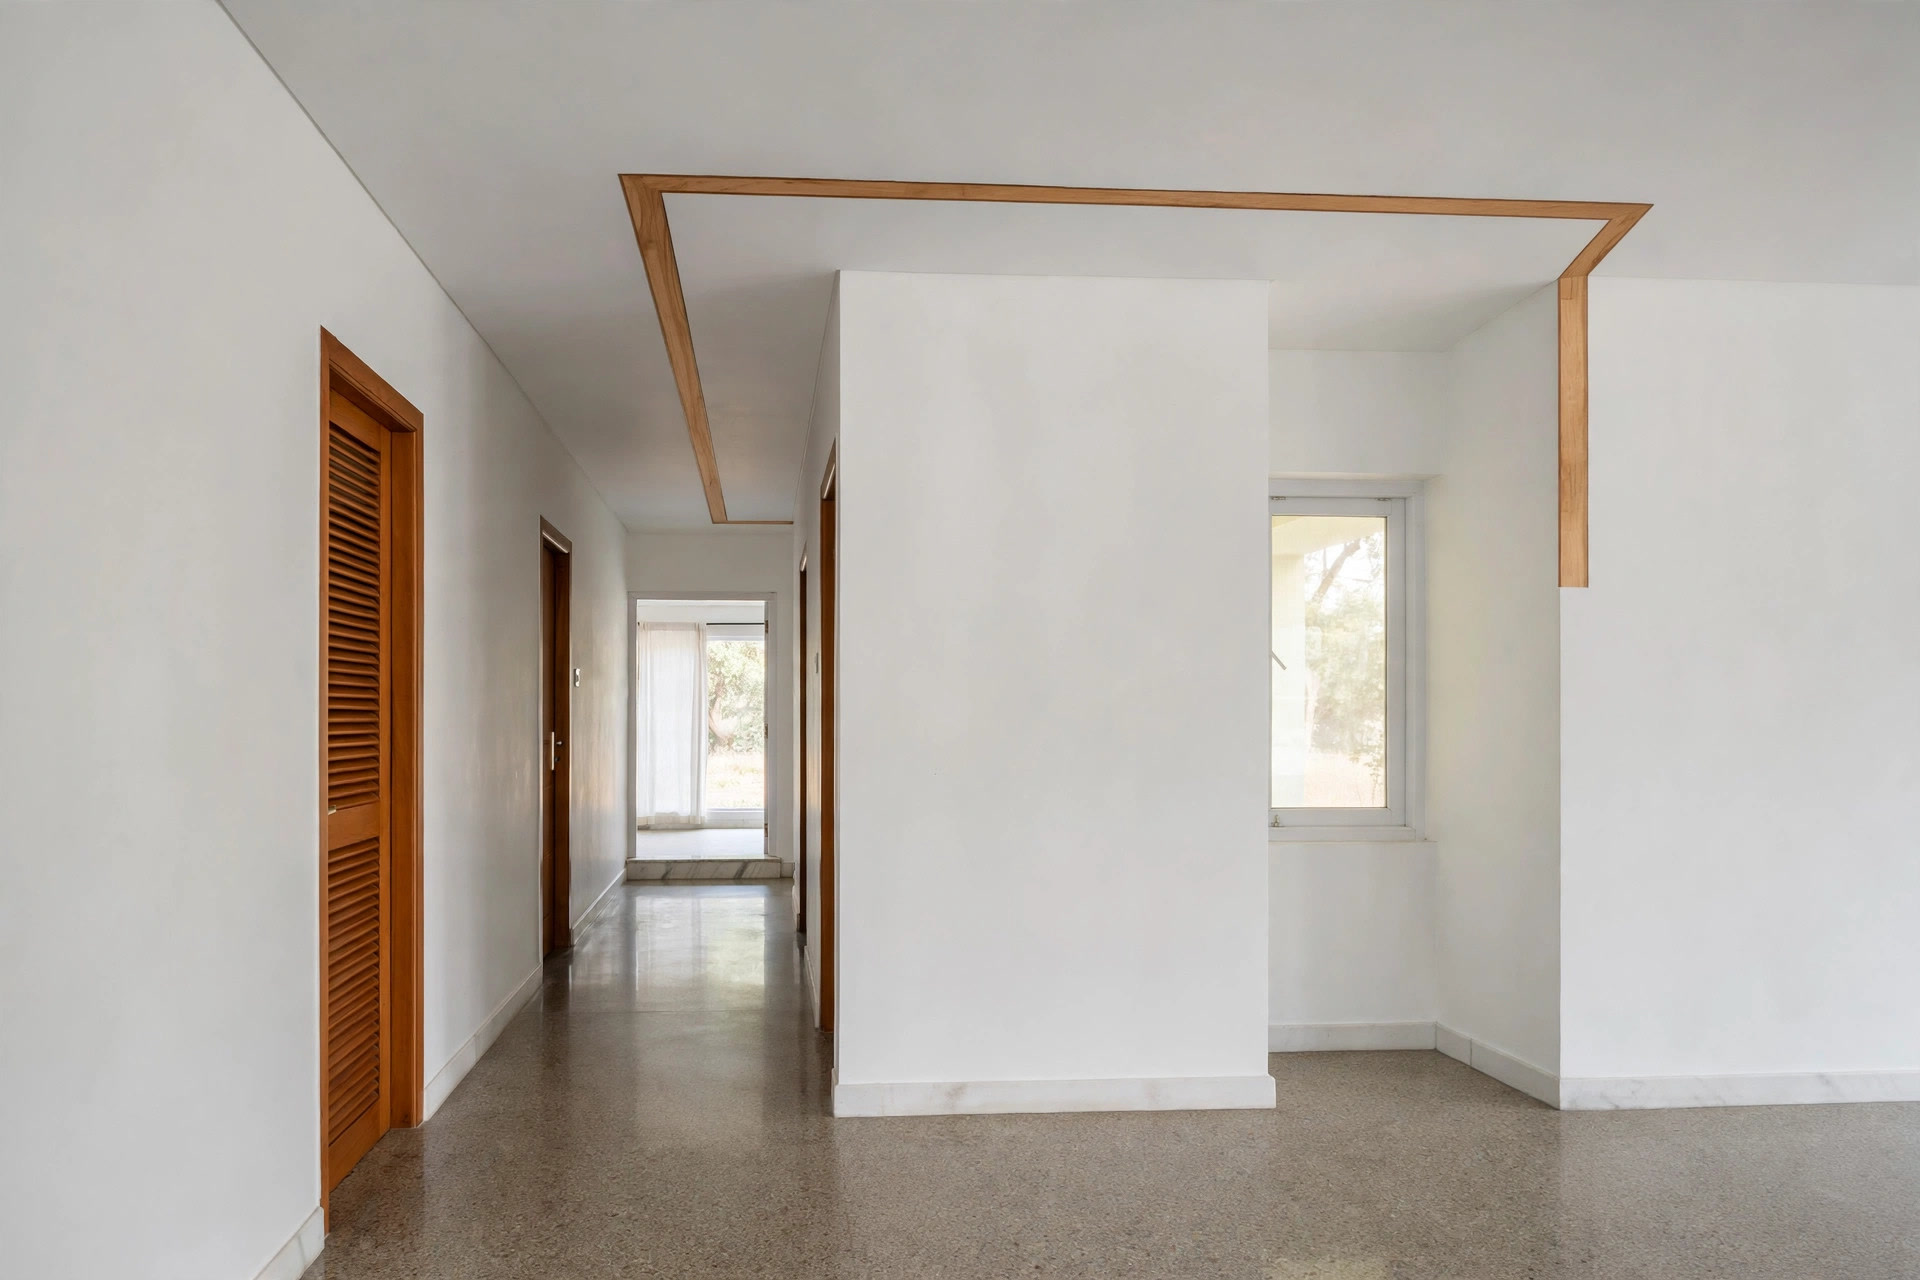
The shape does the talking in an L hall, so finishes should stay quiet. Matte white remains the default because it reflects the cove light best and keeps the complex geometry readable. If you want warmth, a thin wood-veneer inlay strip following the L as a border line adds it without changing the whole ceiling:
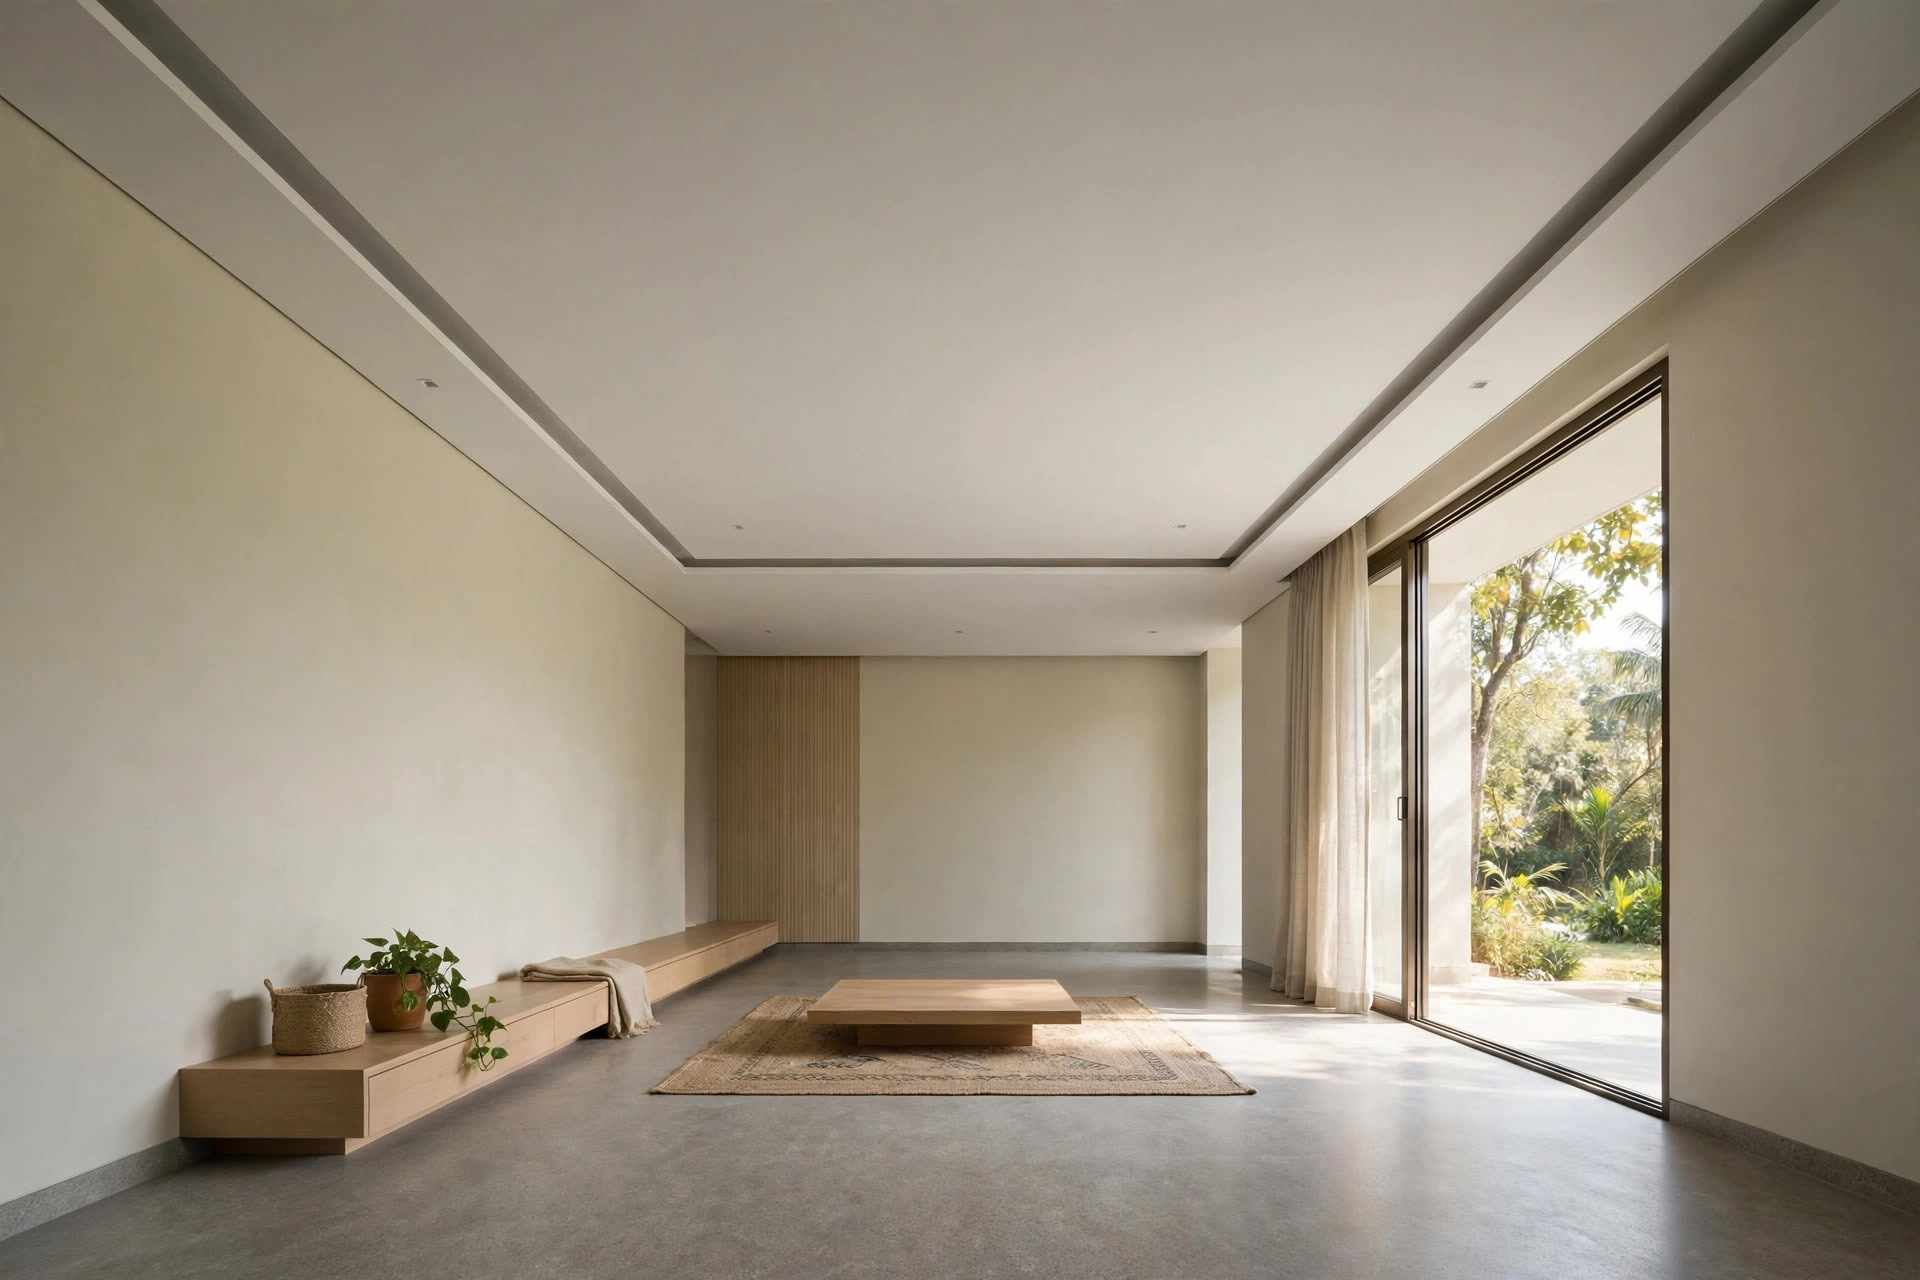
For low slab heights, the honest option is a minimal single-level ceiling with a slim shadow gap instead of a stepped border. It keeps every centimetre of height while still hiding wiring and giving you a clean line to run a slim cove along:
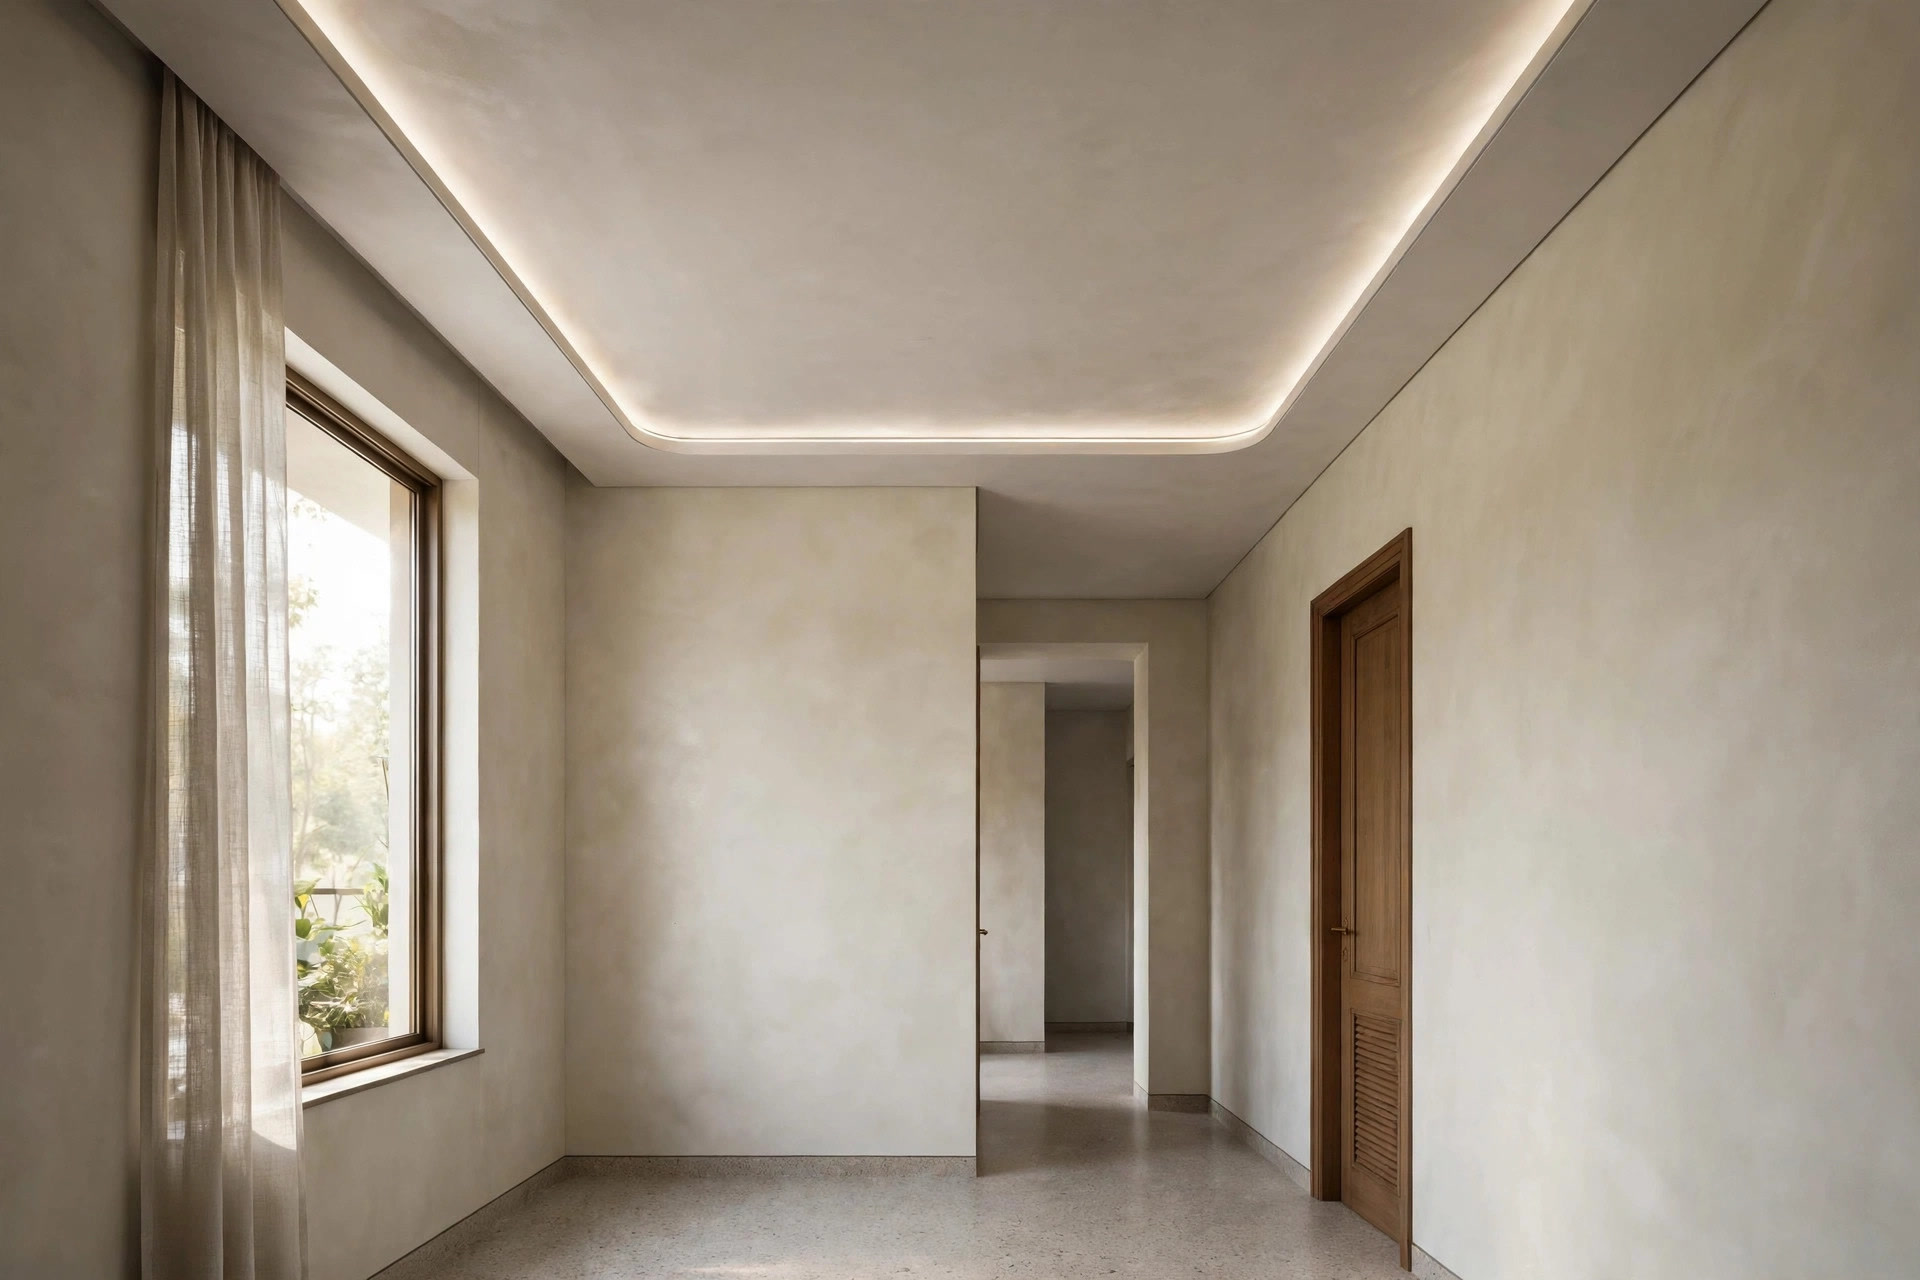
And in genuinely low rooms, even shallower is better — a slim perimeter cove channel with the centre left at full slab height:
Gypsum or POP for a hall ceiling?
For most modern Indian halls, gypsum boards are the practical choice: factory-made boards on a metal frame, quick to install, with clean crisp edges that suit straight tray profiles and sharp cove channels. POP (plaster of Paris) earns its place when the design needs hand-worked curves, mouldings or custom shapes — it is more labour-intensive, which is also why elaborate POP work costs more than a simple gypsum job of the same size.
In practice: straight-lined L trays and rectangular panels — gypsum. Curved coves around the bend and decorative medallions — either works, POP gives the craftsman more freedom. Your hall ceiling guide compares the materials in more depth if you are still deciding.
What does an L-shaped hall ceiling cost?
Pricing depends on your city, the material, how many levels you build and the lighting you add — a flat gypsum border and a three-level tray with cove lighting are effectively different products. Rather than repeat figures that go stale, our false ceiling cost guide for India keeps the current per-square-foot bands, what pushes a quote up or down, and a checklist for comparing contractor quotes. Get three itemised quotes on the same design before you sign anything.
Checklist before you finalise the design
- Measure both arms separately and mark the bend; ceiling area — not floor area — is what the quote is built on.
- Place the furniture first on paper; draw each tray centred on its furniture zone, not on the room’s geometry.
- Fix fan positions from the seating layout, with anchors planned to the slab above.
- Assign light circuits per zone — living arm, dining arm and corner cove on separate switches.
- Keep the drop shallow in apartments; 3–4 inches is enough for a cove channel and wiring.
- Plan access panels for LED drivers and wiring before the boards go up — repairing a sealed ceiling is expensive.
- Match colour temperature across a zone; do not mix warm coves with cool downlights.
Frequently asked questions
What is the best false ceiling design for an L-shaped hall?
A tray ceiling that follows the L — a dropped border turning the same corner as the room, with cove lighting along the inner edge — is the most reliable starting point. If the two arms serve different purposes, give each arm its own tray (rectangular over living, square over dining) and link them with one continuous border.
How do I stop the inner corner of the L from looking dark?
Curve the cove around the bend or give the corner its own short cove section on a separate circuit, and put a piece of furniture under it — a reading chair, console or tall plant. The light plus the furniture makes the corner feel like part of the room.
Which tray shape works for a rectangular hall?
One large rectangular tray for halls up to a moderate length; two matching rectangular trays for long halls, which also suits two fans. A perimeter border with a flat centre is the simplest option and often the best value.
Can I have a false ceiling in a hall with low height?
Yes, if you keep it minimal: a flat single-level ceiling with a shadow gap, or just a slim perimeter cove channel with the centre at full slab height. Avoid multi-level designs — every extra level makes a low room feel lower.
Should the two arms of an L hall have different lighting?
Different circuits, yes; different colour temperatures, no. Put the living arm, dining arm and corner cove on separate switches so each zone can be lit on its own, but keep the colour temperature consistent (warm white suits halls) so the room reads as one space.
Where can I find detailed fan layouts for a hall with two fans?
Our false ceiling designs with fans guide covers dual trays, spacing, and light placement around fans in full detail — including the safety point that every fan must be anchored to the structural slab, not the ceiling frame.
About the images in this article: every image is an original concept render created to illustrate the design ideas — they are not photographs of completed projects. Actual results will vary with your room, materials and installer.
An L-shaped hall rewards a ceiling plan that respects its shape. Zone the two arms, give the corner its own light, keep the borders continuous and the drops shallow — and draw it all on top of your furniture plan before a single board goes up.